How To Use A Label Maker: Easy Pro Tips
A label maker works best when you choose the right tape, type clearly, print, and apply labels cleanly.
A good label maker can save time, cut clutter, and make any space feel more organized. I’ve used label makers in offices, storage rooms, and home projects, and the biggest lesson is simple: the best labels are clear, durable, and placed where people actually need them. If you want to know how to use a label maker the right way, from setup to smart label design, this guide walks you through every step with practical tips you can use right away.
What a Label Maker Does and Why It Helps
A label maker prints small, readable labels for boxes, folders, cables, shelves, jars, and more. It turns messy spaces into systems that are easy to follow. That matters because a label is not just a sticker; it is a tiny signpost that helps people find things fast.
I first noticed this while organizing a shared supply closet. Before labels, people kept opening every drawer. After labeling, the same space became calm and easy to use. That is the real value of learning how to use a label maker well.
A label maker can help with:
- Home organization, like pantry jars, bins, and seasonal boxes
- Office files, such as folders, binders, and desk drawers
- Cable management, including chargers, routers, and cords
- Small business needs, like inventory and shipping items
- School and craft supplies, where fast sorting matters
What You Need Before You Start
Before you learn how to use a label maker, get the basics ready. Most mistakes happen before the first label is printed, not after. A few minutes of setup can save a lot of wasted tape.
You usually need:
- A label maker device
- The correct label tape or cartridge
- Batteries or a power adapter, if the model needs them
- The item or surface you want to label
- A clean cloth for wiping surfaces
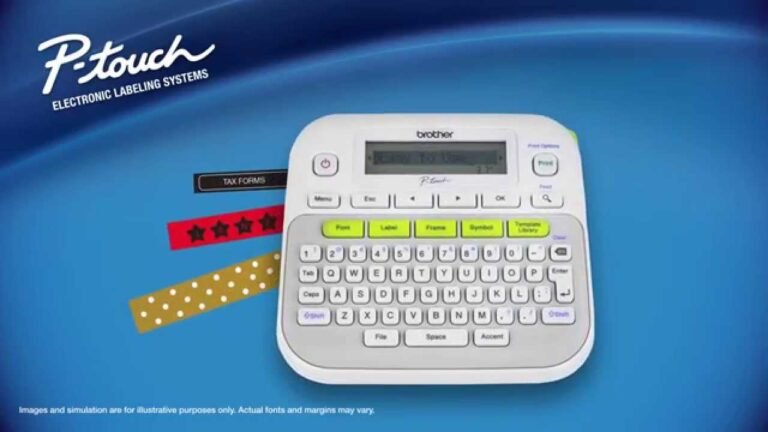
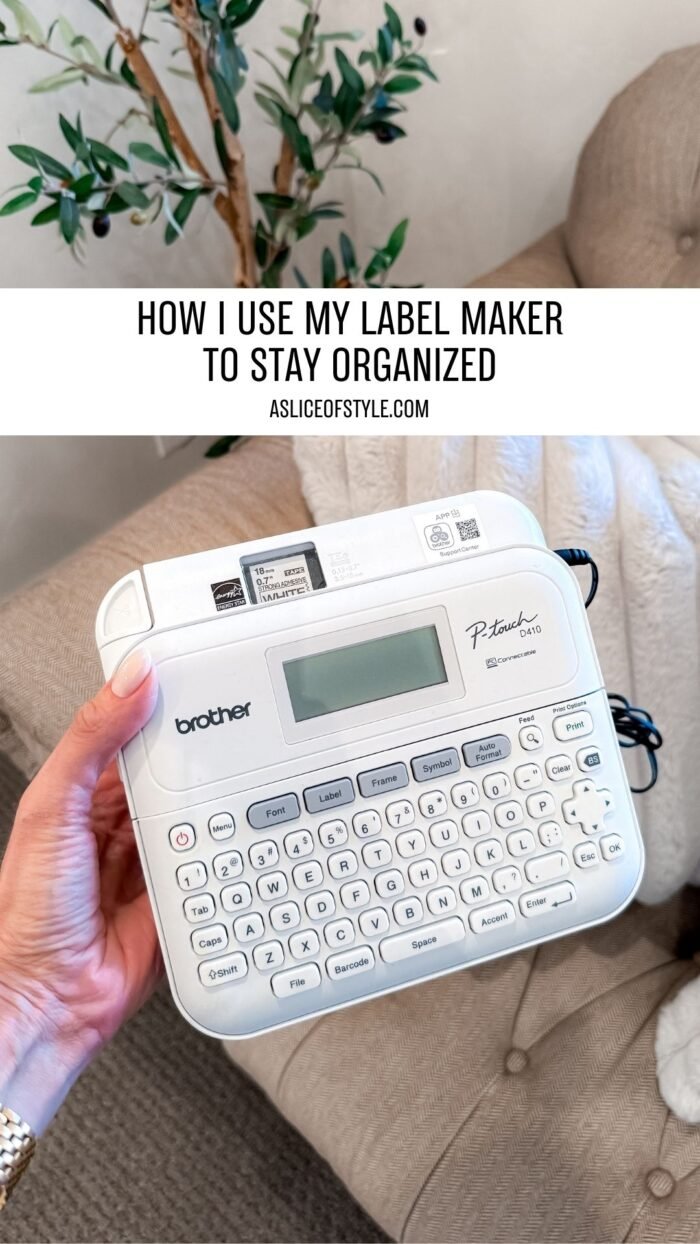
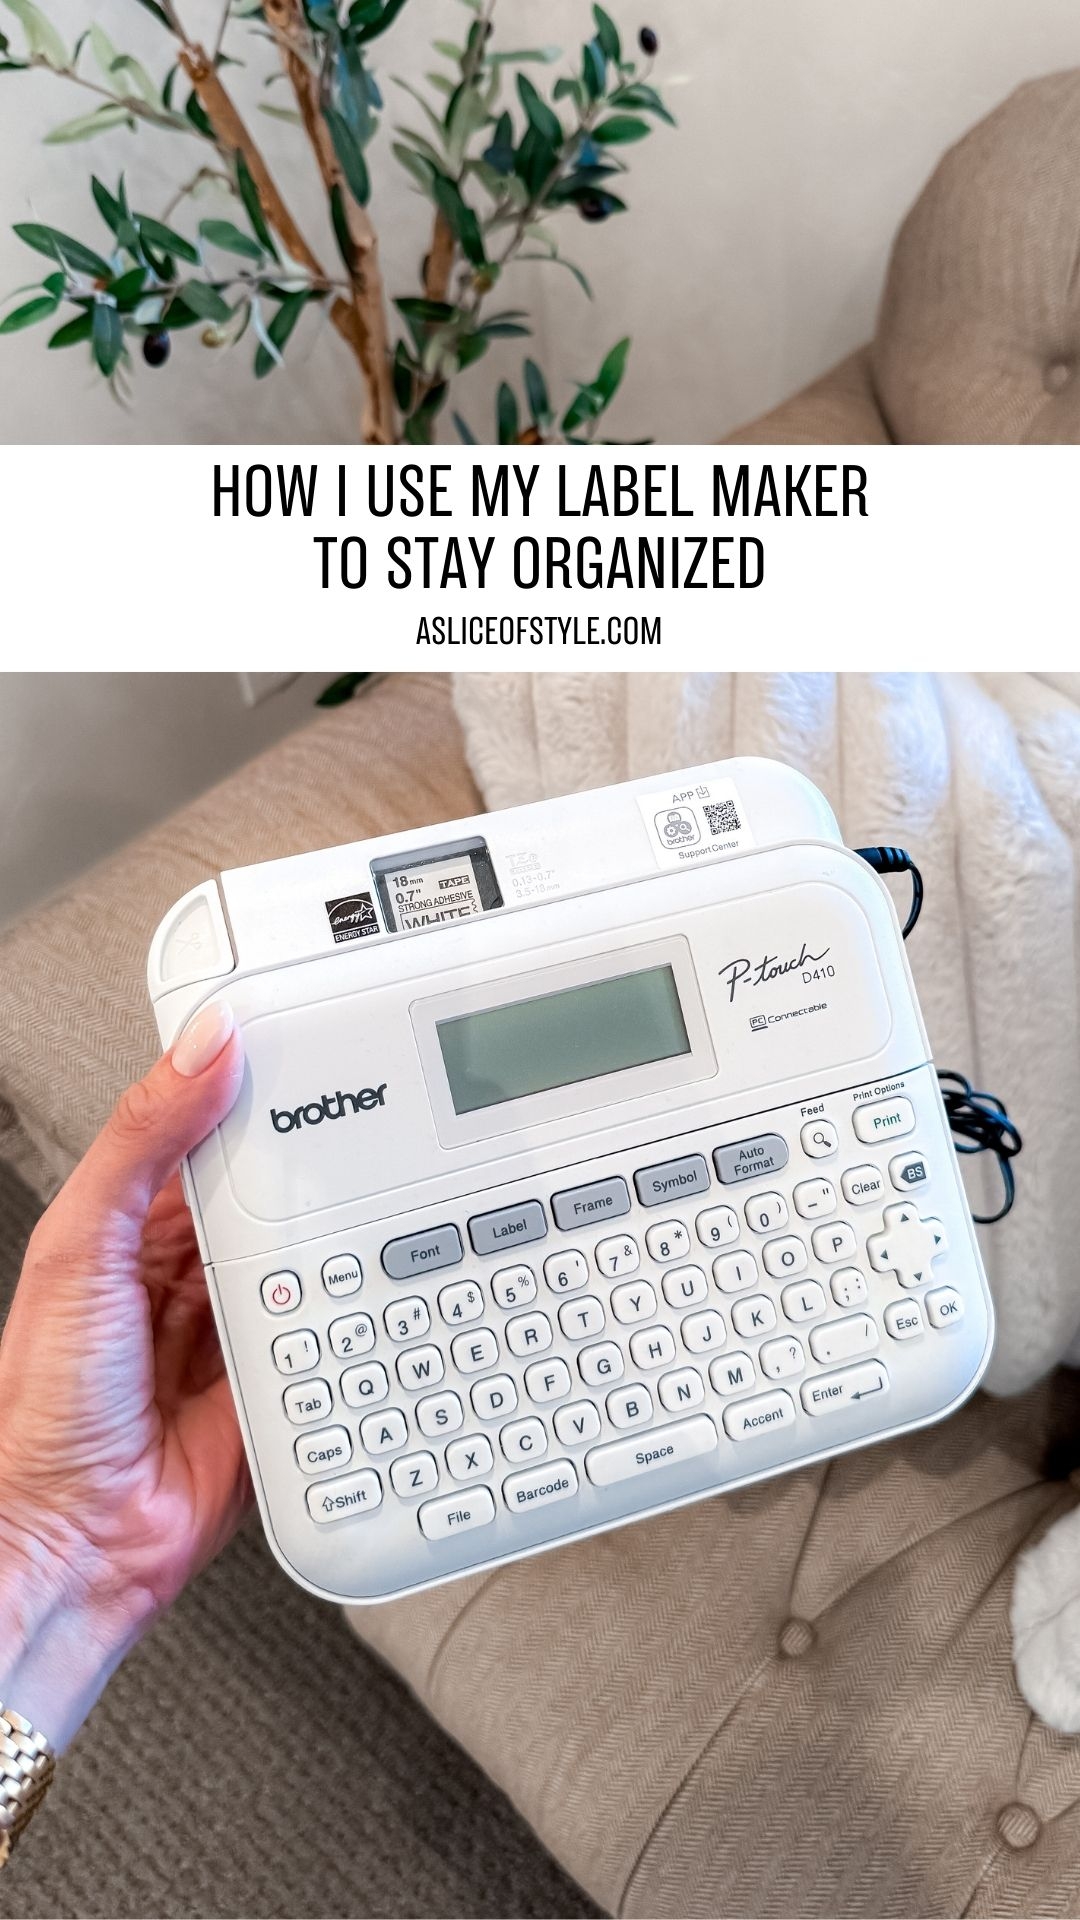
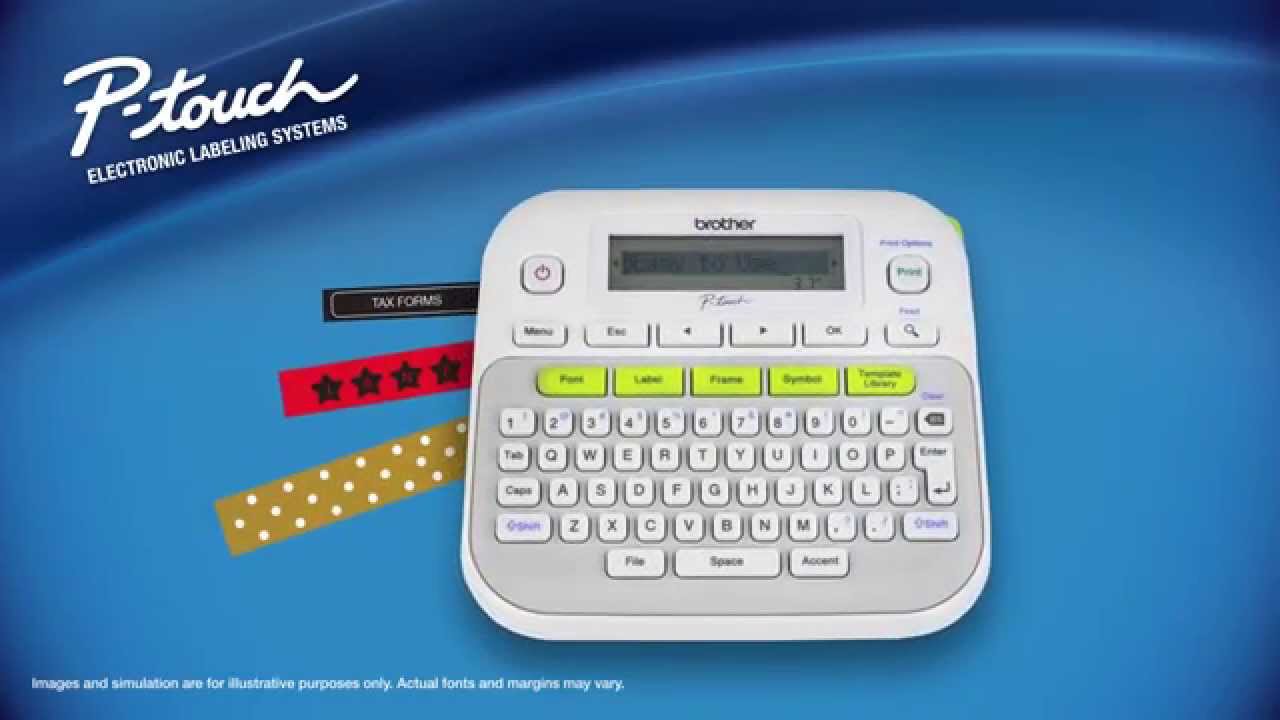
Different models may use thermal printing, inkless tape, or specialty cartridges. Brother, DYMO, and Epson are common brands, and many office models use thermal transfer or direct thermal technology. The exact steps can vary a little, so always check the user guide for your model.
How to Use a Label Maker Step by Step
Using a label maker is usually simple once you know the flow. Think of it like making a sandwich: you want the right parts in the right order. If you rush one step, the result looks messy or peels off too soon.
1. Install the power source
Start by inserting batteries or plugging in the adapter. A weak power supply can cause bad print quality or cut the label off early. If your machine is rechargeable, make sure it has enough charge before you begin.
2. Load the label tape
Open the compartment and place the tape or cartridge into the machine. Most label makers show a diagram inside the cover, which helps a lot. Make sure the tape feeds in the correct direction so the printer can grab it smoothly.
3. Turn on the device
Switch the label maker on and wait for it to initialize. Some models run a quick alignment check. If the screen shows an error, remove the tape and reload it carefully.
4. Select the settings
Choose the font size, style, width, and length if your model allows it. For most real-world uses, simple and clear works best. I have seen too many labels fail because someone chose a tiny font that looked cute but was hard to read at a glance.
5. Type your label text
Enter the word or phrase you want printed. Keep it short and specific. Good labels are easy to understand in one second.
Examples:
- “Office Supplies”
- “Gluten-Free Snacks”
- “Chargers”
- “Tax 2024”
- “Winter Hats”
6. Preview the label
If your label maker has a preview screen, check spacing, punctuation, and line breaks. This is the moment to fix mistakes before wasting tape. One extra second here often saves several inches of label material.
7. Print the label
Press print and let the machine finish fully. Do not pull the tape too early, or the print may smudge or cut unevenly. If your model has an auto-cutter, wait until it trims the label on its own.
8. Peel and apply the label
Remove the backing and place the label on the surface. Press firmly from the center outward to avoid bubbles. Smooth edges help the label stay put longer.
9. Test the placement
Look at the label from a normal viewing angle. If it is crooked or hidden, peel it off right away if the adhesive allows it, then reapply. A useful label is one people can see without trying.
How to Get Better Results Every Time
Learning how to use a label maker is one thing. Getting great results every time is the real skill. Small habits make a big difference in how neat and long-lasting your labels look.
Use these tips:
- Wipe the surface first so dust and grease do not weaken the adhesive
- Keep wording short so the label stays readable
- Use all caps only when it improves clarity, not for every label
- Choose high-contrast tape and print color when possible
- Leave enough margin so the text is not crowded
- Store extra tape in a cool, dry place
In my own work, the most common mistake was overlabeling. It is tempting to label every tiny thing, but too many labels can create visual noise. A few strong labels usually work better than twenty weak ones.
Choosing the Right Label Type
A big part of knowing how to use a label maker is choosing the right label for the job. Not every label is made for every surface. Some are meant for indoor storage, while others need to survive heat, cold, water, or friction.
Common label types include:
- Paper labels for short-term use
- Plastic labels for general organization
- Laminated labels for better durability
- Waterproof labels for kitchens, bathrooms, and outdoor gear
- Heat-resistant labels for appliances or garage items
- Cable wrap labels for wires and cords
If you are labeling a pantry jar, a standard adhesive label may be enough. If you are labeling a freezer bin, you want something that can handle moisture and low temperatures. The right match makes the label last much longer.
Common Mistakes to Avoid
Even simple tools can be misused. A label maker is forgiving, but some mistakes are hard to fix once the label is printed and stuck down. Knowing the problems ahead of time saves both tape and frustration.
Watch out for these issues:
- Using the wrong tape size for the machine
- Printing too much text on one label
- Applying labels to dirty, wet, or oily surfaces
- Choosing decorative fonts that are hard to read
- Forgetting to test the print before making many labels
- Storing labels in hot or damp places after printing
One lesson I learned the hard way: always test one label first when starting a new project. I once printed a whole set of storage labels, only to realize the font was too small for the shelf distance. A single test label would have prevented that.
Best Uses for a Label Maker at Home, Work, and School
A label maker is one of those tools that quietly earns its keep. It fits into daily life in more places than people expect. Once you start using it well, you will keep finding new things to label.
At home, use it for:
- Pantry containers
- Toy bins
- Medicine shelves
- Cord bundles
- Freezer items
- Holiday storage boxes
At work, use it for:
- Filing cabinets
- Shared supplies
- Mail bins
- Asset tags
- Project folders
- Conference room equipment
At school or in a classroom, use it for:
- Supply drawers
- Books and binders
- Student bins
- Art materials
- Learning stations
Clear labels reduce confusion and save time. That is why labeling is often part of good office organization and safe storage practices.
How to Make Labels That Last
Durability matters if people will touch the labels often. The best label is the one that still looks good after days, months, or even years. That means thinking about both the material and the surface.
To make labels last longer:
- Use laminated or durable tape when needed
- Apply to a clean, dry surface
- Press down the full label edge
- Avoid curved or textured surfaces when possible
- Keep labels away from direct heat unless the tape is rated for it
- Recheck labels in high-use areas every few months
For example, a label on a kitchen jar may last a long time if the jar stays dry. But a label on a recycling bin lid may wear faster because of handling and moisture. Matching the label to the job is the key.
Tips for Smart Label Design
A good label is easy to read at a glance. The design should help the eye, not work against it. When I create labels, I ask one question: can someone understand this from a few feet away?
Use these design tips:
- Pick simple wording
- Use larger text for items viewed from across a room
- Keep the label layout consistent
- Use color coding for categories
- Add dates when helpful, such as “Opened 07/24”
- Avoid cluttering a label with too many symbols
Color can be useful, but only if it has a clear system. For example, blue labels can mean files, green labels can mean supplies, and red labels can mean urgent items. That kind of pattern makes it easier to stay organized over time.
How to Use a Label Maker for Cable and Cord Labeling
Cable labeling is one of the most practical uses for a label maker. It is also one of the easiest ways to reduce stress when something needs unplugging. If you have ever stared at a nest of black cords behind a desk, you know the problem.
A simple method works best:
- Label both ends of the cord
- Use short names like “Monitor,” “Printer,” or “Router”
- Include room names if needed
- Use wrap labels or narrow tape that fits the cord
For cable sets, I like to label one end with the device name and the other with the destination. That way, even if one end gets tucked away, the cord still makes sense. It is a small step that can save a lot of time during setup or repairs.
Frequently Asked Questions of How to Use a Label Maker
How do I load tape into a label maker?
Open the compartment, place the cartridge or tape in the guide, and follow the feeding direction shown inside the machine. If the tape jams, remove it gently and reload it instead of forcing it.
Why is my label maker printing blurry text?
Blurry text usually happens when the tape is loaded wrong, the battery is low, or the print head needs cleaning. Recheck the cartridge first, since that is the most common cause.
Can I use a label maker on plastic containers?
Yes, and plastic containers are one of the best uses for a label maker. Just make sure the surface is clean and dry before applying the label.
What type of labels are best for freezer use?
Use freezer-safe or waterproof labels if the item will be exposed to cold or moisture. Standard labels may peel off or become unreadable in a freezer.
How can I make label maker labels last longer?
Choose durable tape, apply it to a clean surface, and press it down firmly. For high-touch items, laminated or waterproof labels usually hold up better over time.
Conclusion
Learning how to use a label maker is really about building a small system that saves time every day. Once you know how to load the tape, choose the right settings, and apply labels the right way, the whole process becomes quick and easy. The real win is not just neatness; it is less stress, fewer mix-ups, and a space that works better for you.
If you are ready to get organized, start with one small area and label it well. Then build from there. Try these steps on your next drawer, box, or cable bundle, and see how much smoother things feel.