How To Connect A Label Maker: Easy Setup Guide
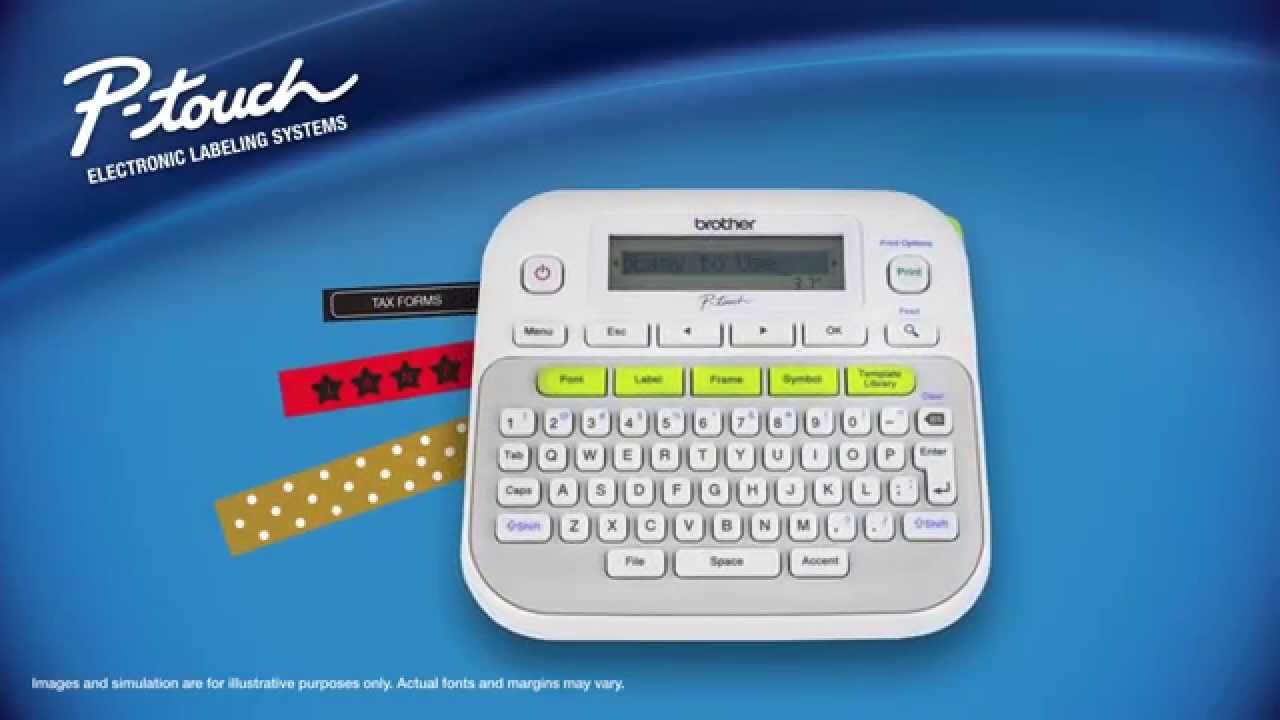
Connecting a label maker is usually plug-in, pair, load the tape, install software if needed, and print a test label.
If you have ever unpacked a new label maker and felt stuck at the “now what?” stage, you are not alone. I’ve set up plenty of label makers over the years, from simple handheld models to desktop units with Bluetooth and USB, and the process is usually easier once you know the right order. In this guide, I’ll walk you through how to connect a label maker the right way, avoid the common mistakes, and get clean labels fast.
What a Label Maker Connection Actually Means
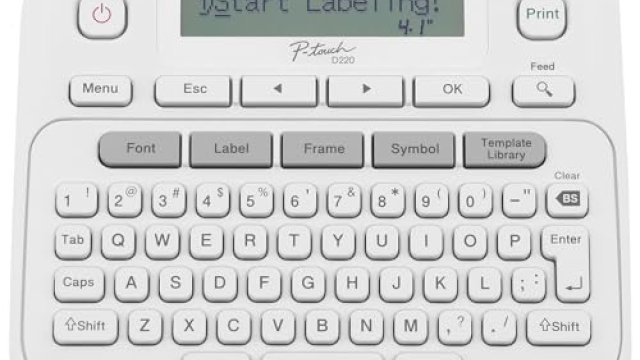
When people ask how to connect a label maker, they usually mean one of three things. First, they may need to connect the power and load the label tape. Second, they may need to pair the device with a phone, tablet, or computer. Third, they may need to install software or drivers so the printer can communicate with the device.
A label maker is basically a small printing system. It needs power, media, and a way to receive print commands. If one of those pieces is missing, the machine may light up but still not print anything useful.
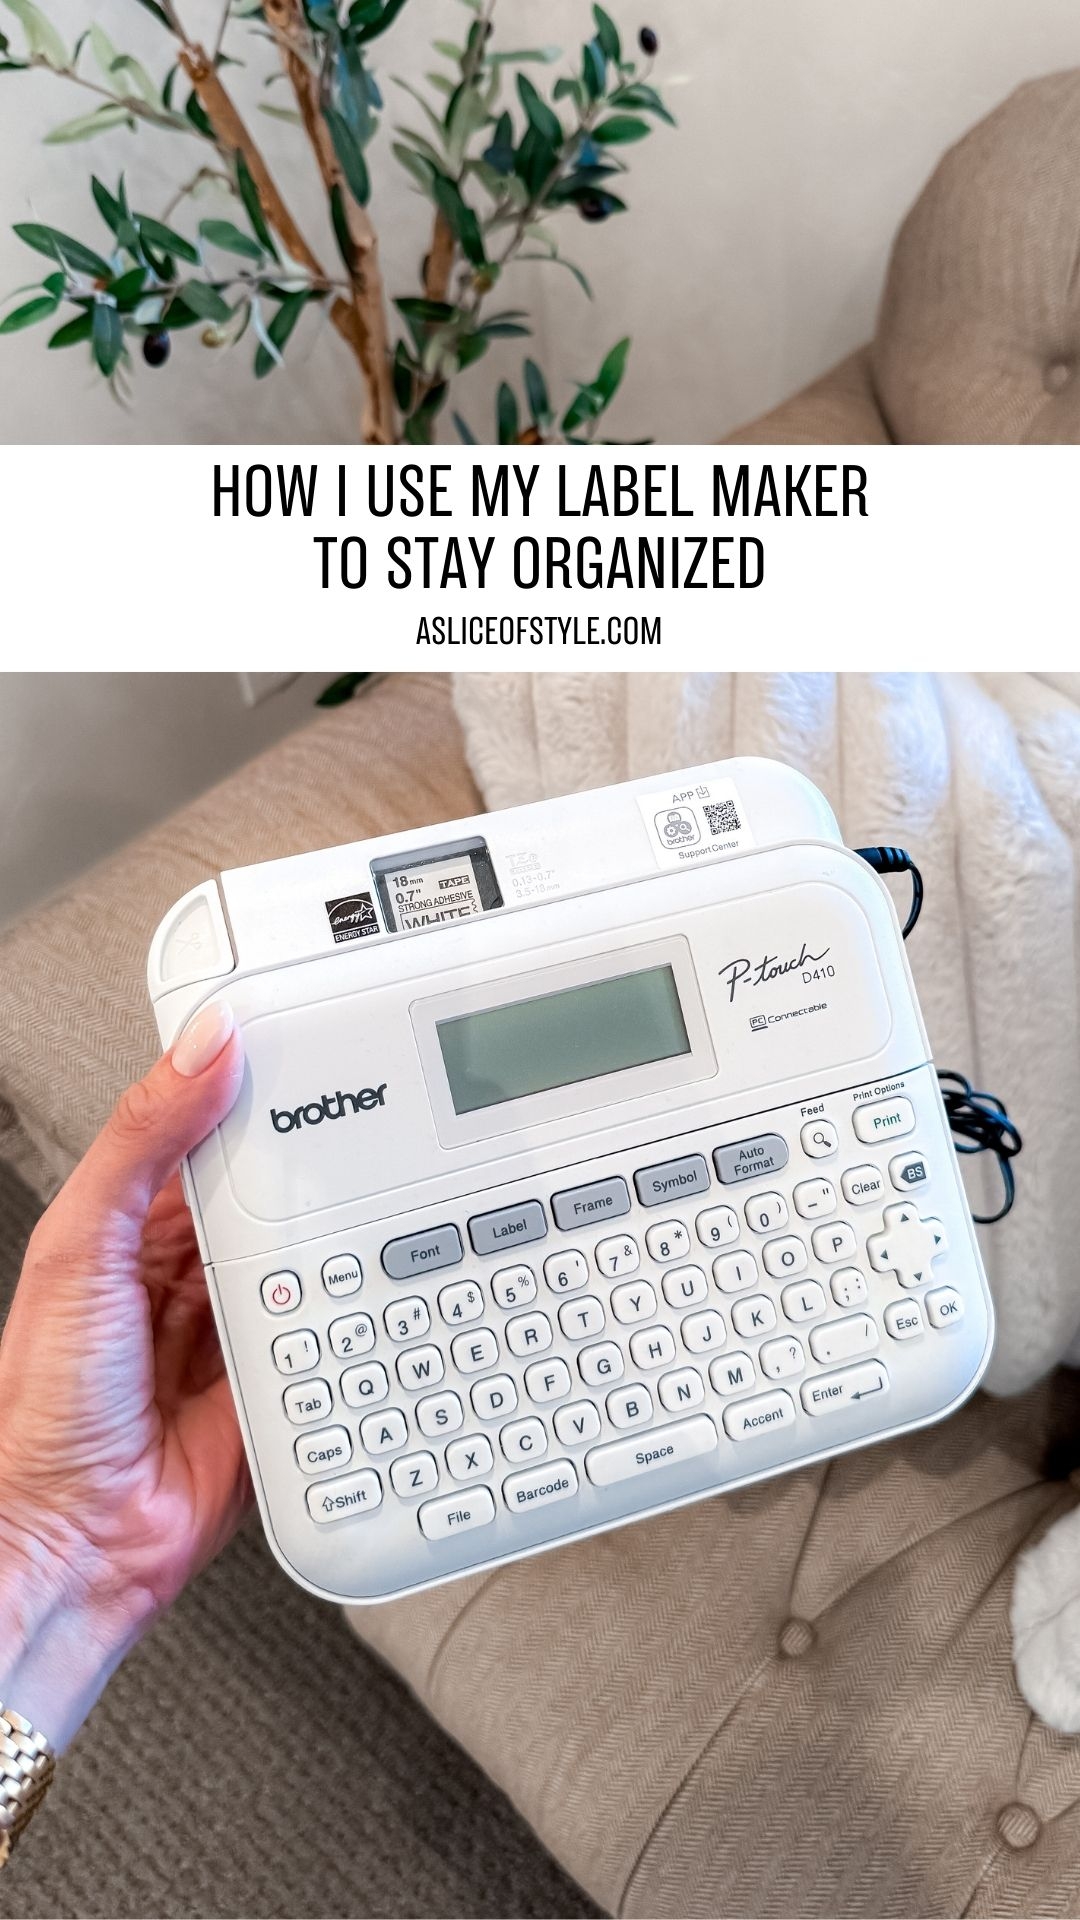
What You Need Before You Start
Before you connect a label maker, check the box and gather everything you need. This saves time and keeps you from stopping halfway through setup.
• Label maker unit
• Power adapter or batteries
• Label tape, cartridge, or roll
• USB cable, if the model uses one
• Bluetooth-capable phone, tablet, or computer, if supported
• Manufacturer app or software
• Quick start guide or model number
I always recommend checking the model number first. That one detail tells you whether your label maker uses wired setup, wireless setup, or both. It also helps you find the right app, because many brands have more than one product line.
How to Connect a Label Maker Step by Step
The exact process depends on the model, but the core setup is very similar for most devices. Think of it like tuning a guitar before a song. If the basics are right, everything else goes much smoother.
1. Power on the label maker
Start by connecting the power adapter or inserting fresh batteries. If your model has a battery compartment, make sure the batteries match the correct orientation.
Press the power button and wait for the screen or indicator light. If nothing happens, check the adapter, wall outlet, and battery contacts before moving on.
2. Load the label tape correctly
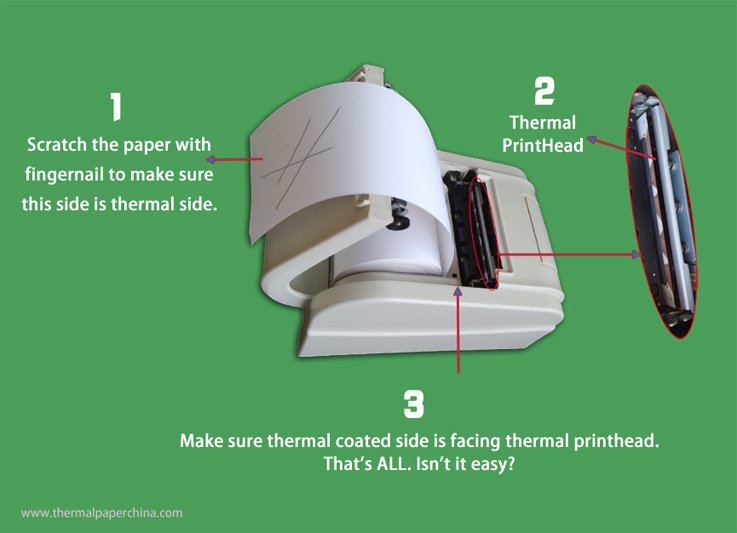
Open the cover and insert the label tape or cartridge according to the guide. Most label makers have a clear path for the tape, and it should sit flat without twisting.
This step matters more than people think. In my experience, a huge number of “my label maker isn’t working” problems are really just tape loaded backward or not seated fully.
3. Install the right app or software
If your label maker works with a phone, tablet, or computer, install the manufacturer’s app or desktop software. Use the exact app recommended for your model, since generic apps often miss features or fail to detect the printer.
For computer models, you may also need drivers. On Windows, the printer may show up automatically after installation. On Mac, some label makers work through Bluetooth or USB without extra steps, but others still need a driver or utility.
4. Connect through Bluetooth, USB, or Wi-Fi
Now connect the label maker to your device.
• Bluetooth: Turn on Bluetooth on both devices, then pair from the app or device settings
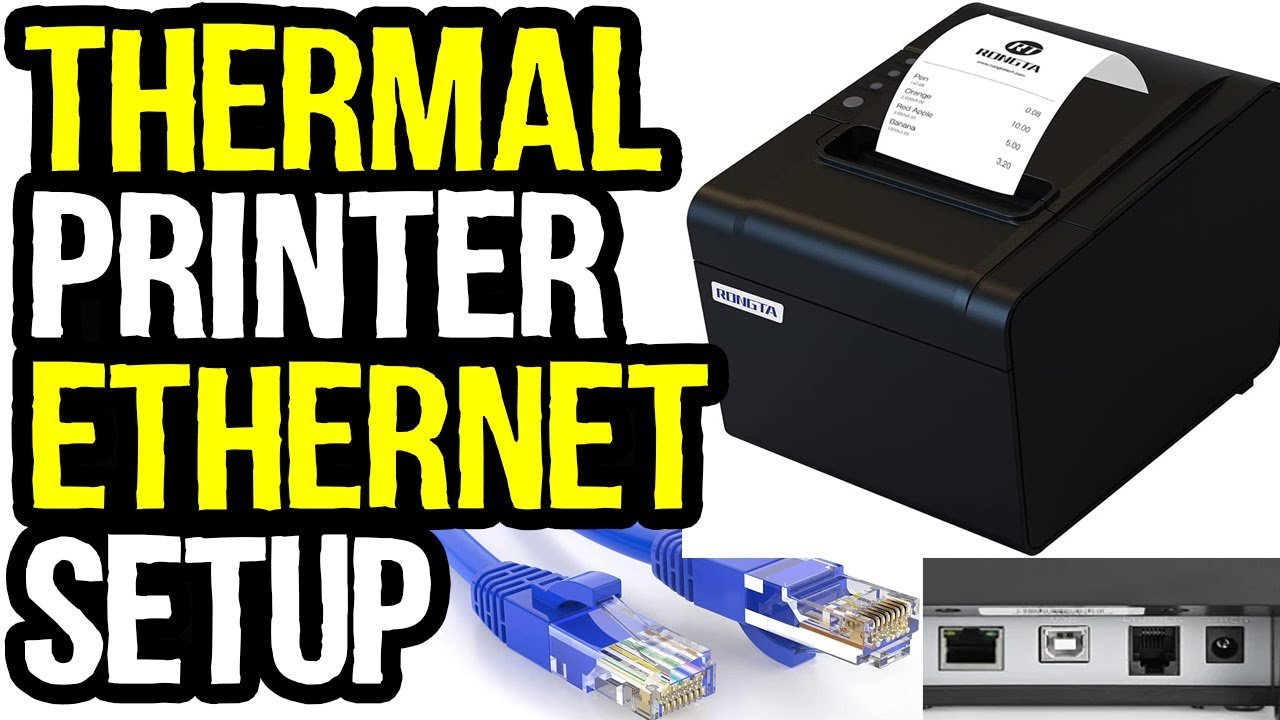
• USB: Plug the printer into your computer with the cable, then wait for detection or install the driver
• Wi-Fi: Join the same network on the label maker and your device, then follow the setup prompts
If pairing fails, turn both devices off and back on. That simple reset often clears temporary connection issues faster than anything else.
5. Choose the correct printer in the app
Once the device is connected, open the app or software and select your label maker from the printer list. If there are multiple devices nearby, make sure you choose the exact model.
I’ve seen people accidentally print to the wrong machine because another printer was still nearby. It’s a small mistake, but it can waste labels and create a lot of confusion.
6. Run a test print
Print a short test label before you do any real work. This checks alignment, tape feed, text size, and connection quality.
If the test label is crooked or blank, don’t keep printing more. Fix the issue first, because small setup problems usually become bigger ones when you repeat them.

How to Connect a Label Maker by Connection Type
Not every label maker connects the same way. The method depends on whether the model is basic, wireless, or designed for office use. Knowing the difference helps you skip a lot of guesswork.
USB connection
USB is common on desktop label makers and office printers. You simply connect the cable to your computer, install the software if needed, and wait for the system to recognize the printer.
This is often the most stable method. If the label maker is not detected, try another USB port, use a different cable, or restart your computer.
Bluetooth connection
Bluetooth is popular for portable label makers and mobile printing. You pair the device through the app or your phone’s Bluetooth settings, then send labels wirelessly.
Bluetooth is convenient, but it can be a little picky. Keep the device close during pairing, and make sure no other nearby printer is already paired to your phone.
Wi-Fi connection
Some label makers connect over Wi-Fi, especially in shared offices or retail spaces. You usually join the same network, enter the password, and confirm the printer in the software.
Wi-Fi is great for multiple users, but it depends on a stable network. If the connection drops, the printer may disappear from the app until it reconnects.
Mobile app connection
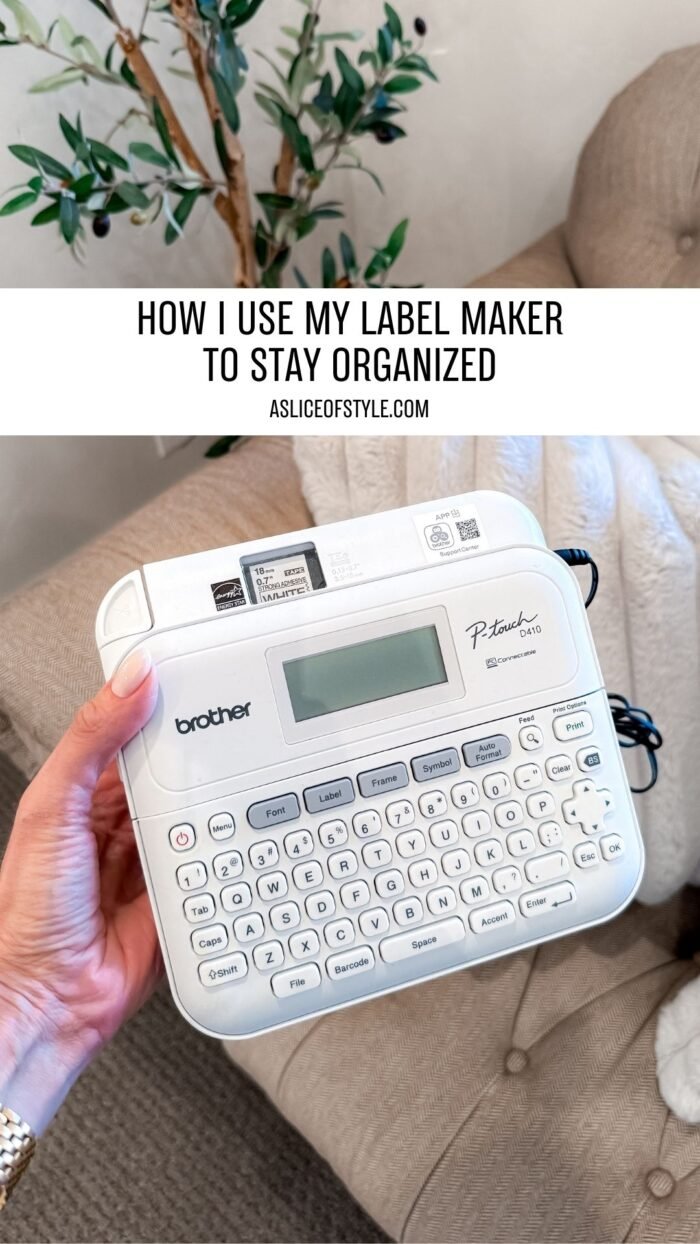
Many modern label makers are built around mobile apps. In that case, the app is not just a helper. It is the main control center for templates, fonts, symbols, and print settings.
This is one reason I always tell people to read the model instructions before buying. A label maker can look simple on the outside but still depend heavily on app support.
Common Problems When Connecting a Label Maker
Even a good label maker can act stubborn during setup. The good news is that most problems are easy to fix once you know what to look for.
• The printer will not power on: Check batteries, adapter, and outlet
• The device is not found: Restart both devices and move them closer together
• The app will not pair: Update the app and verify Bluetooth permissions
• Labels print blank: Reinstall the tape or check print settings
• Text prints off-center: Run calibration or reset the label alignment
• The computer does not recognize the printer: Install the correct driver or try another cable
One lesson I learned early: never assume the printer is broken too quickly. In many cases, the problem is a tiny setup issue, like a loose tape cassette or an old app version.
Best Practices for a Smooth Setup
A little preparation can save a lot of frustration later. If you want a clean, reliable connection, these habits make a real difference.
• Use fresh batteries or a stable power adapter
• Keep firmware and apps updated
• Store label rolls in a cool, dry place
• Use the correct label type for your model
• Calibrate the machine after changing tape
• Keep your phone or computer within range during pairing
I also recommend printing a sample label before any big labeling task. Whether you’re organizing pantry bins, shipping packages, or setting up office folders, a test print helps you catch issues early.
Why a Proper Connection Matters
A correct setup does more than help the label maker turn on. It improves print quality, saves materials, and reduces errors. That matters whether you label a home pantry or a warehouse shelf.
A stable connection also makes your work faster. When the device pairs easily, you spend less time troubleshooting and more time printing labels that actually stick and stay readable.
There is also a practical benefit to consistency. Once you connect a label maker the right way, your labels tend to look more uniform. That makes your storage, files, or products easier to read at a glance.

When to Reset or Reconnect the Label Maker
Sometimes the best fix is to start over. If you have tried the basics and the printer still misbehaves, a reset can clear hidden connection problems.
You may want to reconnect if:
• The app no longer sees the printer
• You changed phones or computers
• The printer keeps printing the wrong format
• Bluetooth drops frequently
• The label maker was used on another network
A reset is not always the first step, but it is often the right one after basic checks fail. Just be sure to save any custom settings you care about before resetting.
Frequently Asked Questions
How do I connect a label maker to my phone?
Install the correct app for your model, turn on Bluetooth, and follow the pairing prompt inside the app. Keep the label maker close to your phone during setup for the best results.
Why is my label maker not connecting?
The most common reasons are low power, the wrong app, Bluetooth permissions turned off, or a bad cable. Restarting both devices and checking the model compatibility usually fixes the issue.
Do all label makers need an app?
No, some handheld label makers work without an app and use built-in keys instead. Many newer models, though, rely on a companion app for fonts, templates, and wireless printing.
Can I connect a label maker to a computer?
Yes, many desktop label makers connect through USB, Bluetooth, or Wi-Fi. You may need to install the manufacturer’s software or driver first so the computer can recognize it.
Why does my label maker print blank labels?
Blank labels usually mean the tape is loaded incorrectly, the wrong cartridge is installed, or the print head needs a cleaning. Check the tape path first, since that is the most common cause.
How do I know if my label maker is paired?
The app, screen, or status light usually confirms the connection. If you can send a test label and the printer responds, the pairing is working.
Conclusion
Learning how to connect a label maker is mostly about following a simple order: power it on, load the tape, install the right software, and pair it correctly. Once those pieces are in place, the rest of the process becomes much easier, whether you are printing from a phone, computer, or the device itself.
The biggest takeaway is this: slow down at setup, and you will save time later. A careful first connection usually means fewer jams, cleaner labels, and less frustration every time you print.
If this guide helped, try the steps with your own label maker today and test a few labels before you start your next organizing project.

Similar Posts