How To Connect A Webcam: Easy Setup Guide

Connecting a webcam is usually as simple as plugging it in, installing drivers if needed, and checking your app settings.
If you have ever set up a new webcam and felt stuck halfway through, you are not alone. I have helped set up webcams for remote work, livestreams, online classes, and family video calls, and the same pattern comes up again and again: the hardware is easy, but the software settings often trip people up. In this guide, I’ll walk you through how to connect a webcam the right way, with clear steps, practical troubleshooting, and a few real-world tips so you can get a smooth picture fast.

What You Need Before You Connect a Webcam
Before you plug anything in, it helps to know what kind of webcam you have and what your device supports. Most modern webcams use USB, but some connect through USB-C or come built into a monitor or laptop.
Here’s a simple checklist:
- A webcam with its cable, stand, or mount
- A computer, laptop, or compatible device
- An open USB port or USB-C port
- Internet access if you need to download drivers or software
- The app you plan to use, such as Zoom, Microsoft Teams, Google Meet, or OBS
I always recommend checking the webcam box or product page first. Some models work instantly, while others need a driver or companion app to unlock features like autofocus, background blur, or 4K video. The more you know before setup, the less likely you are to waste time later.
How to Connect a Webcam to a Computer
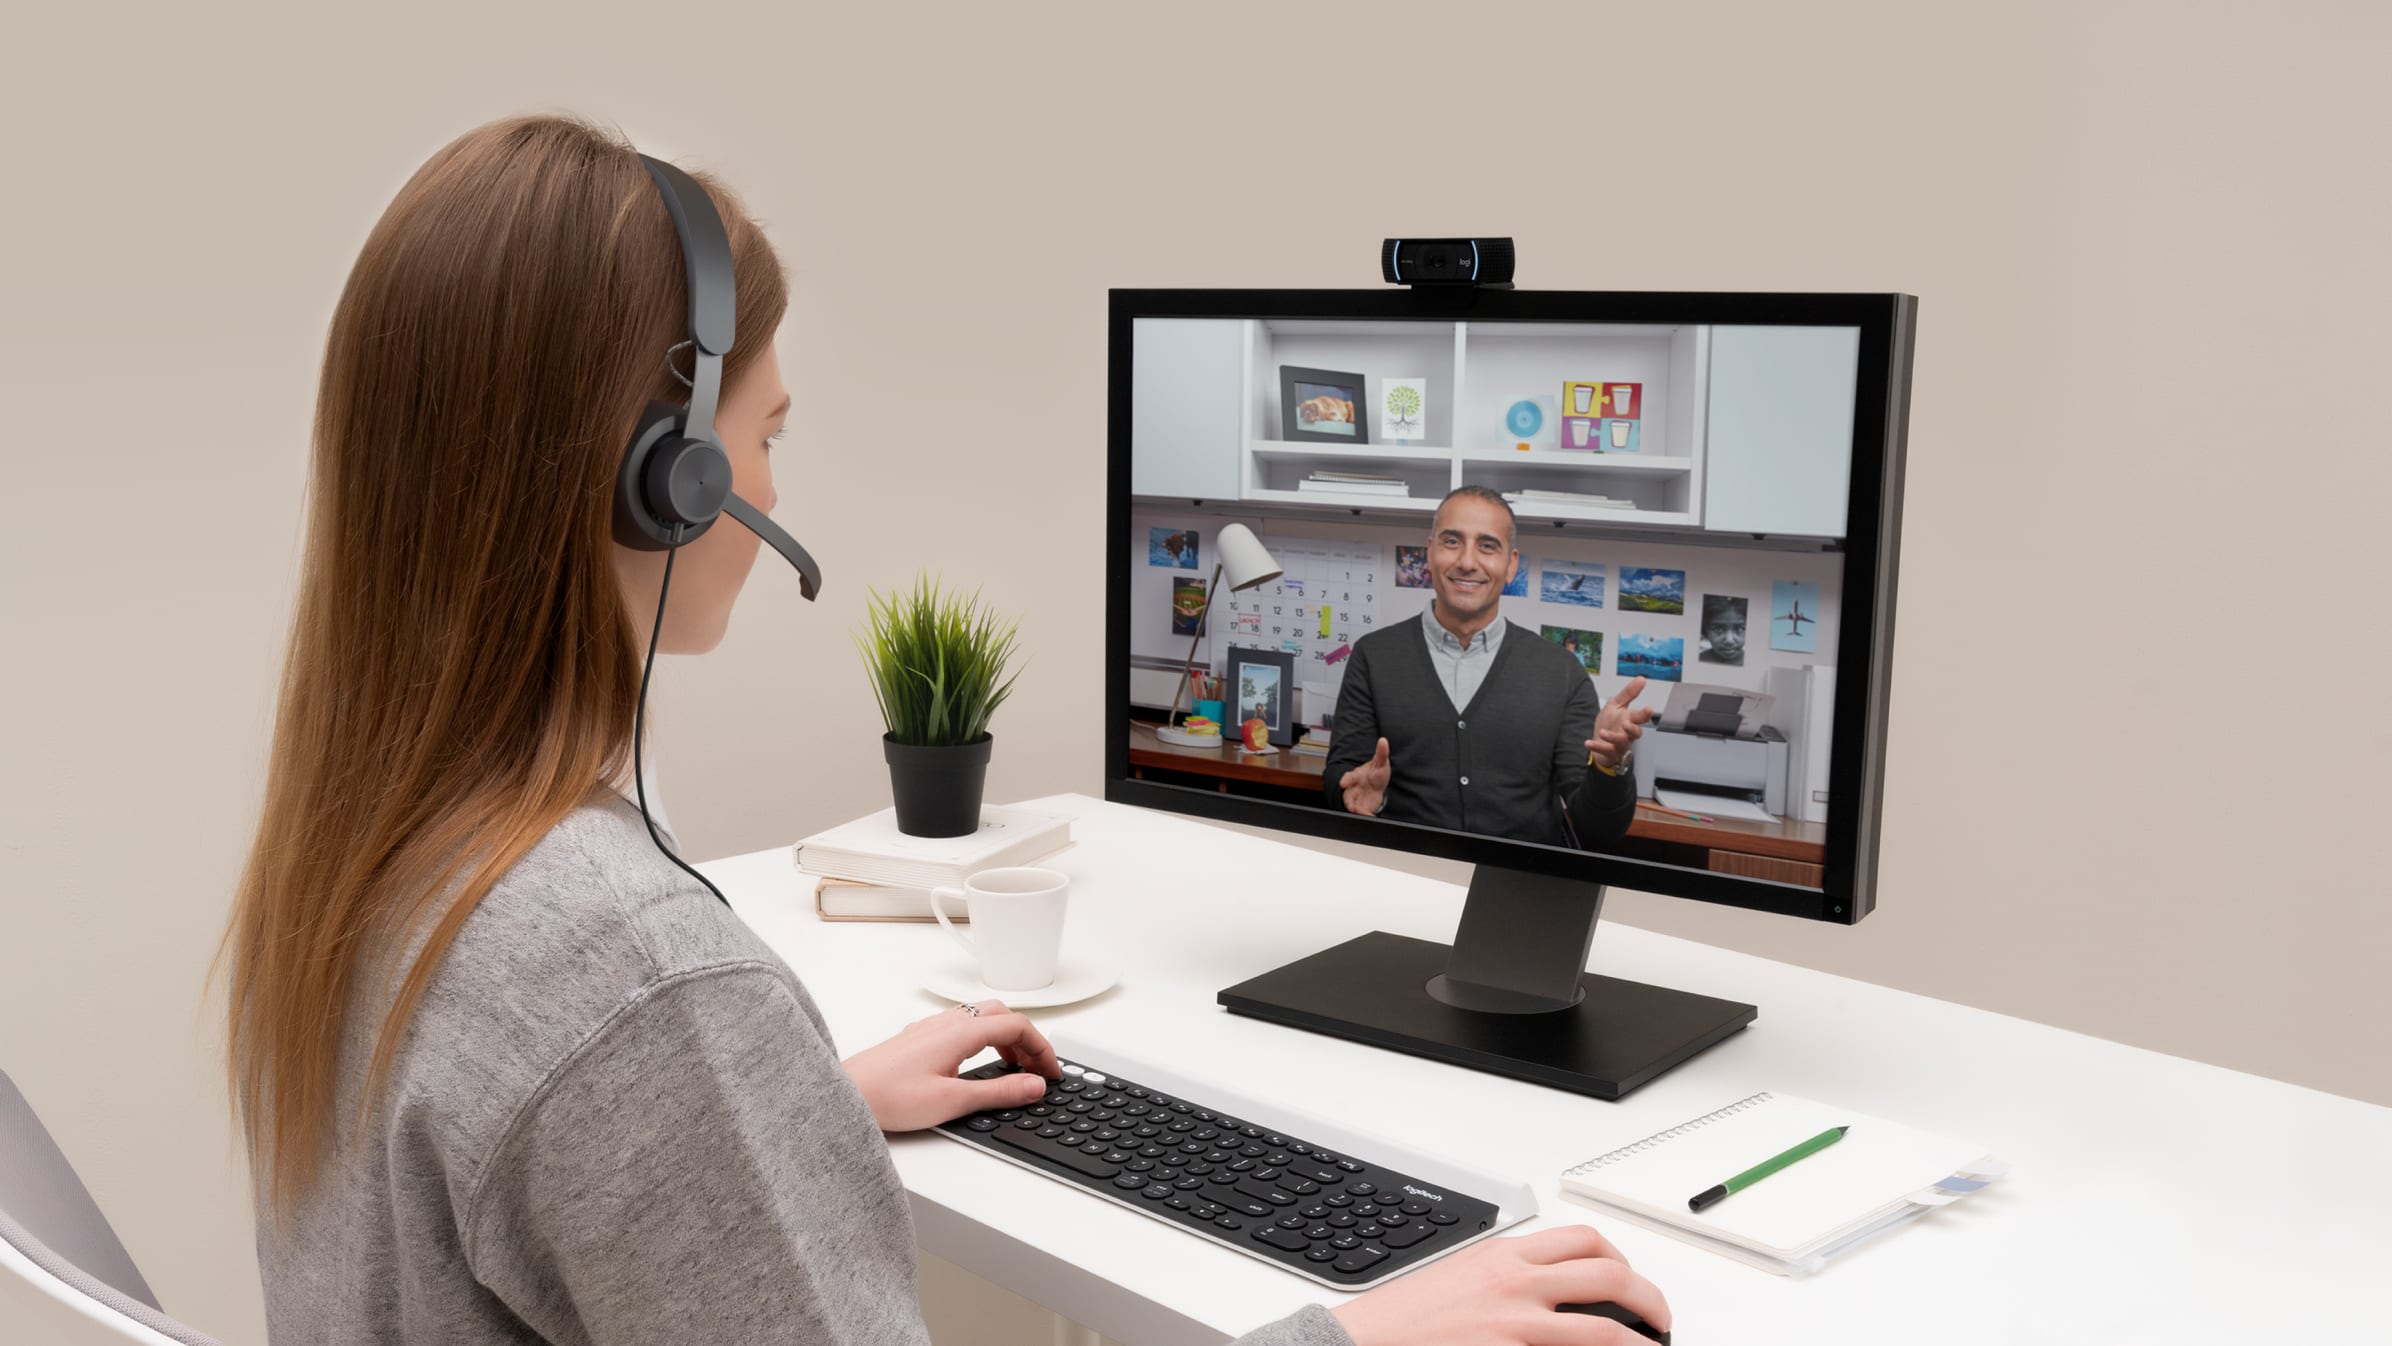
The basic process is straightforward, but doing it in the right order saves a lot of frustration. I’ve seen people spend 20 minutes troubleshooting a camera that was never fully plugged in or was assigned to the wrong app input.
Follow these steps:
Unbox the webcam and inspect the cable.
Make sure the lens cover is removed and the cable is not damaged.Place the webcam on your monitor, laptop, tripod, or desk.
Aim for eye level if possible. That gives the most natural angle.Plug the webcam into a USB port.
If the cable is USB-A, use a regular USB port. If it is USB-C, use a USB-C port or an adapter that supports data, not just charging.Wait for your computer to recognize it.
Many webcams are plug and play, which means the operating system detects them automatically.Open your video app or camera software.
Go into settings and select the webcam as your video input device.Test the image and audio.
Some webcams have a built-in microphone, so check both picture and sound before a meeting or recording.
On Windows, the camera often appears in the Camera app or under device settings. On Mac, you can test it in Photo Booth, FaceTime, or your meeting app. If the webcam does not appear right away, do not panic. Sometimes a simple reconnect is all it takes.

How to Connect a Webcam on Windows
Windows usually handles webcam setup well, especially with newer models. Still, drivers and privacy settings can get in the way.
Here is the cleanest way to set it up:
- Plug the webcam into a USB port on the computer, not a weak USB hub if you can avoid it
- Wait for Windows to install the device automatically
- Open the Camera app to confirm the webcam works
- Go to Settings > Privacy > Camera and make sure camera access is allowed
- Open your app, such as Zoom or Teams, and choose the webcam in video settings
If the camera is not working, check Device Manager. A yellow warning icon usually means a driver problem. In that case, visit the webcam maker’s support page and download the correct driver or software. I have fixed more than one “broken” webcam this way in under five minutes.

How to Connect a Webcam on Mac
Mac setup is often easier because many webcams work right away with no extra steps. But the app permissions on macOS can confuse people.
Try this:
- Connect the webcam to your Mac through USB or USB-C
- Open Photo Booth, FaceTime, or QuickTime to test it
- If prompted, allow camera access for the app
- Go to System Settings > Privacy & Security > Camera and confirm the app has permission
- Select the webcam inside Zoom, Google Meet, or other meeting software
If the camera still does not show up, disconnect it and restart your Mac. That simple move fixes a surprising number of issues. I have also found that some USB-C docks do not pass video data properly, so plugging the webcam directly into the Mac is often the best first test.

How to Connect a Webcam to Zoom, Teams, or Google Meet
A webcam can be connected correctly at the computer level and still not work in your meeting app. That is because each app has its own camera setting.
Do this in most video apps:
- Open the app’s settings menu
- Find the video or camera section
- Choose your webcam from the camera drop-down list
- Look at the preview window
- Adjust lighting, framing, and resolution if the app allows it
In Zoom, this is usually under Settings > Video. In Microsoft Teams, it is under Devices. In Google Meet, open the video settings before joining or during the call. This matters because laptops often default to the built-in camera, even when a better external webcam is connected.

How to Connect a Webcam Without Drivers
Many newer webcams are plug and play, which means they do not need separate driver downloads. That is great for everyday users who want a fast setup.
If your webcam is driverless:
- Plug it in
- Wait for the operating system to recognize it
- Open a camera app to confirm it works
- Select it in your meeting or recording software
Still, plug and play does not mean “no setup at all.” You may still need to update your operating system, allow camera permissions, or pick the correct device inside the app. In my experience, “driverless” webcams are the easiest to install, but they still need the right software path to work fully.

Common Problems When Connecting a Webcam
Even a good webcam can act up for small reasons. The issue is usually not the camera itself, but the port, cable, app setting, or permissions.
Common problems include:
- The webcam is not detected
- The image is black or frozen
- The wrong camera is selected
- The microphone is not working
- The image looks blurry or too dark
- The webcam works in one app but not another
Here are a few fixes that often work:
- Try a different USB port
- Disconnect other USB devices that may be drawing power
- Restart the computer
- Check camera permissions
- Update the webcam driver
- Close apps that may already be using the camera
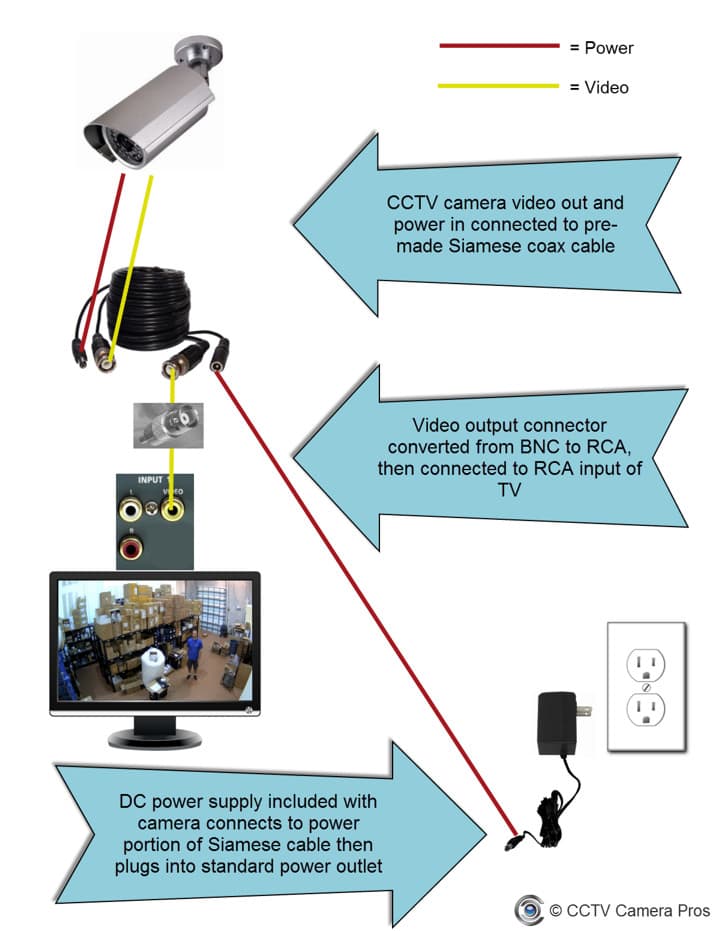
One mistake I see often is people plugging the webcam into a monitor USB port and assuming it will work the same as a direct computer connection. Sometimes it does, but not always. If you want a clean test, connect it directly to the computer first.
How to Improve Webcam Quality After Connecting It
Once the webcam is connected, the next goal is making it look good. A webcam can be technically connected and still look poor if the lighting or position is off.
Try these simple upgrades:
- Place the webcam at eye level
- Face a window or use soft front lighting
- Avoid bright lights behind you
- Clean the lens with a microfiber cloth
- Use the highest resolution your app and webcam support
- Keep the background simple
If the image still looks grainy, the room may be too dark. Many webcams struggle in low light, and that is a hardware limit, not a setup problem. I often tell people that lighting is the “invisible upgrade” for webcams. It improves the image more than people expect.
Best Practices for a Reliable Webcam Setup
A good webcam setup should be stable, easy to use, and ready when you need it. Small habits make a big difference.
Keep these best practices in mind:
- Use a stable USB port instead of a loose hub
- Keep drivers and video apps updated
- Test the webcam before important calls
- Save your preferred camera and microphone settings
- Avoid sharing the same camera with multiple apps at once
- Store the webcam safely when not in use
If you use a webcam for work or content creation, do a quick test the day before a meeting or recording session. That one-minute habit can save you from the classic panic of “Why is my camera not showing up right now?”
Frequently Asked Questions of How to Connect a Webcam
How do I know if my webcam is connected properly?
Open a camera app like Camera, Photo Booth, or FaceTime and check for a live image. If you see your video feed, the webcam is connected and working correctly.
Why is my webcam not showing up on my computer?
The most common reasons are a loose USB connection, missing permissions, or the wrong camera selected in the app. Try another USB port, restart the computer, and check your camera settings.
Do webcams need software to work?
Many webcams are plug and play and do not need extra software. Some brands offer optional software for settings like autofocus, zoom, or resolution control.
Can I use a webcam with a monitor?
Yes, but it usually connects to the computer, not directly to the monitor, unless the monitor has a special USB pass-through setup. The webcam still needs a data connection that the computer can read.
Why does my webcam work in one app but not another?
Each app has its own camera permissions and device selection settings. Open the app’s video settings and choose the correct webcam as the input device.
Conclusion
Connecting a webcam is usually simple once you know the right order: plug it in, allow permissions, choose the correct device, and test it in your app. Most problems come from small setup details, not broken hardware, so a calm step-by-step approach usually solves the issue fast.
If you are setting up a webcam for work, school, streaming, or family calls, take a few minutes to test the camera, improve the lighting, and save your settings. That small effort pays off every time you open a video app. If this guide helped, explore more setup tips or leave a comment with the webcam issue you are trying to solve.

Similar Posts