How To Set Up A Robot Vacuum: Easy Step-By-Step Guide
Most robot vacuums need a charged dock, a clear floor, a mobile app, and one mapping run.
Learning how to set up a robot vacuum is easier than it may seem, but the first setup affects cleaning quality, maps, battery life, and daily use. This guide explains each step in plain English, including where to place the dock, how to connect Wi-Fi, how to prepare your rooms, and how to avoid common setup mistakes.
What to Do Before Setting Up a Robot Vacuum
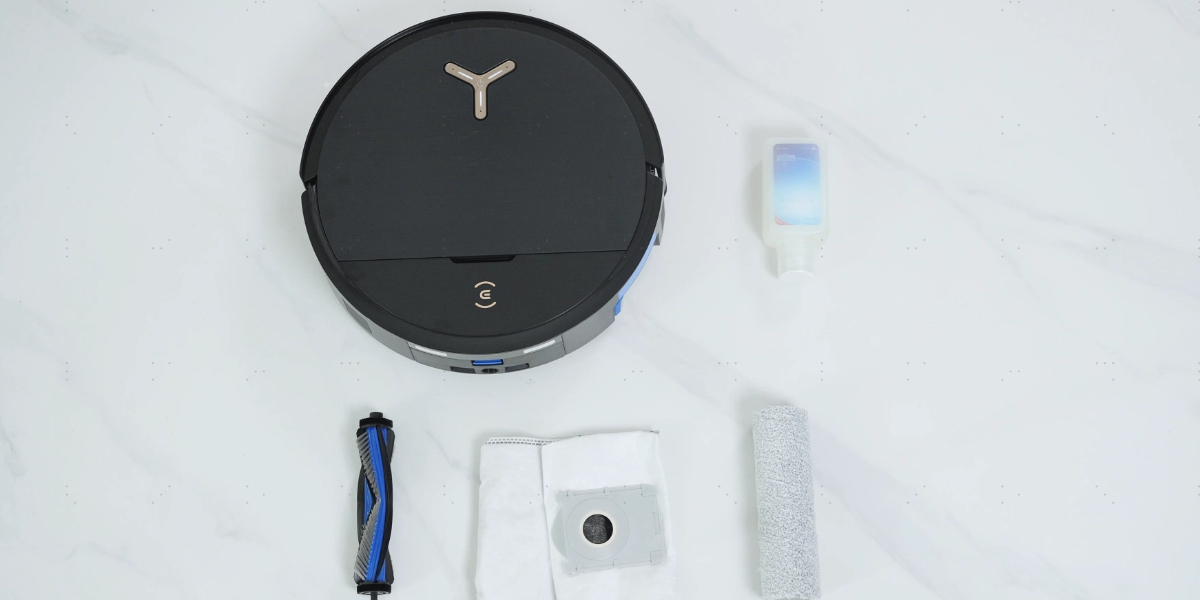
Before you begin, open the box and check every part. Most robot vacuum packages include the vacuum, charging dock, power adapter, side brushes, filter, dustbin, and a cleaning tool. Some models also include a mopping pad, water tank, extra bags, or replacement parts.
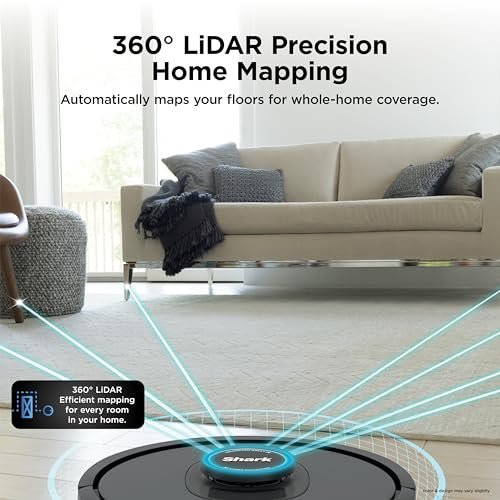
Keep the user manual nearby. Robot vacuums can look similar, but features differ by brand and model. A vacuum with LiDAR navigation may map your home in a different way than one with a camera or basic sensors.
For a smooth setup, prepare:
• A smartphone or tablet
• Your home Wi-Fi password
• A stable 2.4 GHz Wi-Fi network, if required
• A clear space near a wall for the charging dock
• A few minutes to remove clutter from the floor
• The correct mobile app for your vacuum
Many robot vacuums do not support 5 GHz Wi-Fi during setup. Some newer models support both 2.4 GHz and 5 GHz networks, but the manual or app will confirm this.
I have seen many setup problems caused by one simple issue: the owner starts with a cluttered room and assumes the robot will learn everything at once. It is better to treat the first run like a short home tour. Give the robot a clear path, and it will build a much more useful map.

Step 1: Unpack and Inspect the Robot Vacuum
Remove all plastic film, foam, cardboard, and shipping locks. Check beneath the robot and around the brush roll. Packaging material left near a sensor can cause navigation or charging problems.
Look for small protective strips on:
• The front bumper
• The cliff sensors underneath
• The charging contacts
• The camera or navigation sensor
• The dustbin or water tank
Do not remove labels that explain safety or maintenance unless the manual says they are temporary. Also, do not place the robot on the dock until you confirm which side faces forward.
Inspect the wheels and main brush. Turn the robot over carefully and make sure the side brush is attached. Some side brushes press into place, while others use a small screw.
If your robot includes a mop, check whether the water tank needs to be rinsed first. Do not add cleaning chemicals unless the manufacturer specifically approves them. Detergent can damage seals, clog the water system, or leave residue on the floor.
Step 2: Choose the Best Location for the Charging Dock
Dock placement is one of the most important parts of how to set up a robot vacuum. The robot must be able to leave the dock, clean, and return without hitting furniture or getting trapped.
Place the dock:
- Against a flat wall.
- On a hard, level floor.
- Near a power outlet.
- In an open area with a clear path.
- Away from stairs and wet areas.
Many brands suggest leaving open space on both sides of the dock and several feet in front of it. The exact distance varies, so follow the manual when possible.
Avoid placing the dock:
• Under a table with low clearance
• Behind a sofa or chair
• Beside a narrow doorway
• On thick carpet, unless the model supports it
• Near a heating vent or direct sunlight
• In a place where people often kick or move it
Keep the dock in one place after mapping. Moving it may confuse the saved map, especially on models that use camera-based navigation.
A useful real-life tip is to place the dock where you would place a small appliance. It should be easy to reach for maintenance but not sit in the middle of a busy walkway. A robot can clean well, but it cannot understand that a dock has suddenly moved across the room.

Step 3: Charge the Robot Vacuum Fully
Plug the charging dock into the wall. Place the robot on the dock and check that the charging contacts touch correctly. A light, sound, or message in the app usually confirms that charging has started.
Charge the robot before its first full cleaning run. Some models arrive with a partial charge, but a full charge gives the vacuum enough power to complete mapping and return to the dock.
If the robot does not charge:
• Check that the power adapter is firmly connected.
• Make sure the dock is receiving power.
• Wipe the metal charging contacts with a dry cloth.
• Confirm that the robot is facing the correct direction.
• Remove any plastic covering from the contacts.
• Try a different wall outlet.
Do not use a wet cloth on the dock or electrical contacts. If the robot still will not charge, stop using it and check the manufacturer’s support instructions.
Most robot vacuum batteries are lithium-ion batteries. They work best when the robot remains on its dock between cleaning sessions, unless the manufacturer gives different advice. Modern charging systems are designed for this type of regular use.
Step 4: Download the Correct Robot Vacuum App
Search for the brand’s official app in the Apple App Store or Google Play Store. Check the developer name before downloading. Several unofficial apps may use similar names.
Open the app and create an account if needed. The app may ask for:
• Your email address
• Your home region
• Bluetooth permission
• Local network permission
• Location permission
• Wi-Fi access
These permissions can help the app find and connect to the robot. Read the permission requests carefully. You can change many of them later in your phone settings, but refusing a required permission may stop the setup process.
Tap an option such as Add Device, Add Robot, or Set Up New Product. Select your exact model. If the app shows several similar names, check the label on the robot or box.
The app may ask you to press and hold a button on the robot. This puts the vacuum into pairing mode. A voice prompt or flashing Wi-Fi icon usually confirms that it is ready.
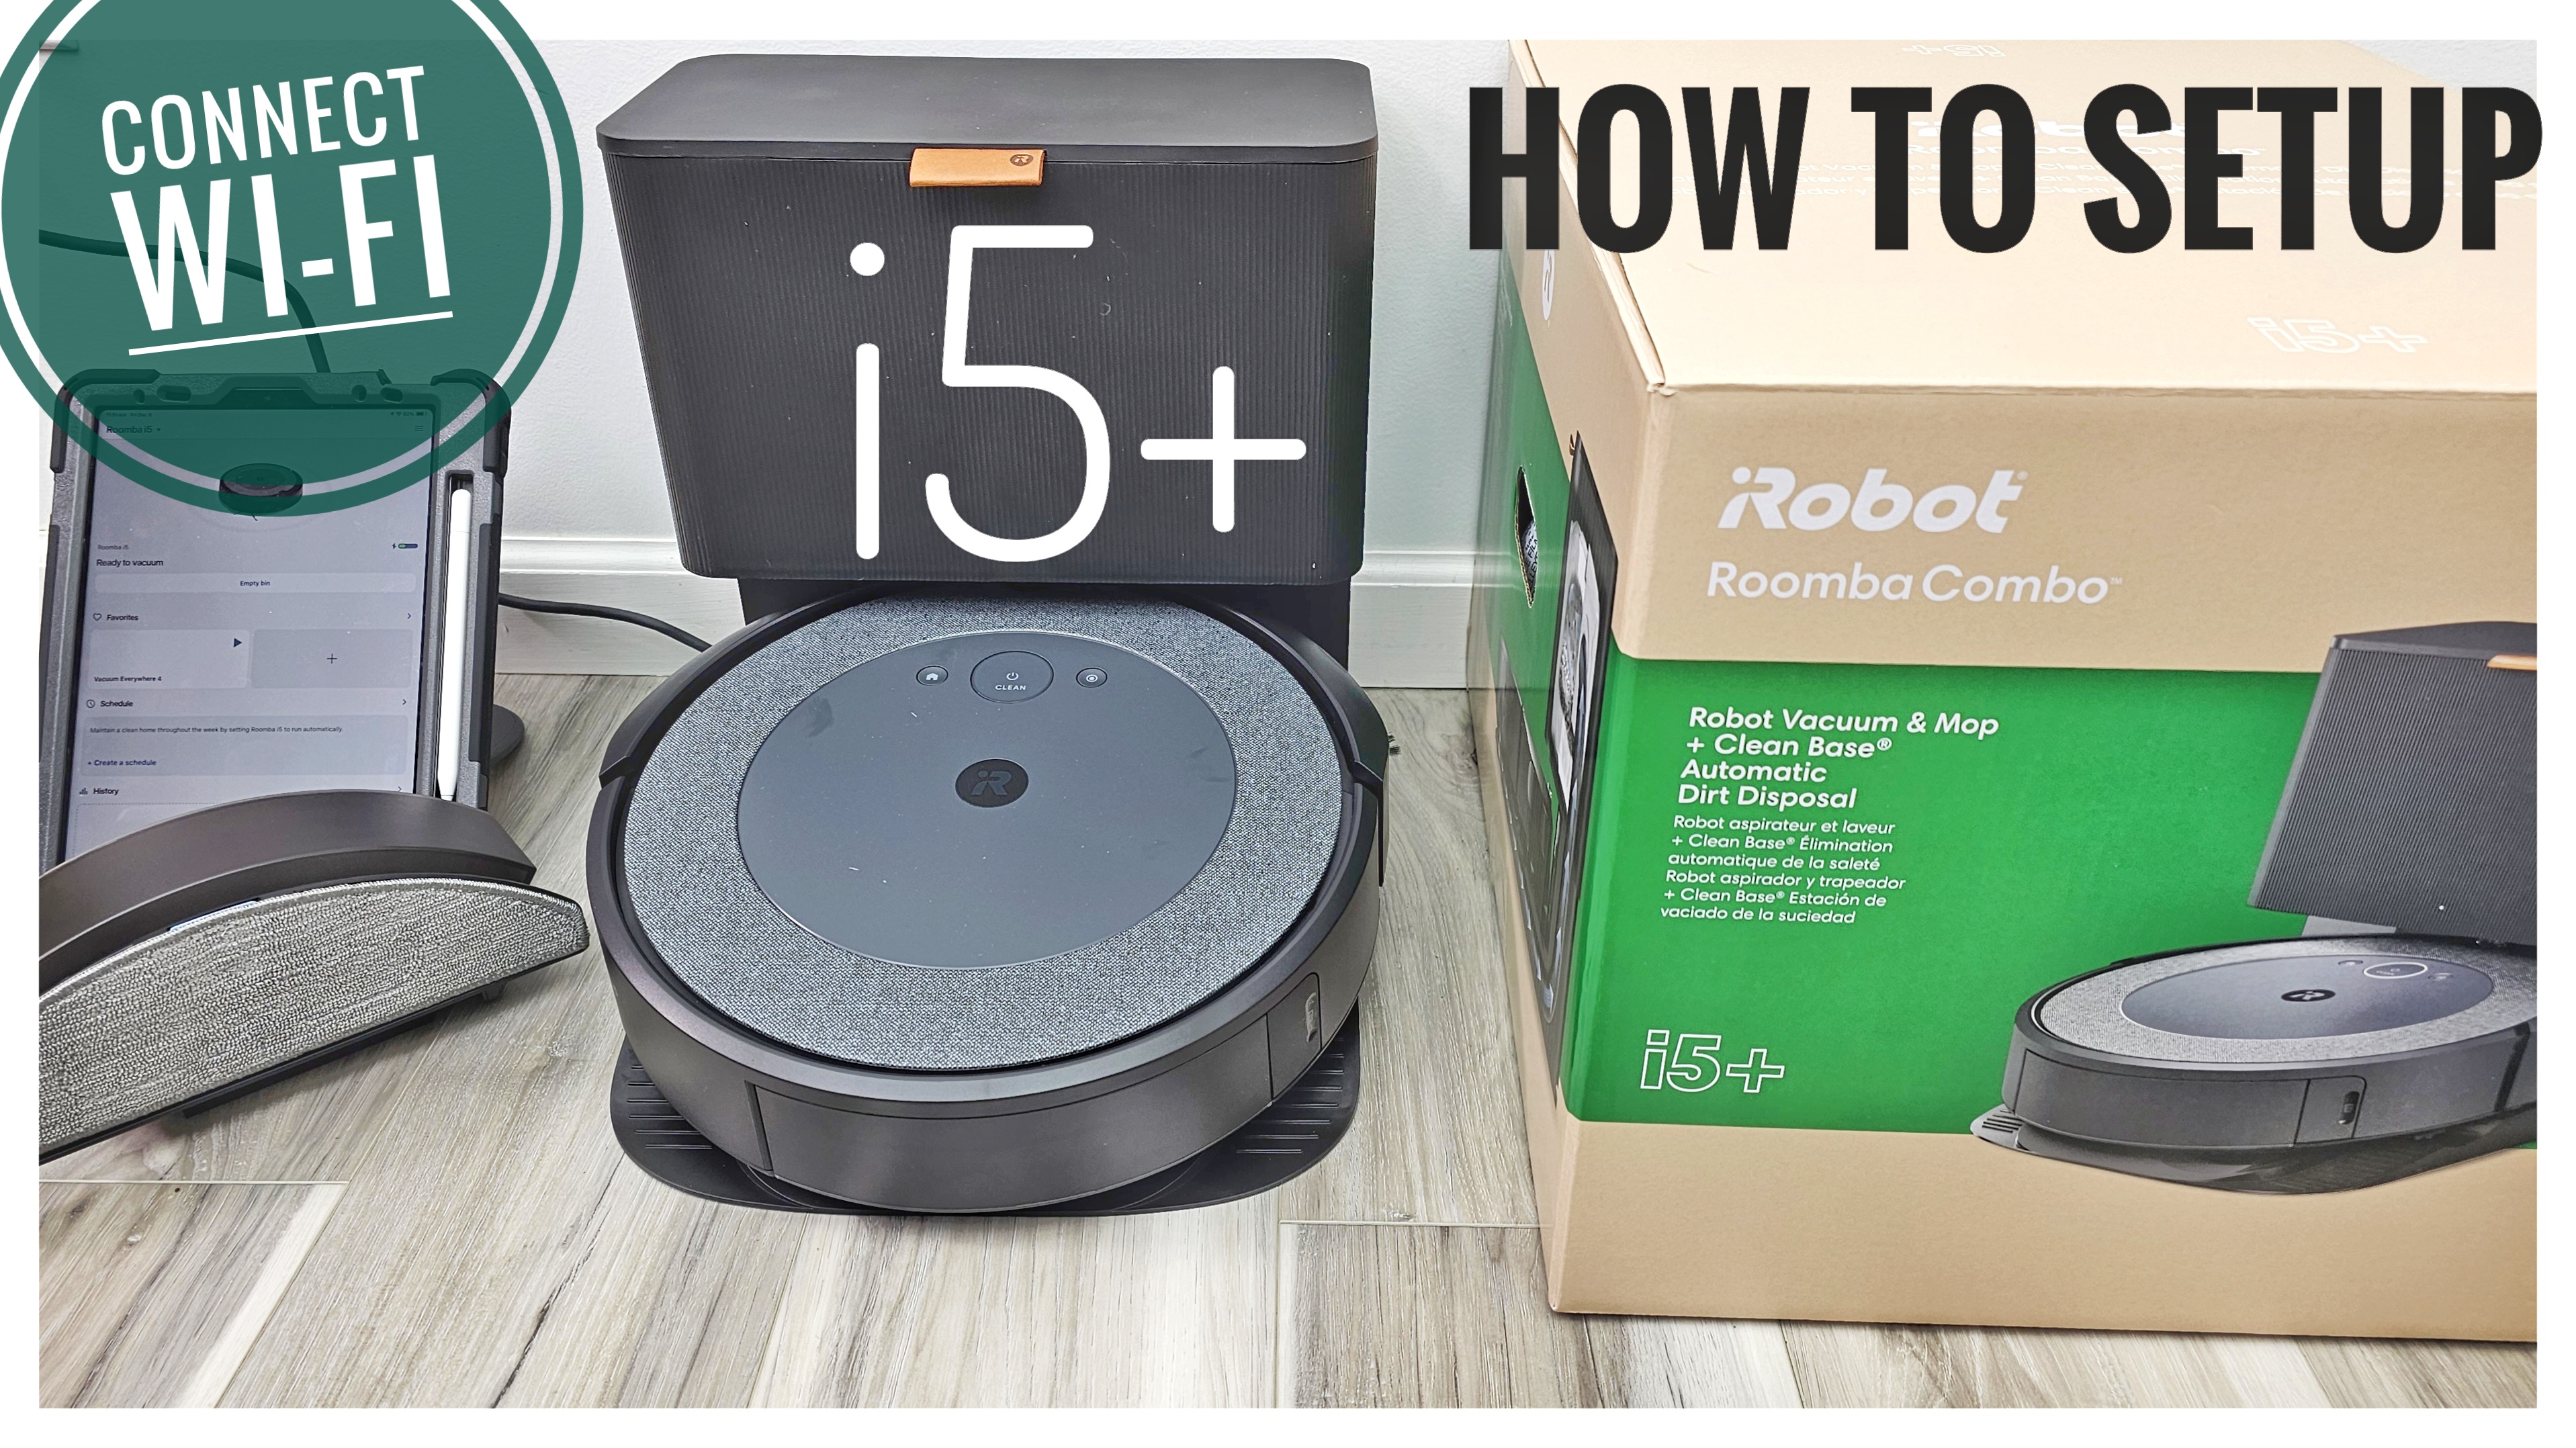
Step 5: Connect the Robot Vacuum to Wi-Fi
Enter your Wi-Fi password carefully. Passwords are case-sensitive, so check every letter, number, and symbol.
During this part of how to set up a robot vacuum, keep your phone close to the vacuum and dock. Do not switch to another network while the app is pairing. The robot may restart or leave pairing mode if the process takes too long.
If the connection fails, try these steps:
- Confirm that your phone is connected to the same home network you want the robot to use.
- Move the robot and phone closer to the router.
- Turn off cellular data for a moment.
- Use the 2.4 GHz network if the vacuum does not support 5 GHz.
- Restart the app and the robot.
- Reset the robot’s Wi-Fi settings according to the manual.
Public, hotel, and guest networks often block smart home devices. A home network with a simple, stable connection usually works best.
Once connected, update the robot’s firmware if the app recommends it. Firmware updates can improve navigation, security, cleaning controls, and map functions. Keep the robot on the dock during the update and do not unplug it.
Step 6: Prepare Your Home for the First Cleaning Run
A robot vacuum is not a tiny person. It cannot always tell the difference between a phone charger, a shoelace, and a piece of trash. Remove objects that could block the brush or wheels.
Before the first run:
• Pick up cords, strings, socks, and small toys.
• Move lightweight rugs that fold or slide.
• Open doors to rooms you want mapped.
• Raise curtains that touch the floor.
• Move pet bowls if the robot may bump them.
• Remove small objects from under furniture.
• Secure loose carpet tassels.
• Block stairs if the sensors do not detect them well.
Close doors to rooms you do not want included. You can also use physical barriers, magnetic strips, no-go zones, or app-based virtual walls, depending on the model.
Check the height of furniture. A robot may drive under a bed and become stuck if there is only a small gap. If the robot repeatedly enters a tight space, create a no-go zone instead of pulling it out each time.
Pet owners should be extra careful during the first few runs. A calm dog or cat may ignore the robot, while another pet may chase it or knock it off course. Watch the robot until you understand how your pets react.
Step 7: Start the First Mapping or Cleaning Run
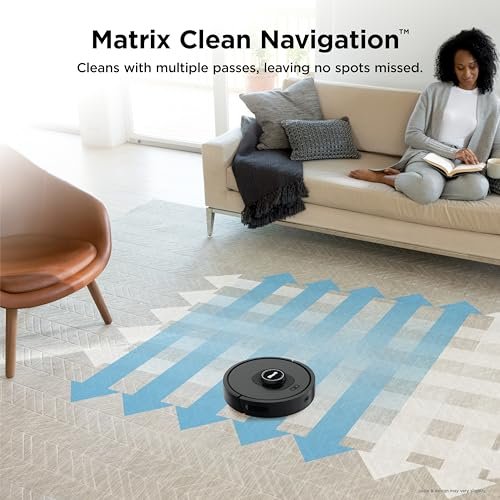
Many smart robot vacuums offer a mapping-only run. This lets the robot explore without using full cleaning power. If your model has this option, use it first.
For models without mapping-only mode, start a full clean from the dock. Keep the floor as clear as possible. Watch the first 10 to 15 minutes, especially near stairs, cables, rugs, and narrow spaces.
During the first run, the robot may:
• Travel along walls
• Stop and rotate near objects
• Return to the dock to recharge
• Divide rooms into sections
• Create a basic floor map
• Take longer than later cleaning runs
Do not carry the robot to another room unless the app or manual tells you to. Moving it can interrupt navigation and create an incomplete map.
When the map is complete, name each room. Room names make daily cleaning much easier. Instead of starting the entire house, you can ask the app to clean the kitchen, hallway, or bedroom.
Map accuracy may improve after several runs. Some robots learn furniture and obstacles over time, while others need a fresh mapping run if the first map is poor.

Step 8: Set No-Go Zones and Cleaning Preferences
After mapping, inspect the map in the app. Check whether walls, rooms, and doorways appear correctly. Some apps let you divide or combine rooms.
Create no-go zones around areas such as:
• Pet water bowls
• Fragile floor decorations
• Dense cable areas
• Baby play spaces
• Fireplace hearths
• Floor vents
• Thick rugs that trap the robot
• Rooms with delicate objects
Set cleaning preferences based on your floor type. Hard floors may need standard suction, while carpets often benefit from stronger suction. Higher power usually means more noise and shorter battery life.
If the vacuum has a mop, use separate settings for vacuuming and mopping. Keep the water tank away from wood floors unless the floor maker allows damp cleaning. A robot mop should leave a lightly damp path, not a wet puddle.
Do not assume that an app’s carpet or room detection is perfect. Test it in your home. Lighting, dark rugs, reflective surfaces, and furniture can affect sensors. This is one limitation that applies even to expensive robot vacuums.
Step 9: Connect Voice Control and Smart Home Features
Many robot vacuums work with voice assistants such as Amazon Alexa, Google Assistant, or Apple Siri Shortcuts. You usually connect the vacuum’s account to the assistant through the brand app or smart home app.
Useful commands include:
• Start cleaning
• Stop cleaning
• Return to the dock
• Clean the kitchen
• Clean the living room
• Ask for the robot’s status
Use a clear device name. “Downstairs Robot” is easier for a voice assistant to understand than a long model number.
Smart home control is helpful, but it is optional. The robot can still clean through its own app or physical buttons. If privacy is a concern, review account settings, camera controls, microphone options, and cloud features before enabling them.
Robot vacuums with cameras may collect images or sensor data to improve navigation. Read the manufacturer’s privacy policy and disable features you do not need. Privacy controls vary widely between brands.
Step 10: Create a Practical Cleaning Schedule
Once the robot has a reliable map, create a schedule that matches your home. A small apartment with no pets may need cleaning a few times per week. A busy home with pets may need daily cleaning in high-traffic areas.
Start with a simple schedule:
- Clean kitchens and entryways daily or every other day.
- Clean bedrooms and low-traffic rooms two or three times each week.
- Use stronger suction for carpet when needed.
- Schedule cleaning when people and pets are away.
- Set the robot to return to the dock before the battery gets too low.
Frequent light cleaning often works better than rare, long cleaning sessions. The robot removes dust and hair before they build up. It does not replace deep cleaning, hand vacuuming, or mopping.
Avoid scheduling the robot when:
• Floor surfaces are wet
• Pets are likely to interfere
• Children are playing on the floor
• People are sleeping nearby
• The dustbin may overflow
• The home has loose items on the floor
A schedule should reduce work, not create new work. If you must rescue the robot every day, change the map, remove an obstacle, or reduce the cleaning area.
Common Robot Vacuum Setup Mistakes to Avoid
The most common mistake in how to set up a robot vacuum is rushing the first run. A few extra minutes of preparation can prevent poor maps, trapped wheels, and repeated errors.
Avoid these problems:
• Placing the dock in a narrow corner
• Starting with cables and clothes on the floor
• Moving the dock after mapping
• Using the wrong Wi-Fi band
• Ignoring firmware updates
• Adding unapproved cleaning fluid
• Letting the robot mop over wet spills
• Skipping regular brush and filter care
• Assuming cliff sensors work on every stair design
• Relying on the robot around pet waste
The last issue deserves special attention. A robot can spread pet waste across a floor and into its brush system. Use pet-aware features if available, but still remove waste before cleaning.
Dark rugs and black furniture can also cause trouble for some infrared sensors. The robot may treat a dark edge as a drop or avoid the rug. This is a model-specific limitation, not always a defect.

How to Maintain a Robot Vacuum After Setup
Good maintenance keeps a robot vacuum running well. Empty the dustbin when it is full or after heavy cleaning. A full bin can reduce airflow and cleaning performance.
Check these parts often:
• Main brush for hair and thread
• Side brush for wrapped fibers
• Filter for dust buildup
• Wheels for trapped debris
• Sensors for fingerprints and dust
• Charging contacts for residue
• Mop pad for dirt and odor
Use the supplied cleaning tool or a soft, dry cloth. Wash only parts that the manual says are washable. Let washable filters dry fully before reinstalling them.
Replace filters, brushes, bags, and mop pads at the intervals listed by the manufacturer. Homes with pets, long hair, or heavy dust may need more frequent replacement.
If the robot becomes noisy, stops early, misses areas, or cannot find the dock, inspect it before resetting the map. Hair around a wheel or dirty sensors can cause behavior that looks like a software problem.
Keep the robot and dock away from standing water. A robot vacuum may handle small dust particles, but most models are not designed to collect large amounts of liquid unless they are specifically built for wet and dry cleaning.
What to Do When Setup Does Not Work
If you followed how to set up a robot vacuum and the device still fails, check the problem in a logical order. Start with power, then Wi-Fi, then navigation.
For a robot that will not turn on:
- Place it on the dock.
- Confirm the dock has power.
- Charge it for the time listed in the manual.
- Press the power button for the required number of seconds.
- Check for shipping film or a battery switch.
For a robot that will not connect:
• Confirm the correct app and model.
• Use a supported Wi-Fi band.
• Recheck the password.
• Move closer to the router.
• Restart the app and robot.
• Reset only the Wi-Fi settings first.
For a robot that gets lost:
• Clean the navigation sensors.
• Keep the dock in its original location.
• Remove clutter from narrow paths.
• Check that the map is not duplicated.
• Delete and rebuild the map only as a last step.
For serious faults, use the manufacturer’s support team. Avoid opening the battery compartment or electrical parts unless you are trained and the manual allows it.
Frequently Asked Questions About How to Set Up a Robot Vacuum
How long does it take to set up a robot vacuum?
Basic setup often takes 15 to 30 minutes. Mapping a full home can take longer, especially if the robot must recharge or explore several rooms.
Does a robot vacuum need Wi-Fi to work?
Many robot vacuums can start and stop with physical buttons without Wi-Fi. However, Wi-Fi is usually needed for app control, scheduling, maps, firmware updates, and voice commands.
Where should I place the robot vacuum dock?
Place the dock against a wall on a level floor with open space around it. Keep the path in front of the dock clear so the robot can leave and return without obstruction.
Should I run the robot vacuum before mapping the house?
If your model offers a mapping-only mode, use it first. Otherwise, run a normal cleaning cycle with the floors cleared and the doors open to the rooms you want mapped.
Why will my robot vacuum not connect to Wi-Fi?
The vacuum may require a 2.4 GHz network, a specific app, or a closer connection to the router. Check the password, disable cellular data during setup, and reset the robot’s Wi-Fi mode if needed.
Can I use floor cleaner in a robot vacuum mop?
Use only the cleaning solution approved by the manufacturer. Unapproved products can cause foam, clogs, residue, leaks, or damage to the water system.
How often should I empty a robot vacuum?
Empty the dustbin after each cleaning session if it fills quickly, or whenever the app shows a full-bin warning. Homes with pets and long hair usually need more frequent emptying.
Conclusion
Setting up a robot vacuum starts with a good dock location, a full charge, a clear floor, and the correct app. Take time to connect Wi-Fi, complete the first map, create no-go zones, and watch the first few cleaning runs. These small steps help the robot move with confidence and reduce daily problems.
The best approach to how to set up a robot vacuum is to start slowly and adjust the settings to your home. Keep the brushes, filter, sensors, and dock clean, then build a schedule that fits your floors, pets, and routine. Try these steps today, and explore your vacuum’s app for room cleaning, smart schedules, and other features that can make home care easier.