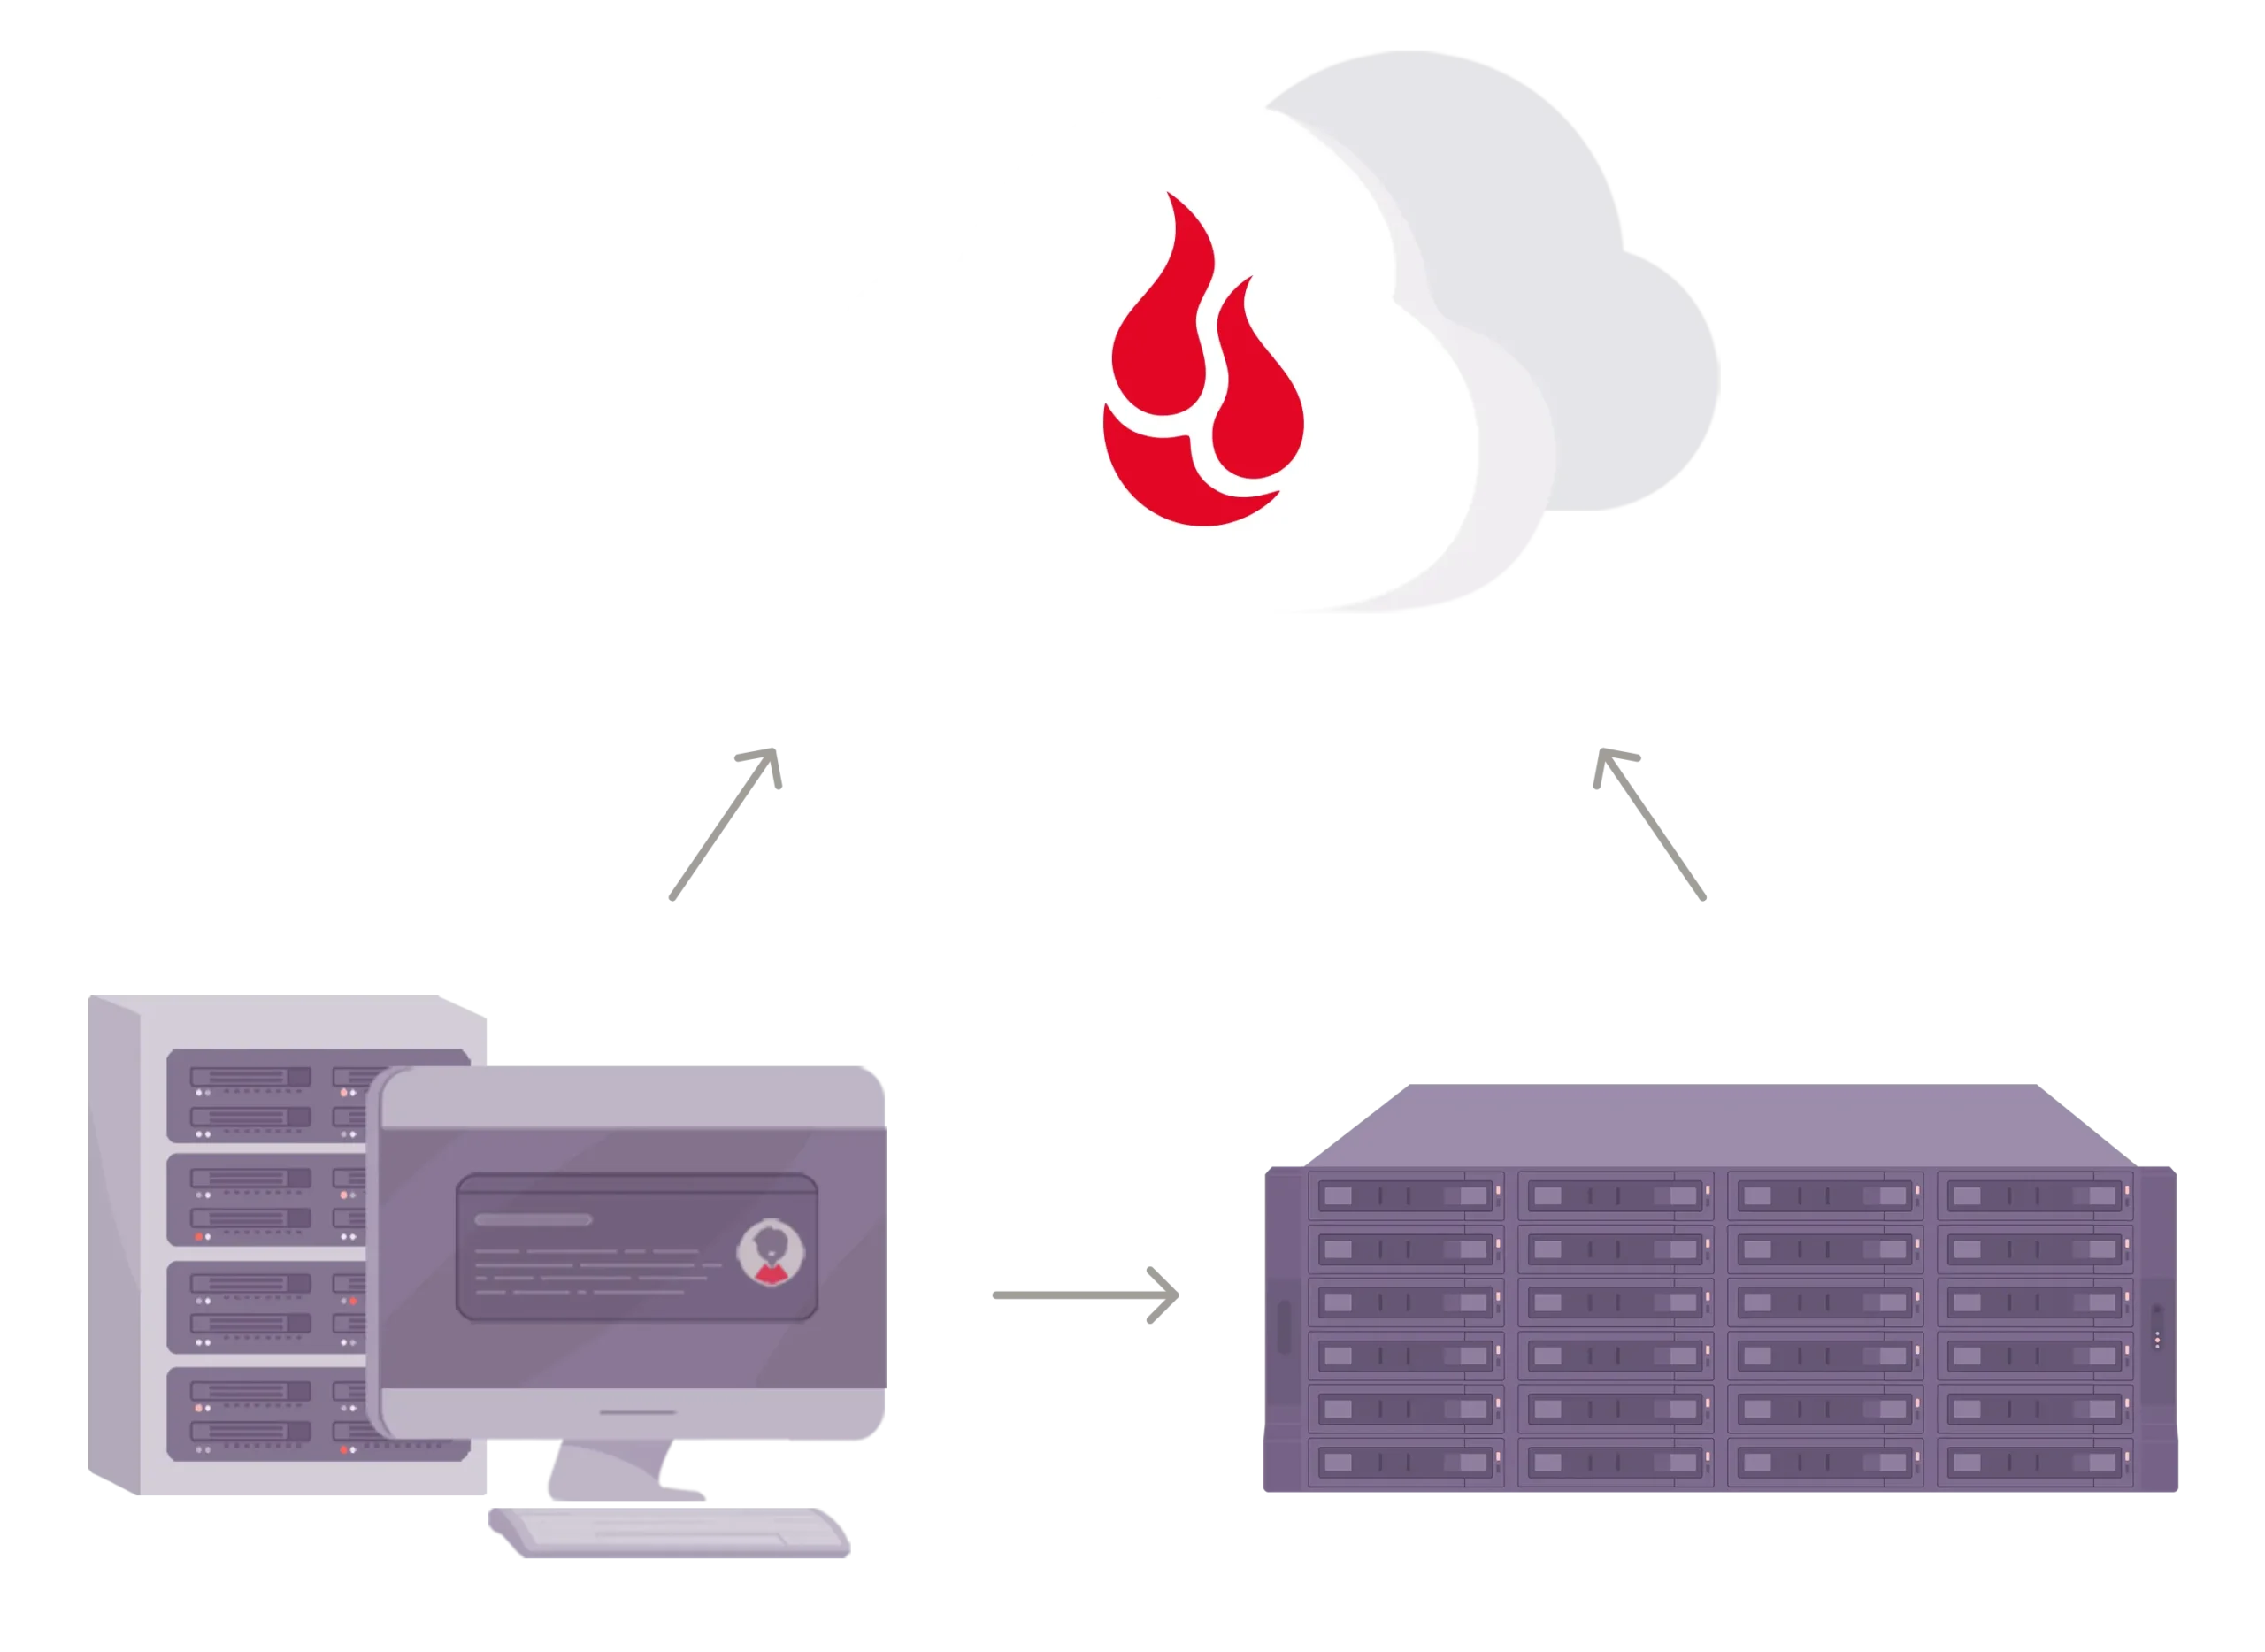
How To Back Up Files To A NAS: Easy Safe Guide
Back up files to a NAS by automating regular transfers with secure, verified backups.
A NAS can be one of the smartest ways to protect your data because it gives you local control, fast access, and room to grow. I’ve seen people use a NAS for everything from family photos to business documents, and the pattern is always the same: once the backup job is set up right, life gets much easier. In this guide, I’ll walk you through how to back up files to a NAS in a way that is simple, reliable, and practical for real-world use.
What a NAS is and why it works so well for backups
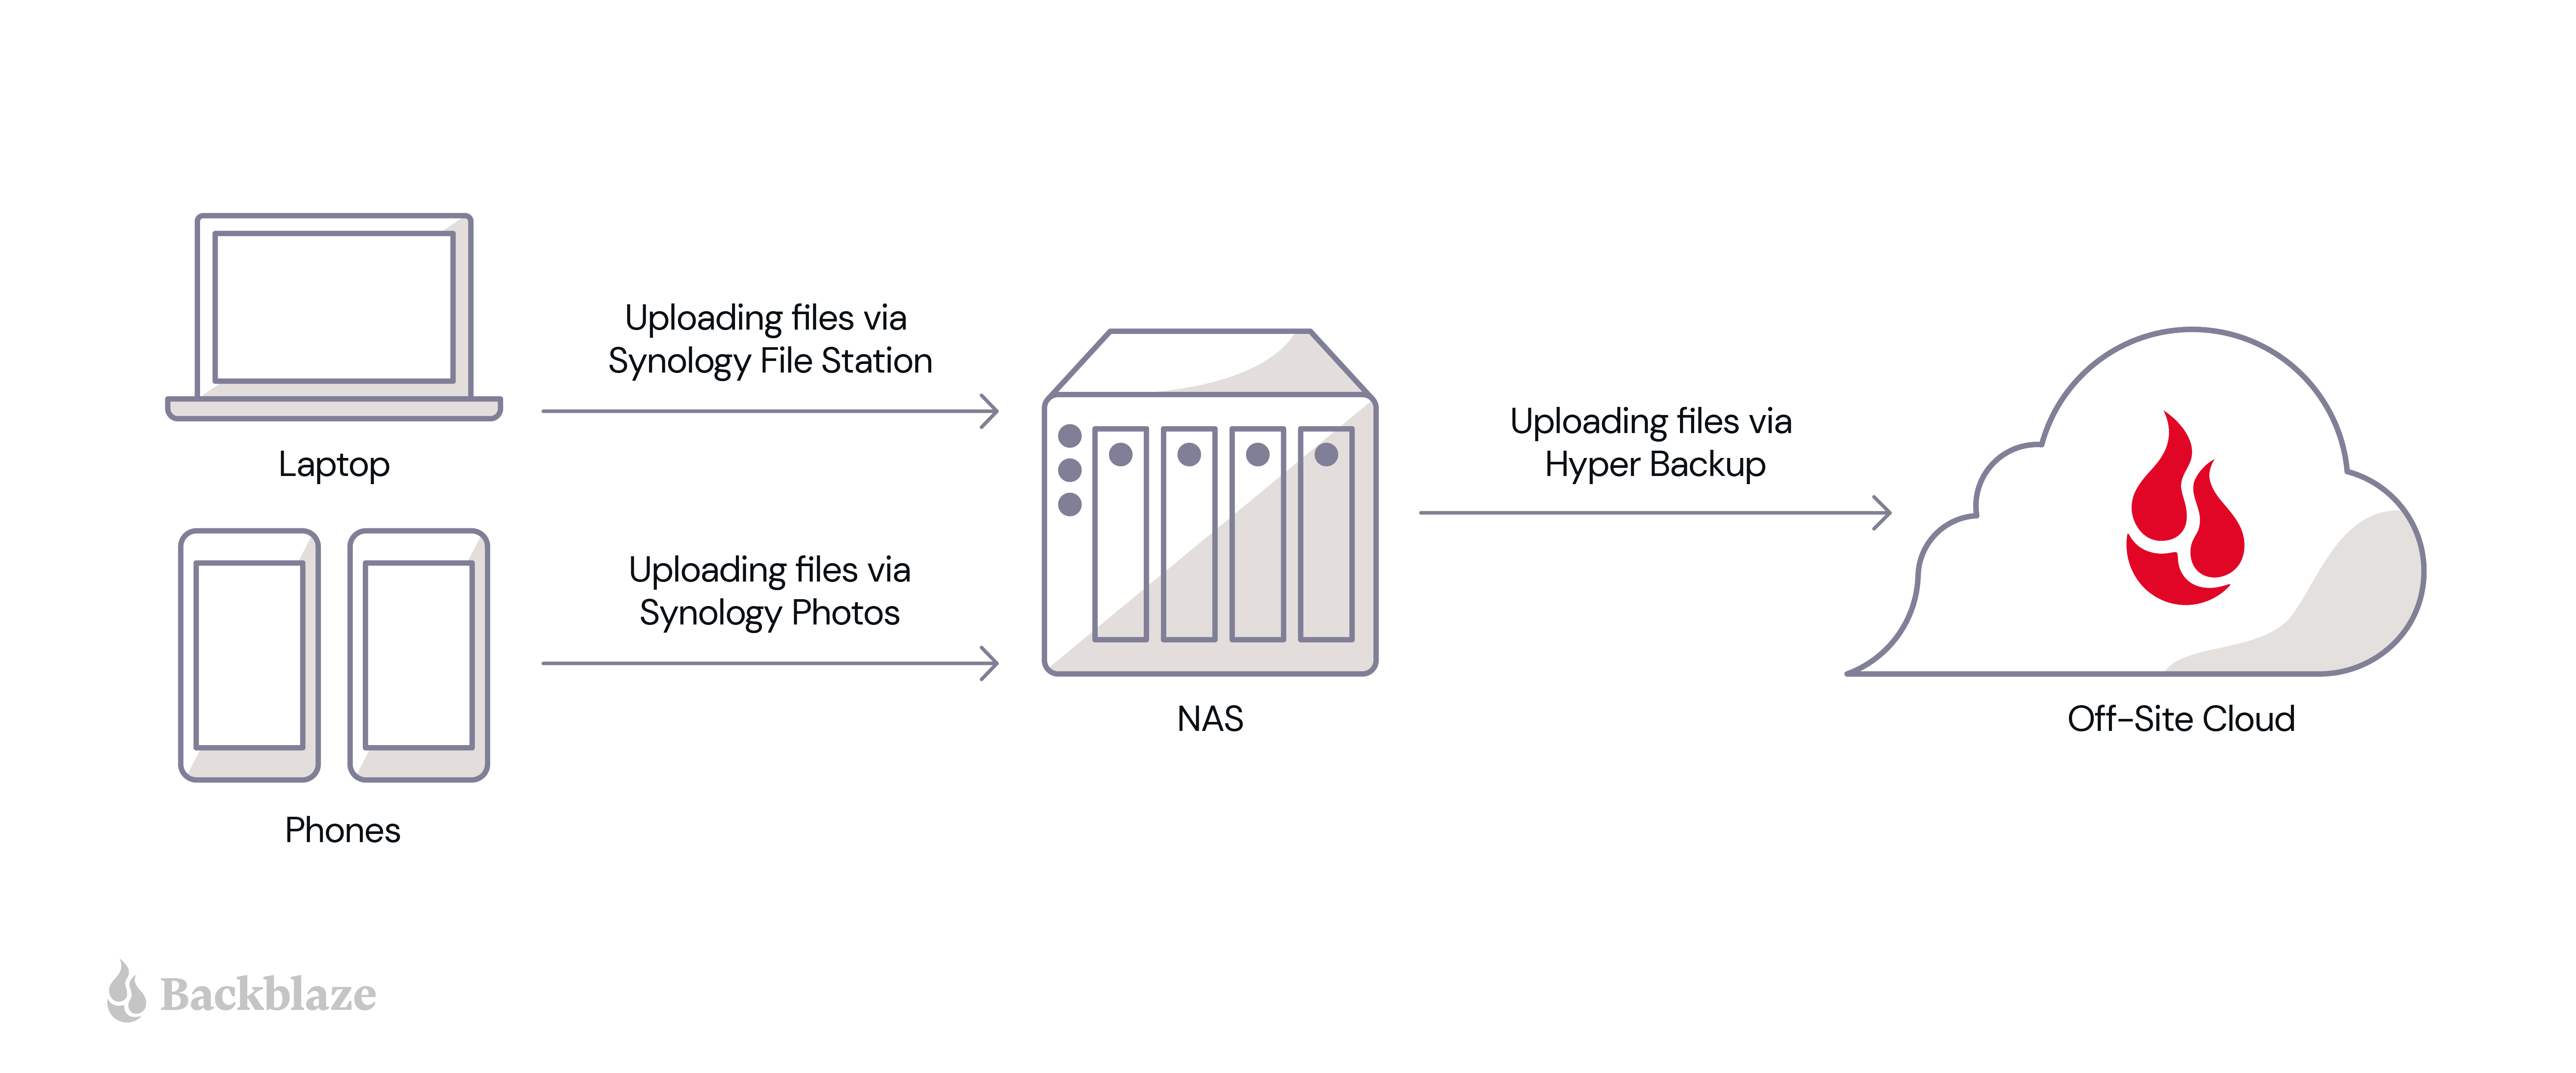
A NAS, or Network Attached Storage, is a storage device connected to your network. It acts like a private file server that many devices can reach at the same time. That makes it a strong backup target for home users, freelancers, and small teams.
The biggest advantage of a NAS is convenience. Your laptop, desktop, phone, or server can send copies of files to one central place. That central place can also be configured with redundancy, user access controls, and scheduled tasks.
A NAS is not the same thing as a full backup plan, though. It is one part of a larger strategy. In practice, I always recommend thinking about it as a safe landing zone for important data, not the only place that data should live.
How to back up files to a NAS step by step
The exact process depends on your device and operating system, but the basic flow stays the same. You connect to the NAS, choose what to copy, decide how often to run the backup, and make sure the result is verified.
Here is the cleanest way to do it.
-
Set up the NAS on your network
Connect the NAS to your router or switch, then assign it a fixed IP address or reserve one in your router. This makes it easier to find later. Create shared folders for backups and set permissions so only the right users can access them. -
Create a backup folder or share
Make a dedicated folder for each device or backup type. For example, you might create one folder for a Windows PC, one for a Mac, and one for work documents. Keeping backups separated helps avoid confusion later. -
Map the NAS on your computer
On Windows, map the NAS as a network drive. On macOS, connect through Finder using the server address. This makes the NAS feel like a local drive and simplifies backup software setup. -
Choose your backup method
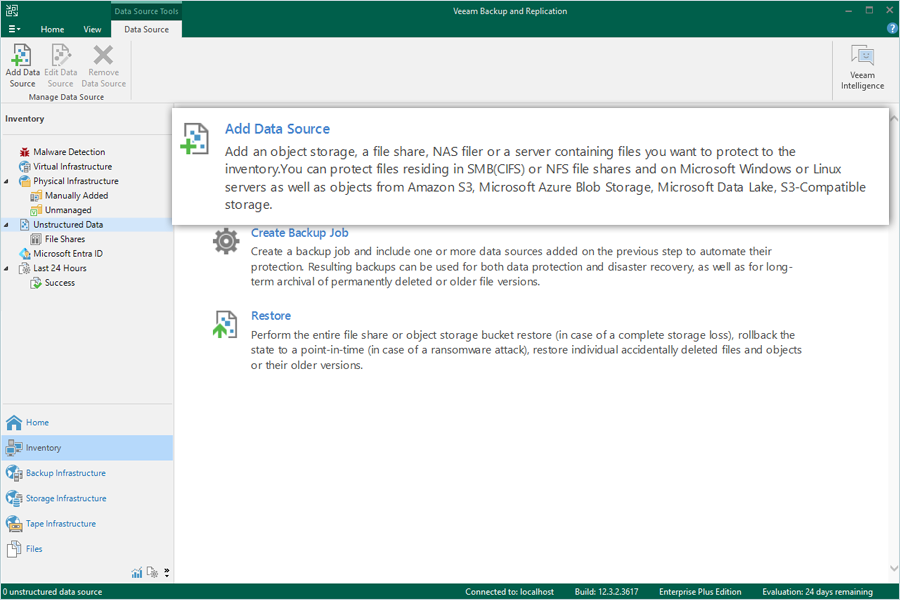
You can use built-in tools, vendor apps, or third-party software. For example, Windows users often use File History or backup apps like Acronis or Veeam Agent. Mac users may use Time Machine if the NAS supports it. -
Pick the files and folders to protect
Start with the most important data first. That usually means documents, photos, videos, project folders, financial files, and app data. If you try to back up everything at once, you may waste space and create slow jobs. -
Set a schedule
Daily backups are ideal for active files. Weekly backups may be enough for less important data. A steady schedule matters more than a fancy setup because a missed backup is still a risk. -
Turn on versioning if available
Versioning keeps older copies of files. If a file gets deleted or corrupted, you can roll back to an earlier version. This is one of the most useful features on a NAS. -
Test the restore process
A backup is only useful if you can restore it. I learned this the hard way years ago when a backup looked fine but the restore path had never been tested. Always do a small restore test before you trust the system.
Best ways to back up files to a NAS from different devices
Different devices need slightly different approaches. The good news is that most modern systems can back up to a NAS without much trouble.
Backing up from Windows
Windows users have a few strong options. File History works well for personal files, while image-based backup tools are better for full system recovery. Many people also use third-party tools because they offer more control over retention and encryption.
A simple Windows backup to a NAS usually involves:
- Mapping the NAS folder as a network location
- Choosing the folders you want to protect
- Setting a scheduled job
- Turning on backup retention or version history
If you back up business data from Windows, make sure the account has the right permissions on the NAS. Access errors are one of the most common problems I see.
Backing up from macOS
Mac users often rely on Time Machine, and many NAS devices support it directly. This makes setup pretty smooth. You select the NAS share, let Time Machine create the backup target, and then let it run automatically.
For manual backups, you can also copy folders through Finder or use sync tools. Time Machine is convenient, but it is still smart to keep another backup somewhere else too.
Backing up from Linux
Linux users often use rsync, BorgBackup, Restic, or other command-line tools. These tools are popular because they are efficient, scriptable, and good for incremental backups. A NAS works well here because it provides a stable network destination.
A typical Linux backup flow includes:
- Mounting the NAS share
- Running rsync or a backup tool
- Scheduling the job with cron or systemd timers
- Checking logs after each run
Backing up phones, tablets, and media files
Phones and tablets can also send photos and videos to a NAS. Many NAS brands offer mobile apps that upload camera rolls automatically. This is one of the easiest wins because it protects irreplaceable family media with almost no effort.
If you use a camera or media workflow, consider syncing the files from a desktop first. That gives you a chance to sort and verify files before they land on the NAS.
Choosing the right backup method for your NAS
There is no single best method for every person. The right choice depends on how much data you have, how often it changes, and how fast you need to recover it.
Here are the most common approaches.
- Full backup: Copies everything each time. It is simple, but it takes more time and space.
- Incremental backup: Copies only changes since the last backup. It is fast and efficient.
- Differential backup: Copies changes since the last full backup. It uses more space than incremental backups, but restores are simpler.
- Sync: Mirrors files from one place to another. This is useful, but sync is not the same as backup because deletions can be copied too.
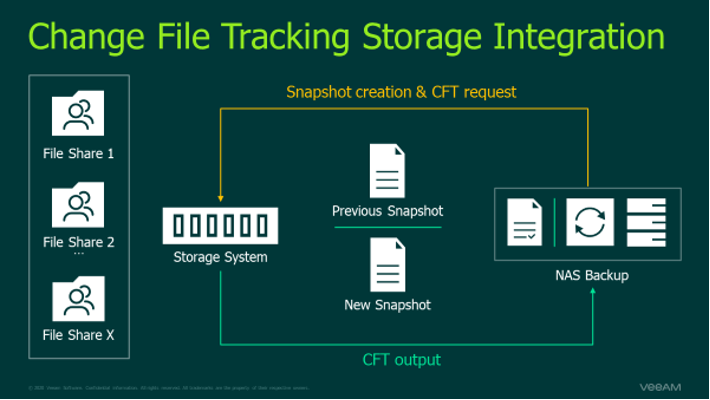
- Snapshot-based backup: Saves points in time on the NAS. This helps protect against accidental deletion and ransomware in some cases.
In my experience, incremental backups with versioning give the best balance for most users. They save space, run quickly, and offer a good restore path.
How to keep NAS backups safe and reliable
A NAS can fail just like any other device, so protection matters. If you want real security, you need more than one layer.
Use these habits to strengthen your setup:
- Follow the 3 2 1 backup rule: Keep 3 copies of your data, on 2 different media types, with 1 copy offsite.
- Enable user permissions: Only give backup accounts the access they need.
- Turn on encryption: Protect sensitive files if your NAS supports it.
- Keep firmware updated: Security patches help reduce risk.
- Use a UPS: A battery backup can prevent corruption during power loss.
- Monitor drive health: Most NAS systems show SMART status and storage warnings.
- Test restores often: A backup you cannot restore is not a backup.
The 3 2 1 rule is widely recommended because it lowers the chance that one event wipes out everything. That can mean a fire, theft, malware, accidental deletion, or drive failure. A NAS is great, but it should be part of a wider safety net.
Common mistakes to avoid when backing up files to a NAS
A lot of backup problems are caused by small mistakes, not bad hardware. I have seen people spend hours on a setup only to discover they backed up the wrong folder or never checked permissions.
Watch out for these issues:
- Using sync instead of backup when you need version history
- Saving backups on the same physical drive set as the source data
- Forgetting to test restores
- Ignoring storage alerts or failed jobs
- Not separating active files from archival data
- Leaving the NAS exposed to weak passwords
- Backing up too much junk, which fills the NAS too fast
One of the biggest lessons I have learned is that simple setups are usually more dependable. If a process is too complicated, people stop checking it. That is when backup failures slip through.
Best practices for performance and space management
A NAS can fill up faster than expected if you back up large media files or many versions of the same file. Good planning helps keep the system fast and manageable.
Try these tips:
- Back up only what matters most
- Use compression if your backup tool supports it
- Keep a sensible retention policy
- Archive old projects separately
- Split large backups into categories
- Use separate shares for home, work, and media files
If you are backing up video, photos, or design files, storage growth can become a real issue. I usually advise people to review their backup size every month for the first few months. That tells you whether your plan is realistic or whether you need larger drives or a tighter retention window.
When a NAS is enough and when you need more
For many homes and small offices, a NAS is enough to protect daily files and provide easy restores. It is especially useful when several devices need the same backup target. It also works well when you want local control and fast recovery over your own network.
But a NAS alone is not enough if you need strong disaster protection. If the NAS is stolen, damaged, or hit by ransomware, local copies can disappear too. That is why cloud backup or offsite storage still matters.
A balanced setup often looks like this:
- Local NAS for fast backups and restores
- External drive for occasional offline copies
- Cloud backup for offsite protection
That combination gives you speed, convenience, and resilience.
Frequently Asked Questions of How to Back Up Files to a NAS
What is the easiest way to back up files to a NAS?
The easiest method is usually to use built-in backup software and point it to a shared folder on the NAS. Most people can set this up with a mapped network drive or a supported app in just a few steps.
Can I use a NAS as my only backup?
You can, but it is not the safest choice. A NAS is great for local backup and version history, but you should still keep at least one offsite copy in case of theft, fire, or ransomware.
Does Time Machine work with a NAS?
Yes, many NAS devices support Time Machine. You usually need to enable the feature on the NAS, then select the shared folder as the backup destination on your Mac.
Should I use sync or backup for a NAS?
Use backup if you want protection against deletion, corruption, or ransomware. Sync is useful for keeping folders matched, but it can also copy mistakes and deletions just as fast as good files.
How often should I back up to a NAS?
For active work files, daily backups are a smart choice. If your files change less often, weekly may be enough, but the rule is simple: the more important the data, the more often you should back it up.
How do I know if my NAS backup worked?
Check the backup logs, confirm the job finished without errors, and restore a test file. A small restore test is the best proof that your backup is actually usable.
Conclusion
Backing up files to a NAS is one of the most practical ways to protect your data, especially if you want control, speed, and easy access on your own network. The key is to set it up with purpose: choose the right backup method, keep version history, test restores, and add offsite protection for real peace of mind.
If you take one thing from this guide, let it be this: a good backup is not just about copying files, it is about being able to recover them when life gets messy. Start with your most important data today, build a simple routine, and improve it over time. If you want to go further, explore NAS backup apps, compare retention settings, and leave a comment with your setup or questions.