How To Set Up A Mechanical Keyboard: Easy 2026 Guide
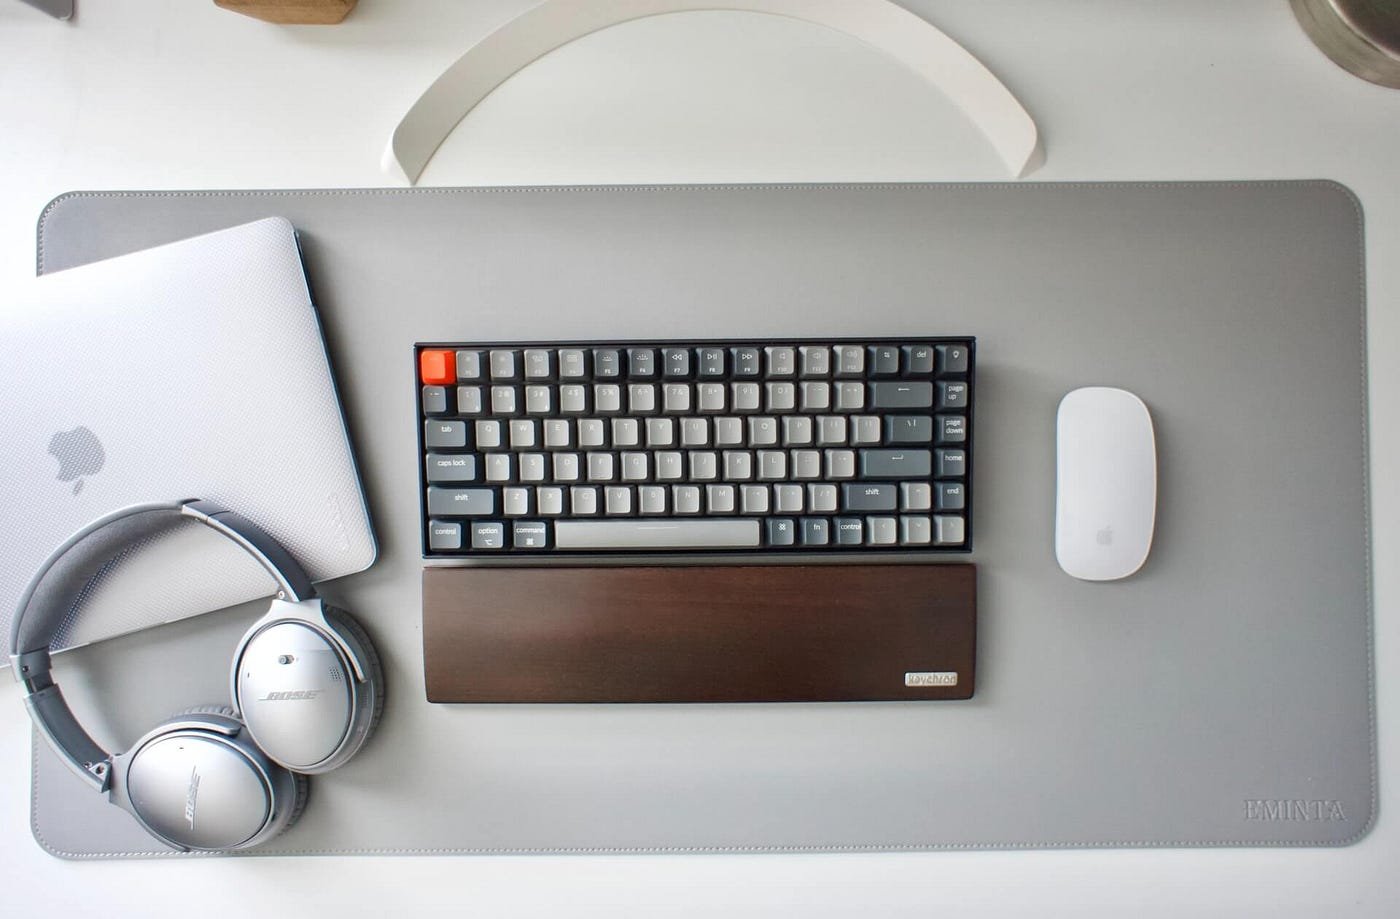
A mechanical keyboard is set up by choosing the right parts, connecting them, and tuning them for your typing style.
If you want a keyboard that feels better, sounds better, and works the way you want, learning how to set up a mechanical keyboard is the place to start. I’ve built and tested a lot of boards over the years, and the biggest difference always comes down to the small choices: switch type, keycaps, layout, software, and even the desk surface under the board. This guide walks you through the full process so you can set up a mechanical keyboard with confidence and avoid the common mistakes that make the first build feel harder than it should.

What a Mechanical Keyboard Setup Really Means
Setting up a mechanical keyboard is more than just plugging it in. It usually includes choosing the board, installing or checking switches and keycaps, connecting it, and adjusting settings like lighting, key mapping, and actuation preferences.
A good setup should match how you type, game, or work. For example, a writer may want a quiet tactile board, while a gamer may prefer a fast linear switch. In my own experience, the best setups are rarely the flashiest ones. They are the ones that feel natural after a full day of use.
Mechanical keyboards are popular because they offer:
- Better typing feel
- Longer lifespan than most membrane keyboards
- More customization
- Easier repair and part replacement
- Better sound and tactile feedback
The tradeoff is that setup takes a little more thought. But once you understand the basic parts, the process gets much easier.
What You Need Before You Start
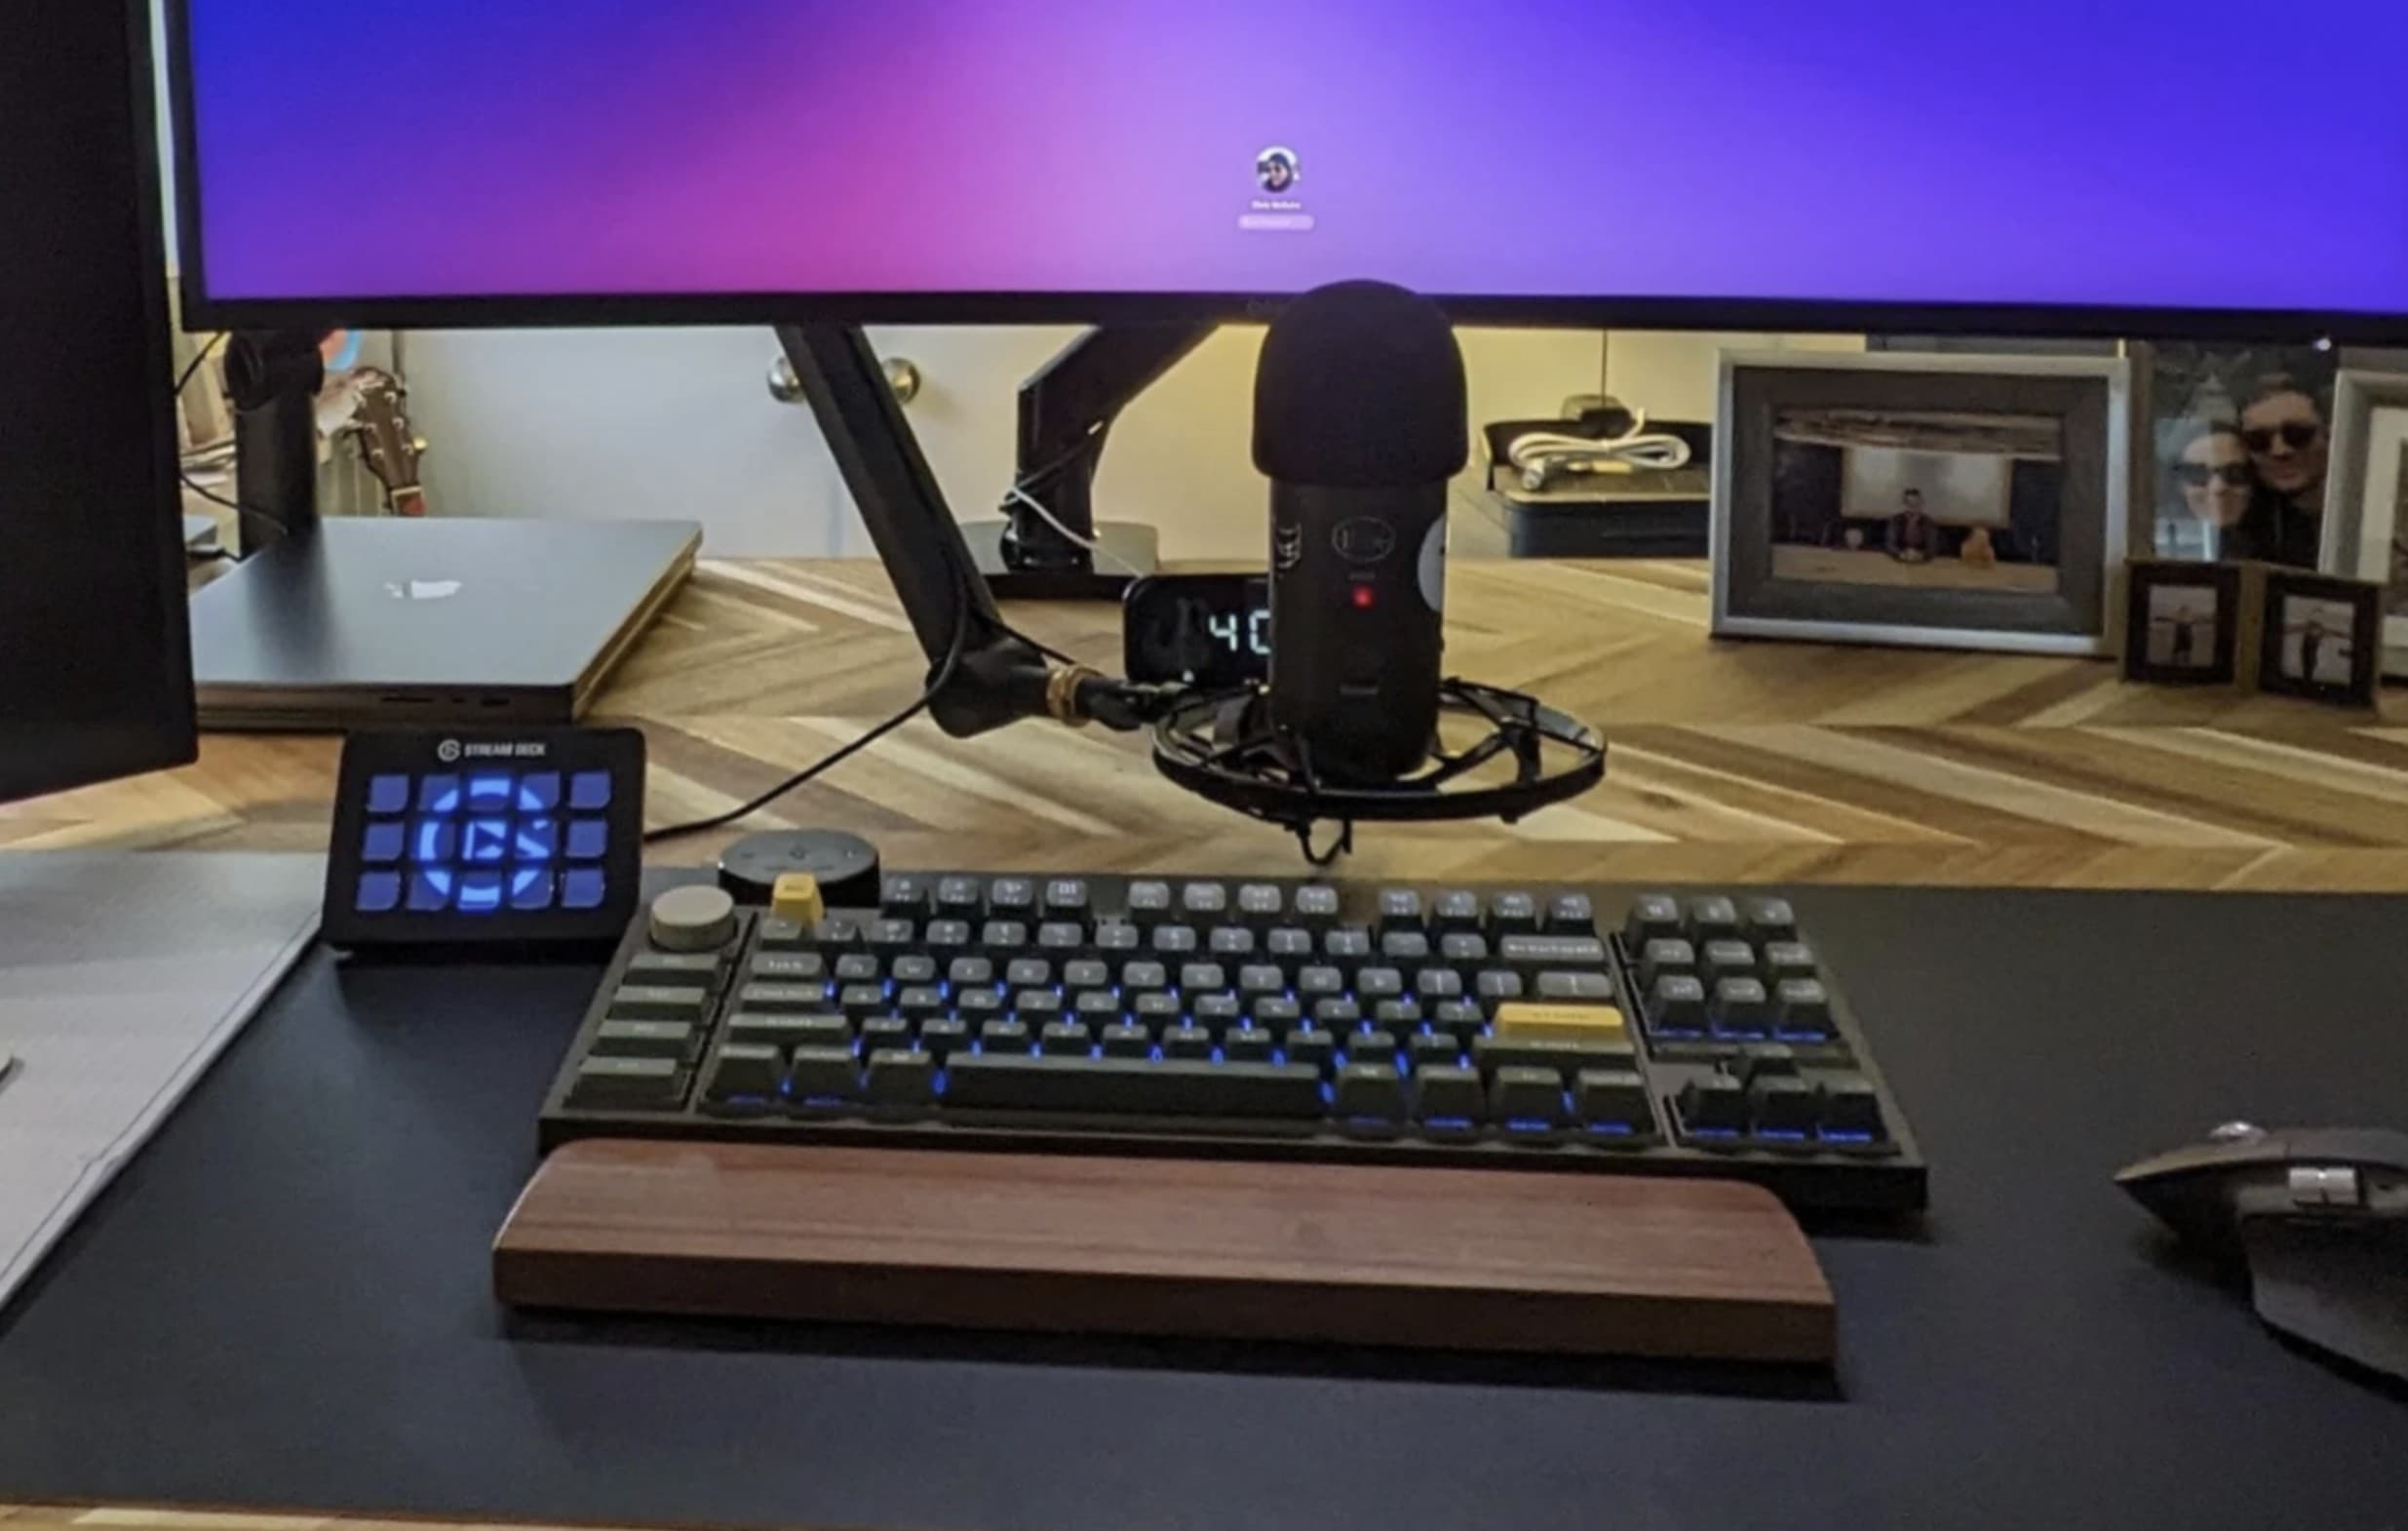
Before setting up your mechanical keyboard, make sure you have the right tools and parts nearby. A clean setup saves time and helps prevent damage.
Here’s a simple checklist:
- Mechanical keyboard or keyboard kit
- USB cable or wireless receiver
- Keycap puller
- Switch puller, if your board supports hot-swap switches
- Small brush or microfiber cloth
- Optional lube, stabilizer grease, and foam
- Keyboard software or driver, if needed
If your keyboard is hot-swappable, setup becomes much easier because you can change switches without soldering. If it is not hot-swappable, you may need more advanced tools and skill, which is worth noting before buying.
I’ve seen many first-time users skip the cleaning step and regret it later. Even a new board can collect dust from shipping. A quick wipe before assembly or use helps more than most people expect.
How to Set Up a Mechanical Keyboard Step by Step
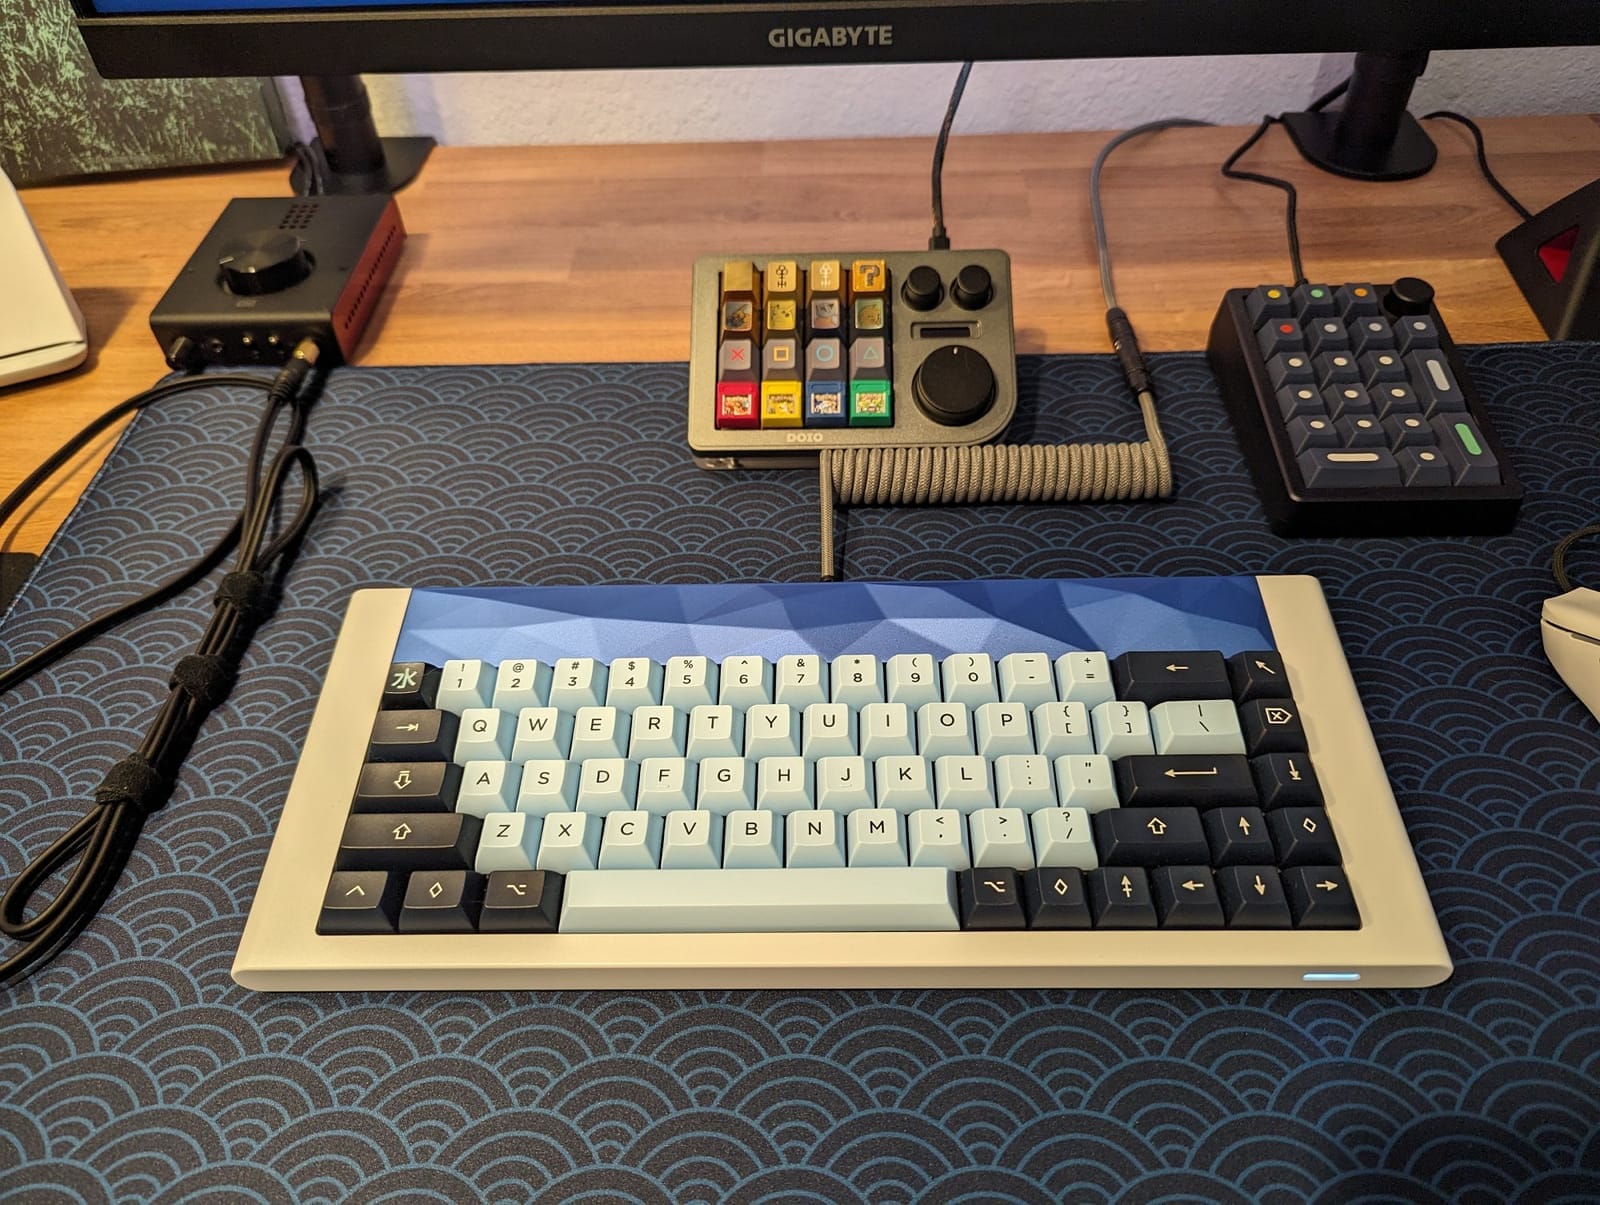
Setting up a mechanical keyboard is simple when you break it into small steps. Follow this process in order, and you’ll avoid most early problems.
1. Check the keyboard layout
Start by looking at the layout. Common options include full size, TKL, 75%, 65%, and 60%. The right layout depends on how much desk space you have and whether you need a numpad, arrow keys, or function row.
If you work with numbers often, full size may be the best fit. If you want more mouse room or a cleaner desk, a smaller layout may be better. I usually tell people to choose based on daily use, not looks alone.
2. Inspect the board and parts
Before plugging anything in, check for damage. Look at the case, cable, keycaps, switches, and stabilizers. Make sure nothing is loose or bent.
If your keyboard came prebuilt, press a few keys to feel for uneven switch travel or rattling. Catching issues early is much easier than troubleshooting later. This is especially important with custom or pre-owned boards.
3. Connect the keyboard
Plug the keyboard into your computer using the correct cable. If it is wireless, charge it first and pair it through Bluetooth or the included dongle.
Most modern mechanical keyboards are plug-and-play on Windows and macOS. Still, some boards need firmware or a driver for full feature support. If nothing happens after connecting, try a different port before assuming the keyboard is faulty.
4. Test every key
Open a key tester or text editor and press every key one by one. Check for missed inputs, double presses, and stuck keys.
This step is important because it tells you right away whether the keyboard is working properly. I once skipped this on a new build and only discovered a bad stabilizer after typing for an hour. A quick test would have saved me the frustration.
5. Install or change switches, if needed
If your board is hot-swappable, you can remove and replace switches without soldering. Use a switch puller and press each switch into place until it clicks.
Choose switches based on feel:
- Linear switches feel smooth and quiet
- Tactile switches give a bump when pressed
- Clicky switches make an audible click
For most beginners, tactile or linear switches are the easiest to live with. Clicky switches are fun, but they can be too loud for shared spaces.
6. Install keycaps
Match each keycap to the correct key position and press it down firmly. Make sure larger keys like Space, Enter, Shift, and Backspace are aligned correctly with their stabilizers.
If your keycaps are side-printed or sculpted, keep the rows in the right order. A misplaced keycap can make typing feel off even if the keyboard works fine. I always do a quick final glance across the whole board before calling it done.
7. Adjust the stabilizers
Stabilizers help larger keys feel stable and reduce wobble. If they rattle, you may need to clip, lubricate, or tune them depending on the board design.
Even a great switch can feel bad if the Space bar sounds hollow or scratchy. Stabilizer tuning is one of those small upgrades that makes the whole keyboard feel more premium. It is not mandatory, but it makes a real difference.
8. Install software or firmware tools
Many mechanical keyboards let you remap keys, adjust RGB lighting, or create macros through software. Open the app or firmware tool and set things up the way you want.
Common settings include:
- Key remapping
- Lighting effects
- Macro creation
- Debounce timing
- Layer controls
If the software feels confusing, start simple. Change only what you need first, then explore the deeper settings later. Too many tweaks at once can make the keyboard harder to use.
9. Tune the typing experience
This is where the keyboard starts to feel personal. Try changing the angle, adding a wrist rest, or using desk mat padding to soften the sound.
A few useful comfort tips:
- Raise or lower the board angle for your wrists
- Use a desk mat for a softer sound profile
- Add a wrist rest if you type for long hours
- Try different switch weights if your fingers feel tired
Comfort matters more than hype. A board that looks amazing but hurts your wrists will not stay fun for long.
10. Use it for a few days and adjust
A mechanical keyboard setup is rarely perfect on day one. Give yourself a few days to notice what feels good and what feels awkward.
You may find that:
- A switch is too heavy
- A keycap profile feels strange
- The board sits too high
- The lighting is distracting
- A remap helped more than expected
That is normal. The best setups evolve over time, just like a good chair or a favorite pair of shoes.
Choosing the Right Switches, Keycaps, and Layout
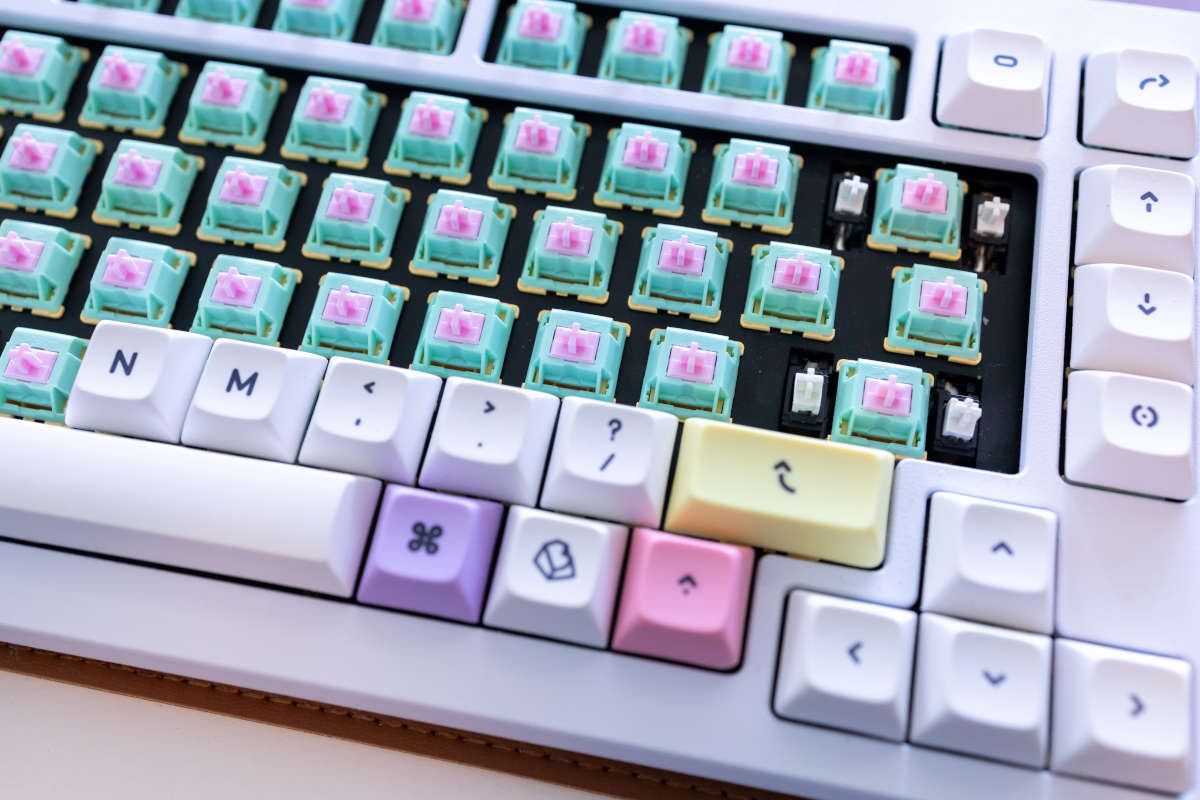
The three biggest choices in any mechanical keyboard setup are switches, keycaps, and layout. These shape the feel more than almost anything else.
Switch choice affects sound and touch:
- Linear switches are smooth and fast
- Tactile switches give feedback without loud clicking
- Clicky switches add sound, but they can be disruptive
Keycap choice affects durability and feel:
- PBT keycaps usually resist shine better
- ABS keycaps can feel smoother but may wear faster
- Cherry profile, OEM profile, and SA profile all feel different under your fingers
Layout choice affects speed and convenience:
- Full size is best for productivity and number entry
- TKL gives you function keys and arrows without the numpad
- 75% keeps more keys in a compact space
- 65% and 60% save desk space but rely more on layers
If you’re unsure, start with a practical layout and medium-weight tactile switches. That balance works well for many people and gives you room to learn your preferences.
Common Mistakes to Avoid
A lot of first-time setups go wrong for simple reasons. The good news is that most of them are easy to avoid.
Watch out for these mistakes:
- Buying a keyboard just because it looks cool
- Choosing switches that are too heavy or too loud
- Forgetting to test the board before customizing it
- Mixing up keycap rows during installation
- Ignoring stabilizer noise
- Over-tuning software settings too soon
I’ve made the “looks first, comfort second” mistake myself. The keyboard was beautiful, but it tired my hands out after long typing sessions. Since then, I always test feel before style.
How to Make a Mechanical Keyboard Sound and Feel Better
Once your board is set up, you can improve the experience with a few simple upgrades. These changes are optional, but they can make a big difference.
Helpful tweaks include:
- Lubing switches for smoother travel
- Lubing stabilizers to reduce rattle
- Adding foam inside the case
- Using a desk mat to soften noise
- Switching to thicker keycaps
- Changing switch springs for a different feel
Not every keyboard needs deep modding. In fact, many factory boards sound great after just a few small changes. The key is to improve the weak spots, not chase perfection.
One thing I’ve learned: sound is personal. What sounds crisp to one person may sound too sharp to another. Your best setup is the one that feels good to use every day.

Setting Up a Mechanical Keyboard for Gaming
Gaming setups often focus on speed, response, and comfort. A mechanical keyboard can help if you want quick actuation and easy key access.
For gaming, consider:
- Linear switches for smooth keypresses
- A compact layout for more mouse space
- Low input delay on wired or quality wireless boards
- Programmed macros for certain games
- Good anti-ghosting and N-key rollover support
If you play competitively, consistency matters more than flashy lighting. A stable board with a good switch feel usually beats a noisy setup with distracting extras.
Setting Up a Mechanical Keyboard for Work or Typing
For office work, writing, coding, or school, comfort and clarity matter most. A keyboard that feels good for eight hours is better than one that feels exciting for ten minutes.
Best choices for work often include:
- Tactile switches for feedback without loud noise
- Quiet keycaps and dampening foam
- A layout with arrows and function keys
- A wrist rest for longer sessions
- Light key remaps for productivity
If you type a lot, pay attention to fatigue. A small change in switch weight or keyboard angle can reduce strain over time. That is one of the biggest long-term benefits of a good mechanical keyboard setup.

Frequently Asked Questions of How to Set Up a Mechanical Keyboard
How do I set up a mechanical keyboard for the first time?
Start by connecting the keyboard, testing each key, and checking the layout and software. Then install or adjust keycaps, switches, and stabilizers if needed.
Do I need software for a mechanical keyboard?
Not always. Many mechanical keyboards work as plug-and-play devices, but software is useful for remapping keys, changing lighting, and creating macros.
What is the best switch type for beginners?
Tactile switches are often the easiest for beginners because they give feedback without being too loud. Linear switches are also a solid choice if you want a smooth feel.
Can I change switches on any mechanical keyboard?
Only hot-swappable keyboards let you change switches without soldering. If your keyboard is not hot-swappable, switch changes are more advanced and require soldering tools.
Why does my mechanical keyboard rattle?
Rattle usually comes from stabilizers or loose keycaps. Lubing the stabilizers or checking that the larger keys are installed correctly often helps.
How do I make my mechanical keyboard quieter?
Use quieter switches, thicker keycaps, foam, and a desk mat. Lubing stabilizers can also reduce the sharp noise that comes from larger keys.
Conclusion
Setting up a mechanical keyboard is really about building a typing experience that fits you. Once you understand the layout, switches, keycaps, stabilizers, and software, the process becomes much less intimidating and a lot more rewarding.
The best setup is the one that feels comfortable, sounds right, and supports how you actually work or play. Start simple, test as you go, and make small changes based on real use rather than hype.
If you’re ready, set up your mechanical keyboard today and spend a few days learning what works best for your hands. If you found this guide helpful, explore more keyboard tips, subscribe for updates, or leave a comment with your own setup.

Similar Posts