How To Focus A Mini Projector: Easy Sharp Image Tips
A mini projector focuses by adjusting the lens until the image becomes sharp, clear, and free of blur.
If you have ever struggled with a fuzzy home theater screen, you are not alone. Learning how to focus a mini projector is one of those small skills that makes a huge difference, and it is often the first step to getting a clean, bright picture at home, in a dorm, or on the go. I have spent a lot of time testing compact projectors in real rooms, and the pattern is always the same: good focus comes from the right setup, not just turning the ring and hoping for the best.
What It Means to Focus a Mini Projector
Focusing a mini projector means making the projected image as sharp as possible. You do this by moving the lens, either with a focus wheel, a manual ring, or a digital setting, until text, edges, and faces look crisp.
A lot of people think blur comes from a bad projector, but many times it comes from simple setup issues. Distance, angle, surface texture, and even a slightly tilted table can make the image look soft. Once you understand how to focus a mini projector the right way, the picture usually improves fast.
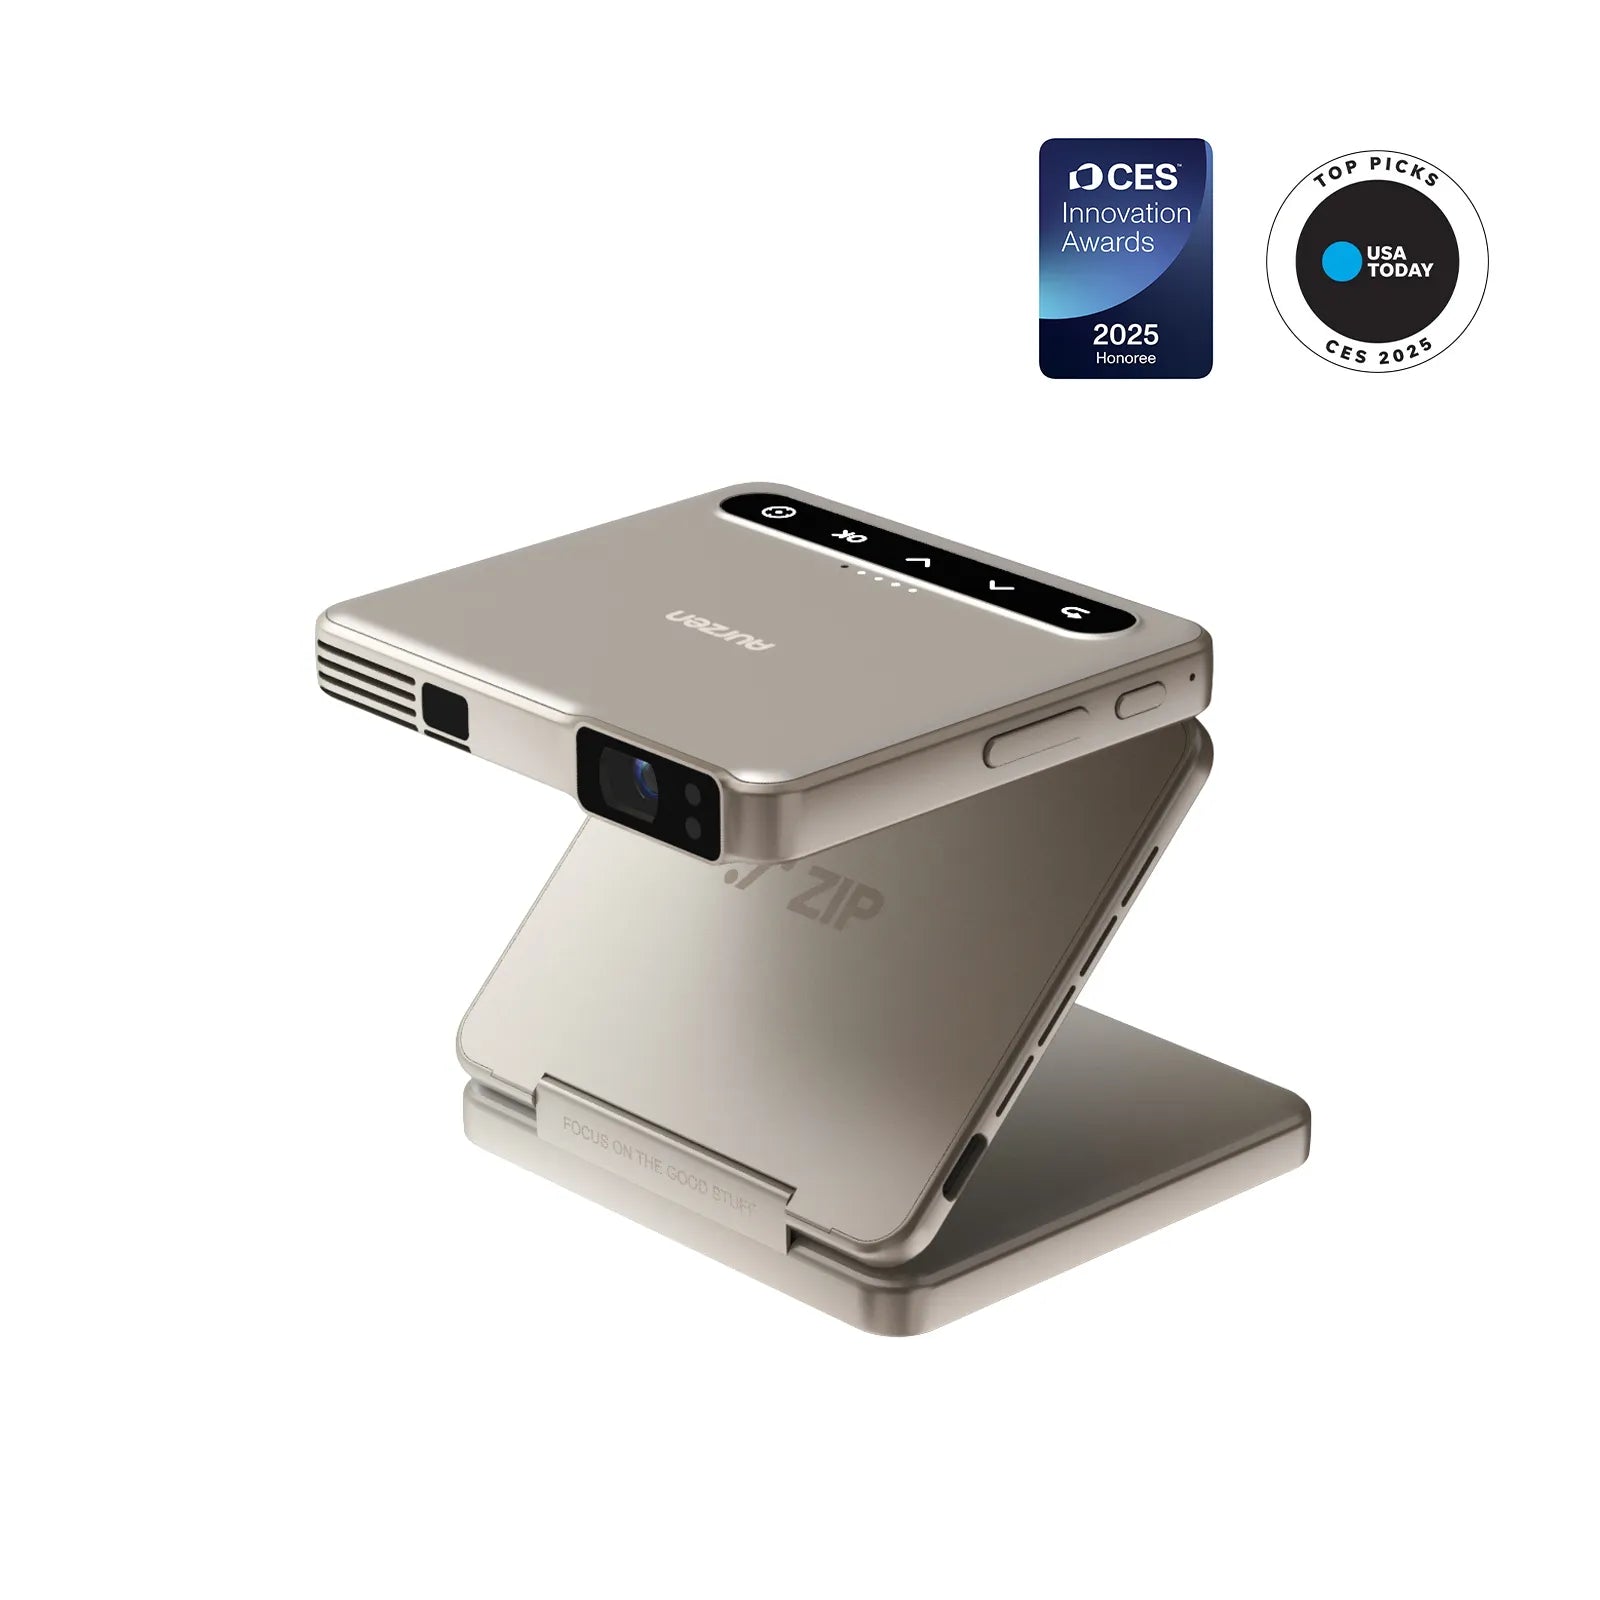
Why Your Mini Projector Looks Blurry
Before you learn how to focus a mini projector, it helps to know what causes the blur. In my experience, most focus problems come from setup, not damage.
Common causes include:
- The projector is too close or too far from the wall or screen
- The projector is angled instead of facing the surface straight on
- The projection surface is textured, wrinkled, or uneven
- The lens has dust or smudges
- Keystone correction is too strong and reduces sharpness
- The room is too bright, making the image seem washed out
- The source video or image is already low quality
I once spent nearly 20 minutes adjusting a tiny projector in a hotel room, only to realize the blanket I was using as a screen was the real problem. A smooth, flat surface matters more than people expect.
How to Focus a Mini Projector Step by Step
The best way to focus a mini projector is to go slow and use a clear test image. A page of text, a menu screen, or a grid pattern works better than a movie scene because sharp edges are easier to judge.
Follow these steps:
- Set the projector on a stable surface
Make sure it is level and aimed directly at the screen or wall. - Turn on the projector and play a sharp image
Use text, icons, or a test pattern if your projector has one. - Adjust the distance first
Move the projector closer or farther until the image fits your screen area. - Rotate the focus wheel or lens ring slowly
Stop as soon as the letters and edges look clean. - Fine tune the angle
If the top or bottom looks soft, the projector may be tilted. - Check the whole screen
The center may look sharp while the corners stay blurry if the projector is off axis. - Save the setting if your projector allows it
Some smart mini projectors remember picture settings for later use.
When I focus a mini projector, I always make tiny changes. Big turns often overshoot the sharp point, and then you end up circling back again.
Best Distance for a Sharp Image
Distance plays a big role in how to focus a mini projector. Every model has its own throw distance, which is the space needed between the lens and the screen to form the right image size.
Here is the simple rule:
- Too close can make the image too small or uneven
- Too far can make the image dim and harder to sharpen
- The best distance is usually listed in the user manual or product specs
If you do not have the manual, start at a middle distance and adjust from there. I have found that many portable projectors look best when they are placed on a steady table about 4 to 8 feet away, but that range changes by model.
Manual Focus vs Auto Focus
Many people searching for how to focus a mini projector want to know if the projector should do it automatically. Some mini projectors have auto focus, while others use manual focus only.
Manual focus is simple and reliable. You turn the ring until the image looks right.
Auto focus is convenient, but it is not perfect. It can struggle if the projector is moved quickly, set at an odd angle, or aimed at a textured wall.
Here is the practical difference:
- Manual focus gives you more control
- Auto focus saves time but may need a reset
- Some projectors use both auto focus and manual correction together
If your projector has auto focus but still looks soft, run the focus function again after moving it. That small reset often fixes the problem.
How to Focus a Mini Projector on Different Surfaces
A smooth white screen usually gives the sharpest result, but many people use walls, sheets, or portable screens. Each surface affects how to focus a mini projector.
Best choices include:
- A matte white projector screen
- A smooth, light-colored wall
- A tensioned portable screen
Harder surfaces include:
- Wrinkled sheets
- Textured paint
- Gray walls with uneven finish
- Reflective surfaces
If you are using a wall, focus after the projector is in its final position. If you move the projector even a little, the focus may change again. That is why setting it first and then fine tuning matters so much.
How Keystone Correction Affects Focus
Keystone correction is useful when the projector is not perfectly centered, but it can reduce image sharpness if overused. This is one of the most common mistakes I see.
When you use keystone correction, the projector digitally reshapes the image so it looks rectangular. That is helpful, but digital stretching can soften fine detail.
Try this:
- Keep the projector centered when possible
- Use physical alignment before keystone correction
- Use only the amount of keystone you truly need
- Recheck focus after any keystone change
A good rule is to treat keystone correction like salt in cooking. A little helps, but too much changes the whole result.
Tips for Getting the Sharpest Picture
If you want to master how to focus a mini projector, these small habits make a big difference. They are simple, but they work.
- Clean the lens gently with a microfiber cloth
- Use a dark room or lower ambient light
- Keep the projector on a stable surface
- Avoid placing it at steep angles
- Let the projector warm up for a few minutes before fine tuning
- Use high resolution source content when testing focus
- Check the focus again after moving the projector
One lesson I learned the hard way is that focus can shift slightly as the projector warms up. I now wait a few minutes before making my final adjustment, and the image stays sharper.
Common Mistakes to Avoid
Even if you know how to focus a mini projector, a few easy mistakes can still ruin the picture. The good news is that they are easy to fix.
Avoid these errors:
- Turning the focus ring too fast
- Using a wrinkled sheet as a screen
- Focusing while the projector is tilted
- Ignoring lens dust
- Relying on keystone to fix bad placement
- Using low quality video to test focus
- Setting the projector at the wrong distance
I have seen many people blame the projector when the setup was the real issue. A clean lens and a flat screen solve more problems than most buyers expect.
When Focus Problems May Mean a Bigger Issue
Sometimes learning how to focus a mini projector will not solve the blur. If the image stays fuzzy even after careful adjustment, there may be a hardware or optical problem.
Possible signs of a bigger issue include:
- The focus wheel does nothing
- The image is blurry in all positions
- One side stays much softer than the other
- The lens appears damaged
- The projector makes unusual noises
- The image changes shape or sharpness randomly
In those cases, check the warranty or contact support. According to standard display and optics guidance used across consumer electronics, a damaged lens or misaligned optical path usually needs repair rather than more focus tweaking.
Benefits of a Properly Focused Mini Projector
Once you get the hang of how to focus a mini projector, the payoff is obvious. A sharp image makes everything feel more professional and enjoyable.
Benefits include:
- Easier reading of subtitles and menus
- Better movie and gaming detail
- Less eye strain
- More accurate colors and edges
- A more immersive viewing experience
- Less frustration during setup
This is why focus matters so much. A good projector with poor focus can look cheap, while a modest projector with clean focus can look surprisingly polished.
Frequently Asked Questions of How to Focus a Mini Projector
How do I know if my mini projector is in focus?
Text, icons, and thin lines should look crisp and easy to read. If letters have soft edges or double outlines, the projector needs more adjustment.
Why is my mini projector still blurry after focusing?
It may be too close, too far, or slightly tilted. Also check the screen surface, lens cleanliness, and keystone correction, because those can affect sharpness too.
Should I focus the projector before or after keystone correction?
It is usually better to get the projector physically aligned first, then use keystone only if needed. After that, do a final focus check because keystone changes can soften the image.
Can a dirty lens make a mini projector look out of focus?
Yes, dust or smudges can make the image seem soft even when the focus is correct. A gentle clean with a microfiber cloth can make a noticeable difference.
Do all mini projectors have manual focus?
No, some have manual rings, some have auto focus, and some use both. Check the model settings or product guide to see what your projector supports.
Conclusion
Learning how to focus a mini projector is mostly about patience, placement, and small adjustments. Once you understand the role of distance, angle, surface quality, and lens care, getting a sharp image becomes much easier.
The biggest takeaway is simple: focus works best when the setup is right first. Try the steps above, test with clear text, and make small changes until the picture looks clean. If you want more practical projector tips, keep exploring and share your own setup tricks in the comments.