How To Install A TV Streaming Stick: Easy Setup Guide
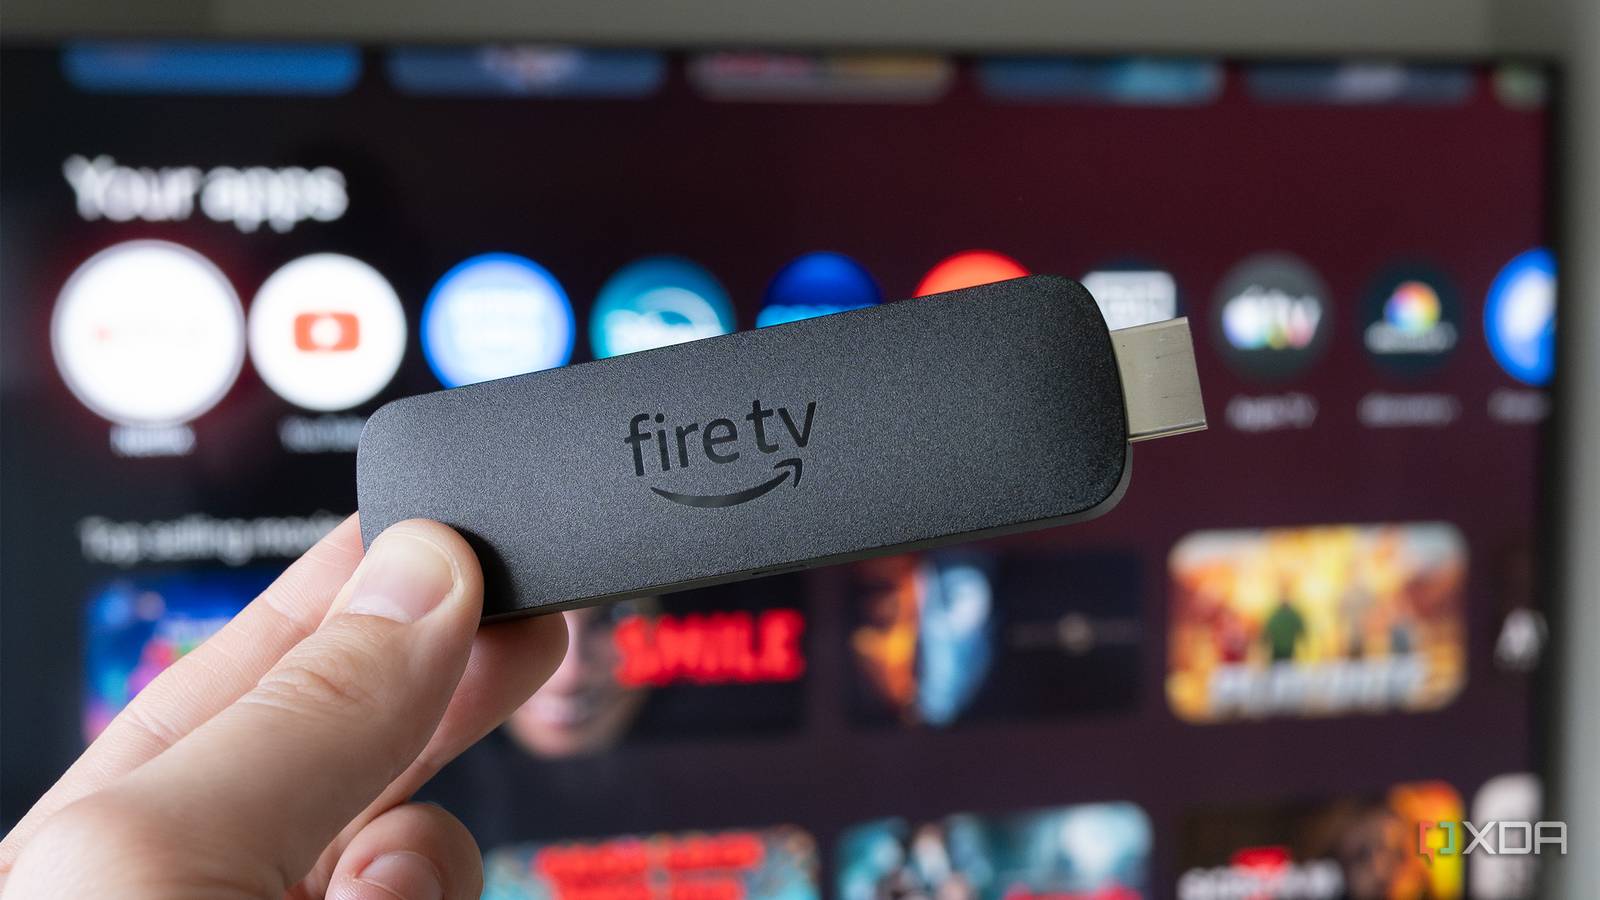
A TV streaming stick plugs into your HDMI port, connects to Wi-Fi, and turns any compatible TV into a smart TV.
If you’ve never installed one before, the process is simpler than it looks. I’ve set up more streaming sticks than I can count, and the biggest surprise for most people is how fast it all comes together once you know the right order. In this guide, I’ll walk you through how to install a TV streaming stick the easy way, plus the common mistakes to avoid, the settings worth checking, and the little fixes that save time when setup gets stuck.
What a TV Streaming Stick Does
A TV streaming stick is a small device that adds streaming apps to your TV. It usually plugs into an HDMI port and gives you access to services like Netflix, Hulu, Disney Plus, Prime Video, YouTube, and more.
In simple terms, it acts like a smart TV brain for older TVs or a backup streaming option for newer ones. Once it’s connected, you can stream shows, movies, live TV, and music through your home internet.
A streaming stick is different from a cable box. It does not use a cable signal. Instead, it uses Wi-Fi to pull content from apps, which makes it more flexible and often cheaper.

What You Need Before You Start
Before you install a TV streaming stick, gather a few basics. Having everything ready makes setup smoother and avoids the annoying stop-and-start routine.
You’ll usually need:
• A TV with an available HDMI port
• A power outlet near the TV
• A stable Wi-Fi network
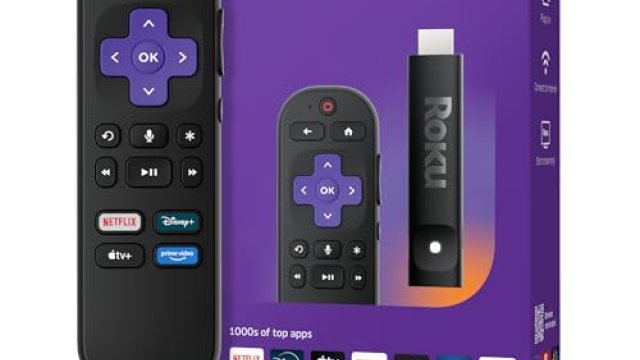
• The streaming stick and its remote
• Batteries for the remote, if needed
• A smartphone or email account for sign-in during setup
Some TVs have USB ports that can power a stick, but I usually recommend the wall adapter if the device supports it. In my experience, USB power can be too weak on some TVs, which can cause random restarts or slow performance.
It also helps to know your Wi-Fi password before you begin. That one detail saves more time than almost anything else.

How to Install a TV Streaming Stick
Installing a TV streaming stick is usually a short process, but doing it in the right order matters. I like to think of it like setting up a new phone: the hardware step is easy, but the first-time setup is where most of the real work happens.
1. Unbox the device and check the parts
Open the box and make sure you have all the pieces. Most streaming sticks include the stick itself, a remote, a power cable, a power adapter, and batteries.
Check for any quick-start cards too. Even if you do not read every line, they can help with device-specific steps later.
2. Plug the streaming stick into the HDMI port
Find an open HDMI port on your TV and insert the stick directly into it. Some models connect straight into the port, while others use a short HDMI extension cable.
If the TV is mounted close to the wall, the extension cable can help with space and signal stability. I’ve used that little adapter more times than I expected, especially on wall-mounted setups.
3. Connect the power cable
Plug the USB cable into the streaming stick and the other end into the power adapter. Then plug the adapter into a wall outlet.
If your device includes the option to use a TV USB port, try the wall outlet first. Wall power is usually more reliable, and that helps the stick boot faster and stay stable.
4. Switch your TV to the correct HDMI input
Turn on your TV and use the input or source button on the remote to choose the HDMI port where the stick is connected. You should see the streaming device’s welcome screen once the right input is selected.
If nothing appears, double-check the HDMI port number. This is one of the most common setup mistakes, and it’s easy to fix.
5. Pair the remote
Most streaming sticks pair the remote automatically during setup. If not, follow the on-screen instructions, which often involve holding down a button for a few seconds.
I’ve seen people think the remote is broken when it simply needed fresh batteries or a reset. If pairing fails, try replacing the batteries first.
6. Connect to Wi-Fi
Select your Wi-Fi network and enter the password. This is the step that lets the streaming stick download updates, apps, and your account settings.
For best results, use a strong 2.4 GHz or 5 GHz connection depending on your home setup. If your router is far away, signal strength matters a lot more than people realize.
7. Sign in or create your account
Most streaming sticks ask you to sign in with a brand account. You may be able to do this on the TV, on a phone, or through a web browser.
Follow the prompts carefully. If you skip sign-in or enter the wrong account, your apps and subscriptions may not appear the way you expect.
8. Install updates
The device will likely check for software updates during setup. Let it finish, even if it takes a few minutes.
Updates can improve app performance, fix bugs, and add security patches. In my own experience, skipping updates is one of the fastest ways to get weird lag or app crashes later.
9. Add your apps and organize the home screen
Once the stick is ready, install the apps you use most. You can also move favorites to the front for faster access.
A clean home screen makes the device easier to use every day. That small bit of organization pays off quickly when you’re tired and just want to start a movie.

How to Set Up the Best Picture and Sound
After you install a TV streaming stick, it’s worth checking the picture and sound. A few small changes can make the experience much better.
Start by checking these settings:
• Resolution: Use the highest resolution your TV supports
• HDR: Turn it on only if your TV supports it well
• Volume leveling: Helpful if apps sound too loud or too quiet
• Audio output: Use stereo, surround sound, or soundbar settings as needed
If the picture looks blurry, confirm the TV is on the correct HDMI input and that the streaming app is set to the right quality. Sometimes the issue is not the stick at all, but the TV’s display mode.
If you use a soundbar or AV receiver, test the audio after setup. I’ve had a few setups where video worked right away, but sound needed one extra menu change to behave.
Common Problems and How to Fix Them
Even though a TV streaming stick is easy to install, a few problems show up often. The good news is that most of them have simple fixes.
No picture on the TV
If the screen stays blank, check the HDMI input first. Then make sure the stick has power and the TV is turned to the correct source.
Try unplugging the stick for 10 seconds and reconnecting it. A fresh restart fixes a surprising number of first-day issues.
Remote not working
If the remote does nothing, replace the batteries. If that does not help, re-pair the remote by following the on-screen steps.
Also make sure nothing is blocking the device. Some remotes use Bluetooth or infrared, and interference can get in the way.
Wi-Fi connection keeps failing
Move the TV closer to the router if possible, or restart the router and the streaming stick. Weak Wi-Fi is one of the biggest causes of buffering and setup errors.
If your network is crowded with many devices, try connecting when fewer devices are active. That can make a real difference.
Apps are slow or crashing
Check for updates first. Then close and reopen the app, or restart the device.
If the problem keeps happening, the app may need to be removed and reinstalled. I’ve done this many times after a bad update, and it often clears the issue fast.
The stick gets too hot
Streaming sticks can warm up during use, but they should not feel dangerously hot. Make sure there is enough airflow around the TV and that the device is not pressed tightly against the wall.
If heat becomes a regular issue, use the HDMI extension cable. That small change can improve ventilation.
Tips I’ve Learned From Real Setups
After setting up streaming devices in living rooms, bedrooms, and even awkward wall-mounted TVs, I’ve learned a few practical things that make a big difference.
• Use the wall power adapter instead of the TV USB port when possible
• Keep the remote near the TV during setup so pairing is easier
• Write down your Wi-Fi password before you start
• Update the device before installing too many apps
• Use the HDMI extender if the stick feels cramped behind the TV
One mistake I made early on was assuming every TV USB port would provide enough power. It looked fine at first, then the stick kept restarting during updates. That taught me to treat wall power as the safer default.
Another useful habit is to test one streaming app right after setup. That quick check tells you whether the internet, remote, and audio are all working before you settle in for movie night.
Benefits of Using a TV Streaming Stick
A streaming stick is popular for a reason. It is small, simple, and usually cheaper than buying a new smart TV.
Here are the biggest benefits:
• Easy setup with minimal cables
• Portable enough to take on trips
• Access to many streaming apps
• Often more affordable than a full smart TV upgrade
• Regular software updates keep features fresh
For renters, students, or anyone upgrading an older TV, this is a practical solution. It’s like giving a plain TV a new set of wheels without replacing the whole car.
Limitations to Keep in Mind
A TV streaming stick is useful, but it is not perfect. Knowing the limits helps set realistic expectations.
Here are the main ones:
• It depends on Wi-Fi quality
• Older TVs may not support the best picture features
• Some apps require separate subscriptions
• Performance can slow if the device has limited storage
• Remote batteries may need replacing over time
If your internet is weak, the stick will not fix that problem. It can only stream as well as your connection allows.
When a Streaming Stick Is the Right Choice
A streaming stick makes sense if you want a simple upgrade without replacing your TV. It is especially helpful if your TV is older, your smart TV interface feels slow, or you want a second streaming option in another room.
It is also a good pick if you want portability. I’ve seen people carry one in a travel bag and use it in hotels or guest rooms with very little effort.
If your TV already has fast, reliable smart features, the improvement may be smaller. In that case, the stick is more of a convenience upgrade than a major change.
Frequently Asked Questions of How to Install a TV Streaming Stick
Do I need internet to use a TV streaming stick?
Yes, most streaming sticks need Wi-Fi to work because they stream content from online apps. Without internet, you usually cannot watch most of the services the device is designed for.
Can I use a streaming stick on any TV?
Most TVs with an HDMI port will work with a streaming stick. Very old TVs without HDMI may need an adapter, but that is less common now.
Why is my streaming stick not showing up on the TV?
The most common cause is the wrong HDMI input selection. If the input is correct, check the power connection and restart both the TV and the streaming stick.
Can I power a streaming stick with my TV’s USB port?
Sometimes yes, but not always reliably. A wall outlet is usually the better choice because it provides steadier power and reduces random shutdowns.
Do I need a separate subscription for the streaming stick itself?
Usually no, but many apps on the stick require their own paid subscriptions. The device gives you access to the platform, but app content often depends on what you subscribe to.
Conclusion
Installing a TV streaming stick is one of the easiest ways to modernize your TV without replacing it. Once you plug it into HDMI, connect power, choose the right input, and join Wi-Fi, the rest is mostly just setup and a few helpful tweaks.
If you take your time with the basics, most problems are easy to avoid. Try the steps above, test one app right away, and adjust the picture and sound to fit your space. If this guide helped, explore more setup tips, share your experience, or leave a comment with the device you’re using.

Similar Posts