How To Scan Documents With A Portable Scanner: Easy Tips
A portable scanner lets you digitize papers anywhere by feeding pages through compact, battery-ready hardware.
Scanning documents with a portable scanner is one of those small skills that saves a lot of time later. I’ve used them for receipts, contracts, travel papers, and client forms, and the big lesson is simple: the best results come from a clean page, steady feeding, and the right scan settings. In this guide, I’ll walk you through exactly how to scan documents with a portable scanner, avoid common mistakes, and get sharp, usable files every time.
What a Portable Scanner Is and Why It Helps
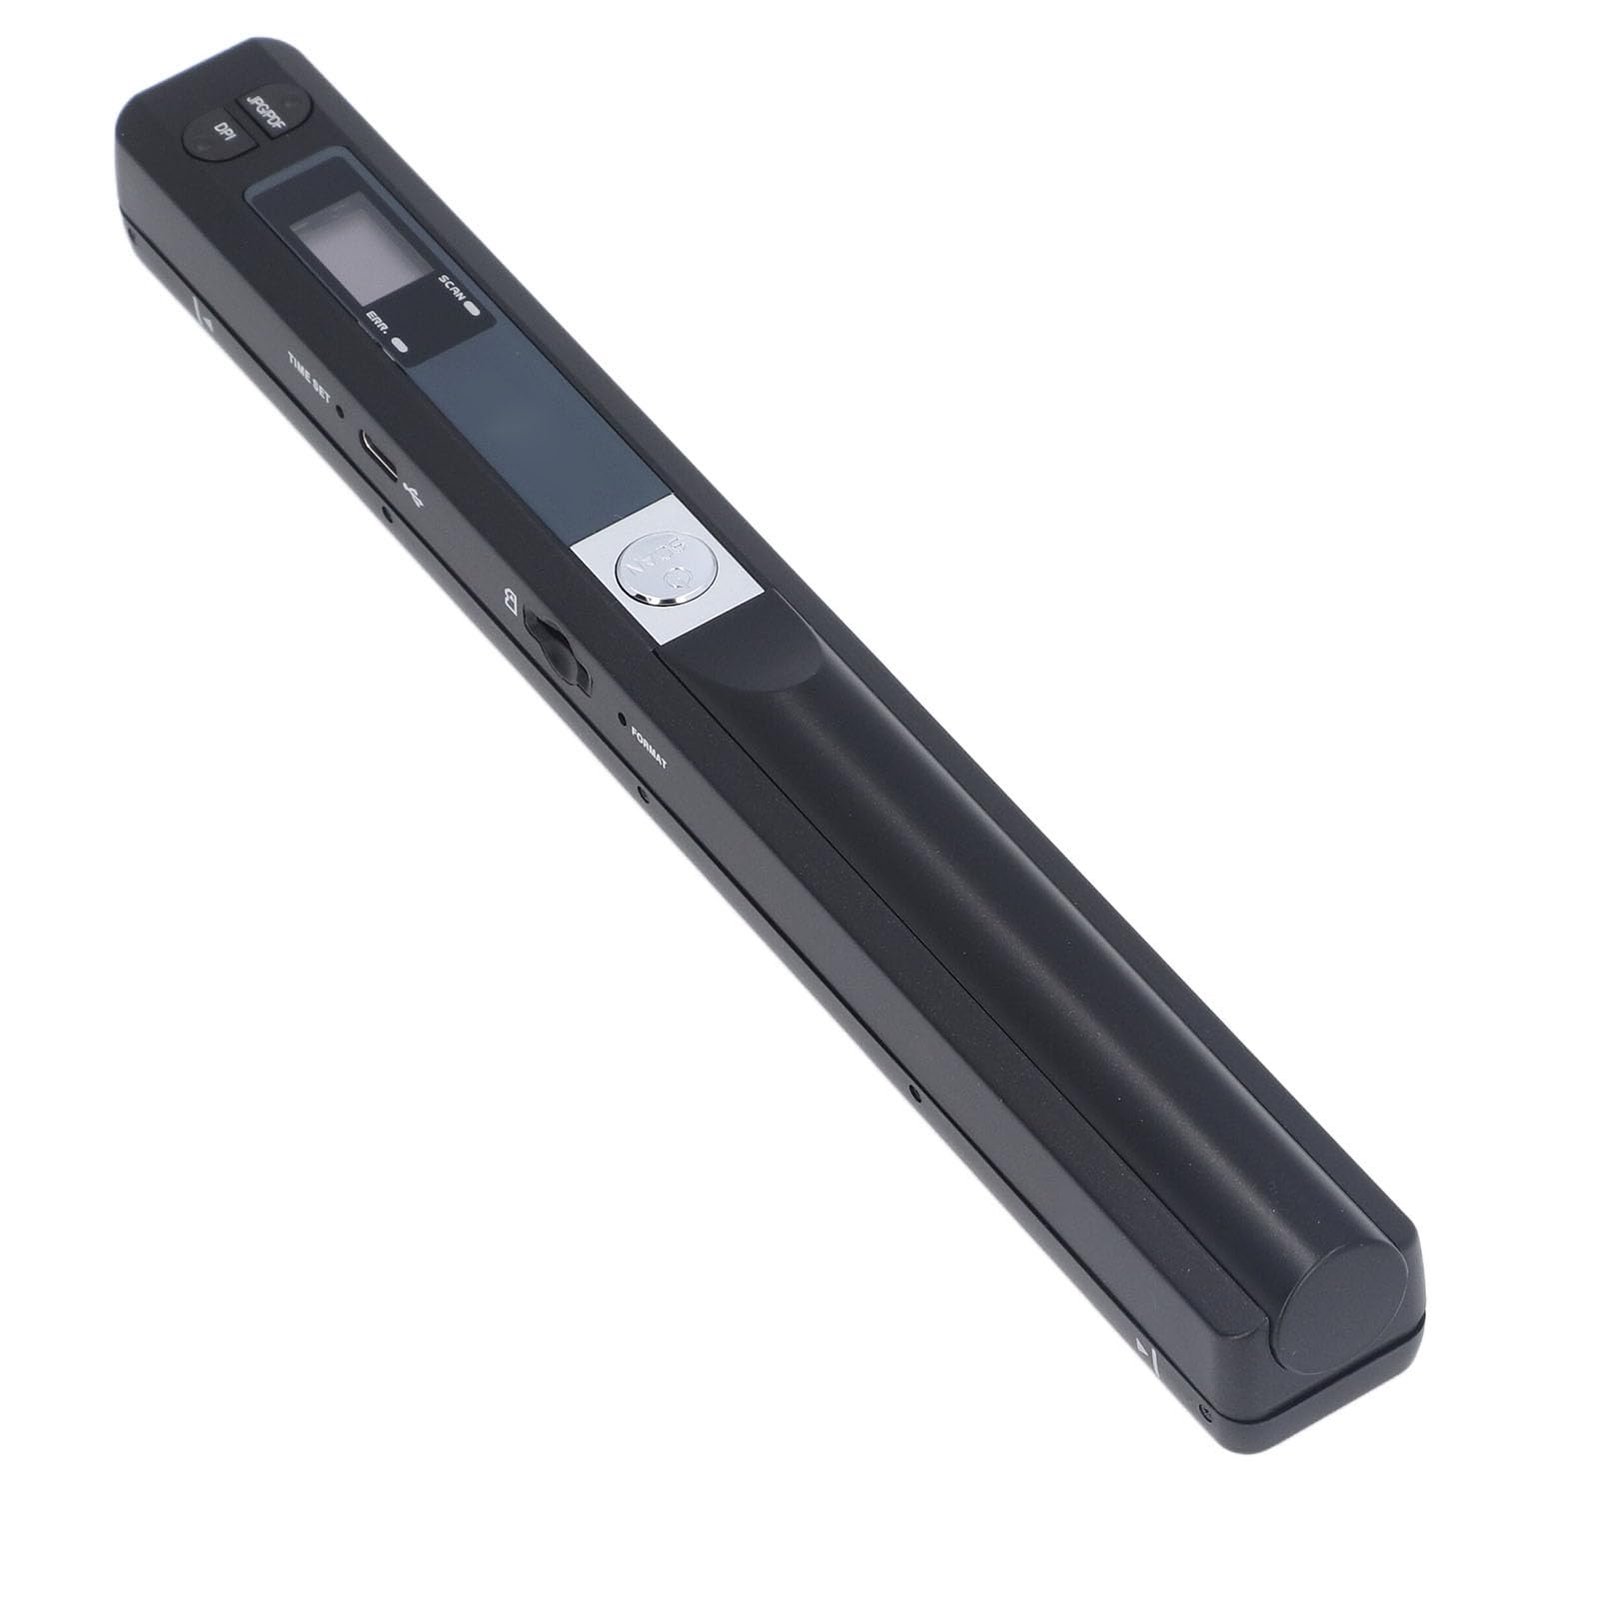
A portable scanner is a compact device made to scan documents away from a desk setup. Some models are handheld, while others are small sheet-fed scanners that can run on USB power or a built-in battery. They are useful when you need digital copies fast but do not want to carry a full-size office scanner.
People often choose a portable scanner for simple reasons:
• It saves space and fits in a bag or drawer
• It works well for travel, field work, and remote jobs
• It helps keep papers organized in digital form
• It can speed up sharing, archiving, and record keeping
In my experience, portable scanners are most helpful when paper piles start growing faster than your filing system. I once used one during a week of client onboarding, and it cut my follow-up time in half because every signed form was ready to email within minutes.
How to Scan Documents with a Portable Scanner Step by Step
Learning how to scan documents with a portable scanner is easier than most people think. The process is mostly about setup, page handling, and file saving. If you follow the same routine each time, your scans will look cleaner and be easier to find later.
1. Check the scanner and power source
Before you begin, make sure the scanner is charged or connected to a power source. Many portable scanners use USB, a laptop connection, or an internal battery. If the battery is low, the scanner may slow down or stop in the middle of a page.
Also check that the memory card, cable, or app connection is ready. A five-second check now can save you from rescanning a whole stack later.
2. Clean the document and the scanner path
Use a flat, clean page whenever possible. Remove staples, paper clips, sticky notes, and folded corners. Dust on the scanner glass or feed rollers can show up as lines or spots in the final file.
If the scanner has rollers, inspect them for dirt. Clean rollers help prevent paper jams and uneven feeding. I learned this the hard way after a wrinkled invoice jammed halfway through and left me with a crooked scan.
3. Open the scanning app or device menu
Most portable scanners work with their own software or mobile app. Open the app, connect the scanner, and pick the scan mode you need. If your scanner has physical buttons, review the manual so you know which button starts the scan, changes resolution, or saves to PDF.
This step matters because the default settings are not always the best ones. A little setup now can improve file quality and reduce editing later.
4. Choose the right scan settings
The best settings depend on the document type. For normal paperwork, 300 dpi is usually a good balance between quality and file size. For simple text-only pages, black-and-white or grayscale may be enough. For signed forms, contracts, or pages with stamps, color can be helpful.
Common settings include:
• Resolution, usually measured in dpi
• Color mode, such as color, grayscale, or black and white
• File type, such as PDF, JPEG, or PNG
• Single-sided or double-sided scanning
• Auto-crop, deskew, and text recognition if available
If you plan to archive documents for long-term use, PDF is often the safest choice. It keeps pages together and is easy to open on almost any device.
5. Feed or position the document correctly
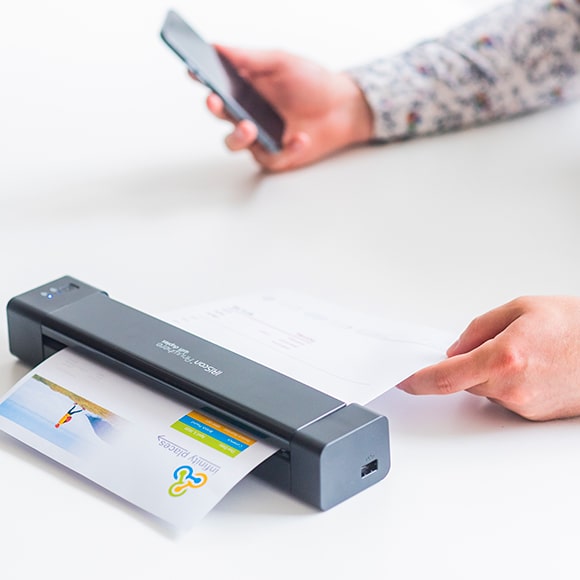
If you are using a sheet-fed portable scanner, align the page straight before feeding it in. For handheld scanners, hold the device flat and move it slowly and evenly across the page. Uneven movement can cause blur, missing lines, or tilted text.
Think of it like tracing with a ruler instead of your hand in a hurry. Smooth and steady almost always beats fast.
6. Start the scan and wait for completion
Press the scan button or tap the app command to begin. Do not move the page or scanner until the scan is finished. If the scanner supports continuous scanning, you can add more pages one after another without stopping.
Watch the preview when it appears. If text is cut off or the image looks crooked, rescan right away while the page is still nearby.
7. Review, crop, and save the file
After the scan, check the image for clarity, margins, and orientation. Crop out empty space if needed. Rotate the page if it came in sideways, and use any available enhancement tools carefully.
Then save the file with a clear name. A format like “2026-07-Receipt-OfficeSupplies” is much easier to search than “scan001.” Good file names matter more than people think, especially when you have hundreds of documents.

Best Settings for Clear and Professional Scans
If you want to know how to scan documents with a portable scanner like a pro, settings are a huge part of the answer. The scanner can only capture what it sees, so the right setup makes a noticeable difference. The good news is that you usually do not need advanced knowledge to get strong results.
Recommended settings for common document types
• Text documents: 300 dpi, black and white or grayscale, PDF
• Signed forms: 300 dpi, color, PDF
• Receipts: 200 to 300 dpi, grayscale, PDF or JPEG
• Photos or graphics: 600 dpi, color, PNG or high-quality JPEG
For most office and personal documents, 300 dpi is enough. Higher resolution can create bigger files, which may be harder to store or share.
When to use OCR
OCR, or optical character recognition, turns scanned text into searchable and editable text. This is useful when you want to search documents later or copy text into another file. Many portable scanners and apps now include OCR, and it can be a major time saver for contracts, notes, and invoices.
One thing I always tell people is to treat OCR like a helper, not magic. It works well on clean text, but it can misread poor lighting, blurry pages, or unusual fonts.
File format tips
• PDF is best for multipage documents and archiving
• JPEG is fine for quick sharing, but it compresses images more
• PNG can preserve clearer graphics and text screenshots
• TIFF may be used in some professional or archival workflows
If your scanner supports PDF with OCR, that is often the most practical choice for everyday use. It keeps things simple and searchable.
Common Mistakes to Avoid When Using a Portable Scanner
Even a good portable scanner can produce weak results if the process is rushed. I have made most of these mistakes myself, and each one cost me extra time. The fix is usually simple once you know what to watch for.
Feeding pages too quickly
Speed is tempting, especially when you have a stack of papers. But rushing often leads to skewed pages, missing corners, or failed scans. Slow down and let the scanner catch the page evenly.
Using wrinkled or curled paper
A bent page can make the scan look crooked or blurry. Flatten the paper first if you can. If the document is delicate, place it under a heavy book for a short time before scanning.
Ignoring lighting and shadows
This matters more with handheld scanners and camera-style scanning. Poor lighting can affect contrast and make text harder to read. A bright, even light source usually gives the cleanest result.
Saving everything as one file name
A folder full of “scan1,” “scan2,” and “scan-final-final” is a headache waiting to happen. Use names that describe the document, date, and purpose. It helps more than people expect when searching later.
Forgetting to check the scan before closing the app
Always preview the page before moving on. If a page is missing, blurry, or upside down, fix it right away. Re-scanning later takes longer and often means digging the paper back out.
Portable Scanner vs. Phone Scanning Apps
Many people compare portable scanners with phone apps because both can digitize paper. Phone apps are convenient, but a portable scanner often gives better results for repeated use. The difference becomes clearer when you scan many pages or need consistent quality.
Portable scanner advantages
• Better page alignment and consistency
• Faster for multi-page documents
• Often more accurate for text and OCR
• Less distortion than a hand-held phone shot
Phone app advantages
• No extra device to carry
• Good for quick one-off scans
• Easy to use in a pinch
• Works well for casual needs
If you scan documents often, a portable scanner usually feels more efficient. If you only scan once in a while, a phone app may be enough.
Best Use Cases for a Portable Scanner
Knowing how to scan documents with a portable scanner becomes especially useful in real-life situations. These devices shine when speed, mobility, and organization matter.
Common use cases include:
• Business travel and client meetings
• Remote work and home offices
• Students scanning notes, forms, and handouts
• Real estate, insurance, and field service work
• Medical, legal, and admin paperwork
• Travel documents, IDs, and receipts
I’ve found them especially handy during busy weeks when paperwork comes in from different places. Instead of letting papers pile up on a desk, I can scan them into one organized folder and move on.
Maintenance Tips to Keep Your Scanner Working Well
A portable scanner works best when you take care of it. Like any small machine, it stays more reliable with regular cleaning and safe storage. This is especially true if you use it often or carry it in a bag.
• Wipe the exterior with a soft, dry cloth
• Clean rollers or glass as directed by the manufacturer
• Store it in a protective case when traveling
• Keep paper clips, dust, and liquids away from the scan path
• Charge the battery before long trips or important meetings
If you notice streaks or repeated paper jams, the scanner may need cleaning before it needs replacement. Small maintenance habits can extend the life of the device and keep your scans sharp.
Frequently Asked Questions of How to Scan Documents with a Portable Scanner
What is the best resolution for scanning documents?
For most documents, 300 dpi is the best balance of quality and file size. It keeps text sharp without making files too large to share or store.
Can I scan multiple pages at once with a portable scanner?
Yes, many sheet-fed portable scanners support multiple pages through a batch or continuous scan mode. Handheld models usually scan one page at a time, so check your model’s design and software features.
Is PDF better than JPEG for scanned documents?
PDF is usually better for documents because it keeps pages together and is easier to organize. JPEG can work for single pages, but it is not ideal for multipage files or long-term document storage.
Why does my scan look blurry?
Blurry scans often happen when the page moves, the scanner is not held steady, or the document is wrinkled. Slow, even movement and a flat page usually solve the problem.
Do portable scanners work without Wi-Fi?
Many do. Some connect by USB, battery, or memory card, and others use Bluetooth or a direct app link, so Wi-Fi is not always required.
How do I make scanned text searchable?
Use a scanner or app with OCR, which reads printed text and turns it into searchable text. This makes it easier to find keywords later and is very useful for digital filing.
Conclusion
Knowing how to scan documents with a portable scanner can make everyday paperwork feel much lighter. Once you learn the right settings, page handling, and file habits, the process becomes fast, clean, and repeatable. That small routine can save time, reduce clutter, and keep important records easy to find.
The biggest lesson is to stay steady and consistent. Clean pages, the right resolution, and clear file names go a long way toward better results. Try the steps in this guide the next time you scan a form, receipt, or contract, and you’ll likely notice the difference right away.
If you found this guide useful, save it for later, explore more document management tips, or leave a comment with your own scanner setup and workflow.