How To Connect A Portable Monitor: Easy Setup Guide
Connecting a portable monitor is usually plug-and-play: match the port, power it up, then set display mode.
If you have ever opened a new portable monitor and felt stuck for a minute, you are not alone. The good news is that learning how to connect a portable monitor is usually simple once you know which cable, port, and power source your device needs. I have set up plenty of these screens for travel, remote work, and client demos, and the pattern is always the same: check compatibility first, then connect in the right order, and finish with the display settings.
How Portable Monitors Work
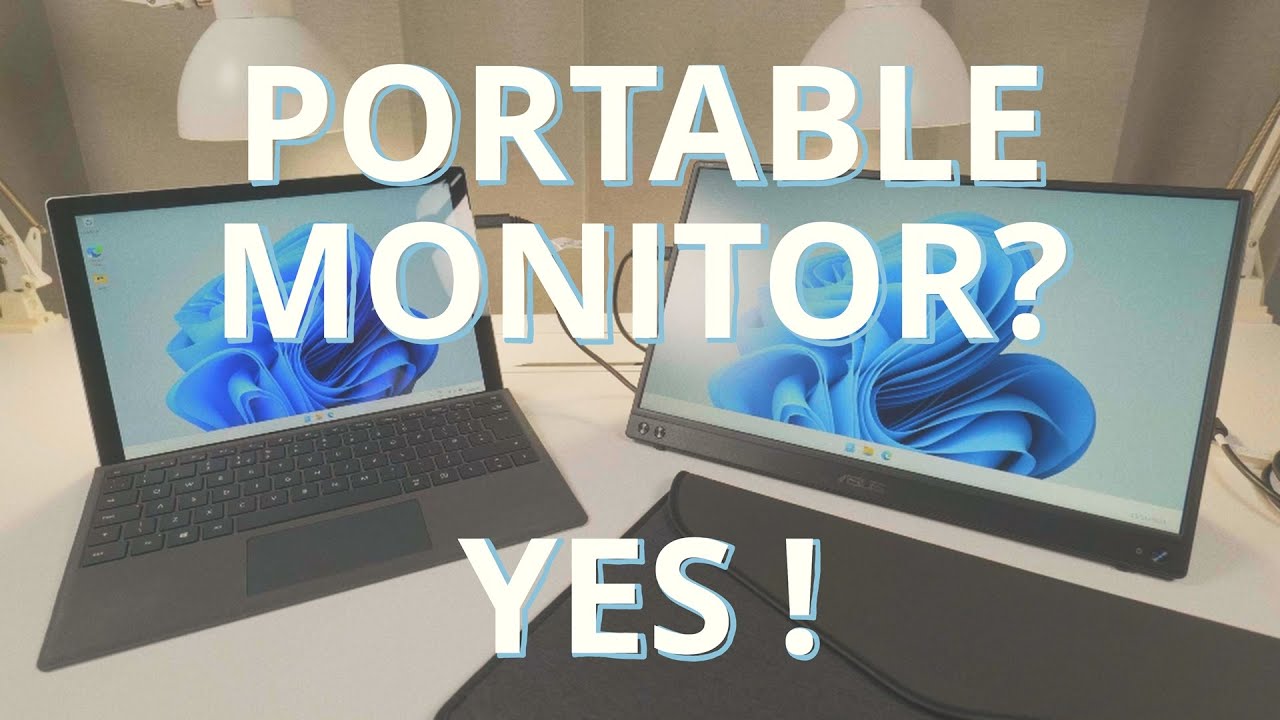
A portable monitor is just a second display in a thinner, lighter body. Most models pull video from a laptop, desktop, phone, tablet, or gaming device through USB-C, HDMI, or mini HDMI. Many also need a separate power source, while some USB-C models can run from a single cable if the device supports video output and enough power.
That last part matters more than people expect. I have seen users assume any USB-C cable will work, then spend 20 minutes wondering why the screen stays black. The cable, the port, and the device all have to speak the same language.
What You Need Before You Connect a Portable Monitor
Before you connect a portable monitor, take a quick look at your devices and accessories. This small check saves a lot of frustration later.
Here is what you may need:
- A portable monitor
- A compatible cable such as USB-C, HDMI, or mini HDMI
- A power source, if the monitor does not power through the same cable
- A laptop, desktop, tablet, phone, or handheld game device
- Optional adapters such as USB-C to HDMI or USB-A to USB-C
Also check your device ports. Some USB-C ports support video output, and some do not. On laptops, this is often marked with a DisplayPort symbol, Thunderbolt symbol, or mentioned in the product specs. On phones and tablets, video output support depends on the model and operating system.
How to Connect a Portable Monitor to a Laptop
This is the most common setup, and it is usually the easiest. I use this setup most often when I want a bigger screen on the road without carrying a full-size monitor.
Follow these steps:
-
Identify the video port on your laptop.
Look for USB-C with video support, HDMI, mini HDMI, or Thunderbolt. -
Connect the cable.
Plug one end into the portable monitor and the other into your laptop. -
Power the monitor.
If your monitor supports single-cable USB-C, it may power on right away. If not, connect it to a wall adapter, power bank, or USB port. -
Turn on the monitor.
Some monitors start automatically, while others need the power button pressed once. -
Set the display mode.
On Windows, press Windows key plus P to choose Duplicate, Extend, or Second screen only. On Mac, go to Display settings to arrange the screens. -
Adjust resolution and brightness.
If the image looks fuzzy or too dim, adjust the settings in your system menu or on the monitor itself.
A common mistake is connecting the monitor before checking if the laptop can send video over USB-C. If the screen does not light up, try the HDMI route or confirm that your USB-C port supports DisplayPort Alt Mode or Thunderbolt.
How to Connect a Portable Monitor to a Desktop
Connecting a portable monitor to a desktop is almost the same, but there is one extra thing to watch for: where the monitor cable goes. Many desktop towers have multiple ports, and not all of them are meant for display output.
Here is the cleanest way to do it:
- Plug the monitor into the desktop’s HDMI, DisplayPort, or USB-C video port
- Connect power if needed
- Turn on the monitor
- Open your computer’s display settings
- Choose Extend if you want extra workspace or Duplicate if you want the same image on both screens
If your desktop has a graphics card, use the ports on the graphics card first. That is a lesson I learned after wasting time on a motherboard port that did not support the display setup I wanted. Once I moved the cable to the GPU port, the monitor worked instantly.
How to Connect a Portable Monitor to a MacBook
MacBooks are a great match for portable monitors, especially USB-C models. The setup is simple, but the display arrangement can feel a little different from Windows.
To connect:
- Use a USB-C cable if your portable monitor supports video and power over USB-C
- Use HDMI with a compatible adapter if needed
- Open System Settings, then Displays
- Arrange the screens the way you want
- Choose mirror mode if you want the same image on both screens, or extended mode for more workspace
One thing to remember is that some older MacBook models may need adapters or docks for certain monitor connections. Also, macOS display scaling can change how sharp text looks, so test the resolution settings if icons or fonts look too large or too small.
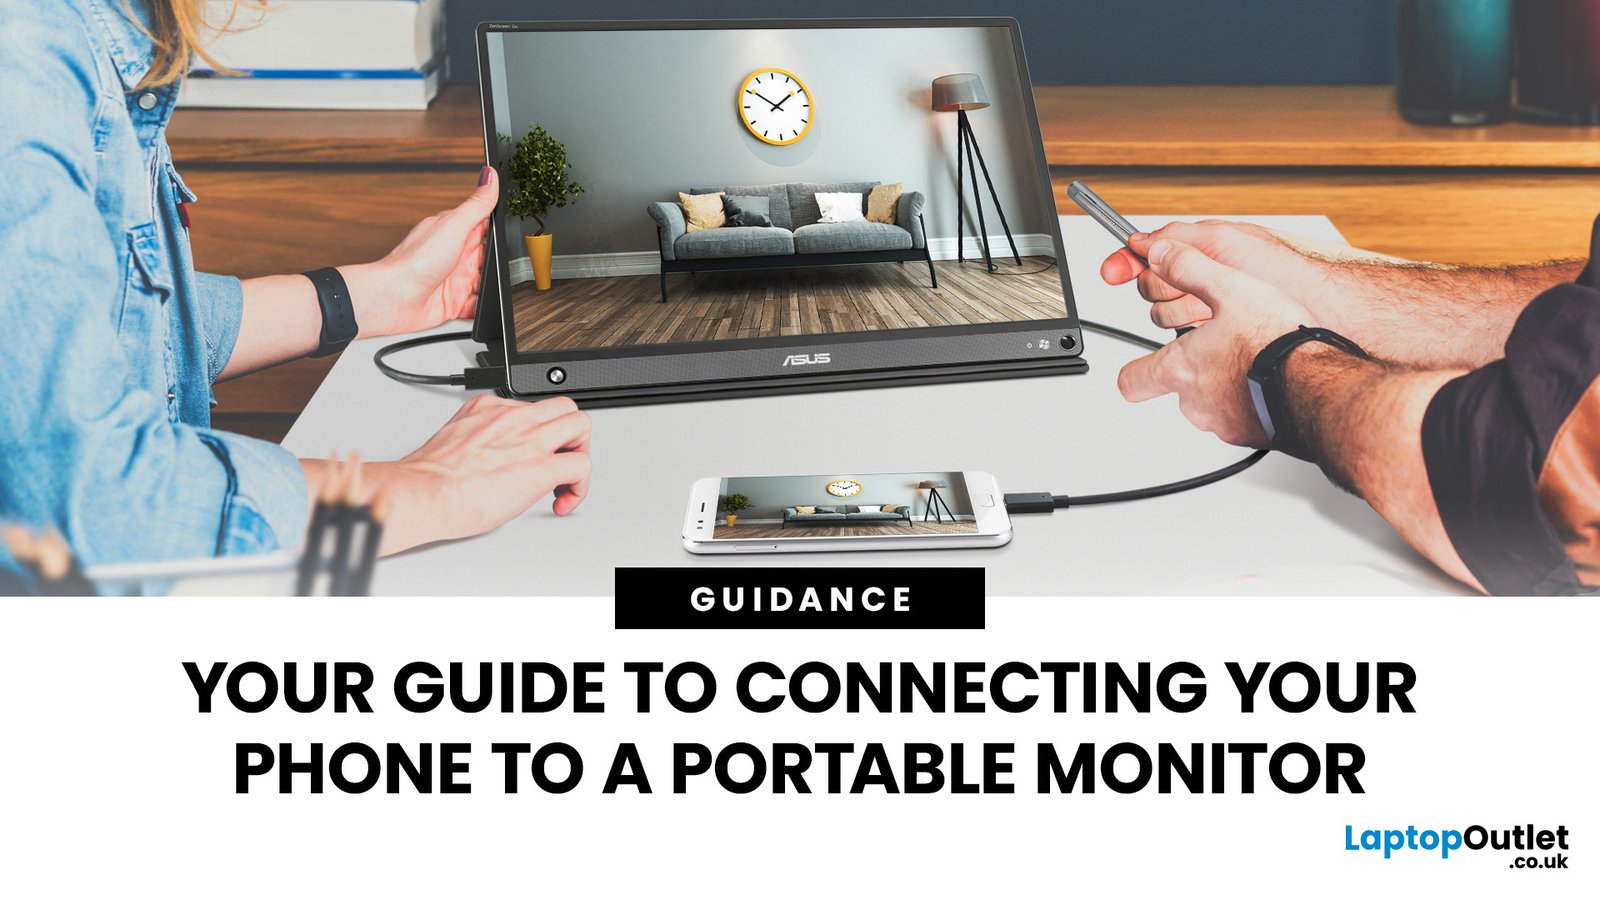
How to Connect a Portable Monitor to a Phone or Tablet
This setup is useful for mobile work, content review, and travel. It also depends heavily on whether the phone or tablet supports video output.
Here is what to check:
- USB-C video output support
- Compatibility with desktop-style modes such as Samsung DeX or similar features
- Power needs of the portable monitor
- Whether the phone can supply enough power for the screen
If your device supports video output, plug in the cable and wait for the display to appear. If the monitor stays blank, the issue is usually one of three things: the phone does not support video out, the cable is charge-only, or the monitor needs external power.
I have found that phones are the most misunderstood devices in this setup. People often think any USB-C cable means video, but many cables are for charging only. That tiny detail causes a lot of confusion.
How to Connect a Portable Monitor to a Gaming Device
Portable monitors are popular for gaming because they are easy to carry and quick to set up. They work well with consoles and handheld devices when the ports match.
Common steps include:
- Connect the console or handheld device to the monitor using HDMI, mini HDMI, or USB-C if supported
- Plug the monitor into power
- Set the monitor input source to the correct port
- Adjust game mode, refresh rate, or brightness if available
For devices like the Nintendo Switch, dock-based HDMI setups are common. For handheld PCs, USB-C often gives a cleaner single-cable setup. If you want low lag, look for a monitor with a fast response time and the right refresh rate for your device.
Choosing the Right Cable and Port
The cable matters just as much as the monitor. A lot of “it does not work” problems come from using the wrong cable type or a low-quality cable.
Here is a simple guide:
- USB-C to USB-C: Best for modern laptops, tablets, and some phones if video output is supported
- HDMI to HDMI: Common for laptops, desktops, and consoles
- USB-C to HDMI: Useful when your device has USB-C output but the monitor needs HDMI
- Mini HDMI: Found on some portable monitors for a smaller port design
- USB-A to USB-C: Usually for power only, not video, unless the monitor specifically supports it
If you are unsure, look at the monitor label or manual for input symbols. Many portable monitors list their supported modes near the port area or in the spec sheet.
Powering the Portable Monitor the Right Way
Power is one of the biggest differences between portable monitors. Some are true single-cable displays. Others need an extra power connection to stay stable.
Common power options include:
- Power from the laptop through USB-C
- Power from a wall charger
- Power from a power bank
- Power from a USB port on a dock or hub
When I test portable monitors, I always check whether the brightness drops when the monitor is underpowered. That is usually a sign the screen needs more juice than the current source gives. If your monitor flickers, shuts off, or looks dim, the power source is the first thing to inspect.
How to Set the Display Mode
Once the monitor is connected, you still need to choose how it should work. This part is simple, but it changes the whole experience.
Your main options are:
- Duplicate mode: Shows the same content on both screens
- Extend mode: Gives you more desktop space
- Second screen only: Uses only the portable monitor
- Mirror mode: Common on macOS and some tablets, similar to duplicate mode
For work, extend mode is usually best. It lets you keep email on one screen and documents on the other. For presentations, duplicate mode is often the easiest choice.
Troubleshooting Common Connection Problems
Even when everything looks right, a portable monitor may not turn on or display correctly. The fix is usually simple.
Try these steps:
- Check that the monitor is powered on
- Confirm you are using the correct input source
- Re-seat both ends of the cable
- Try a different cable
- Test another port on your laptop or desktop
- Restart the computer
- Update graphics drivers if needed
- Confirm the device supports video output
If the screen flickers, the cable may be too weak or too long. If the monitor says “No Signal,” the issue is often the wrong input source or a port that does not support video. If the screen is on but blank, brightness may be turned all the way down.
Best Practices for a Smooth Setup
A portable monitor feels effortless when you set it up the right way from the start. These small habits make a big difference.
Use these best practices:
- Keep a known-good USB-C or HDMI cable in your bag
- Label your cables if you use several devices
- Check monitor specs before buying a new laptop or phone
- Use a stable stand so the screen does not wobble
- Carry a compact charger or power bank for travel
- Test the setup at home before an important trip or meeting
I like to think of a portable monitor setup like packing for a short trip. If you prepare well once, everything feels easy after that. If you skip the basics, you end up solving tiny problems at the worst time.
Benefits and Limitations of Portable Monitors
Portable monitors are great, but they are not perfect. Knowing both sides helps you choose the right one for your needs.
Benefits:
- Easy to carry
- Quick to set up
- Better for multitasking
- Useful for travel, work, and gaming
- Can improve productivity on the go
Limitations:
- Some models need extra power
- Not all devices support video over USB-C
- Smaller speakers are often weak
- Brightness may be lower than full-size monitors
- Cable quality matters more than people expect
If you understand those tradeoffs early, you can avoid disappointment and pick the right model the first time.
Frequently Asked Questions of How to Connect a Portable Monitor
Why is my portable monitor not connecting to my laptop?
The most common reasons are a wrong cable, a port without video support, or the wrong input source on the monitor. Try another cable and confirm your laptop’s USB-C or HDMI port supports display output.
Can I connect a portable monitor with just one USB-C cable?
Yes, but only if both the monitor and your device support USB-C video output and enough power delivery. If either side does not support that, you may need a second cable for power.
Do I need software to use a portable monitor?
Usually, no. Most portable monitors are plug-and-play and work through built-in display settings on Windows, macOS, Android, or supported tablets. Some brands offer optional apps or control tools, but they are not always required.
Why does my portable monitor say “No Signal”?
That message usually means the monitor is not receiving video from the device. Check the input source, cable type, and port compatibility, then restart both devices if needed.
Can I use a portable monitor with a phone?
Yes, if your phone supports video output over USB-C or another compatible connection. Many phones do not support this, so it is smart to check the model specs first.
Conclusion
Learning how to connect a portable monitor is mostly about knowing your ports, cables, and power needs. Once those pieces line up, the setup is usually fast, simple, and surprisingly smooth. The best results come from checking compatibility first, using a solid cable, and choosing the right display mode for the job.
If you are setting one up for work, travel, or gaming, take a few minutes to test everything before you need it. That small step can save a lot of stress later. If this guide helped, explore more setup tips, subscribe for practical tech advice, or leave a comment with your portable monitor questions.