How To Improve Webcam Quality: Easy Pro Tips
You can improve webcam quality by fixing lighting, cleaning the lens, and adjusting camera settings.
If your video calls look soft, dark, or grainy, you are not alone. I have tested webcam setups for meetings, recordings, and live calls, and the same issues show up again and again: poor light, bad framing, low resolution settings, and weak internet. The good news is that how to improve webcam quality is usually not about buying a new camera right away. Small changes often make the biggest difference.

What affects webcam quality?
Webcam quality depends on a mix of hardware, software, and environment. A great webcam can still look bad in a dark room. A basic webcam can look surprisingly good when the light is right and the settings are tuned well.
The main factors are:
- Lighting, which controls brightness, shadows, and skin tone
- Camera resolution, which affects sharpness and detail
- Frame rate, which affects motion smoothness
- Lens cleanliness, which affects clarity
- Internet speed, which can lower video quality in calls
- Computer performance, which can affect how the webcam runs
In my own testing, lighting was the biggest upgrade. A cheap webcam in front of a window often looked better than a more expensive one in a dim room. That is why how to improve webcam quality usually starts with the room, not the camera.
Improve your lighting first
Good lighting is the fastest way to improve webcam quality. Cameras need light to capture detail. When there is not enough light, webcams boost the image digitally, and that creates grain and blur.
A few simple fixes help a lot:
- Face a light source, such as a window or desk lamp
- Place the light slightly above eye level
- Avoid bright light behind you, since it makes your face too dark
- Use soft light instead of harsh direct light
- Add a second light if your face still has strong shadows
Natural light is often best, but it changes during the day. If you work in the evening, a warm desk lamp or LED panel can keep the image steady. When I first started recording calls from home, I made the mistake of sitting with a window behind me. My face looked flat and dark, even though the room felt bright. Moving the desk fixed it instantly.
Clean the webcam lens
A dirty lens can make a webcam look foggy, soft, or dull. Dust, fingerprints, and smudges all reduce detail.
Use a microfiber cloth and wipe the lens gently. If needed, use a small amount of lens-safe cleaner. Do not use paper towels or rough fabric, because they can scratch the glass or plastic.
This sounds simple, but it is one of the most ignored steps in how to improve webcam quality. I have seen people blame their webcam software when the real problem was just a dusty lens.
Check your webcam settings
Most webcams and video apps let you change quality settings. If your webcam is stuck in a low setting, the image may look worse than it should.
Look for these settings:
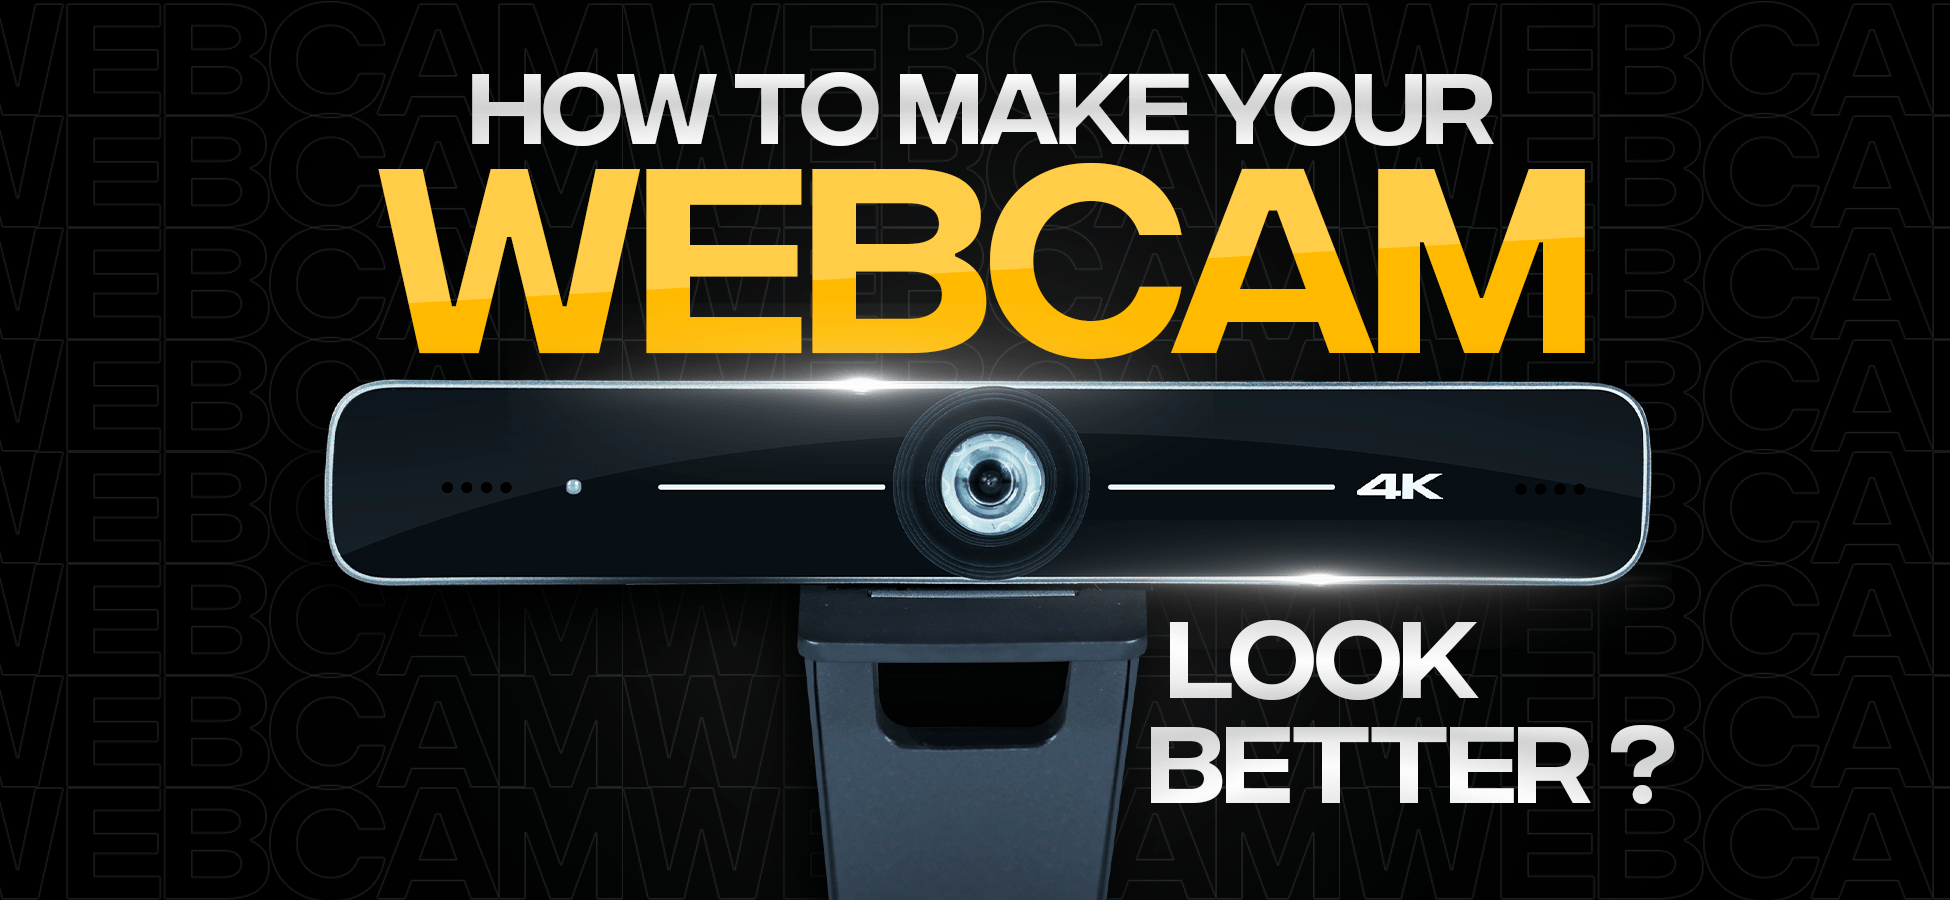
- Resolution, such as 720p, 1080p, or 4K
- Frame rate, such as 30 fps or 60 fps
- Exposure, which controls brightness
- White balance, which controls color tone
- Focus, if your webcam supports manual focus
- Zoom, which can reduce image quality if used too much
If your webcam software has an “auto” mode, try it first. Then test manual changes one at a time. Many people overadjust settings and make the image worse. I usually tell people to start with brightness and exposure, then leave the rest alone unless something looks clearly wrong.
Use the highest resolution your setup supports
Resolution is one of the easiest terms to understand in webcam quality. It means how much detail the camera can show. Higher resolution usually means a sharper picture, especially if you crop the video or view it on a large screen.
Common webcam resolutions include:
- 720p, which is fine for basic calls
- 1080p, which is a strong choice for most users
- 4K, which helps with very sharp recordings and content creation
Keep in mind that resolution alone does not guarantee a better image. A 1080p webcam in bad light can still look worse than a 720p webcam in good light. Still, if your camera and app both support it, choose the highest stable resolution available.
Improve your background and framing
A messy or distracting background can make webcam quality feel worse, even if the camera itself is fine. Clean framing helps the video look more professional and easier on the eyes.
Try these tips:
- Keep the background simple
- Sit a little farther from the wall for depth
- Center your face in the frame
- Keep your eyes near the top third of the screen
- Avoid bright clutter or shiny objects behind you
A neutral wall, bookshelf, or soft curtain often works well. This is not just about style. Good framing helps viewers focus on your face, which makes the whole image feel clearer and more polished.
Reduce blur by fixing focus and movement
If your webcam looks soft, the issue may be focus or motion blur. Some webcams hunt for focus when you move too much or sit too close. That can make the image pulse in and out of sharpness.
To reduce blur:
- Sit at the recommended distance from the webcam
- Keep your face within the camera’s focus range
- Avoid moving too fast during calls
- Use a tripod or stable mount instead of stacking books
- Turn off digital zoom if it causes softness
For recordings, a stable setup is especially important. I learned this the hard way after recording a whole video with a webcam perched on an unstable monitor shelf. Every small desk bump showed up on camera.
Update drivers and webcam software
Old drivers can cause bugs, poor performance, or low video quality. If your webcam is not working well, software updates may fix it.
Check for:
- Webcam driver updates from the device manufacturer
- Operating system updates
- App updates for Zoom, Teams, Google Meet, or OBS
- Firmware updates, if your webcam brand offers them
After updating, restart your computer and test the webcam again. This step is easy to skip, but it often solves strange issues like lag, freezing, or color problems. It is also a smart part of how to improve webcam quality without spending money.
Improve internet speed for video calls
If your webcam looks good locally but bad during calls, the problem may be your internet connection. Many apps lower video quality automatically when bandwidth is weak.
To help:
- Use a wired Ethernet connection if possible
- Move closer to your Wi-Fi router
- Pause large downloads and cloud backups
- Close apps that use a lot of bandwidth
- Lower other users’ streaming activity during meetings
Video calls need stability more than raw speed. A steady connection with fewer drops usually gives better results than a fast but unstable one. This matters a lot for remote work, interviews, and livestreams.
Optimize your computer performance
A slow computer can limit webcam performance. If your CPU or memory is overloaded, the camera feed may stutter, lag, or drop quality.
Try these steps:
- Close unused browser tabs
- Quit heavy apps running in the background
- Restart your computer before important calls
- Check if antivirus scans or updates are running
- Use a smaller number of camera-heavy apps at once
This is especially important if you are using virtual backgrounds, filters, or screen recording. Those features use extra system power and can reduce webcam quality. Sometimes the webcam itself is fine, but the computer cannot keep up.
Choose the right webcam for your needs
If you have already fixed lighting, settings, and internet but the image still looks poor, the webcam may simply be too limited. Entry-level webcams work for basic calls, but they may struggle in low light or with sharp detail.
When shopping for a better webcam, look at:
- Resolution and frame rate
- Low-light performance
- Autofocus quality
- Field of view
- Microphone quality
- Compatibility with your computer and apps
Do not assume the most expensive webcam is the best choice. For many people, a solid 1080p model with good low-light support is enough. In practice, the best webcam is the one that fits your room, your use case, and your budget.
Common mistakes that make webcam quality worse
A lot of webcam problems come from small mistakes. These are the ones I see most often:
- Sitting with a window behind you
- Using overhead lights that cast harsh shadows
- Zooming in too much
- Using a dirty lens
- Sitting too close to the camera
- Ignoring app settings
- Forgetting to update drivers
- Using a shaky or unstable mount
The pattern is clear: people often try to fix the camera before fixing the room. If you want better results fast, start with the easiest variables first. That usually saves money and time.
A simple step-by-step webcam quality checklist
If you want a quick way to improve webcam quality, use this order:
- Clean the lens
- Turn on better lighting
- Face the light source
- Adjust webcam resolution
- Check exposure and focus
- Improve your background
- Update drivers and app software
- Test your internet connection
- Close heavy background apps
- Upgrade the webcam only if needed
This checklist works because it tackles the most common issues first. In my experience, most people see a big jump after the first three steps alone.
Frequently Asked Questions of How to Improve Webcam Quality
Why does my webcam look blurry even with good lighting?
Blur can come from a dirty lens, low resolution, autofocus problems, or digital zoom. It can also happen if your webcam is too close to your face or if your computer is under heavy load.
Is 1080p enough for good webcam quality?
Yes, 1080p is enough for most video calls, interviews, and home office use. For everyday use, lighting and framing usually matter more than moving up to 4K.
Why does my webcam look worse on Zoom than in the camera app?
Video call apps often compress the image to save bandwidth. That can reduce sharpness, especially if your internet connection is weak or your app settings are set to a lower quality.
Can a ring light really improve webcam quality?
Yes, a ring light can make a big difference by adding soft, even light to your face. It helps reduce shadows and makes low-end webcams look cleaner and brighter.
Do I need a new webcam to look professional on camera?
Not always. Many people can get a strong result with a basic webcam if they have good light, proper framing, and the right software settings. A new webcam helps most when your current one is very old or limited.
Conclusion
Improving webcam quality is usually about smart setup, not luck. When you fix lighting, clean the lens, adjust settings, and reduce strain on your computer and internet, the difference can be dramatic. Most people do not need a full gear upgrade to look clear and confident on camera.
If you want the fastest results, start with the basics today and test each change one by one. You will quickly see what matters most in your space. Try the checklist, compare your before-and-after results, and keep refining your setup for your next call or recording.