How To Set Up A Streaming Device: Easy Guide
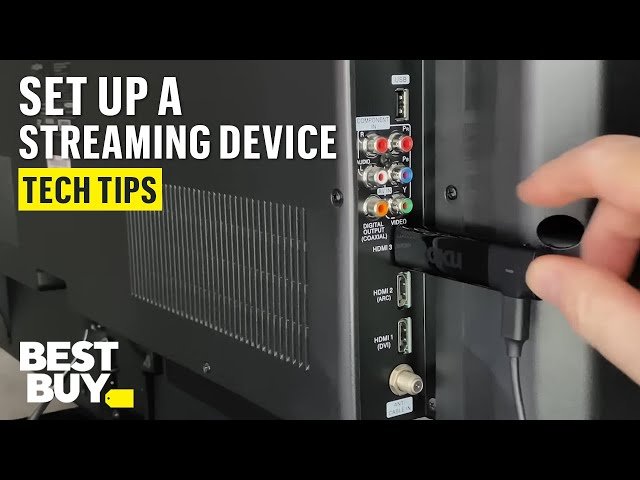
A streaming device is easy to set up: plug it in, connect Wi-Fi, sign in, and start watching.
If you want a smooth home entertainment upgrade, learning how to set up a streaming device is one of the easiest wins. I’ve helped friends, family, and plenty of clients get devices like Roku, Amazon Fire TV, Apple TV, and Chromecast running without stress, and the process is usually simpler than people expect. The key is knowing the right order, avoiding small setup mistakes, and making a few smart choices early so your streaming feels fast, stable, and frustration-free.
What a Streaming Device Does
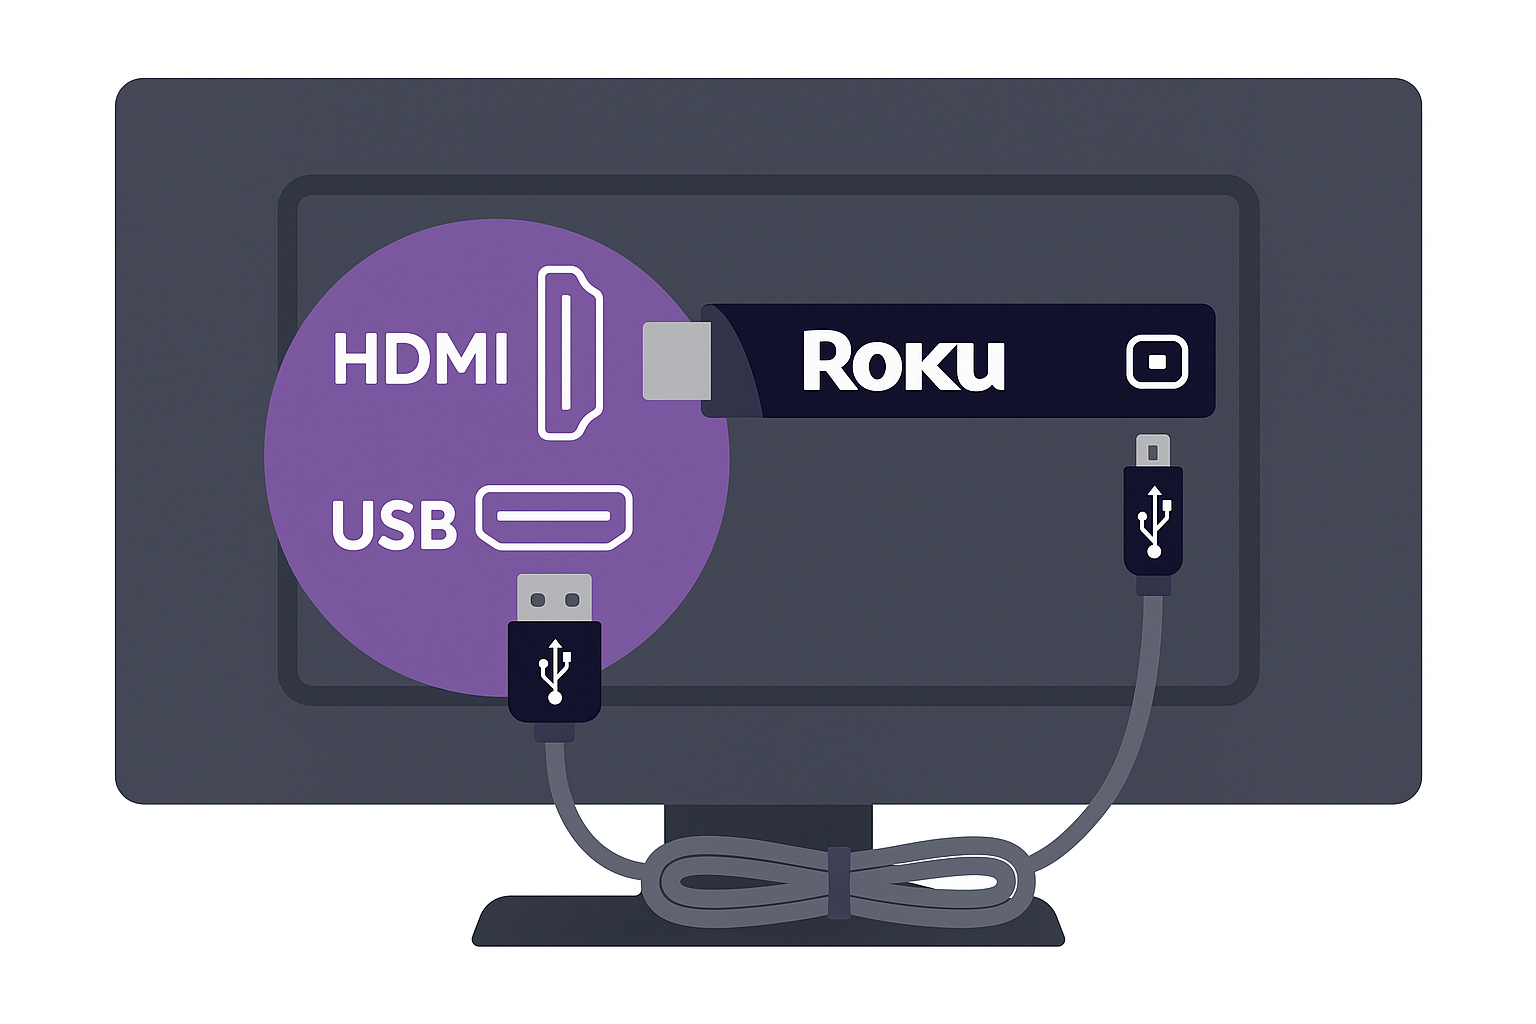
A streaming device turns almost any TV into a smart TV. It connects to the internet and lets you use apps like Netflix, Hulu, Disney+, YouTube, and live TV services.
The device may plug into an HDMI port on your TV or connect through a built-in streaming platform. Either way, the goal is the same: bring internet video to your screen with a remote or phone.
Common streaming devices include:
• Roku
• Amazon Fire TV Stick
• Apple TV
• Google Chromecast with Google TV
• NVIDIA Shield TV
In my experience, people often think the setup is hard because of all the cables and sign-in screens. But once you understand the basic steps, how to set up a streaming device becomes more like assembling a simple puzzle.
What You Need Before You Start
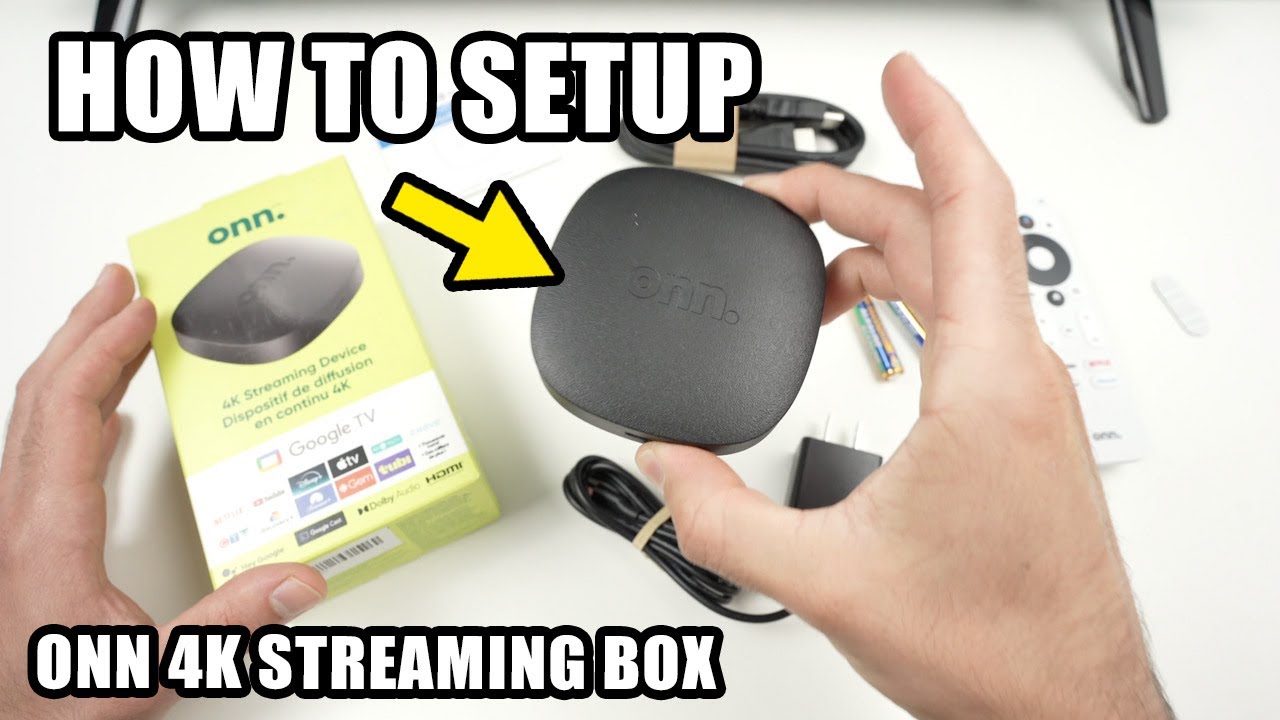
Before you set up a streaming device, it helps to gather everything first. That keeps the process smooth and avoids the classic “where did I put the HDMI cable?” moment.
You’ll usually need:
• A TV with an open HDMI port
• A stable Wi-Fi connection
• The streaming device and its remote
• Power adapter or USB cable
• Batteries for the remote, if needed
• A smartphone, tablet, or email access for sign-in
• A streaming account, if you already have one
If your TV is older, make sure it has an HDMI input. If it does not, you may need an adapter, but that can add confusion and lower video quality. I’ve seen people buy the wrong device for an older TV, so checking this first saves time and money.
How to Set Up a Streaming Device Step by Step
Setting up a streaming device is usually straightforward if you follow the steps in order. Here’s the simplest way to do it.
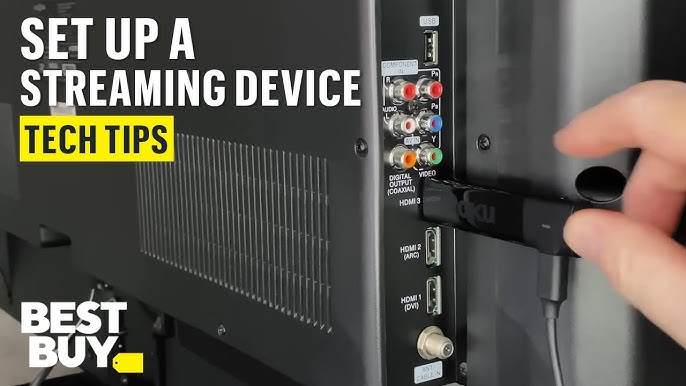
Plug the device into the TV
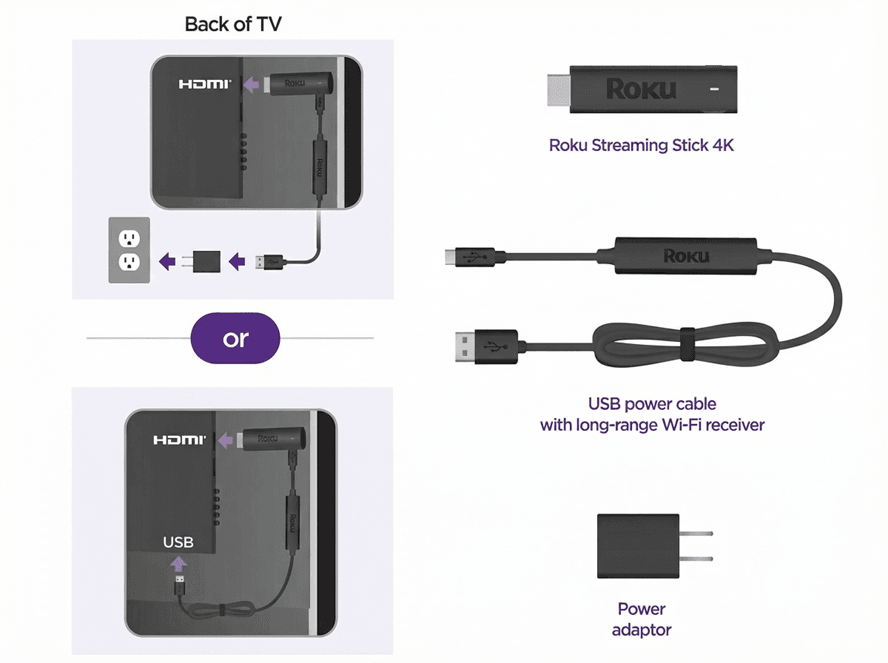
Insert the streaming stick or box into an available HDMI port. If the device comes with an extension cable, use it if the space behind your TV is tight.Connect power
Use the included power adapter whenever possible. Some devices can power from a TV USB port, but wall power is usually more reliable and helps prevent random restarts.Switch the TV input
Use your TV remote to open the correct HDMI input. You should see the device startup screen after a few seconds.Pair the remote
Most remotes pair automatically during setup. If not, follow the on-screen instructions, which usually involve holding a button for a few seconds.Choose your language and region
Pick your preferred language and country settings. This helps the device show the right app store and content options.Connect to Wi-Fi
Select your home network and enter the password. A strong internet connection matters here, especially if you plan to stream in 4K.Sign in or create an account
Many devices ask for a brand account, such as Roku, Amazon, Google, or Apple. This step links the device to your apps and settings.Install updates
Let the device update its software before you start watching. I always tell people not to skip this, because updates often fix bugs and improve performance.Add your streaming apps
Download the apps you use most. Start with the basics, then add more later so the home screen stays clean.Test playback
Open a video and make sure the sound, picture, and remote all work as expected. This is the best time to catch issues while setup is still fresh.
How to Connect a Streaming Device to Wi-Fi
Wi-Fi setup is one of the most important parts of how to set up a streaming device. A weak or unstable connection can cause buffering, lag, and low video quality.
Here are a few tips that help:
• Place your router in a central spot if possible
• Keep the device within a decent range of the router
• Use the 5 GHz band for faster speeds when available
• Restart your router if the device cannot find the network
• Avoid too many walls or thick furniture between the router and TV
If your signal is weak, you may still stream, but the picture may drop in quality. According to widely accepted broadband guidance from telecom and streaming industry standards, stable speed matters more than just peak speed. A steady connection usually gives you a better viewing experience than a fast one that keeps cutting out.
Best Placement and Setup Tips for Better Performance
A lot of people focus only on the remote and apps, but placement matters too. I’ve found that small changes in setup can make a big difference in speed and reliability.
Good placement tips include:
• Keep the device visible and not buried behind metal objects
• Use the HDMI extender if the TV blocks the signal
• Avoid stacking the streaming device on top of hot electronics
• Leave space around the box or stick for airflow
• Keep the router and TV area free of extra wireless clutter when possible
Heat can slow devices down. I once worked with a setup where the stick kept freezing because it was tucked behind a wall-mounted TV with no airflow. Moving it two inches with an extender solved the problem right away.
How to Sign In and Add Apps
Once the device is online, the next step is signing in to your accounts. This is where most users customize the device for daily use.
Common streaming app setup steps:
• Open the app store or channel store
• Search for the app you want
• Download or install it
• Sign in with your account email and password
• Enable parental controls if needed
• Arrange the apps in the order you like
If you share the device with family, create profiles where possible. That keeps recommendations cleaner and makes the home screen easier to use. It also helps separate kids’ content from adult content.
Common Problems and How to Fix Them
Even when you know how to set up a streaming device, a few issues can pop up. The good news is that most of them are easy to fix.
The device will not show on the TV
Check that the TV is on the correct HDMI input. If it still does not appear, unplug the device and power it back on after 10 seconds.
The remote will not pair
Replace the batteries first. If that fails, follow the on-screen pairing steps again and keep the remote close to the device.
Wi-Fi keeps disconnecting
Move the router closer if possible, restart both the router and the device, and reconnect to the network. If the issue continues, test the internet speed on another device.
Video buffers or looks blurry
This often means the internet is slow or unstable. Lower the resolution in app settings if needed, or use a stronger Wi-Fi band.
Apps crash or freeze
Update the device software and the app itself. If that does not work, uninstall and reinstall the app.
In my own work, the most common mistake is rushing through setup and skipping updates. That usually leads to strange glitches later, so I always advise taking the extra two minutes up front.
Security and Privacy Settings You Should Check
Setting up a streaming device is not just about picture and sound. It’s also smart to review privacy and security options.
Look at these settings:
• App permissions
• Voice assistant access
• Purchase controls
• Parental controls
• Device location settings
• Advertising preferences
If the device supports a PIN, set one for purchases. This helps prevent accidental rentals or app downloads. It’s a simple step, but it can save a lot of trouble in a shared home.
How to Choose the Right Streaming Device
If you are still deciding which device to buy, think about how you watch TV. Different devices fit different needs.
Consider these factors:
• Interface: Some menus are simpler than others
• Ecosystem: Apple users may prefer Apple TV, while Amazon shoppers may like Fire TV
• Remote style: Voice controls, shortcut buttons, and TV controls vary
• Video quality: Check 4K and HDR support if your TV can use it
• App availability: Make sure your favorite services are included
• Price: Budget sticks are fine for many users, while premium boxes offer more power
There is no single best choice for everyone. The right pick depends on your TV, your internet, and how often you stream. That’s why learning how to set up a streaming device matters just as much as choosing one.
Benefits and Limitations of Streaming Devices
Streaming devices bring a lot of value, but they are not perfect. It helps to know both sides before you rely on one.
Benefits:
• Easy access to popular streaming apps
• Simple way to upgrade an older TV
• Often cheaper than buying a new smart TV
• Better app support and updates than many built-in TV systems
• Portable, so you can move it to another TV
Limitations:
• Needs a steady internet connection
• May require separate subscriptions
• Some models have limited storage
• Older TVs or weak Wi-Fi can reduce performance
• App layouts and ads may vary by brand
For most households, the benefits outweigh the downsides. Still, it’s better to know what you’re signing up for so you can set realistic expectations.
Frequently Asked Questions of How to Set Up a Streaming Device
How long does it take to set up a streaming device?
Most setups take about 10 to 20 minutes. If you need to create accounts, install updates, or troubleshoot Wi-Fi, it can take a little longer.
Do I need internet to use a streaming device?
Yes, you need internet for streaming video and downloading apps. Some devices may still let you browse menus offline, but the main features depend on Wi-Fi.
Can I use a streaming device on any TV?
You can use one on most TVs that have an HDMI port. If your TV is very old and lacks HDMI, you may need an adapter, but that is less common.
Why is my streaming device buffering?
Buffering usually happens because of slow or unstable internet, weak Wi-Fi, or too much network traffic. Restarting your router and moving the device closer to the signal can often help.
Do streaming devices come with all the apps I need?
Most devices support major apps, but not every app is available on every platform. It’s smart to check app compatibility before buying if you use a niche service.
Conclusion
Learning how to set up a streaming device is one of the easiest ways to improve your TV experience without buying a new set. Once you plug it in, connect Wi-Fi, update the software, and add your favorite apps, the whole system starts to feel natural.
The real payoff comes from doing the small things well: using reliable power, checking Wi-Fi strength, and keeping your apps and settings organized. If you take your time during setup, you’ll avoid most of the common headaches and enjoy smoother streaming from day one.
Try the steps above on your own device, and if you want even better results, revisit your network and app settings after your first week of use.

Similar Posts