How To Upgrade An SSD: Easy Step-By-Step Guide
Upgrading an SSD means choosing the right drive, cloning or reinstalling your system, and swapping it safely.
If you want a faster PC, more storage, and a smoother day-to-day experience, learning how to upgrade an SSD is one of the smartest moves you can make. I’ve done this upgrade many times on laptops and desktops, and the difference is immediate: faster boot times, quicker app launches, and less waiting around. The process is simpler than most people think, but the details matter, especially when it comes to compatibility, cloning, and avoiding data loss.
Why upgrading an SSD is worth it
An SSD upgrade is one of the best value improvements you can make to a computer. Unlike a traditional hard drive, an SSD has no moving parts, so it loads data much faster and runs more quietly. That means your system feels newer, even if the rest of the hardware is older.
Upgrading an SSD can help when you notice:
• Slow startup times
• Long app loading screens
• Low storage warnings
• Lag when opening large files
• An aging SATA drive that is holding your system back
In real-world use, the upgrade often feels bigger than the spec sheet suggests. I once moved a basic work laptop from a small SATA SSD to a larger NVMe drive, and the owner thought the laptop had been replaced. That is the kind of jump a good SSD upgrade can deliver.
Types of SSDs you need to know before upgrading
Before you upgrade, you need to know what kind of SSD your device supports. This is the part many people rush, and it is also where mistakes happen. The wrong form factor or interface can stop the upgrade before it starts.
SATA SSD
A SATA SSD is the older and more common style. It uses the same connection type many 2.5-inch laptop drives and desktop drives use. It is still much faster than a hard drive, but it is slower than NVMe.
NVMe SSD
An NVMe SSD uses the PCIe interface and is much faster than SATA. These drives usually come in the M.2 form factor, though not every M.2 drive is NVMe. That small detail matters a lot, so always check your motherboard or laptop manual.
M.2 SSD
M.2 is the shape, not the speed. An M.2 drive can be SATA or NVMe, and the slot on your device must support the right type. I always tell people to check the keying, length, and protocol before buying.
2.5-inch SSD
This is the classic laptop and desktop upgrade for systems that used a hard drive or older SATA SSD. It is easy to install and still a solid option when NVMe is not available.
What to check before you buy a new SSD
A good SSD upgrade starts with compatibility. If you skip this step, you may end up with a drive that does not fit or does not work as expected. A few minutes of checking can save a lot of frustration.
Look at these details first:
• Interface support: SATA or NVMe
• Form factor: 2.5-inch, M.2 2280, or another size
• Capacity needs: 500 GB, 1 TB, 2 TB, or more
• Laptop or desktop clearance: some systems have space limits
• BIOS or firmware support: especially for older PCs
• Thermal concerns: high-speed NVMe drives may run warm
In my experience, storage capacity is where people most often regret going too small. Apps grow, games grow, and photo or video files eat space fast. If your budget allows it, going one step larger than you think you need is usually the safest choice.
How to upgrade an SSD step by step
The exact method depends on whether you are replacing the only drive or adding a second one. Still, the overall process is very similar. The key is to prepare first and move slowly.
Step 1: Back up your data
Before touching anything, back up your files. Save documents, photos, browser data, and anything else you cannot afford to lose. A backup is your safety net if cloning fails or if you need to reinstall Windows.
Good backup options include:
• An external hard drive
• A second SSD
• Cloud storage
• A full system image, if you want a complete restore option
Step 2: Check whether you want to clone or do a clean install
You have two main choices when upgrading an SSD.
• Cloning copies your current system to the new SSD, including Windows, apps, and files
• A clean install gives you a fresh start with a new Windows setup and fewer old files
I usually recommend cloning for most home users because it is faster and less disruptive. A clean install is better if your system is messy, unstable, or full of software you no longer need.
Step 3: Prepare the new SSD
If you are cloning, connect the new SSD before starting the process. You may need a USB-to-SATA adapter or an M.2 enclosure, depending on the drive type and your computer. Make sure the drive is recognized by your system.
If you are doing a clean install, create a bootable USB drive with the operating system installer before you swap the drive.
Step 4: Clone the old drive if needed
Use trusted cloning software to copy the old SSD to the new one. Popular cloning tools can mirror partitions, boot files, and recovery data. Keep the old drive connected until the cloning process finishes and you have confirmed it worked.
Important cloning tips:
• Make sure the new SSD has enough capacity for all used data
• Avoid running heavy programs during cloning
• Verify the cloned drive before removing the old one
• If the new drive is smaller, shrink partitions first if needed
One mistake I made early on was assuming a drive clone had worked just because the software said “completed.” Always test booting from the new SSD first. That simple habit has saved me from surprise failures more than once.
Step 5: Power down and install the new SSD
Turn the computer off fully and unplug it. For laptops, remove the battery if possible and follow the service guide. For desktops, open the case and locate the storage bay or M.2 slot.
Install the drive carefully:
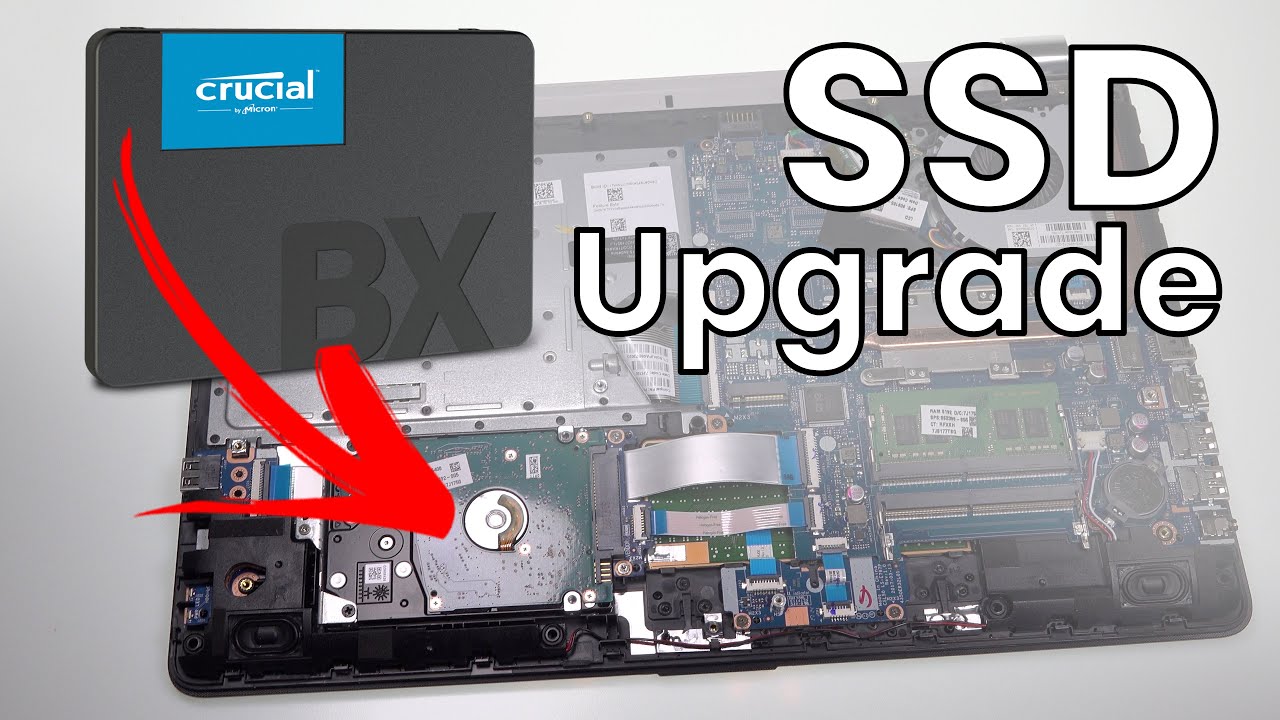
• For a 2.5-inch SSD, secure it in the bay and connect SATA power and data cables
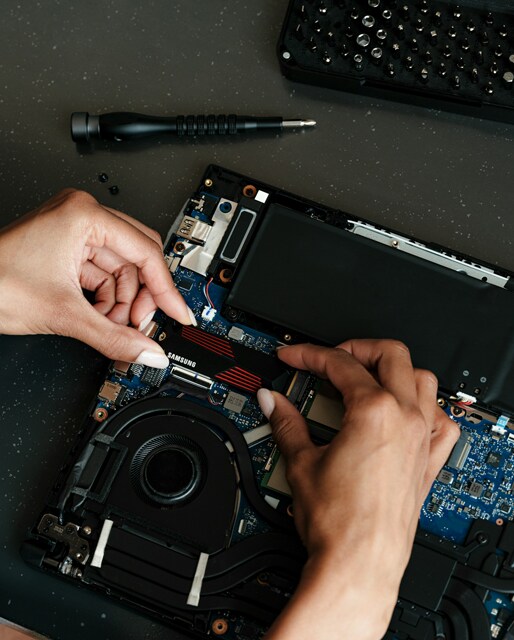
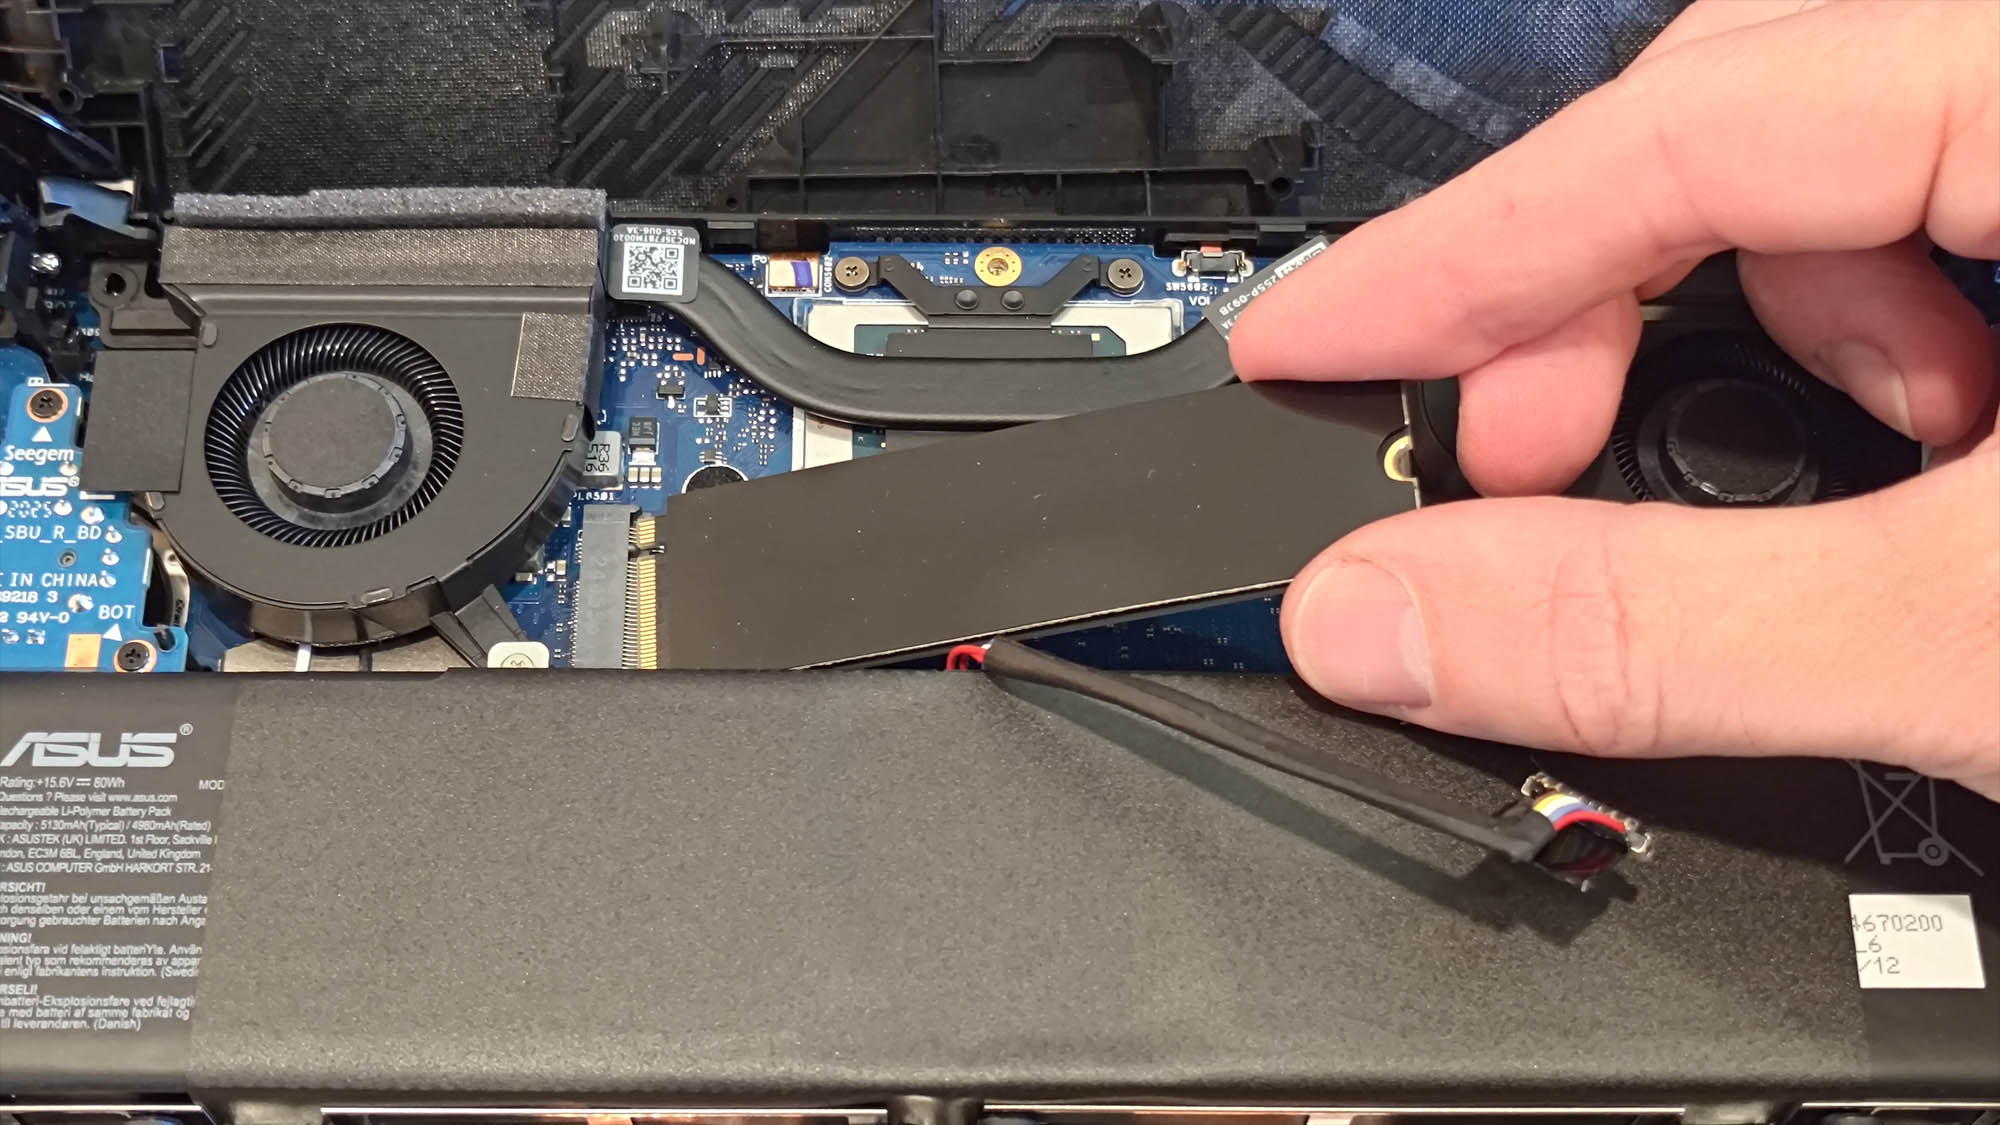
• For an M.2 SSD, insert it at an angle, then screw it down gently
• Do not force the drive into the slot
• Handle the SSD by the edges to reduce static and physical damage
Step 6: Boot and confirm the drive works
Turn the system back on and enter BIOS or UEFI if needed. Check that the new SSD appears in the boot list. If you cloned the drive, set the new SSD as the boot drive.
Once in the operating system, verify:
• The system boots normally
• Storage size is correct
• Files and apps open as expected
• The drive is detected at the right speed and capacity
Step 7: Format the old SSD if you plan to reuse it
If the old SSD still works and you want to use it as a backup or second drive, format it after confirming the new drive is stable. If you plan to sell or give away the old drive, securely erase it first so your data stays private.
Clean install vs cloning: which method is better?
There is no single right answer here. The best option depends on your needs and comfort level. Both methods work well if you do them carefully.
Choose cloning if:
• You want everything moved exactly as it is
• You do not want to reinstall apps
• You prefer a faster upgrade process
• Your current system is running well
Choose a clean install if:
• Your system feels cluttered or slow
• You want to fix software issues
• You are changing hardware generations
• You want a fresh start
Personally, I like cloning for family or office computers because it reduces downtime. For my own machines, I often do a clean install when I want a more organized setup. It is a bit more work upfront, but the long-term feel can be cleaner.
Common mistakes to avoid when upgrading an SSD
A smooth SSD upgrade is mostly about avoiding preventable errors. The most common problems are simple, but they can be expensive if you ignore them.
Watch out for these mistakes:
• Buying the wrong SSD type or size
• Forgetting to back up files
• Cloning to a smaller drive without shrinking partitions
• Using low-quality cloning software
• Skipping BIOS boot order checks
• Not updating firmware when needed
• Touching the gold contacts or forcing the drive into place
Another big one is overheating on slim laptops. High-performance NVMe drives can get hot, and some systems need a heatsink or thermal pad. If your laptop is already warm under load, it is worth checking that before you upgrade.
How much storage should you choose?
Storage size depends on what you do every day. If you only browse the web and use office apps, 500 GB may be enough. If you game, edit video, or store lots of photos, 1 TB or more is usually the better choice.
A simple guide:
• 256 GB to 500 GB for basic use
• 1 TB for most users
• 2 TB or more for creators, gamers, and power users
One lesson I have learned is that “just enough” storage often becomes too little sooner than people expect. Modern apps and game files can fill a drive fast. Buying a bit more space now usually costs less than replacing the drive again later.
How to tell if the SSD upgrade worked
After the upgrade, you should see clear signs that everything is working. Boot time should improve, files should load faster, and the system should feel more responsive. If the improvement is small, the problem may be elsewhere, like RAM limits or a slow CPU.
Check for these signs:
• The system starts faster
• Programs open with less delay
• File transfers are smoother
• Storage reports the correct size
• No boot errors appear
If the drive is detected but the speed seems low, make sure it is running in the correct mode. For example, an NVMe drive in the wrong slot or a SATA port running at reduced speed can limit performance.
Frequently Asked Questions of How to Upgrade an SSD
Can I upgrade an SSD without losing data?
Yes, you can upgrade an SSD without losing data by cloning your old drive to the new one first. Backing up your files is still smart in case something goes wrong during the process.
Is upgrading an SSD difficult for beginners?
No, it is usually one of the easiest hardware upgrades. The main challenges are checking compatibility, cloning correctly, and handling the drive carefully.
Will an SSD upgrade make my computer faster?
Yes, in most cases it will. You will usually notice faster boot times, quicker app launches, and better overall responsiveness, especially if you are moving from a hard drive or an older SSD.
Do I need to reinstall Windows after upgrading an SSD?
Not always. If you clone the old drive, Windows and your apps should move over with it. A reinstall is only needed if you choose a clean install or run into software issues.
What is the difference between M.2 and NVMe?
M.2 is the shape of the drive, while NVMe is the speed protocol it uses. An M.2 drive can be SATA or NVMe, so you need to check both the form factor and the interface before buying.
How long does it take to upgrade an SSD?
The physical swap can take just 10 to 30 minutes. Cloning or reinstalling can take longer, depending on how much data you have and how fast the drives are.
Conclusion
Upgrading an SSD is one of the most practical ways to improve a computer’s speed, reliability, and everyday feel. When you choose the right drive, back up your data, and decide between cloning and a clean install, the process becomes straightforward. The best part is that the payoff is immediate, and even an older system can feel fresh again.
If you are planning an SSD upgrade soon, take your time with compatibility checks and preparation. A careful setup now can save you hours later. For more helpful PC upgrade guides, keep exploring and share your questions or experience in the comments.