How To Configure A Gaming Mouse: Easy Setup Tips
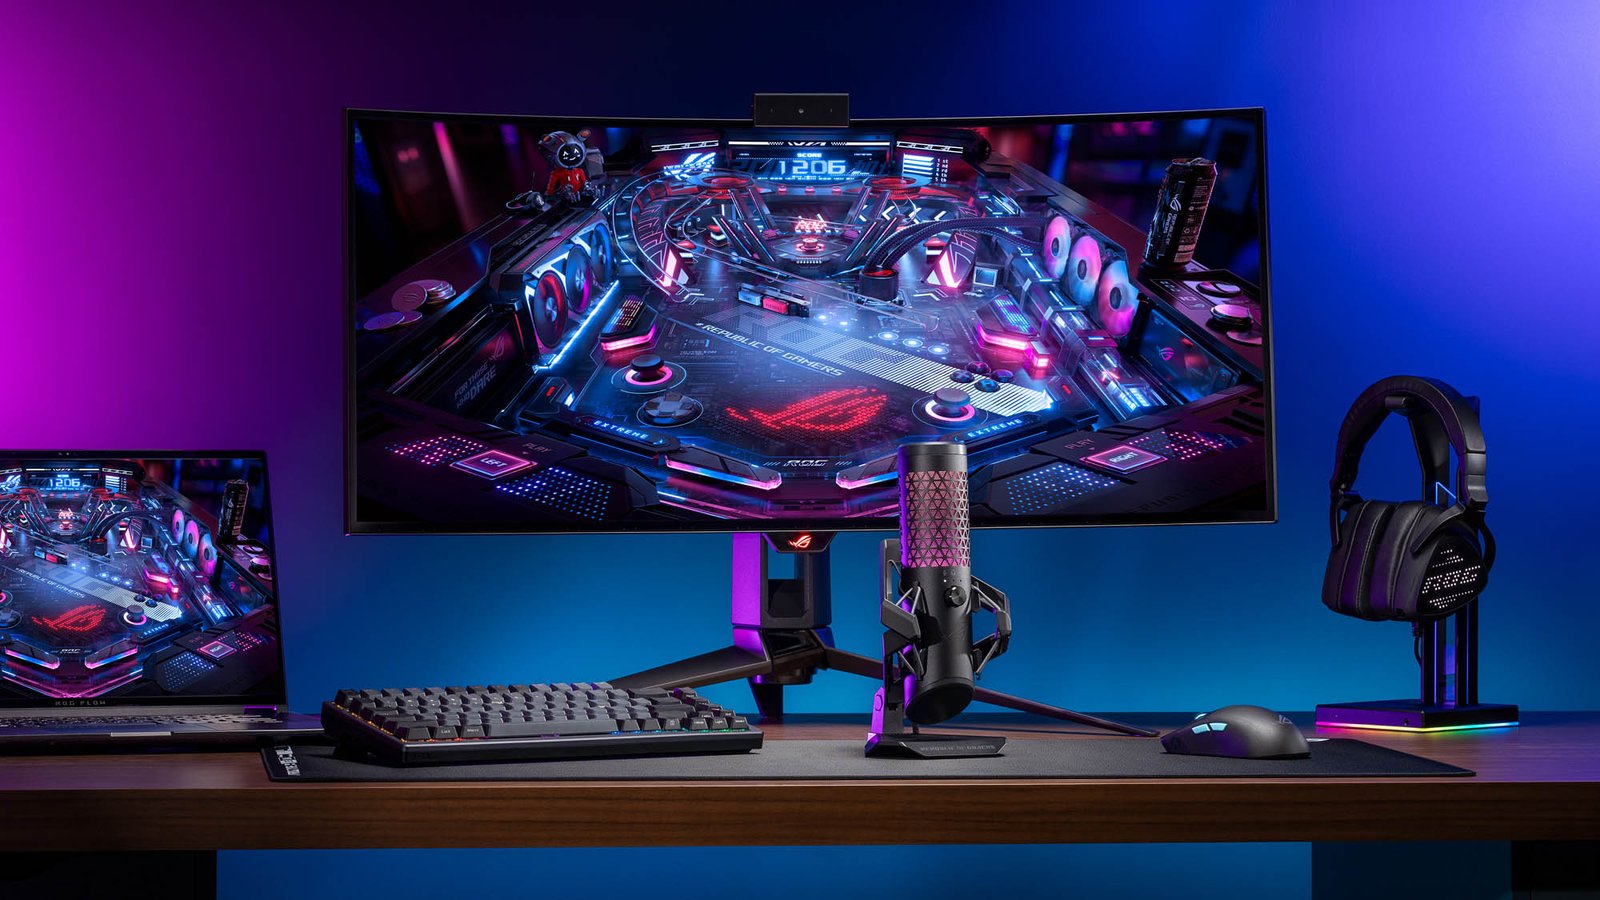
Configure a gaming mouse by tuning DPI, polling rate, buttons, and software settings to match your game and grip style.
A well-configured gaming mouse can feel like an extension of your hand. I’ve spent years testing mice for shooters, MOBAs, and everyday work, and the difference between “plugged in” and properly tuned is huge. In this guide, I’ll walk you through how to configure a gaming mouse the right way so you get smoother aim, faster reactions, and settings that actually fit how you play.
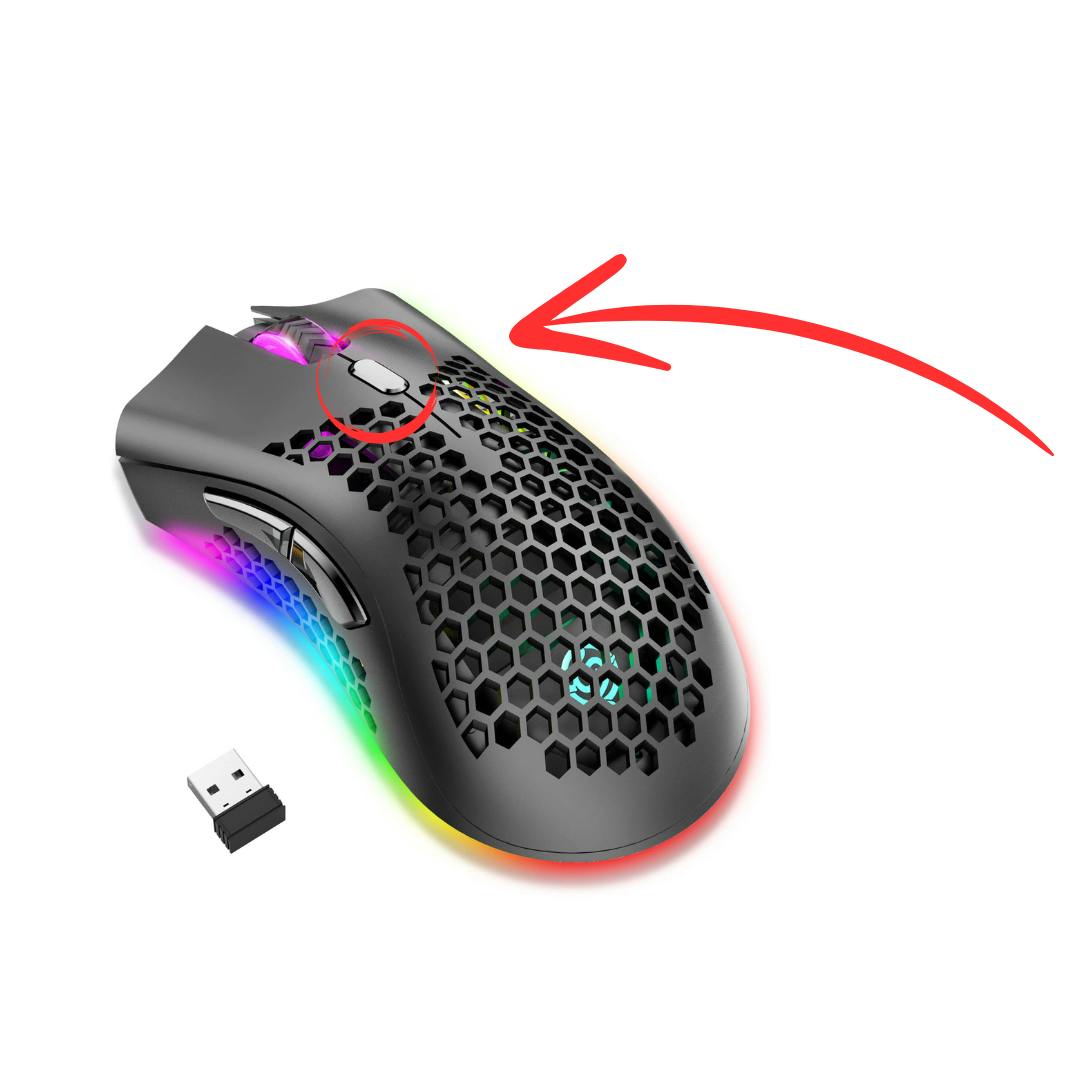
What a Gaming Mouse Configuration Actually Does
A gaming mouse is more than just a pointer. It gives you control over sensitivity, button mapping, surface tracking, lighting, and response speed. When you configure a gaming mouse, you are shaping how it behaves in real use, not just changing a few numbers in software.
The biggest reason to configure a gaming mouse is comfort and consistency. A mouse that feels too fast or too slow can throw off your aim, strain your wrist, or make simple tasks feel clumsy. Good settings help your hand move naturally, which matters whether you are playing Valorant, editing video, or browsing all day.
Most modern gaming mice include a companion app from brands like Logitech, Razer, SteelSeries, Corsair, and ASUS. These tools let you change DPI, polling rate, button functions, and profile behavior. Some also let you save settings to onboard memory, which is great if you use the mouse on more than one PC.

How to Configure a Gaming Mouse Step by Step
Start by installing the mouse software from the manufacturer. This is usually where you unlock the full feature set. Without it, the mouse may work, but you will miss important controls like custom DPI stages, macros, and profile switching.
Next, connect the mouse directly to a USB port on your computer. If the mouse supports wireless mode, make sure it is charged and paired correctly. A weak battery or a bad connection can cause input lag or random skips, which is frustrating when you are trying to fine-tune settings.
After that, open the software and look for the main controls. The usual setup process includes:
Set your DPI
Choose a starting point that matches your hand movement. Many players start between 400 and 1600 DPI, depending on the game and desk space.Set the polling rate
A higher polling rate means the mouse reports its position more often. Common options are 125 Hz, 500 Hz, and 1000 Hz.Customize the buttons
Assign useful actions to side buttons, DPI switches, or top buttons. Keep the layout simple at first so muscle memory can build.Save a profile
Create a game profile for each title if needed. This helps you switch settings without changing everything by hand.Test in real use
Move the mouse in-game, in a browser, and on the desktop. A setting that looks good on paper may feel off in practice.
I learned early on that many people overthink the first setup. They chase the “perfect” DPI before testing it in an actual game. A better approach is to start with one solid baseline, use it for a few days, and only then adjust what feels wrong.

Choosing the Right DPI for Your Style
DPI stands for dots per inch. In simple terms, it controls how far the cursor moves when you move the mouse. Higher DPI makes the cursor move farther with less hand movement, while lower DPI gives you more control and precision.
For FPS games, lower DPI often works better because it helps with small aim corrections. For general use or fast desktop work, a higher DPI can feel more comfortable. That said, DPI alone does not decide accuracy. Your in-game sensitivity matters just as much.
Here is a practical way to think about it:
- Low DPI, around 400 to 800, suits players who like large, precise arm movements.
- Medium DPI, around 800 to 1600, works well for many mixed-use players.
- High DPI, above 1600, can feel very fast and may suit large screens or quick navigation.
A mistake I see often is people turning DPI up too high because they think it makes them better. It usually does the opposite. If your hand feels twitchy or your cursor keeps overshooting, lower the DPI and test again.
Setting Polling Rate for Smooth Response
Polling rate is how often the mouse sends data to the computer. A 1000 Hz polling rate means the mouse updates 1000 times per second. That can reduce delay and make movement feel smoother, especially in fast-paced games.
Most gamers should start with 1000 Hz if the mouse and system are stable. If you notice stutter, rare skips, or battery drain on a wireless mouse, try 500 Hz and compare the feel. Some systems handle higher polling rates better than others, so it is worth testing.
The key point is that a higher polling rate is not always magically better. It can improve feel, but only if your mouse, USB setup, and PC handle it well. If you are on an older laptop or a busy USB hub, keep expectations realistic.
Configuring Buttons and Macros the Smart Way
Button mapping can save time and reduce finger strain. A gaming mouse with side buttons can handle reload, push-to-talk, melee, grenade, or inventory actions. For productivity, those same buttons can be used for copy, paste, undo, or browser navigation.
Use macros carefully. A macro is a recorded sequence of actions, and it can be helpful for repetitive tasks. But in some games, macros may violate the rules, so always check the game’s policy before using them.
A simple and safe setup often looks like this:
- Primary click and secondary click stay unchanged
- Side button one becomes a utility action
- Side button two becomes a communication or movement command
- DPI button is used only for switching profiles or left unused
The best advice here is to keep your layout natural. If you have to think about a button every time you press it, it is not helping. I usually recommend mapping only the actions you use constantly.
Adjusting Sensitivity for Gaming and Daily Use
Sensitivity is where many players get stuck. Mouse sensitivity is a mix of DPI and in-game sensitivity, and the two should work together. A balanced setup gives you controlled movement without forcing huge arm swings for every turn.
If you play shooters, test your sensitivity by tracking moving targets and making small aim corrections. If your crosshair jumps too much, reduce sensitivity. If you run out of mouse pad space too fast, lower it or choose a larger surface.
For everyday use, a slightly higher sensitivity may feel more practical. That is especially true on laptops or compact desks. The good news is that you can often create separate profiles for gaming and desktop use, so you do not need one setting for everything.
Mouse Acceleration, Pointer Speed, and Windows Settings
Windows has a pointer speed slider and an optional acceleration feature called Enhance Pointer Precision. This setting changes how the cursor responds to movement speed. For gaming, many players turn acceleration off because it can make aiming less predictable.
Here is a good rule of thumb:
- Turn off acceleration if you want consistent mouse movement
- Keep pointer speed near the middle for a stable baseline
- Let the mouse software handle sensitivity whenever possible
If you are used to acceleration, switching it off may feel strange at first. Give yourself time to adapt. I have seen players improve a lot after a week of adjustment because their aim became more repeatable.
Surface Calibration and Mouse Pad Choice
A mouse sensor performs best on the right surface. Some gaming mice include surface calibration or lift-off tuning in their software. This helps the sensor read your desk or mouse pad more accurately.
A quality mouse pad can make a bigger difference than many people expect. A smooth, consistent cloth pad often gives reliable tracking and comfort. Hard pads can feel faster but may be less forgiving.
If your mouse skips, jitters, or feels uneven, check these things:
- Is the pad clean
- Is the sensor window dusty
- Is the surface too reflective
- Is the pad too worn out
From experience, a dirty mouse pad can cause more “performance” issues than bad settings. Before blaming the sensor, clean the pad and the mouse feet. It is a small fix that often helps right away.
Creating Game-Specific Profiles
Profiles are useful when you play different genres. A shooter may need lower DPI and simpler button mapping, while an MMO may benefit from more side-button commands. Many gaming mouse apps let you save a profile that launches with a game.
A strong profile setup usually includes:
- One profile for FPS games
- One profile for strategy or MOBA games
- One profile for general desktop use
If your mouse has onboard memory, save the profile to the device itself. That way, your settings can travel with the mouse even if the software is not installed on another PC. This is especially helpful for tournament setups or shared computers.
Lighting, Battery Life, and Onboard Memory
RGB lighting is fun, but it can affect battery life on wireless mice. If you want longer use between charges, reduce lighting effects or turn them off when you do not need them. A simple static color often looks clean and saves power.
Onboard memory stores your settings directly on the mouse. This is useful when you move between devices or want a plug-and-play setup. It is also a good backup if software updates ever reset your local preferences.
Not every gaming mouse supports the same features, so check the model’s limits. Some entry-level mice let you change only DPI and button assignment, while premium models offer more detailed tuning. That is normal, not a flaw.
Common Mistakes to Avoid
People often make the same few mistakes when learning how to configure a gaming mouse. These can slow you down and make the mouse feel worse than it really is.
- Changing too many settings at once
- Using ultra-high DPI without testing it
- Ignoring polling rate and acceleration
- Overloading buttons with too many macros
- Forgetting to save profiles
- Using a worn or dirty mouse pad
The best approach is patient and simple. Change one setting, test it, and then move on. That method is slower for a day, but much faster in the long run because you actually learn what helps.
Benefits of a Proper Gaming Mouse Setup
A well-tuned mouse can improve more than just game performance. It can make your desk feel smoother, reduce wasted movement, and give you more confidence in fast moments. That confidence matters a lot when you need to react under pressure.
Some of the biggest benefits include:
- Better aim control in competitive games
- Less hand fatigue during long sessions
- Faster access to common commands
- More consistent performance across tasks
- A setup that feels personal and comfortable
In my own testing, the biggest gains usually come from consistency, not flashy features. A mouse that behaves predictably becomes part of your rhythm. That is what makes the setup worth the effort.
When to Recheck Your Settings
You should revisit your configuration when something changes. That might be a new mouse pad, a different desk, a new game, or a switch from wired to wireless. Even a new monitor can change how sensitivity feels.
Recheck your settings if you notice:
- Cursor skipping or lag
- Hand strain or wrist pain
- Overshooting targets
- Trouble switching between games
- A change in grip style or posture
A mouse setup is not something you tune once and forget forever. Think of it like shoe laces. If they loosen, they need another tie. The same idea applies here.
Frequently Asked Questions of How to Configure a Gaming Mouse
What is the best DPI for a gaming mouse?
There is no single best DPI for everyone, but many players start between 400 and 1600 DPI. Lower settings usually help with precision, while higher settings can feel faster for desktop work.
Should I use 1000 Hz polling rate?
Yes, 1000 Hz is a strong default for most modern gaming mice. If you notice instability, try 500 Hz and compare the feel, especially on older systems or wireless setups.
Is mouse acceleration bad for gaming?
Most competitive players turn it off because it can make movement less predictable. If you rely on consistent aim, a steady input curve is usually easier to learn and control.
Do I need the mouse software installed all the time?
Not always. If your mouse supports onboard memory, you can save settings directly to the device and use them without the software on every PC. Still, the software is useful for making changes and creating profiles.
How do I know if my settings are right?
Your settings are working if the mouse feels smooth, predictable, and comfortable during real use. If you keep overshooting, straining your wrist, or changing settings daily, the setup probably needs more testing.
Conclusion
Configuring a gaming mouse is really about making the tool fit your hand, your habits, and your games. Once you understand DPI, polling rate, button mapping, surface calibration, and profiles, the whole process becomes much easier. The goal is not perfection on day one, but steady improvement through simple, tested changes.
Start with a clean baseline, make one adjustment at a time, and give yourself a little time to adapt. That approach saves frustration and leads to a setup that feels natural and reliable. If you found this guide helpful, try your own settings tonight, compare the results, and keep learning from what feels best.

Similar Posts





























[…] you want deeper pointer control, sensitivity adjustments happen at the operating system level, not in the mouse's firmware. The honest limit is gaming. […]