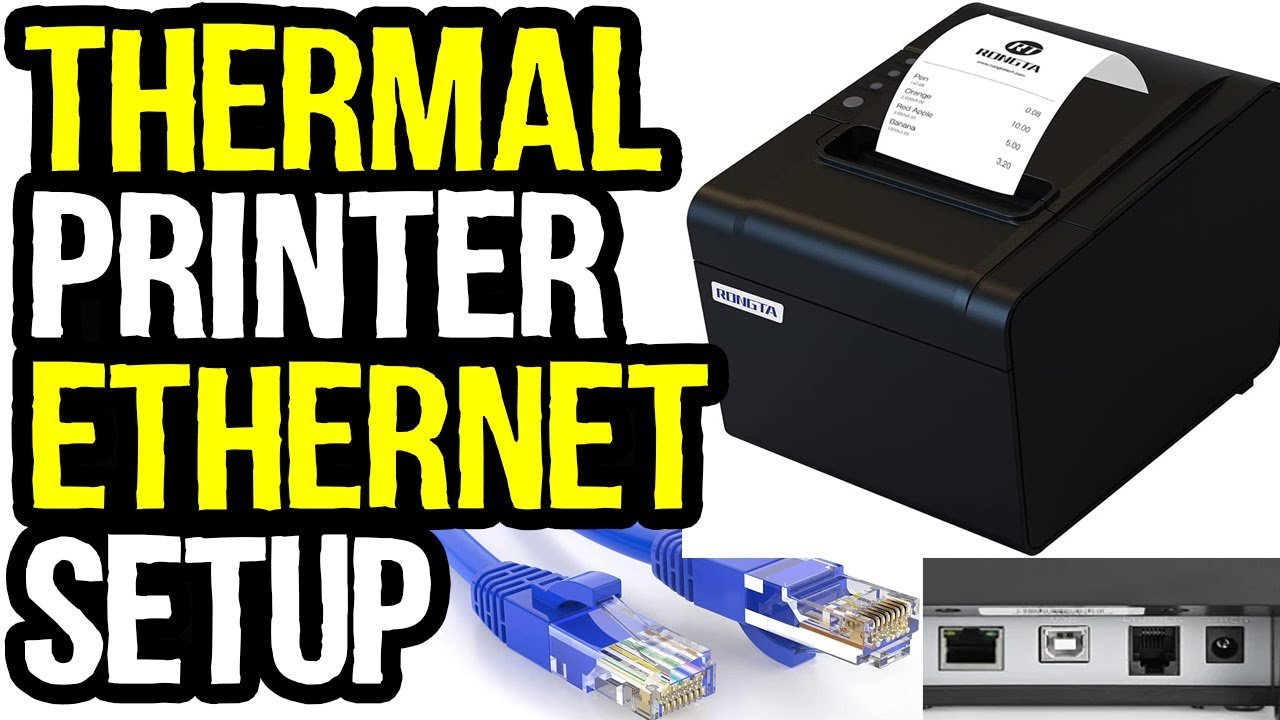
How To Set Up A Thermal Printer: Easy Step-By-Step Guide
A thermal printer setup starts with the right connections, drivers, paper, and test print.
If you have ever unboxed a thermal printer and wondered why it still feels “not ready,” you are not alone. I have set up many thermal printers for shipping labels, receipts, and small business work, and the process is usually simple once you know the order of steps. In this guide, I’ll walk you through how to set up a thermal printer the right way, avoid the common mistakes, and get clean, reliable prints from the start.
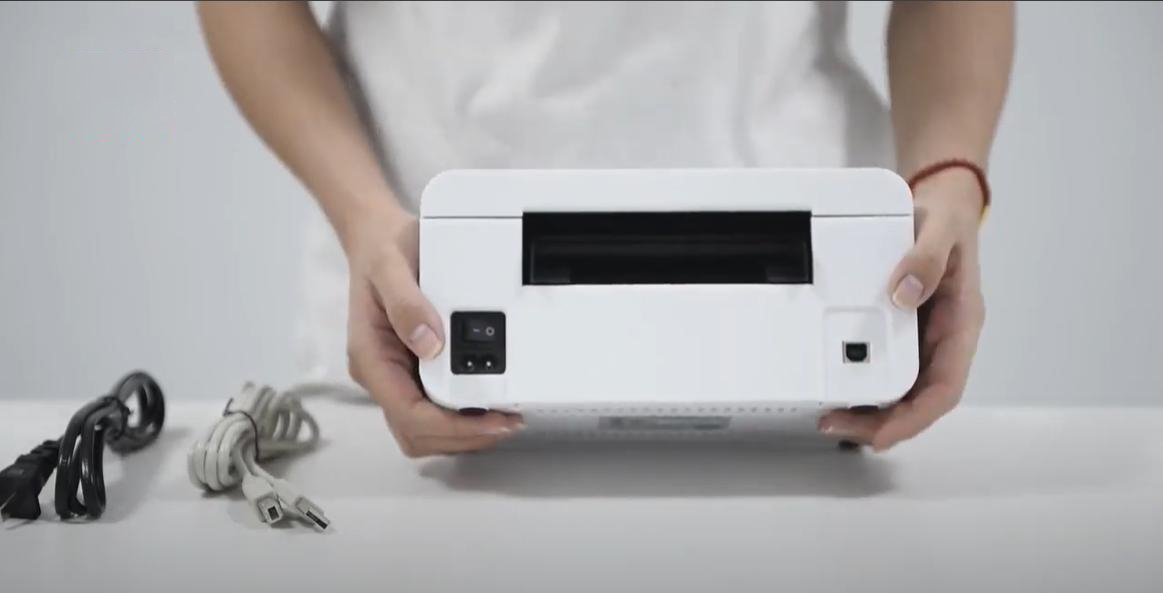
What a Thermal Printer Is and Why Setup Matters
A thermal printer is a printer that uses heat instead of ink or toner. That makes it a popular choice for shipping labels, receipts, barcodes, and retail work. It is fast, low maintenance, and very common in warehouses, stores, and home offices.
But setup matters more than many people expect. A thermal printer can look fine on the outside and still fail because of a driver issue, the wrong label size, or a paper roll loaded backward. The good news is that once you understand the basics, how to set up a thermal printer becomes a simple, repeatable process.
In my experience, most setup problems come from skipping one small step. A loose cable, an uncalibrated sensor, or a mismatched print size can waste a lot of time. That is why a careful setup saves time later.
What You Need Before You Set Up a Thermal Printer
Before you start, gather the essentials. This makes the whole process smoother and reduces errors.
You will usually need:
- A thermal printer
- Thermal label rolls or receipt paper
- A power cable and adapter
- A USB cable, Ethernet cable, Bluetooth, or Wi-Fi access
- A computer, tablet, or phone
- The correct printer driver or mobile app
- A label design tool or shipping platform
It also helps to check the printer model number first. Different brands and models may use different drivers, label sizes, and connection methods. I have seen people spend an hour troubleshooting only to discover they downloaded the wrong driver version.
How to Set Up a Thermal Printer Step by Step
Setting up a thermal printer is easiest when you follow a clean order. Start with the physical setup, then move to software, then finish with calibration and test prints.
1. Unbox and inspect the printer
Take the printer out of the box and check for damage. Make sure the power adapter, USB cable, and accessories are included.
Look for:
- Cracks or dents on the shell
- Missing parts
- Loose rollers or paper guides
- A power light or status indicator
This is also a good time to read the quick start guide. Even if you usually skip manuals, thermal printers sometimes have small model-specific steps that matter.
2. Load the thermal paper or labels correctly
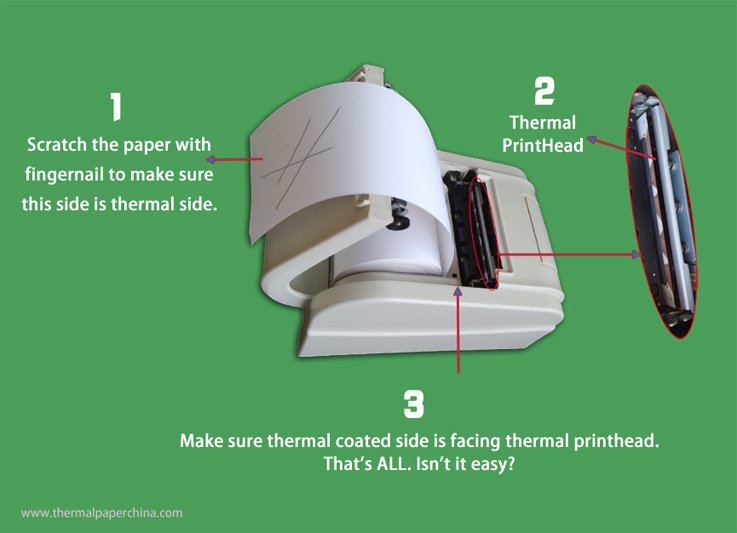
Open the printer cover and place the roll inside. For direct thermal printers, the print side of the label or paper must face the print head.
A simple trick I use is the scratch test. Lightly scratch the surface of the label with a fingernail. If it turns dark, that is the thermal side.
Make sure the roll:
- Sits centered in the compartment
- Feeds smoothly through the guide path
- Does not jam or tilt
- Matches the printer’s supported width
If the labels are loaded backward, the printer may still run, but nothing will print.
3. Connect the printer to power
Plug in the power cable and turn the printer on. Wait for the status light to show that the printer is ready.
If the printer does not power on:
- Check the outlet
- Confirm the adapter is seated firmly
- Try a different power source
- Look for a rear power switch
This step sounds basic, but I have seen many setup issues start here. A weak connection can make the printer behave like it has a software problem when it is really just a power issue.
4. Choose your connection method
Most thermal printers support one or more connection types. Your setup method will depend on how you plan to use it.
Common options include:
- USB for direct computer connection
- Ethernet for network use
- Bluetooth for phones and tablets
- Wi-Fi for wireless office setups
USB is often the easiest for first-time setup. Ethernet and Wi-Fi are better if several users need access. Bluetooth is convenient for mobile printing, but it can be less stable than wired connections.
5. Install the correct drivers or app
A thermal printer needs the right driver or app so your device knows how to talk to it. This is one of the most important parts of how to set up a thermal printer.
On a computer, you may need to:
- Download the printer driver
- Install the software
- Restart the computer if needed
- Select the printer from your system settings
On a phone or tablet, you may need:
- The printer maker’s app
- A shipping or label app that supports the model
- Bluetooth permission or network access
If you use shipping platforms like major e-commerce tools, check whether the platform supports your printer model directly. That can save a lot of time.
6. Set the correct paper or label size
This step is easy to overlook, but it matters a lot. If your software thinks the label is 4 x 6 and the printer is loaded with a different size, the print will shift, clip, or come out blank.
Set the size in:
- The printer driver
- The label software
- The shipping or receipt app
- The page layout settings
Match the software settings to the actual media size. This is one of the most common mistakes I see in real-world setups.
7. Calibrate the printer
Calibration helps the printer detect where each label begins and ends. Many thermal printers need this step after a new roll is installed or after a size change.
Typical calibration steps include:
- Turning the printer off and on
- Pressing the feed button for a few seconds
- Letting the printer advance several labels
- Stopping when it recognizes the gap or black mark
If the printer has sensors, calibration tells it where to cut the print and where each label starts. Without calibration, you may get misaligned labels or wasted stock.
8. Print a test page
Always run a test print before using the printer for real work. This helps confirm that the connection, driver, size, and alignment all work together.
Check the test print for:
- Clear text
- Proper alignment
- No streaks or faded areas
- Correct label size
- No blank labels between prints
If the print is faint, the darkness setting may be too low. If the text is cut off, the page size or margins likely need adjustment.
9. Save the settings
Once the printer works, save the settings in your software and device. This helps you avoid repeating the same setup later.
I always recommend doing one final restart after everything is configured. If the printer still works after a restart, you know the setup is solid.

Common Problems When Setting Up a Thermal Printer
Even when you follow the steps, a few issues can still happen. The good news is that most are easy to fix.
Here are the most common problems:
- The printer is not detected
- Check the cable, port, driver, and power connection.
- Labels print blank
- The label may be loaded backward, or the ribbon and media type may not match if you are using a thermal transfer model.
- Prints are faded
- Increase print density or darkness in the settings.
- Labels are misaligned
- Recalibrate the printer and confirm the size settings.
- The printer feeds extra blank labels
- The sensor may need calibration, or the media type may be set incorrectly.
A lot of setup trouble comes from confusing direct thermal printers with thermal transfer printers. Direct thermal printers do not use ink or ribbons. Thermal transfer printers do. If you use the wrong supplies, the result will be poor or no output.
Best Practices for a Smooth Thermal Printer Setup
A good setup is not just about making the printer work once. It is about making it work consistently.
Use these best practices:
- Keep the printer on a flat, stable surface
- Store labels in a cool, dry place
- Clean the print head regularly
- Use the exact media size recommended by the manufacturer
- Update drivers when needed
- Test after changing label rolls or software
From experience, a little maintenance goes a long way. I have seen printers last much longer when they are cleaned gently and kept free of dust and adhesive buildup. Think of it like keeping a camera lens clean: small care makes a big difference in output quality.
Thermal Printer Setup for Different Use Cases
The way you set up a thermal printer can vary a little depending on what you need it for.
Shipping labels
For shipping, a 4 x 6 label size is common. Make sure your shipping platform matches that size and that the printer is calibrated for label gaps.
Receipts
Receipt printers often use narrower rolls and may connect through USB, Ethernet, or Bluetooth. They are common in retail and food service, where speed matters more than fancy settings.
Barcode labels
Barcode printing needs sharp alignment and a high enough print density for scanning. If the barcode is too light or stretched, scanners may fail to read it.
Mobile setups
If you print from a phone or tablet, Bluetooth pairing and app compatibility matter most. I recommend testing with a sample label before relying on the printer in a busy workflow.
When to Use Direct Thermal vs Thermal Transfer
This choice affects setup, supplies, and long-term use.
Direct thermal printers:
- Use heat-sensitive paper
- Do not need ribbons
- Work well for shipping labels and receipts
- Can fade over time if exposed to heat or sunlight
Thermal transfer printers:
- Use a ribbon and label stock
- Create more durable prints
- Work better for asset tags, product labels, and long-term use
- Need a bit more setup and maintenance
If you mainly print shipping labels, direct thermal is usually the simpler choice. If you need labels that last longer, thermal transfer may be worth the extra setup.
Frequently Asked Questions of How to Set Up a Thermal Printer
How do I connect a thermal printer to my computer?
You can connect a thermal printer using USB, Ethernet, or sometimes Bluetooth. After connecting it, install the correct driver so your computer can recognize the device.
Why is my thermal printer printing blank labels?
Blank labels usually mean the paper is loaded backward, the wrong media type is selected, or the driver settings are incorrect. If it is a thermal transfer printer, make sure the ribbon is installed properly too.
Do I need special paper for a thermal printer?
Yes, direct thermal printers need heat-sensitive labels or paper. Thermal transfer printers need label stock and a ribbon.
How do I calibrate a thermal printer?
Calibration usually involves holding the feed button or using the printer’s settings until it advances labels and detects the gap. The exact steps depend on the model, so the user guide is the safest reference.
Why does my thermal printer skip labels?
Skipped labels often happen when the sensor is not calibrated or the label size in software does not match the actual roll. Dirty sensors can also cause feed problems.
Can I use a thermal printer with a phone?
Yes, many thermal printers support Bluetooth or Wi-Fi printing from a phone. You usually need the brand’s app or a compatible label app to finish setup.
Conclusion
Setting up a thermal printer is not hard once you break it into clear steps. Load the labels correctly, connect the printer, install the right driver, match the paper size, calibrate the sensor, and run a test print. When those pieces line up, the printer usually performs well and saves a lot of time.
The biggest lesson I have learned is this: most thermal printer problems are small setup issues, not broken hardware. If you take a careful, step-by-step approach, you can avoid wasted labels, poor prints, and unnecessary frustration. Try the setup process today, test everything once, and keep your settings saved so future printing feels effortless.