How To Set Up A Digital Alarm Clock: Easy Guide
Set a digital alarm clock by setting the current time, choosing AM or PM, and saving your alarm time.
Learning how to set up a digital alarm clock is simple once you understand its buttons and display. This guide explains each step in plain language, covers common clock types, and shares practical tips that help prevent missed alarms and confusing settings.
Understand Your Digital Alarm Clock
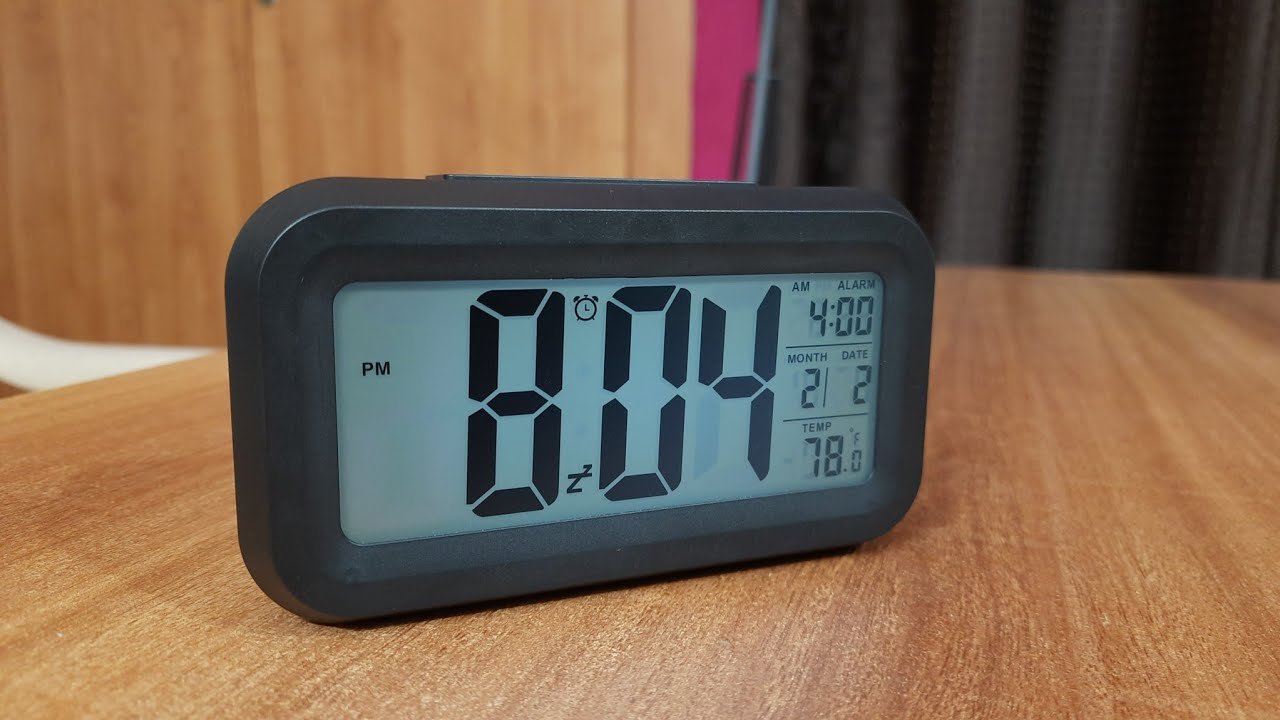
Before learning how to set up a digital alarm clock, look closely at the front, back, and sides of the unit. Most digital alarm clocks have a display, time buttons, an alarm button, and a snooze button.
Common buttons include:
- Time or Clock: Opens the clock-time setting.
- Alarm: Opens the alarm-time setting.
- Hour and Minute: Adjust the numbers.
- Set: Saves a selected setting.
- Mode: Switches between clock, alarm, timer, or temperature views.
- Snooze: Silences the alarm for a short period.
- Alarm On/Off: Activates or turns off the alarm.
- 12/24H: Switches between 12-hour and 24-hour time.
Some models use arrow buttons instead of separate hour and minute buttons. Others have a small switch on the back. The exact button names may differ, so check the user manual if your clock does not respond as expected.
Think of the setup process like filling out a short form. First, enter the correct time. Next, choose the alarm time. Finally, check that the alarm icon appears on the screen.
How to Set the Current Time
The first step in how to set up a digital alarm clock is entering the correct current time. Your alarm may not work as expected if the clock time is wrong.
Follow these steps:
- Plug in the clock or install fresh batteries.
- Find the Time, Clock, or Set button.
- Press and hold the button for two to five seconds.
- Wait for the hour numbers to flash.
- Press the Hour button or arrow button to choose the current hour.
- Press the Minute button or arrow button to choose the current minute.
- Check the AM or PM setting if the clock uses a 12-hour format.
- Press Set, Time, or Clock again to save the time.
On some clocks, pressing the Set button moves from hours to minutes. On others, you must press the Hour and Minute buttons while holding the Time button. If the numbers stop flashing, the clock may have saved the setting automatically.
Take a moment to compare the clock with your phone or another trusted time source. This small check can prevent a late start the next morning.
How to Set the Alarm Time
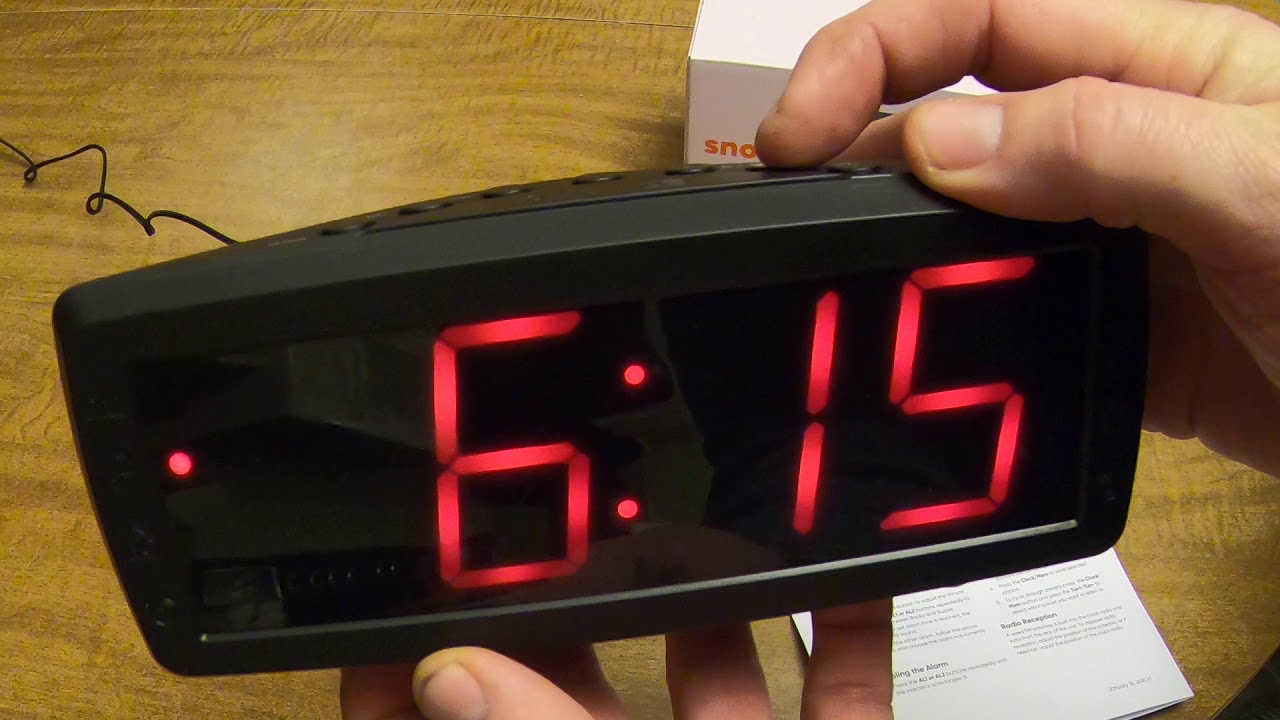
After setting the current time, you can set the wake-up alarm. This is the main part of learning how to set up a digital alarm clock.
Use this general process:
- Press the Alarm button once to view the alarm time.
- Press and hold Alarm, Set, or Mode until the hour begins to flash.
- Adjust the hour with the Hour or arrow button.
- Adjust the minutes with the Minute or arrow button.
- Confirm AM or PM.
- Press Alarm, Set, or Mode to save the alarm time.
- Turn the alarm switch to On if your model has a separate switch.
For example, to set an alarm for 6:30 in the morning, select 6 for the hour, 30 for the minutes, and AM. If the screen shows 6:30 but does not show AM or PM, check whether the clock uses a 24-hour format.
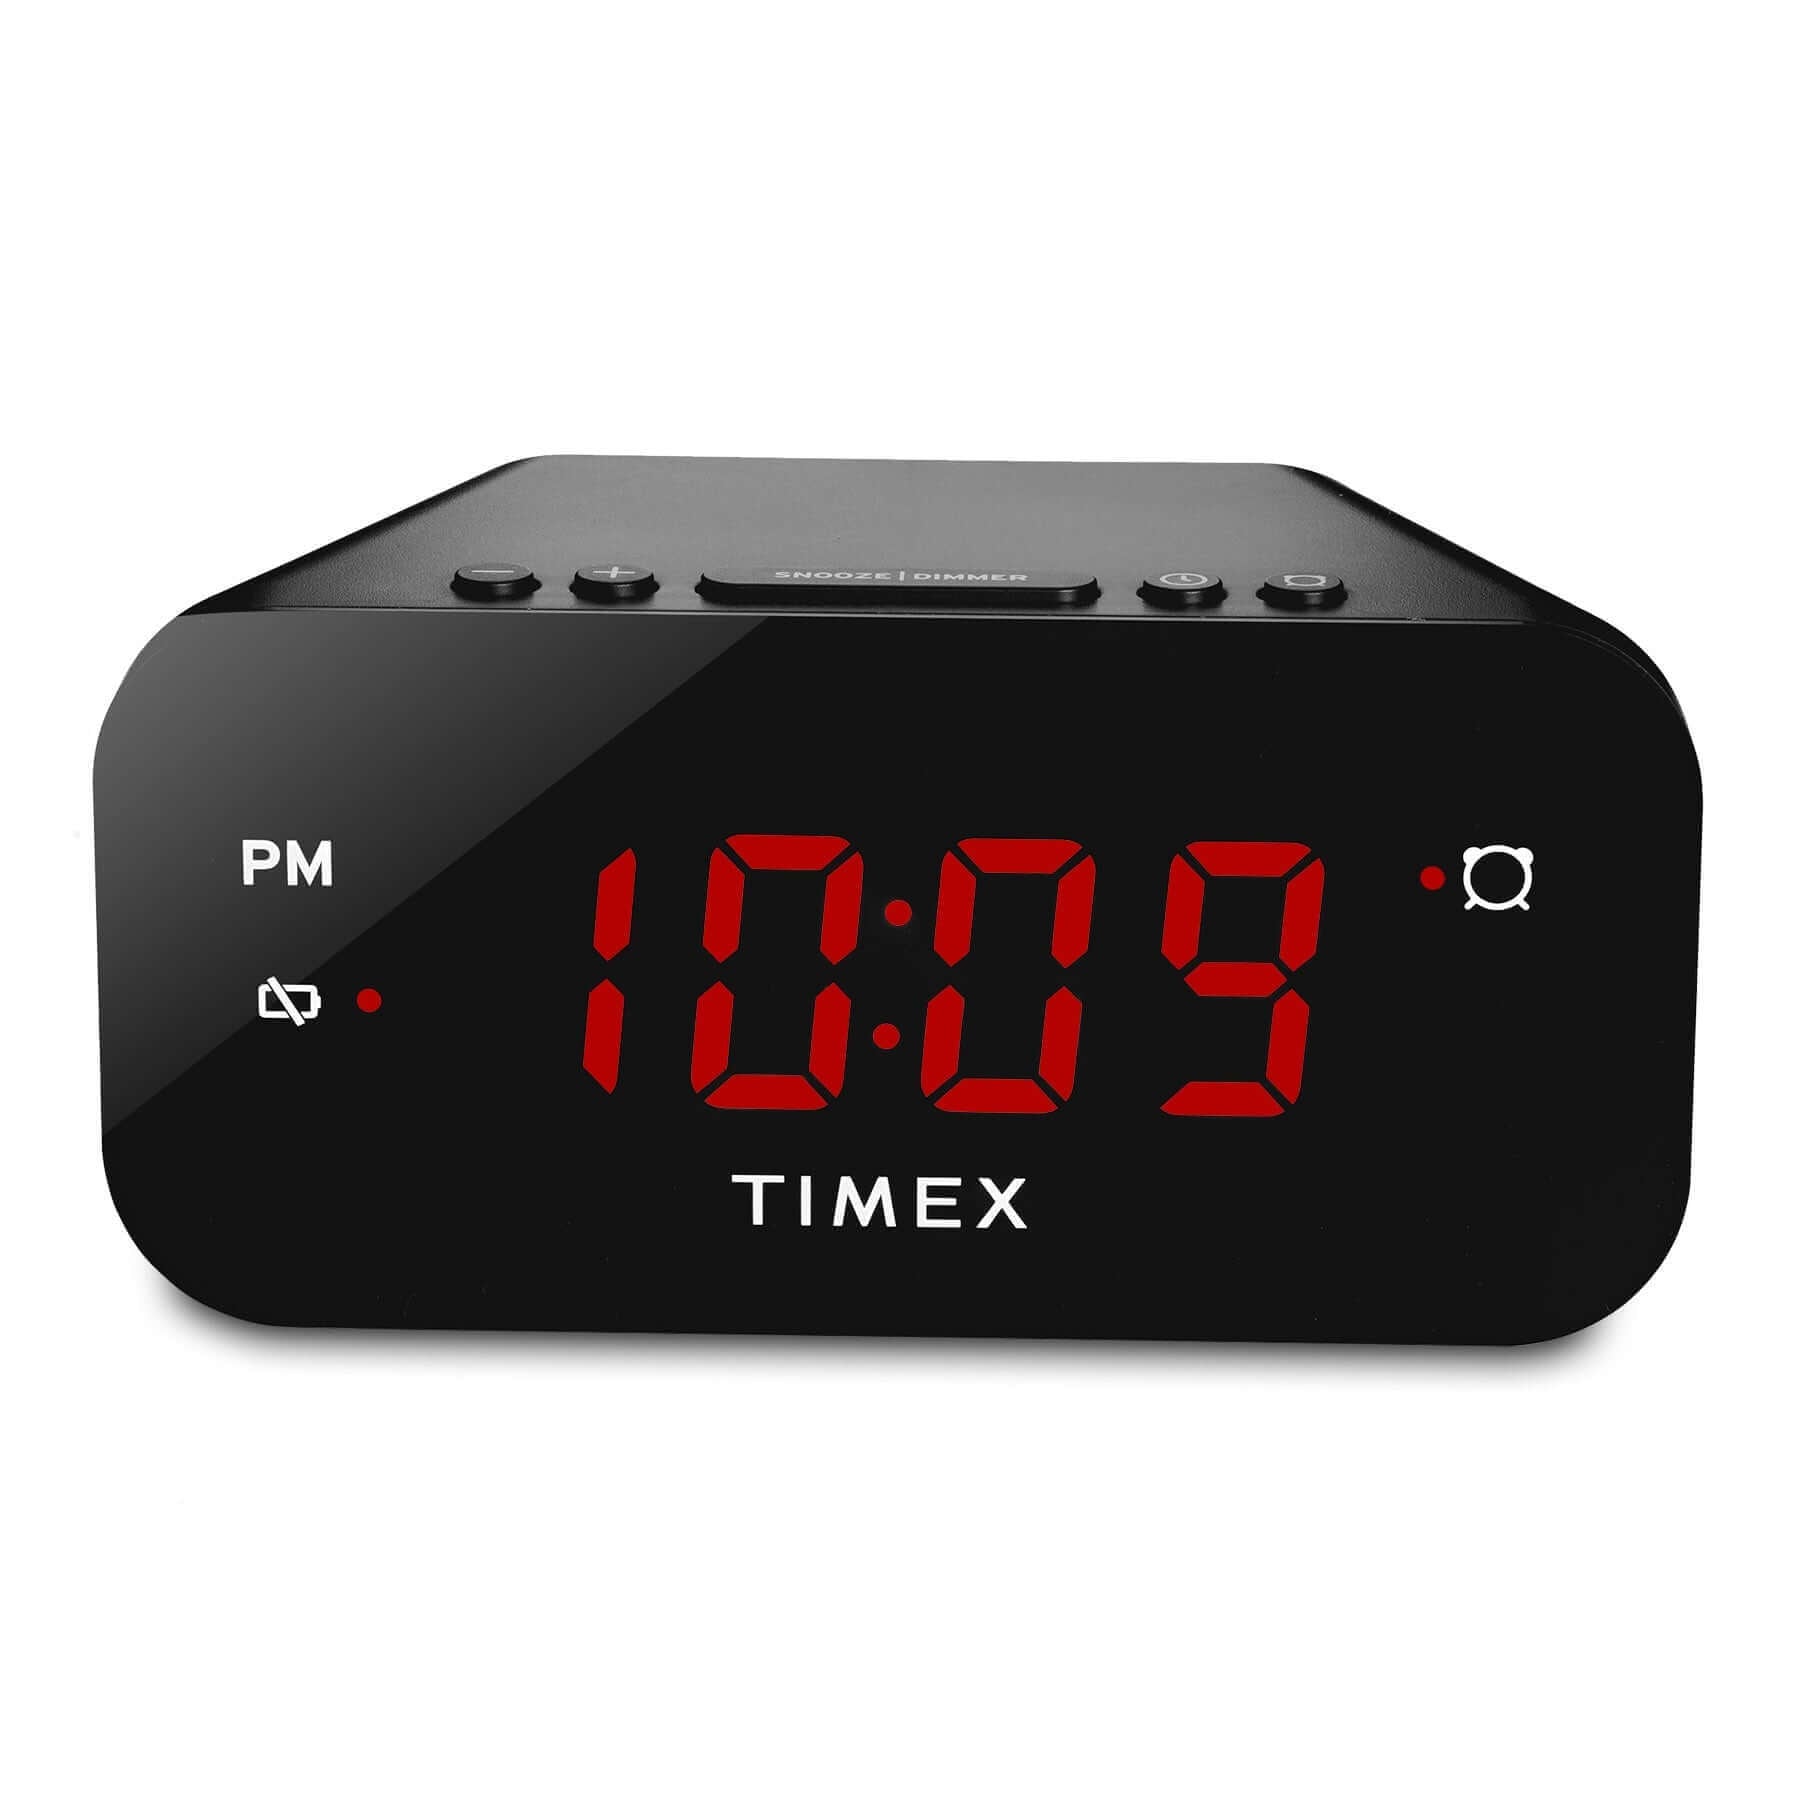
Most digital alarm clocks show a small bell symbol when the alarm is active. Look for this icon before going to bed. If it is missing, the alarm may be saved but turned off.
Choose Between 12-Hour and 24-Hour Time
Many digital alarm clocks let you choose between 12-hour and 24-hour time.
The 12-hour format uses AM and PM. For example:
- 6:30 AM means early morning.
- 6:30 PM means evening.
- 12:00 AM means midnight.
- 12:00 PM means noon.
The 24-hour format runs from 00:00 to 23:59. In this format, 6:30 AM appears as 06:30, while 6:30 PM appears as 18:30.
Look for a 12/24H button or a clock-format option in the settings. If you use 24-hour time, set a morning alarm for a number such as 06:30. Setting 18:30 would create an evening alarm.
When helping someone learn how to set up a digital alarm clock, I often suggest using the format they already know. The best format is the one that reduces mistakes.

Activate the Alarm and Test It
Setting an alarm time does not always activate the alarm. Many clocks have a separate alarm On/Off switch or button.
Check the display for:
- A bell icon.
- An alarm light.
- The word “AL.”
- A small alarm symbol near the time.
If you cannot find an alarm symbol, press the Alarm On/Off button once. Avoid holding it unless the instructions tell you to do so, because holding the button may open another setting.
Test the alarm before relying on it. Set the alarm for five minutes in the future, then wait for it to sound. Confirm that the volume is loud enough and that the alarm tone suits your needs.
This test is one of the most useful steps in how to set up a digital alarm clock. A clock can display the correct alarm time but remain inactive, muted, or set to a very low volume.
Use the Snooze Button Correctly
The snooze button pauses the alarm for a short period. Many clocks use a snooze period of about five to ten minutes, but the exact time depends on the model.
Press Snooze when you need a brief pause. Avoid pressing it repeatedly if you need to wake up at a fixed time. Repeated snoozing can make you feel groggy and may cause you to oversleep.
Place the clock far enough away that you must sit up or stand to turn it off. This simple habit makes it harder to switch off the alarm while half asleep.
Some digital alarm clocks also include a gradual light, nature sounds, or a vibrating function. These features may help people who dislike a loud alarm, but they should still be tested before regular use.

Set the Date, Day, and Other Features
Some digital alarm clocks show more than the time. They may include the date, day of the week, indoor temperature, radio, or a USB charging port.
To set these features, press the Mode or Set button until the desired item flashes. Then use the Hour, Minute, or arrow buttons to adjust it.
Common extra settings include:
- Date: Month, day, and year.
- Day: Sunday through Saturday.
- Temperature: Fahrenheit or Celsius.
- Display brightness: Bright, dim, or automatic.
- Alarm tone: Beep, music, or radio.
- Volume: Low, medium, or high.
- Night mode: A dim display during sleeping hours.
You do not need to set every feature. Focus on the time and alarm first. Extra options can wait until you are comfortable with the basic controls.
If the clock includes a radio, keep the antenna away from large metal objects when possible. This may improve reception, though signal quality also depends on your location.
Set Up a Battery Backup
A battery backup can keep the alarm settings during a power outage. Some clocks continue showing the time during an outage, while others turn off the display but preserve the alarm.
Look for a battery compartment on the back or bottom of the clock. Insert the battery in the direction shown by the plus and minus symbols.
Keep these points in mind:
- Use the battery type listed in the manual.
- Replace weak batteries promptly.
- Do not mix old and new batteries.
- Do not mix different battery types.
- Remove leaking batteries with care.
- Unplug the clock before cleaning it.
A backup battery may not power every feature. The display, radio, or alarm sound may stop during an outage, depending on the design. Read the product instructions before trusting the clock as your only wake-up system.
For important appointments, use a second alarm on a phone or another clock. This is especially wise during travel, severe weather, or known power interruptions.
How to Set Up a Digital Alarm Clock With Different Button Layouts
Digital alarm clocks do not all use the same control system. Learning the common layouts makes setup easier.
Clocks with separate Hour and Minute buttons
Press and hold Time or Alarm. Then press Hour and Minute to change each part. Release the main button after saving the setting.
Clocks with one Set button
Press Set several times to move through hours, minutes, alarms, and other options. Use arrow buttons to change the flashing number.
Clocks with a Mode button
Press Mode until the screen shows the clock or alarm setting. Hold Mode to edit the selected option.
Clocks with a rear switch
Use the buttons to set the alarm time. Then move the rear switch to the On position. A bell icon should appear on the front display.
Touchscreen alarm clocks
Tap the screen or swipe to open the settings. Select the clock or alarm option, enter the time, and tap Save. Keep the screen clean and dry so touch controls respond properly.
The key lesson in how to set up a digital alarm clock is to identify the button that opens a setting and the button that saves it. Once you know those two controls, the rest is usually easy.

Common Mistakes to Avoid
Small errors can make a digital alarm clock seem broken. Most problems come from the wrong mode, an inactive alarm, or an AM and PM mistake.
Avoid these common errors:
- Setting the alarm but not turning it on.
- Choosing PM instead of AM.
- Confusing the current time with the alarm time.
- Forgetting to press Set or Mode to save changes.
- Setting 18:00 when you meant 6:00 AM in 24-hour mode.
- Covering the speaker with clothing or bedding.
- Using weak batteries.
- Assuming the clock keeps all settings during a power outage.
- Ignoring a flashing display after a power failure.
- Relying on an untested alarm before an important event.
A flashing display often means the clock lost power and needs its time reset. The alarm may also need to be turned on again.
One practical mistake is placing the clock too close to your head. The sound may seem harsh, and you may hit Snooze without fully waking. A short distance from the bed usually works better.
Troubleshoot a Digital Alarm Clock
If the alarm does not ring, work through the problem in order.
- Check that the clock has power.
- Confirm that the current time is correct.
- Confirm that the alarm time is correct.
- Check AM or PM.
- Look for the alarm icon.
- Increase the alarm volume.
- Make sure the alarm tone is not set to silent.
- Test the alarm for a few minutes in the future.
- Replace the batteries if the display is weak.
- Reset the clock if the manual recommends it.
If the buttons do nothing, the clock may be locked or in a mode that does not allow changes. Try pressing and holding Set, Mode, or Alarm for several seconds.
If the display is completely blank, check the power outlet, power cable, and battery compartment. Do not open the clock beyond the battery cover unless the manufacturer provides safe instructions.
When learning how to set up a digital alarm clock, patience matters. Pressing many buttons at once can change more than one setting and create fresh confusion.
Make Your Alarm More Reliable
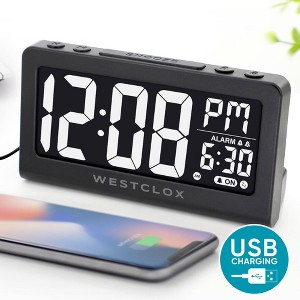
A digital alarm clock works best when it becomes part of a steady sleep routine. Set the alarm for the same wake time when possible, even on many days off. A consistent schedule can support better sleep habits.
Use these practical tips:
- Keep the display visible from your bed.
- Choose a clear alarm tone.
- Set the volume high enough to hear.
- Place the clock on a stable surface.
- Keep cords away from walkways.
- Check the alarm icon each night.
- Test new clocks before an important morning.
- Replace batteries based on the product instructions.
- Use a backup alarm for flights, exams, or work shifts.
Do not place the clock where sunlight, a heater, or moisture can damage it. Follow the manufacturer’s safety instructions, especially for clocks with rechargeable batteries or USB power.
The best setup is simple and repeatable. A reliable bedtime check takes less than a minute and can give you peace of mind.

Frequently Asked Questions About How to Set Up a Digital Alarm Clock
How do I set a digital alarm clock for the first time?
Plug in the clock or install its batteries. Set the current hour and minute first, then set the alarm time and make sure the alarm icon shows on the display.
Why is my digital alarm clock showing the wrong AM or PM?
The clock may be set to the wrong 12-hour period. Continue pressing the Hour button until the correct AM or PM appears, or switch to 24-hour time if that format is easier for you.
How do I turn on the alarm after setting it?
Press the Alarm On/Off button or move the alarm switch to On. Look for a bell icon or alarm light, which confirms that the alarm is active.
Why does my digital alarm clock keep losing time?
The clock may have a weak battery, a loose power connection, or a power outage. Replace the battery, check the power cable, and reset the time if the display is flashing.
How do I stop a digital alarm clock from ringing?
Press the Alarm Off, Stop, or Reset button. Pressing Snooze usually pauses the alarm but does not turn off the next scheduled alarm.
Can I set more than one alarm on a digital alarm clock?
Some models support two or more alarms, often labeled Alarm 1 and Alarm 2. Check the display and manual to see whether your clock supports separate alarm times.
How loud should a digital alarm clock be?
Set the volume high enough to wake you without causing discomfort. Test it from your normal sleeping position, and use a second alarm if you are a heavy sleeper.
Conclusion
Learning how to set up a digital alarm clock takes only a few steps: set the current time, choose the alarm time, select the correct AM or PM setting, and confirm that the alarm icon is visible. A quick test can also reveal problems with volume, power, or the alarm switch.
Keep the clock easy to see, maintain its batteries, and use a backup alarm for important mornings. Set up your clock today, test it once, and share your best alarm tips in the comments.