Bissell Proheat Carpet Cleaner Troubleshooting
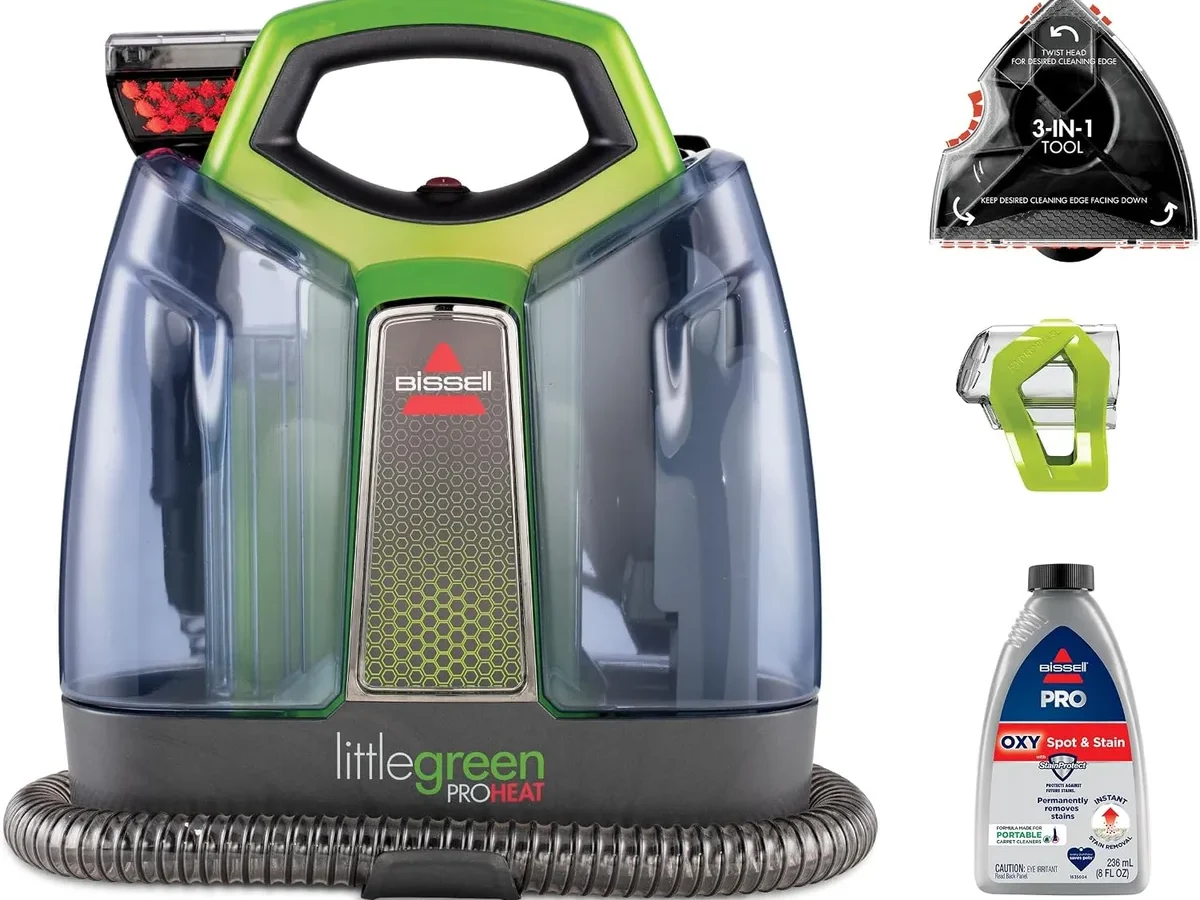
If your Bissell ProHeat is blowing cold water, spitting instead of spraying, or leaving your carpet soaked, you're in the right place. Bissell ProHeat carpet cleaner troubleshooting usually comes down to three main culprits: a clog, a loose gasket, or a tripped thermal cut-off. The machine's design is simple enough that most problems have a five-minute fix.
You just need to know which one you're fighting.
Manufacturer specifications put the ProHeat's heater output at roughly 140-180°F, so no heat points to a specific component. Aggregate reviews from owners confirm that the most common failures are clogged nozzles and dislodged tank gaskets. As of 2026, most of these fixes cost between $0 and $50 if you do them yourself.
Let's walk through the likely problems in the order you should check them.
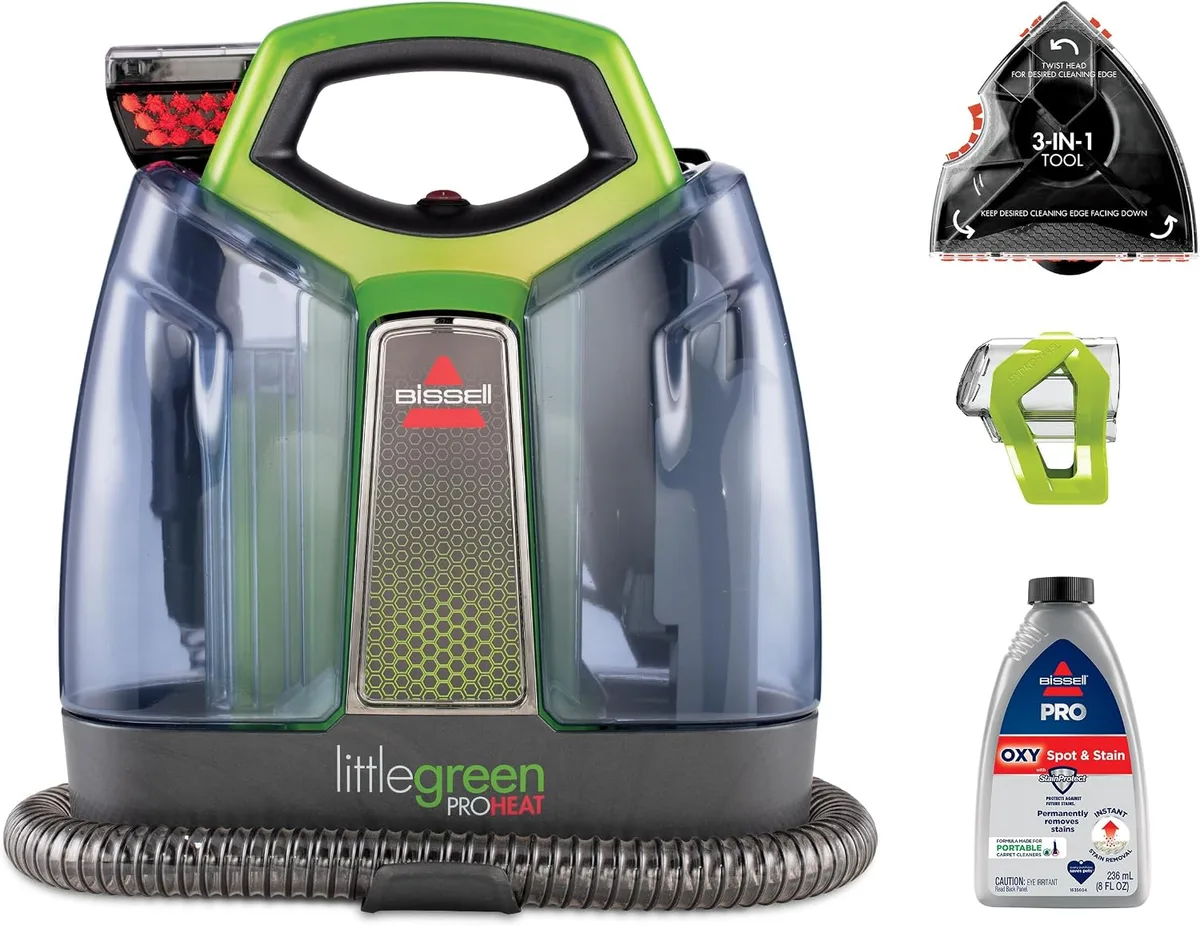
Image source: Bing (Web (fair-use with source credit))
Quick Answer
Check the three most common failure points first. Clear the spray tip with a paperclip. Reseat the clean water tank gasket.
Let a hot machine cool for 30 minutes to reset the thermal cut-off. Nine out of ten problems start there. If none of those work, work through the symptom guides below.
7 Common Bissell ProHeat Problems (and What to Check First)
Here is the cheat sheet. If you match your symptom, jump straight to that fix. The rest of this guide covers the top three issues in detail.
| Symptom | Most Likely Cause | Check First |
|---|---|---|
| No heat or cold water | Heater not primed or thermal cut-off tripped | Let unit cool 20-30 minutes, check heat light |
| Weak or no spray | Clogged spray tip or failed pump trigger | Clear spray tip with paperclip, clean solution tank |
| Wet carpet or weak suction | Clogged suction nozzle or dirty tank gasket | Remove lower nozzle, check for hair and debris |
| Water leaking underneath | Cracked clean tank or dislodged gasket | Inspect clean water tank gasket and seal |
| Machine stops mid-clean | Overheating and thermal cut-off trip | Unplug, let cool 30 minutes, then restart |
| Brush roll not spinning | Belt issue or debris wrapped around brush | Flip unit, remove brush cover, clear hair |
| Burnt smell while running | Failed heater assembly | Stop use, contact support or replace heater |
Always unplug the machine before you inspect anything. The thermal cut-off is a protective sensor. It stops the heater from melting itself.
Let the unit cool before opening any housing.
No Heat? Tracing the Heater Issue Step by Step
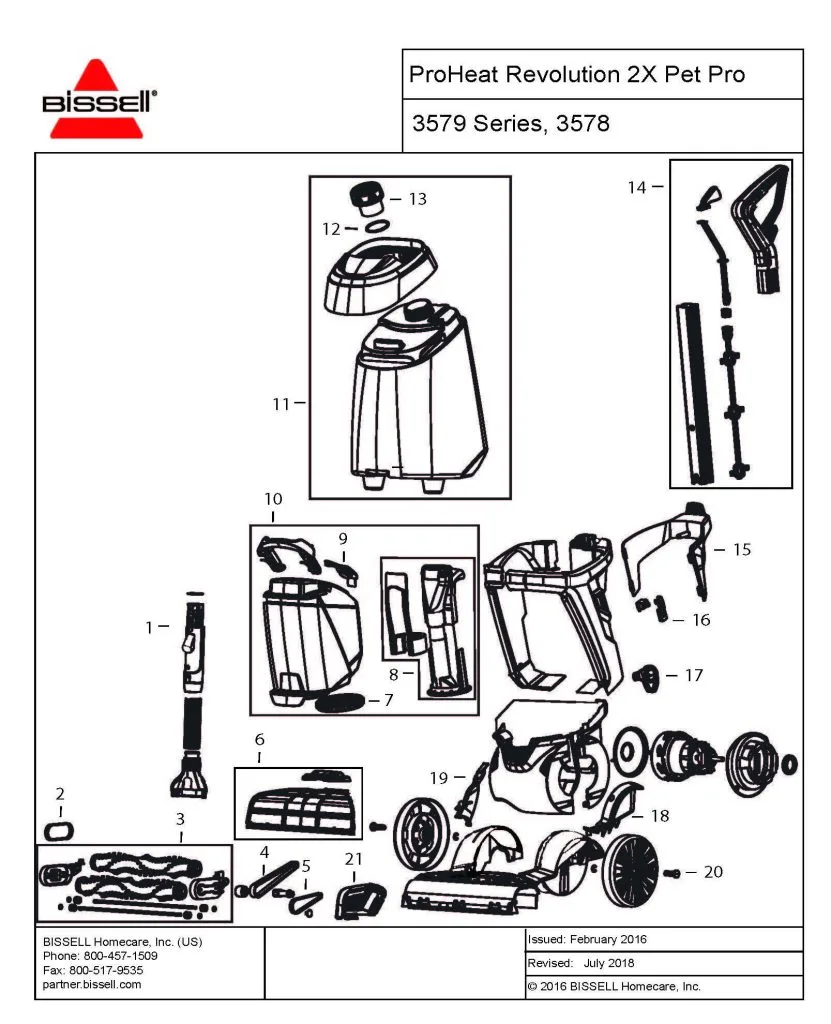
Image source: Bing (Web (fair-use with source credit))
If your ProHeat sprays cold water, the heater is either disabled by a safety switch or it has failed. A thermal cut-off is a small sensor that kills power to the heating element before it overheats. That is the first thing to suspect.
Follow this order:
- Check the heat light. On most models, a steady green light means the heater is up to temp. Amber means it is warming. No light means power is not reaching the heater.
- Let the machine cool off. If it stopped mid-use, the cut-off tripped. Unplug it for at least 30 minutes.
- Confirm the clean water tank is full. The heater depends on water flow to stay safe. Running dry can trip the cut-off.
- Prime the heater. Squeeze the spray trigger for 15 seconds with warm tap water and a little Bissell formula.
- Test the heat again. If the light never comes on, the heater assembly is likely burned out.
Replacement heater assemblies cost around $30 to $50. They take a few screws to swap. If that feels high, Bissell's official support page has model-specific diagrams and service contacts.
Weak Spray or No Water Flow? Clearing Clogs in the Nozzle and Tank
If the spray is a miserable dribble, you have a blockage. Almost every spray issue traces back to dried formula or a broken tank seal. Here is the fix path.
- Remove the SmartMix tank and inspect the bottom. Dried solution builds up there and blocks the pickup tube. Rinse it with warm water.
- Check the clean water tank gasket. The rubber ring inside the cap pushes into the machine port. If it is missing or dented, the system cannot pressurize. Reseat it.
- Clear the spray tip. Use a paperclip or toothpick to push out residue. Soak the tip in warm vinegar for 10 minutes if it is stubborn.
- Inspect the clear tube for kinks or hardened formula. Replace it if the plastic looks cracked.
- Never use a needle. Sharp tools gouge the plastic nozzle and ruin the spray pattern.
If you clear all four and still get nothing, check that the formula is not expired. Thickened solution leaves a sticky film that clogs nozzles faster than anything else. Running the self-clean cycle also helps flush out residue before you take anything apart.
Wet Carpet or Weak Suction? Fixing the Dirty Water Path
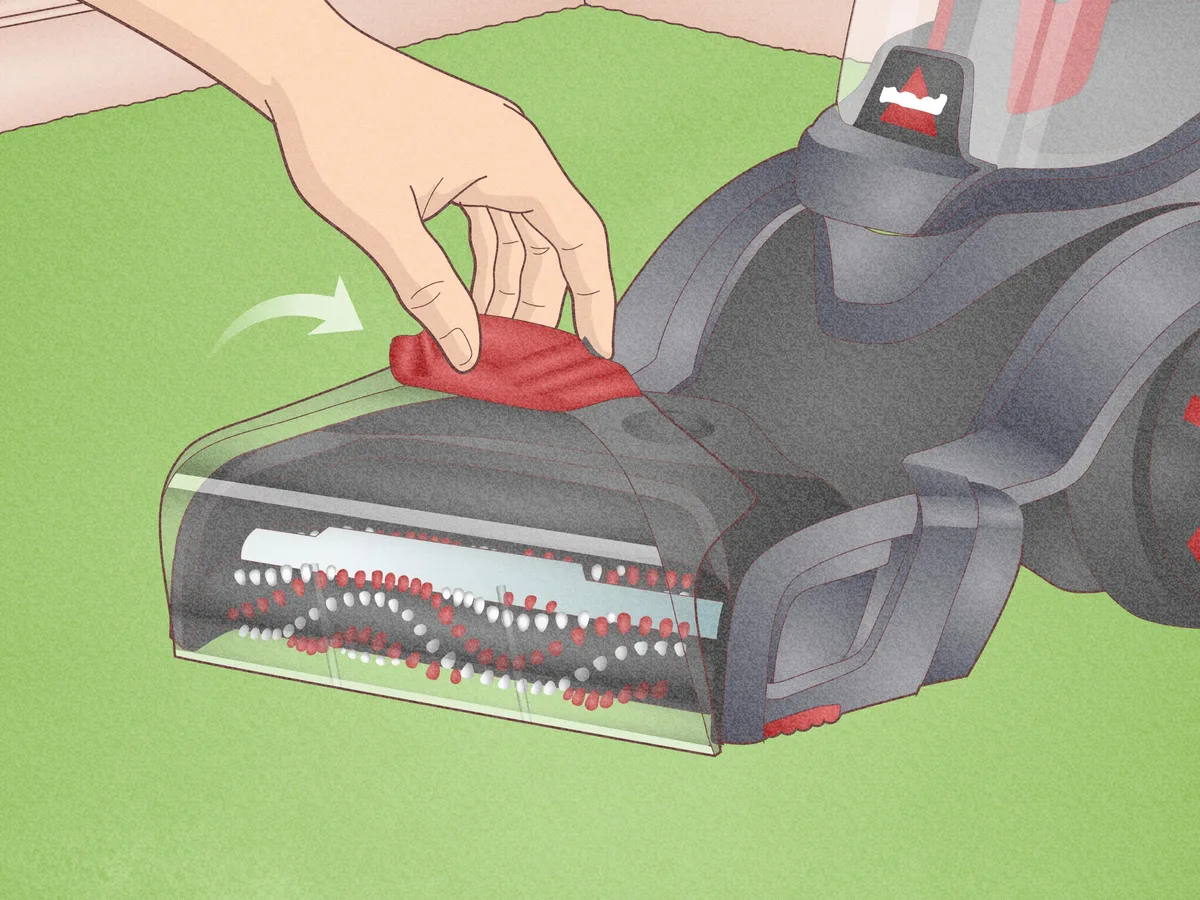
Image source: Bing (Web (fair-use with source credit))
A wet carpet after cleaning means the machine is not pulling water back up. That is a suction failure, not a spray problem. The dirty water path is short, but it has a few places where hair and debris gather.
- Reseat the dirty water tank. If it is not fully clicked down, the vacuum seal breaks. Press firmly until it snaps.
- Inspect the tank cap gasket. A cracked cap or out-of-place rubber ring creates an air leak. Rinse the cap and refit the ring.
- Pull the lower suction nozzle off the base. This is the number one clog spot. Pet hair and carpet fuzz bunch up right here. Rinse it under the tap.
- Check the hose. Some models route through a 3-in-1 tool. Remove it and look for blockages at the bend.
- Run clear water through the tank to see if flow improves.
This is the section where owners waste hours. Nine times out of ten, the issue is a hairball in the lower nozzle. Clean that first.
Leaks, Stops, and Smells: Other Issues and How to Fix Them
These do not fit neatly into the big three, but they are just as common. Here is a quick reference.
| Problem | Likely Cause | Quick Fix |
|---|---|---|
| Water leaking underneath | Cracked clean tank or dislodged gasket | Inspect both tanks; replace gasket if damaged |
| Machine stops mid-clean | Thermal cut-off tripped | Unplug, cool for 30 minutes |
| Burnt smell while running | Heater assembly failure | Stop use; replace heater assembly |
| Brush roll not spinning | Hair wrapped around the brush | Remove brush cover, clear debris |
| Musty odor from tank | Mold in dirty water tank | Run self-clean cycle; rinse with vinegar |
Most of these are straightforward. The only real risk is the burnt smell. That signals an electrical component has failed.
Stop using the machine and swap out the heater before running it again. If the brush roll still will not spin after clearing debris, check for a broken belt.
Regular maintenance prevents 80% of these issues. Flushing the machine properly after every use is what keeps the ProHeat running. That alone is worth the ten extra minutes.
Preventative Maintenance That Saves You Headaches
Most ProHeat breakdowns trace back to one simple habit. You finish cleaning, dump the dirty tank, and walk away. That tiny shortcut causes the majority of clogs and burnt-out heaters.
Make the post-cleaning routine non-negotiable. Remove both tanks and rinse them thoroughly. Wipe the brush roll cover and the lower suction nozzle.
Run the self-clean cycle with fresh water and a half-ounce of Bissell formula.
Stick with the manufacturer's original Bissell formula. Third-party detergents leave a sticky film that hardens inside the heater and spray tips. The machine's manual specifically warns against them.
Hard water areas need extra attention. Mineral deposits build up in the nozzles over time. Flush the machine with a vinegar and water solution every two to three months.
That dissolves scale before it blocks the spray path.
Empty the tanks completely before storing. Leave the caps off so air can circulate. That prevents mold and musty odors from developing in the sealed compartments.
When to Repair vs. Replace Your Bissell ProHeat
If the fix is a clogged nozzle or a gasket, just repair it. The parts are cheap and the repair takes minutes. That is the easy answer.
The harder call comes when the heater assembly dies or the motor starts failing. Compare the repair cost against the machine's age.
| Factor | Repair | Replace |
|---|---|---|
| Heater assembly cost | $30-$50 | N/A |
| Machine age | Under 3 years | Over 5 years |
| Motor or tank damage | Expensive, $80+ | New unit $130-$250 |
| Ongoing clog issues | Recurring | Fresh start |
If your machine is under three years old, replacing the heater assembly makes sense. The rest of the hardware is likely still solid. If the unit is over five years old or the motor sounds weak, put the money toward a new ProHeat.
Check warranty coverage before buying anything. Bissell includes a one to two year limited warranty on most ProHeat machines. Some heater failures qualify for a free repair if you are inside the window.
Any time you smell burning plastic or the motor stutters, stop immediately. Running a failing machine can warp the heater housing. That turns a cheap fix into an expensive one.
Frequently Asked Questions
Why is my Bissell ProHeat not spraying water?
A clogged spray tip or a dislodged clean tank gasket causes this. Remove the spray tip and clear it with a paperclip. Rinse the clean water tank cap and reseat the gasket.
Check the SmartMix tank for dried solution buildup.
How do I reset the thermal cut-off on my ProHeat?
Unplug the machine and let it cool for at least 30 minutes. The thermal cut-off resets automatically when the heater drops to a safe temperature. Plug the machine back in and test the heat light.
Can I use vinegar in my Bissell ProHeat?
Yes, as a cleaning and descaling agent. Run a vinegar and water solution through the machine to dissolve mineral deposits. Never mix vinegar with formula in the same tank.
Rinse thoroughly afterward.
Why is my Bissell ProHeat leaking from the bottom?
A cracked clean water tank or a damaged gasket is the usual cause. Remove both tanks and inspect them for hairline cracks. Replace the cap gasket if it looks pinched or worn.
How often should I run the self-clean cycle?
Run it after every three or four uses. Also run it whenever you switch cleaning formulas. The self-clean cycle flushes residue from the internal lines and prevents clogs before they start.

Similar Posts