How To Fix A Hole In The Wall
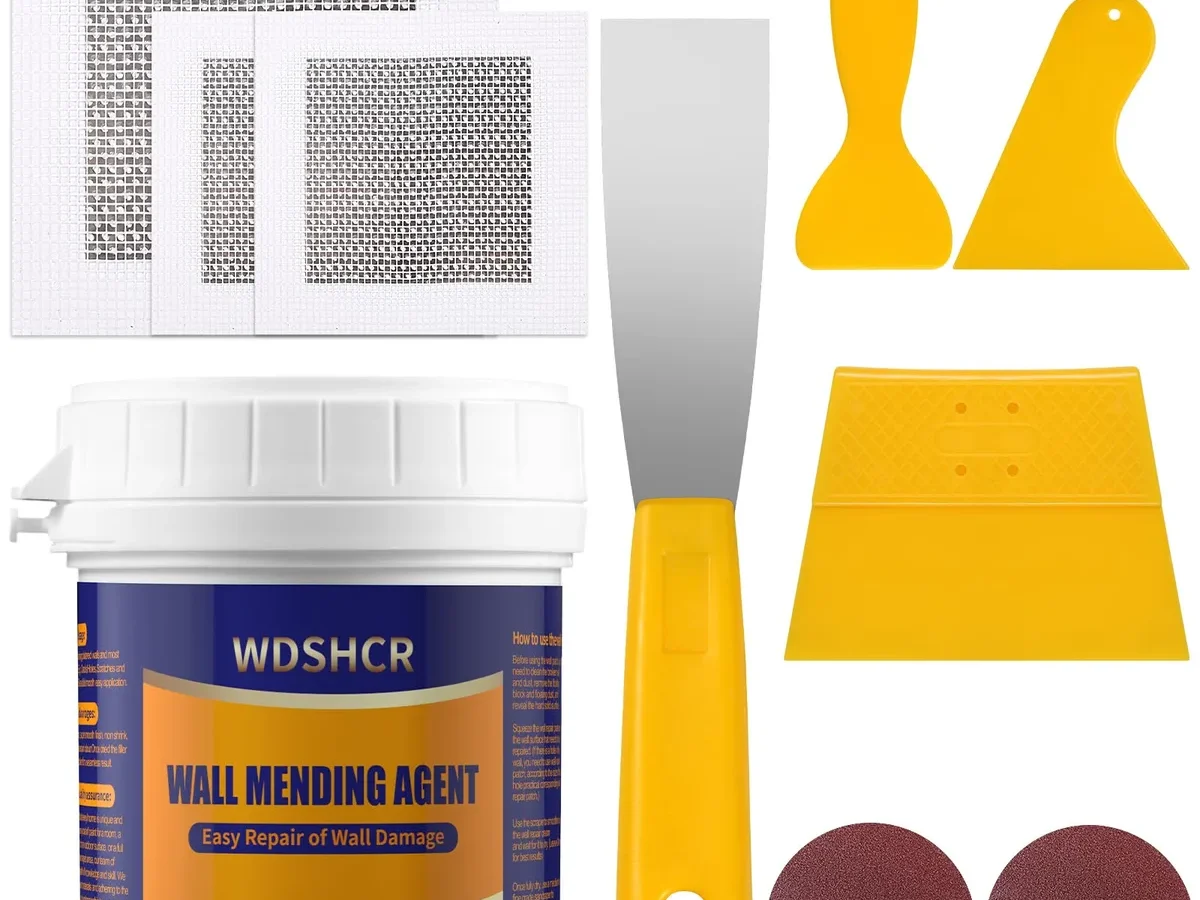
So you've got a hole in the wall. Maybe it's from a doorknob, a rogue piece of furniture, or that moment when you tried to hang a picture and the anchor ripped straight through. We've all been there.
Knowing how to fix a hole in the wall isn't about slapping on spackle and hoping for the best. It's about picking the right method for the specific hole you're staring at.
Manufacturer specs from USG, the company that makes a huge chunk of North American drywall, confirm that most residential walls use 1/2-inch gypsum board. That thickness affects how deep your repair needs to go. Patch it wrong and you'll see a bump or a crack every time you walk past.
Let's walk through the right way, hole by hole.
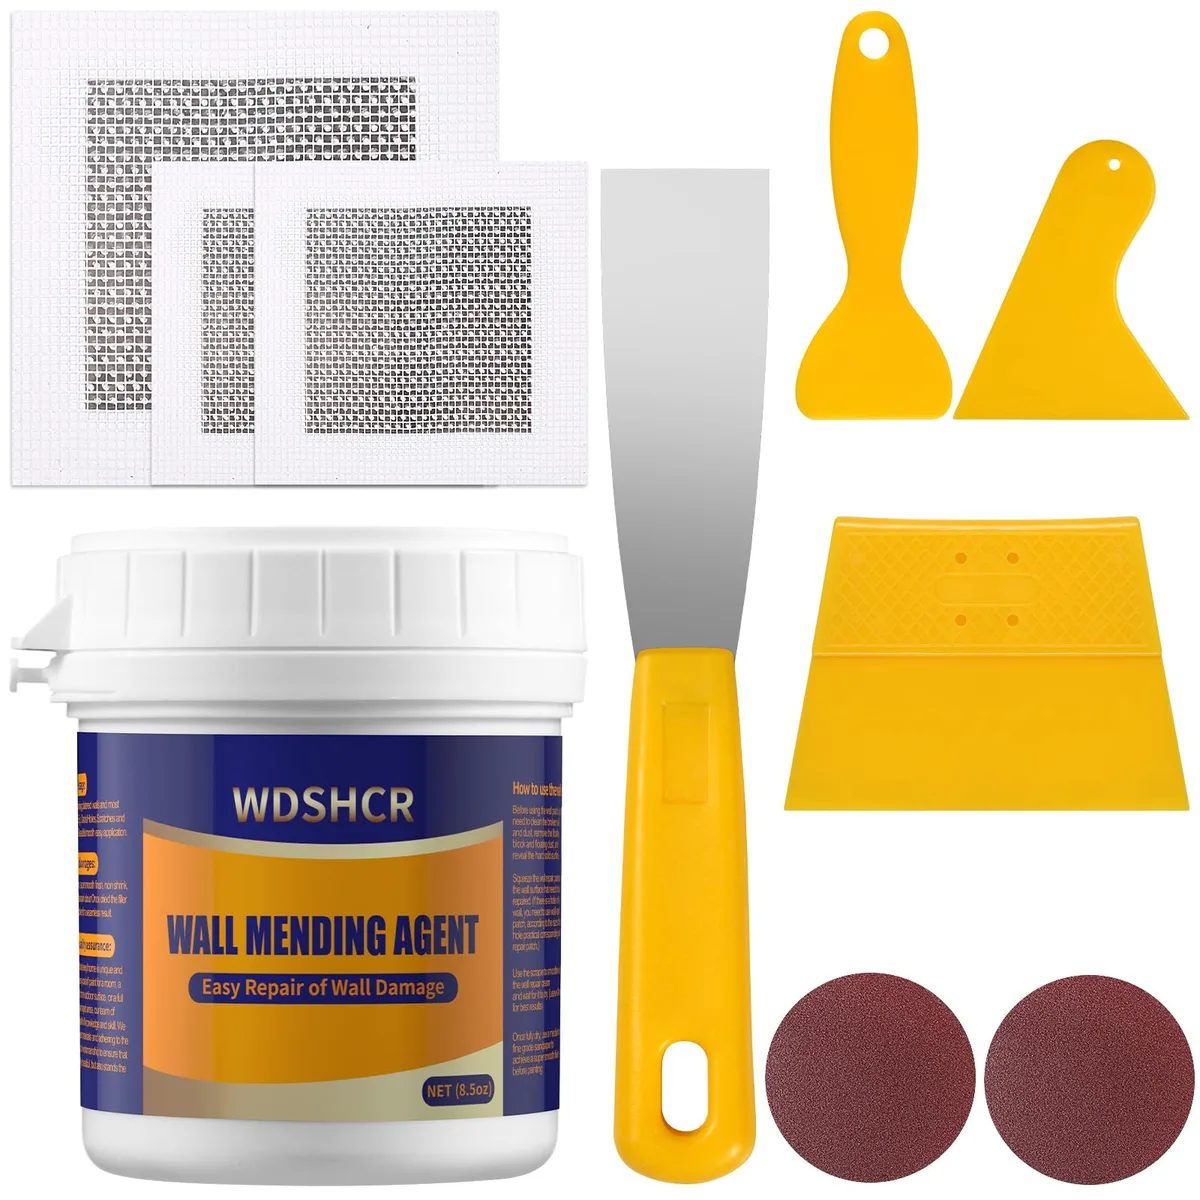
Image source: Bing (Web (fair-use with source credit))
Quick Answer
Fix a hole by size and wall type. For tiny holes, use spackle. For dents up to 4 inches, use mesh tape and joint compound.
For large holes, cut a patch from scrap drywall. Sand between coats. Prime before painting.
Let each coat dry fully.
The Simple Fix (And When It's Not So Simple)
You'd think patching a wall is straightforward. For a nail hole, it is. A dab of spackle, a light sand, you're done.
But the instant the hole gets bigger than a dime, the simple fix stops working. Spackle shrinks. It cracks if you apply it too thick.
Try to fill a fist-sized divot with spackle alone and you'll be sanding for an hour with a crater still staring back at you.
The trick is matching the repair material to the damage. Think of it like fixing a pothole. A tiny crack gets caulk.
A small dip gets cold patch. A gap the size of a dinner plate needs a whole new section of asphalt. Same logic with drywall.
Per manufacturer specifications from USG, the two main fillers are spackle (for small, shallow holes) and joint compound (for deeper, wider repairs). Joint compound is stronger and sands more smoothly but takes longer to dry. Spackle dries fast but can't handle bulk.
If you're renting, many landlords require a seamless repair before move-out. A lumpy patch means losing your deposit. It's worth doing it right the first time.
First Thing: Measure Your Hole and Feel Your Wall
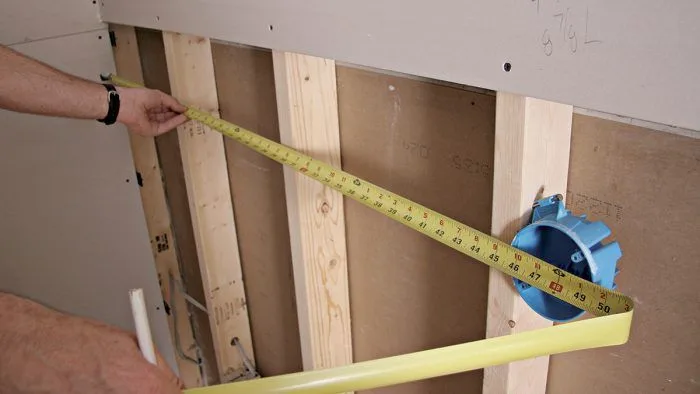
Image source: Bing (Web (fair-use with source credit))
Grab a tape measure or ruler. Measure the widest point of the hole. Then measure the deepest point.
Push a toothpick in to check depth if needed. This tells you two things: how much filler you need and whether you can fill it in one go or need a backing patch.
Next, feel the edges. Are they sharp? Is the drywall paper torn?
If the paper is peeling, cut it away with a utility knife. Joint compound won't stick well to loose paper. Paint will bubble later.
Also check if the hole goes all the way through to the stud cavity. If it does, you might be able to screw a patch into the stud.
Wall type matters too. Most modern homes use drywall (gypsum board). Older homes built before 1950 in the US often have lath and plaster.
Plaster is harder, more brittle, and tends to crack in a star pattern around the hole. For plaster, you usually need a special plaster patch or fiberglass mesh tape with plaster of Paris. Drywall techniques work on plaster in some cases, but you have to sand gently.
If your home was built before 1978, the EPA recommends testing for lead-based paint before sanding. Buy a lead test kit at any hardware store. If it's positive, wet sand or use a HEPA vacuum.
Don't dry sand that dust.
Decision Tree: Pick Your Method by Hole Size
Here's the branching logic. Pick a path based on the hole's biggest dimension.
| Hole Size | Method | Materials Needed | Drying Time |
|---|---|---|---|
| Under 1/4 inch | Spackle only | Spackle, putty knife, 220-grit sandpaper | 30-60 minutes |
| 1/4 to 4 inches | Mesh tape plus joint compound | Self-adhesive mesh tape, joint compound, 6-inch putty knife, sanding sponge | 2-4 hours per coat (2-3 coats total) |
| Over 4 inches | California patch or butterfly patch | Scrap drywall, paper tape, joint compound, drywall saw, utility knife | Overnight for compound, paint next day |
Branch A: Nail Pops and Pin Holes (Under 1/4 Inch)
This is the easiest. Apply a small dab of spackle with your fingertip or a putty knife. Press it in.
Wipe off the excess. Let it dry 30 minutes. Sand lightly with 220-grit paper until flush.
Prime and paint. Done in under an hour.
Branch B: Dinged, Dented, and Annoying (1/4 to 4 Inches)
This is where most homeowners land. You need mesh tape and joint compound. The tape bridges the hole so the compound doesn't fall through.
Apply at least two thin coats. Three is better. Each coat must dry fully before the next.
Sand between coats.
Branch C: The "I Put My Fist Through It" Hole (Over 4 Inches)
You need a patch. The best method is the California patch. Cut a square of scrap drywall slightly larger than the hole.
Attach it to the wall using paper tape and compound. Another option is the butterfly patch where metal clips hold the patch in place. Both methods require cutting the hole into a neat rectangle first.
If the hole is big enough to access studs, you can screw a new piece of drywall directly to the stud. For holes larger than a foot, replace the whole section.
Step-by-Step for the Most Common Fix (Branch B)
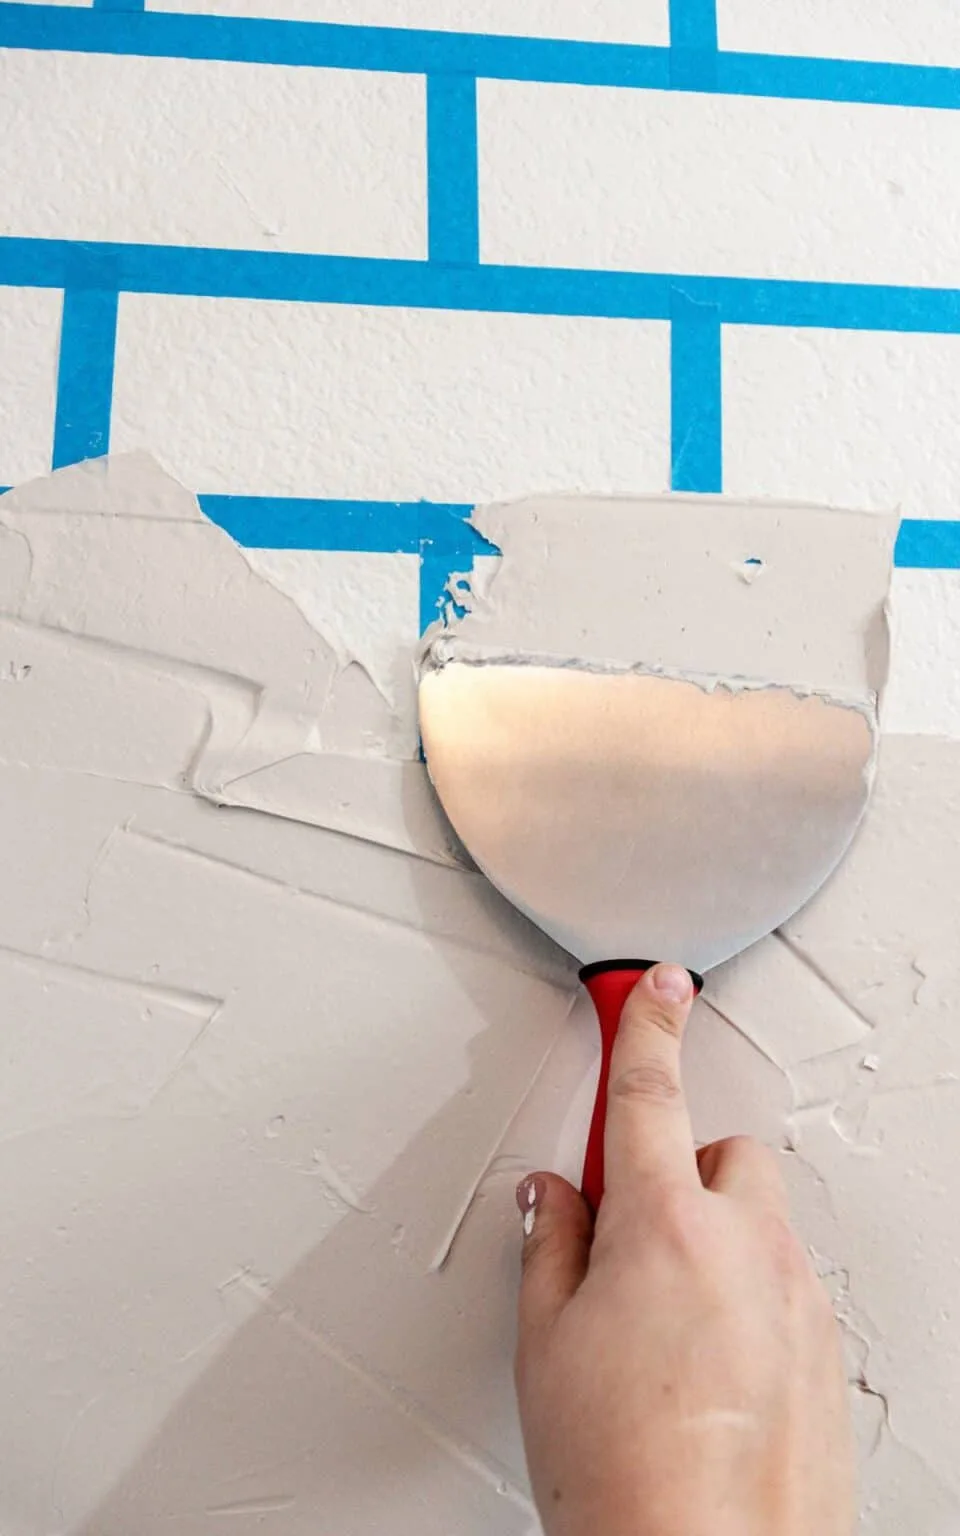
Image source: Bing (Web (fair-use with source credit))
You have a hole between 1/4 inch and 4 inches wide. Here's exactly what to do.
- Clean the hole. Cut away loose drywall paper or crumbly edges with a utility knife. Vacuum out dust.
- Apply mesh tape. Cut a strip of self-adhesive mesh tape about two inches longer than the hole. Center it over the hole and press firmly so it sticks to the drywall face.
- Mix your joint compound. Use a pre-mixed bucket from the hardware store. Stir it with a putty knife. It should be smooth, like mayonnaise.
- Apply first coat. Use a 6-inch putty knife. Scoop a small amount of compound and spread it over the tape. Push it through the mesh into the hole. Scrape off the excess. You want a thin, even layer. Let it dry 2-4 hours.
- Sand lightly. Use a 120-grit sanding sponge to knock down ridges. Don't press hard. You're just smoothing.
- Second coat. Use an 8-inch putty knife. Apply a wider layer. Feather the edges out about 2-3 inches past the first coat. This blends the patch into the wall. Let dry 2-4 hours.
- Sand again. Use 220-grit. The patch should be flush with the wall.
- Third coat if needed. If you feel a dip or see a seam, do one more thin coat and sand.
- Prime. Use a water-based primer over the entire patched area. This prevents the joint compound from absorbing paint unevenly (called flashing). Let primer dry per manufacturer instructions.
- Paint. Match your wall paint exactly. Roll the paint about 6 inches around the patch to blend the texture.
Pro tip: If your wall has texture such as orange peel or knockdown, buy aerosol texture spray at a hardware store. Practice on cardboard first.
The Four Mistakes That Scream "Somebody Patched This"
Even careful DIYers make these errors. They make a repair more visible than the original hole.
1. Using too much material in one coat. Thick layers of joint compound shrink and crack. Three thin coats beat one thick coat every time.
2. Not feathering the edges. If you stop the compound abruptly, you get a raised ridge. Feather means tapering the compound to zero thickness at the outer edge.
Use a wider knife for each coat.
3. Skipping primer. Joint compound is porous. Paint directly on it and that spot looks dull and flat compared to the surrounding wall.
Primer seals it.
4. Sanding too aggressively or too little. Sanding through the paper face of drywall creates a furry mess that won't hold paint. Use a sanding sponge.
Coarse sandpaper is too rough. Run your hand over the patch. If you feel a bump, sand it down.
Other common issues: using spackle on a hole bigger than 1/4 inch (it shrinks and cracks), using paper tape without mud (it won't stick), and patching over wallpaper (you must strip wallpaper first).
Pro Tips for a Truly Invisible Repair
Match the sheen. Paint finish matters as much as color. If your wall is eggshell and you paint with flat, the patch glows. Bring a chip to the paint store for a match on both color and sheen.
Use a damp sponge for final smoothing. Instead of sanding the last coat, try a damp sponge. It smooths the compound without creating dust. This works especially well on textured walls.
Fix popped nails the right way. A nail pop isn't a hole. It's a nail that has worked its way out. Drive the nail back in with a hammer.
Then use a nail set to sink it slightly below the surface. Fill the dimple with spackle. Don't just hammer it flat.
Let compound dry fully. Rushing causes cracks. Wait the full time. If humidity is high, compound takes longer.
In winter with low indoor temps, it also slows down. Be patient.
Keep leftover paint. Label the can with the room name and date. You'll need it for touch-ups. Store it upside down to prevent a skin from forming on top.
Frequently Asked Questions
How do I fix a hole in the wall without spackle?
Use joint compound instead. For very small holes, white toothpaste or bar soap can work as a temporary fix, but it will crack and crumble. Joint compound is the proper alternative.
Can I fix a hole in plaster the same way as drywall?
Not exactly. Plaster is harder and more brittle. Use plaster of Paris or a specialized plaster patch kit.
Avoid pressing too hard. Sand gently because plaster crumbles more easily than drywall.
How long should I wait between coats of joint compound?
Wait 2 to 4 hours per coat in normal conditions. In humid weather, wait 4 to 6 hours. In cold weather, wait overnight.
The compound should look uniform in color and feel dry to the touch.
Do I need to prime before painting a drywall patch?
Yes. Always prime joint compound before painting. Skipping primer causes flashing, where the patch looks matte and the surrounding paint looks glossy.
Primer seals the porous compound.
What's the best way to match wall texture after patching?
Buy aerosol texture spray matched to your wall type. Practice on cardboard first. Hold the can 12 to 18 inches away.
Spray in light coats. For knockdown texture, use a plastic knife to flatten the peaks while wet.
How big of a hole can I fix without cutting new drywall?
You can fix holes up to about 6 inches across with mesh tape and joint compound alone. Beyond that, you need a patch. Holes up to 12 inches can use a California patch.
Larger holes mean cutting and replacing a full section.

Similar Posts