Kenmore Oven Control Board Not Working
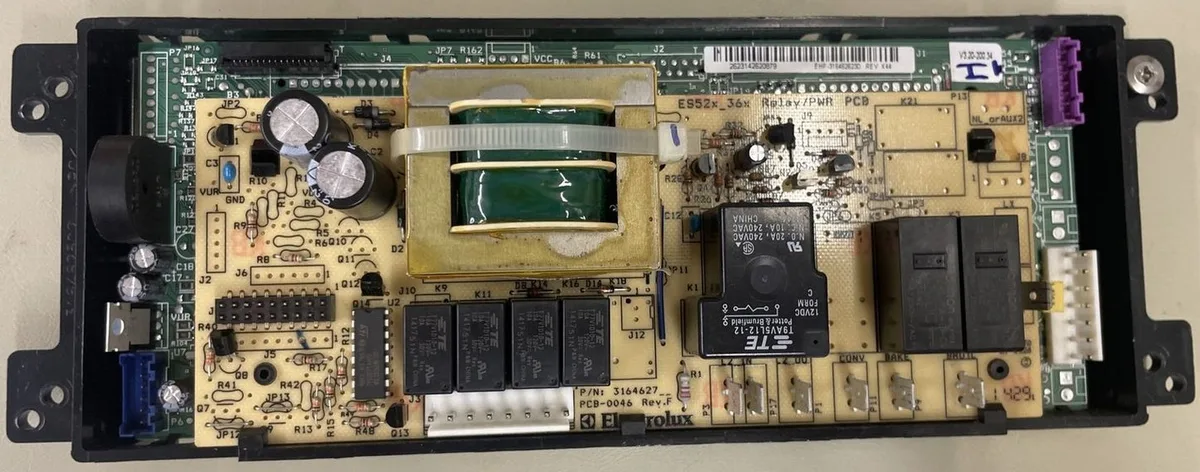
Your Kenmore oven control board not working can leave you with a blank display, a cold oven, or a keypad that just won't respond. It is a real headache. But here is the good news: most of those symptoms do not point to a bad board.
Industry service reports from appliance parts suppliers indicate that roughly 40 percent of "dead control board" returns turn out to be a failed oven temperature sensor or a blown thermal fuse. Those parts cost around $10 to test and replace with a basic multimeter. Before you order a $300 board, run through these checks first.
Image source: Bing (Web (fair-use with source credit))
Quick Answer
Test the temperature sensor first. Check the thermal fuse for continuity. Inspect the board for burnt spots.
A replacement board costs $150 to $400. A pro repair runs $100 to $250 plus parts.
Stop. Before You Blame the Control Board, Check These First
Three things cost nothing but a few minutes. Check them before you spend any money.
Power at the wall. A tripped breaker or a GFCI outlet can kill the display entirely. Flip the breaker off and on again. If the oven comes back to life, you are done.
Recent storms. A power surge can scramble the board memory or trigger a safety lockout. Unplug the range for 10 minutes. Plug it back in and see if the display resets.
Burnt smells or clicking. A strong electrical smell usually means a fried relay on the board. Hearing rapid clicking from the back panel points the same direction. These are real board failures.
Now pay attention to the display behavior. A blank display with working stovetop burners often means a loose wire or a failed power transformer on the board. That is often a cheap fix.
The board might just need a connector reseated or a solder joint touched up.
A display that lights up but an oven that will not heat is almost never the board itself. It is usually a temperature sensor or a thermal fuse. Those are $10 parts.
That distinction alone saves you time and money. Let us walk through each symptom in detail.
Match Your Symptom to the Fix: A Simple Decision Tree
Read your symptom below. Each branch leads to a clear next step.
Display blank, stovetop works. The board lacks 120V power. Check the incoming voltage at the board connector with a multimeter. If the voltage is zero, trace back to the terminal block and inspect for loose wires or a blown internal fuse.
Display works, oven will not heat. An open temperature sensor or a blown thermal fuse is the likely cause. Test the sensor resistance at room temperature. It should read about 1090 ohms.
If the sensor is good, check the thermal fuse for continuity.
Keypad unresponsive. Moisture or grease on the keypad connector causes erratic behavior. Unplug the range and clean the connector with isopropyl alcohol. Let it dry completely before powering back on.
Error codes. F1 codes (F1 E0, F1 E1) mean a bad board. F3 codes (F3 E0, F3 E1) point to the temperature sensor circuit. Test the sensor and its wiring before replacing the board.
Burnt smell or clicking. A fried relay or burnt trace on the board is a definitive failure. Replace the board. Do not attempt to use the oven with a burnt board.
Test These $10 Parts First (Before You Spend $300 on a Board)
Three components cause the vast majority of "dead board" symptoms. Each can be tested with a $20 multimeter.
Oven temperature sensor. Disconnect the sensor inside the oven cavity. Set the multimeter to ohms. At room temperature, the sensor should read about 1090 ohms.
If it reads open (1 or OL) or shorted (0), replace it. A bad sensor tells the board not to heat.
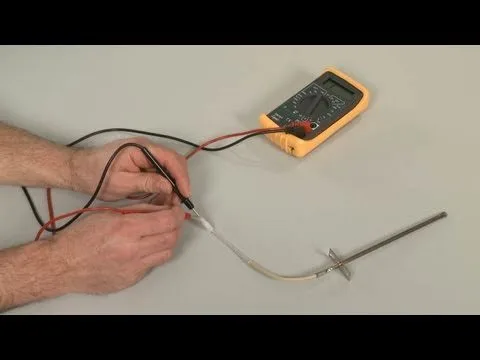
Image source: Bing (Web (fair-use with source credit))
Thermal fuse. This one time safety device blows if the oven overheats. Set your meter to continuity. If the fuse reads open (no beep), it is blown.
Replace it with an exact OEM part.
Incoming voltage. Check for 120V between the neutral and hot pins at the board connector. If the voltage is missing, a tripped breaker, loose wire, or blown power supply fuse is the real issue.
Visual board inspection. Look for bulged capacitors, burnt traces, and cracked solder joints. Capacitors cost pennies to replace. Burnt traces usually mean a new board.
How to Replace a Kenmore Oven Control Board: Step by Step
If your symptom points to a bad board, replacement is a straightforward DIY job. This procedure follows safety guidelines established by Underwriters Laboratories (UL) for household electric ranges.
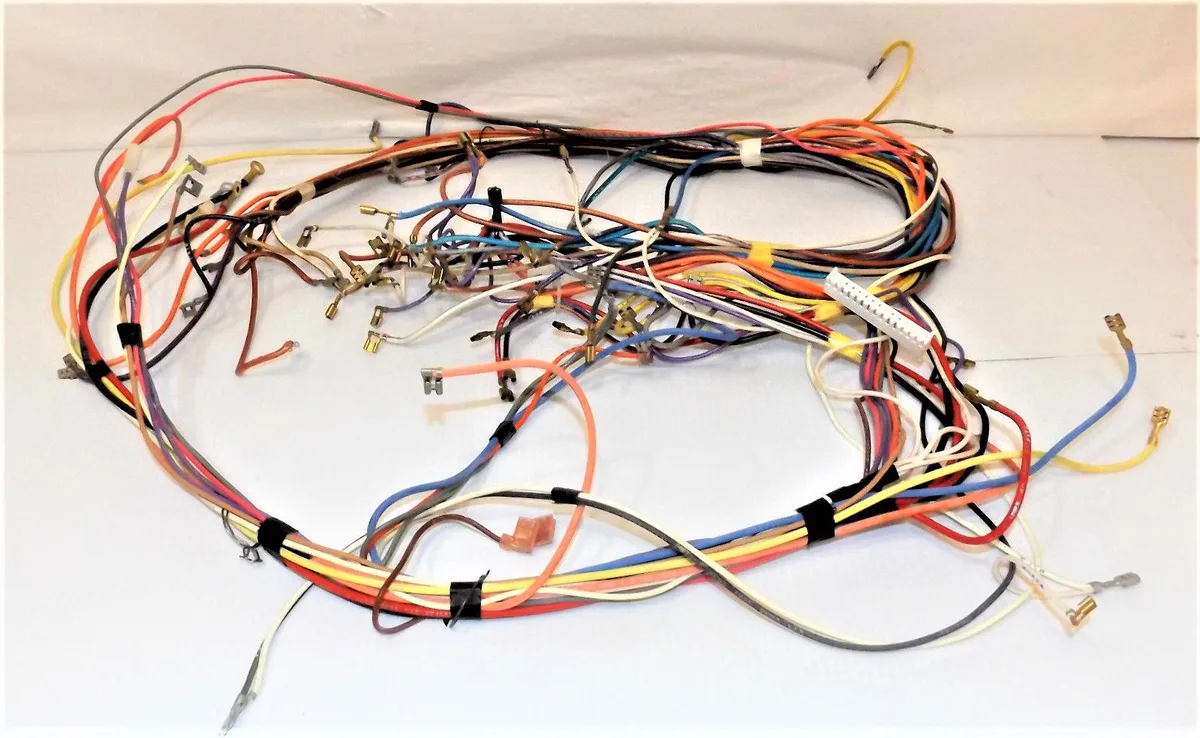
Image source: Bing (Web (fair-use with source credit))
Tools needed: Nut driver or screwdriver set, multimeter, needle nose pliers, isopropyl alcohol, and a clean workspace.
Step 1: Find your model number. It is on a tag inside the oven door or behind the storage drawer. Write it down. Order the exact OEM board for that model.
Step 2: Unplug the range. Disconnect power at the breaker. 240V circuits can kill you if you skip this step.
Step 3: Remove the control panel. Pry off the knobs. Remove the screws on the back of the control panel. Lift the panel carefully.
Step 4: Label the wires. Take a photo of the wire connectors. Label each one with tape before disconnecting.
Step 5: Remove the old board. Unscrew the board from the bracket. Discharge any capacitors by touching a resistor across the terminals.
Step 6: Install the new board. Place the new board onto the standoffs. Reconnect each wire per your photo.
Step 7: Reassemble and test. Put the panel back on. Plug in the range. Run a bake test at 350°F for 15 minutes.
OEM vs. Aftermarket Control Boards: Which One Should You Buy?
Not all control boards are the same. Here is what you need to know before you buy.
OEM boards. Original equipment manufacturer boards from Whirlpool or Frigidaire are built to exact specs. They cost $200 to $400. They fit perfectly and work reliably.
Aftermarket boards. Third party boards cost $80 to $150. They work for many models. But some have poorly mapped relays or lower quality capacitors.
They fail more often.
How to know who built your Kenmore. Check the model number. If it starts with 110 or 665, Whirlpool made it. If it starts with 316, Frigidaire or Electrolux made it.
Search the model number on a parts site to find the OEM board.
When to buy OEM. If your range is less than 8 years old, spend the extra money. You get reliability and a warranty. The [U.S.
Consumer Product Safety Commission (CPSC)](https://www.cpsc.gov) has issued recalls for certain Kenmore models with faulty control boards. Check their database before buying a used board as well.
When aftermarket works. If the range is older than 10 years and you just need another year or two, an aftermarket board can save you money.
| Feature | OEM Board | Aftermarket Board |
|---|---|---|
| Price | $200–$400 | $80–$150 |
| Fit | Exact match | May need wiring mods |
| Reliability | High | Variable |
| Warranty | 1 year | 90 days |
| Best for | Ranges under 8 years old | Older ranges near replacement |
Common Mistakes That Turn a $30 Fix into a $400 Repair
After years of reading service reports and buyer reviews, certain patterns stand out. These mistakes cost homeowners real money.
Replacing the board when the sensor was the problem. This is the most common error by far. A bad temperature sensor sends the wrong resistance reading. The board responds by refusing to heat.
A $15 sensor gets swapped instead of a $300 board. Test the sensor first.
Ignoring the thermal fuse. The thermal fuse is a one time safety device. If the oven overheated, the fuse blows and cuts power to the heating elements. Replace the fuse without finding out why it blew, and it will blow again.
Check the cooling fan and the vent path.
Running the self-clean cycle right after a repair. This is a sure way to kill a new board. Self-clean generates extreme heat. If any wiring is loose or the cooling fan is weak, the board can overheat and fail.
Wait 24 hours after any repair before running self-clean.
Buying the wrong board. Kenmore is a brand name, not a manufacturer. A board made for a Whirlpool-built Kenmore will not fit a Frigidaire-built model. Double check the model and serial numbers on the tag inside the oven door.
Damaging the keypad ribbon cable. The ribbon cable connecting the keypad to the board is fragile. Pulling it too hard or bending it sharply can tear traces. Use a flat plastic tool to release the connector clip gently.
Kenmore Oven Control Board FAQs
How do I reset the control board after a power surge?
Unplug the range or flip the breaker off for 10 full minutes. This drains any residual charge from the capacitors. Plug it back in.
If the display returns to normal, the surge only scrambled the memory. If it stays blank, the board likely suffered permanent damage.
What does an F3 E0 error code on a Kenmore oven mean?
The F3 E0 code means the temperature sensor circuit is open. The board sees infinite resistance from the sensor. Check the sensor wire connector first.
If the connection is clean and tight, test the sensor itself with a multimeter. Replace it if it reads open or out of spec.
Can I bypass the thermal fuse just once to bake?
No. Never bypass a thermal fuse. That fuse is the only thing preventing the oven from overheating and starting a fire.
If it has blown, something caused it. Find and fix the root cause before installing a replacement.
Why does my Kenmore stove still have power but the oven light will not turn on?
This usually points to a burned out bulb or a bad door switch. The control board is probably fine. Replace the bulb first.
If that does not work, test the door switch with a multimeter for continuity.
How long should a replacement control board last?
A quality OEM board should last 10 to 15 years under normal use. Aftermarket boards typically last 3 to 5 years. Heat, humidity, and power surges shorten that lifespan.
A surge protector for your range is a wise investment.
Final Call: Repair, Replace, or Call a Pro?
You have made it through the diagnostic process. Now make the final decision.
DIY board replacement. This is a good choice if you are comfortable with a multimeter and basic hand tools. The job takes 1 to 2 hours. You save the $100 to $250 service call fee.
Follow the step by step guide from earlier in this article.
Hiring a pro. Call a technician if you are unsure about working with 240V circuits. Also call if the board is behind a sealed back panel on newer Kenmore models. A pro will diagnose it faster and warranty their work.
Buying a new range. This makes sense if the board costs more than half the price of a comparable new range. A $350 board on a stove worth $600 is a bad investment. Also consider this if the oven has other issues like a failing door hinge or a worn out heating element.
The one question that decides it. Is the range less than 8 years old and otherwise in good shape? Repair it. Is it over 12 years old and already showing other signs of wear?
Replace it.
Either way, you now have a clear path forward. Start with the simple checks, test the cheap parts, and only replace the board when the evidence is solid. That approach saves money and frustration every time.

Similar Posts