Liftmaster Error Codes 11 Flashes: Quick Fix Guide

Liftmaster Error Codes 11 Flashes usually mean the safety sensors are blocked, misaligned, or faulty.
If you’ve run into Liftmaster Error Codes 11 Flashes, you already know how frustrating a blinking garage door opener can be. I’ve seen this issue come up again and again on LiftMaster and Chamberlain-style openers, and the good news is that it usually points to a simple sensor problem rather than a major failure. In this guide, I’ll walk you through what the 11 flashes mean, why they happen, how to fix them, and what to do if the problem keeps coming back.
What Liftmaster Error Codes 11 Flashes Mean
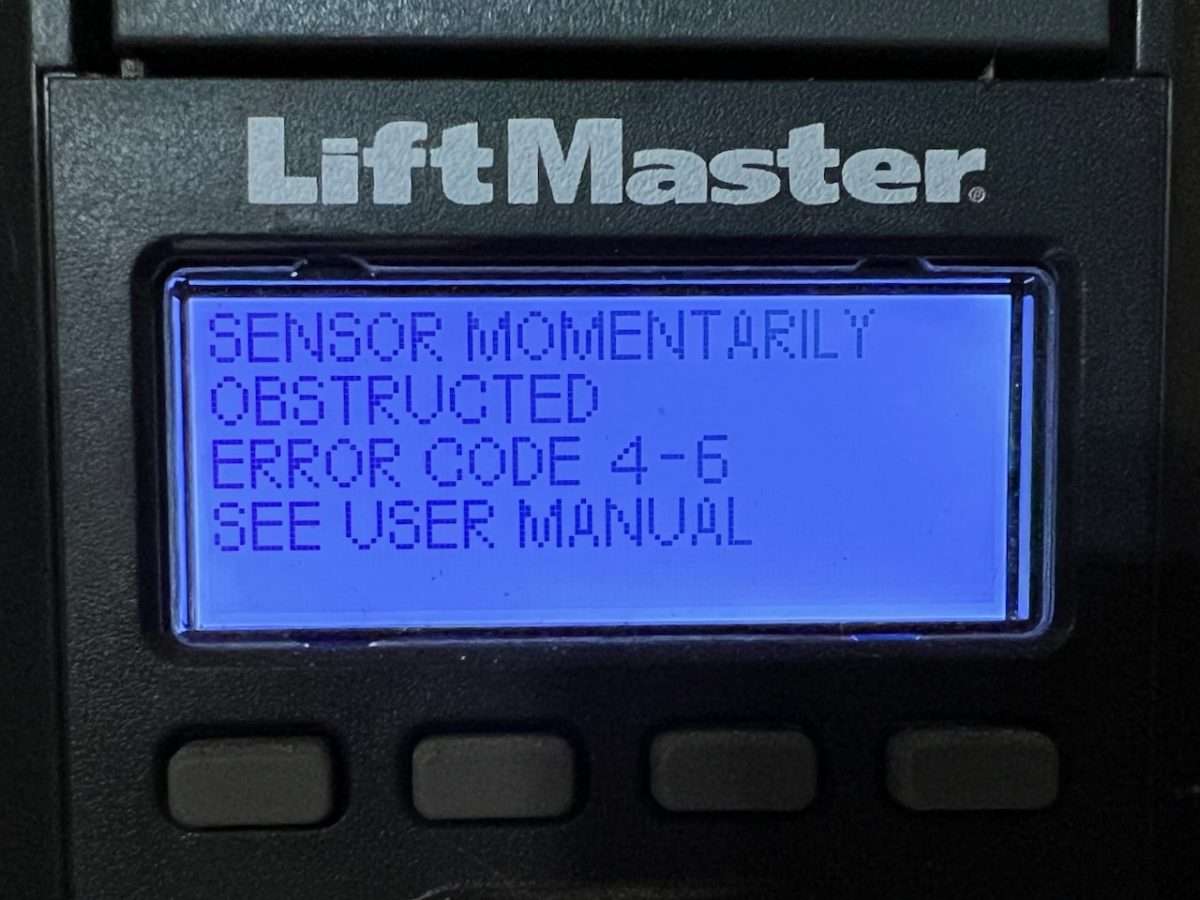
Liftmaster Error Codes 11 Flashes are most commonly linked to the safety reversing sensors, also called photo eyes. These sensors sit near the bottom of the garage door track and make sure nothing is in the way when the door closes. If the opener sees a sensor problem, it may flash the light 11 times and stop normal operation.
In plain terms, the opener is saying, “I can’t trust the safety system, so I’m not moving the door.” That is a good thing, even though it feels annoying at the moment. It protects kids, pets, cars, and anything else that might be in the door’s path.

Why Liftmaster Error Codes 11 Flashes Happen
From experience, this code is usually caused by one of a few common issues. Most of the time, it is not the motor, chain, or logic board. It is something simple near the sensors or their wiring.
Common causes include:
- Dirty or blocked sensor lenses
- Sensor eyes knocked out of alignment
- Loose or damaged sensor wiring
- Sunlight hitting the sensor directly
- A failed photo eye sensor
- Connector problems at the motor head
I’ve also seen cases where the sensors looked fine at first glance, but a tiny bump from a broom, trash can, or car tire had shifted one just enough to trigger the error. That small change can be enough to stop the whole system.
How to Troubleshoot Liftmaster Error Codes 11 Flashes
Start with the easiest checks first. In garage door repair, the simple stuff solves more problems than people expect. I always tell homeowners to work from the sensors inward before assuming the opener itself is bad.
1. Check for obstructions
Look at the area around both sensors.
- Remove boxes, tools, bikes, and storage items near the door track
- Make sure nothing is hanging in front of the sensor beam
- Clear cobwebs, dirt, or debris from the lens area
Even a small object can break the beam and cause Liftmaster Error Codes 11 Flashes.
2. Clean the sensor lenses
Use a soft, dry cloth to wipe both lenses.
- Avoid harsh cleaners
- Do not scratch the lens surface
- Clean both sensors, not just one
A dusty garage or humid weather can coat the lenses and weaken the beam. That tiny film can be enough to create a false sensor fault.
3. Check sensor alignment
The sensors should face each other directly.
- Look for solid indicator lights on both units
- Adjust one sensor slowly until the lights stabilize
* Tighten the brackets once aligned
On many LiftMaster systems, one sensor light should stay on steadily, and the other may also remain solid when the beam is clear. If one light is off or flickering, alignment is often the issue.
4. Inspect the wiring
Follow the sensor wires from the sensors to the opener.
- Look for cuts, pinches, or staple damage
- Check for loose wire connections at the motor unit
- Make sure wires are not frayed or corroded
I once found a sensor issue that turned out to be a wire barely hanging on behind a staple. It looked fine until I tugged gently on the cable. That is why a careful wire inspection matters.
5. Test for sunlight interference
Bright sun can confuse some garage door sensors, especially in certain morning or afternoon angles.
- Shade the sensor with your hand temporarily
- See if the opener works when the beam is blocked from direct light
- Consider a sun shield if this happens often
If Liftmaster Error Codes 11 Flashes show up only at certain times of day, sunlight may be the hidden cause.
6. Reset the opener
After checking the sensors, unplug the opener for about 30 seconds and plug it back in.
- Recheck the sensor lights
- Test the door again
- Watch whether the error returns
A reset will not fix broken hardware, but it can clear a temporary fault and help confirm whether the issue is ongoing.

What the Sensor Lights Tell You
The indicator lights are one of the best diagnostic tools on a LiftMaster opener. They often tell you exactly where the problem is before you even touch a tool.
Typical meanings include:
- Solid lights on both sensors: the system is usually aligned and working
- One light off: power, wiring, or sensor failure may be present
- Flickering light: alignment or connection issue
- Both lights off: check power, wiring, or sensor damage
This is where many homeowners save time. Instead of guessing, read the lights like a traffic signal. The opener is giving you clues.
When Liftmaster Error Codes 11 Flashes Point to a Bad Sensor
If cleaning, alignment, and wiring checks do not help, one of the sensors may be failing. Photo eye sensors can wear out over time, especially in garages with heat, vibration, moisture, or dust. I’ve seen sensors work for years and then start failing in cold weather or after a minor impact.
Signs you may need a replacement:
- The light never comes on
- The sensor works only when bumped
- The alignment is correct, but the code stays
- The wire and connections are good, but the system still fails
If one sensor is bad, replacement is often the fastest fix. In many cases, replacing both sensors together is smarter because they age at a similar rate.
Safety Tips Before You Fix Liftmaster Error Codes 11 Flashes
Working around garage door systems is not hard, but the door is heavy and the opener has moving parts. A garage door can cause injury if it drops unexpectedly. Keep safety first.
Use these precautions:
- Unplug the opener before touching wires
- Keep hands away from springs and moving door parts
- Do not force the door if it resists movement
- Use a stable ladder if you need to reach the opener
- Stop and call a technician if you suspect spring or track damage
That last point matters. A sensor issue is usually safe to handle. A spring issue is not.
How to Prevent Liftmaster Error Codes 11 Flashes
A little maintenance goes a long way. Most sensor problems return because garages are messy, dusty, or bumped by everyday life. You can reduce future problems with a few habits.
Helpful prevention steps:
- Wipe sensor lenses every few months
- Keep storage items away from the sensor path
- Check alignment after moving tools, bikes, or bins
- Inspect wires during seasonal garage cleanups
- Watch for water, dust, or direct sun on the sensors
Think of the sensors like eyeglasses. If they are dirty, crooked, or cracked, they cannot do their job well.
When to Call a Garage Door Professional
Sometimes Liftmaster Error Codes 11 Flashes are more than a simple alignment fix. If you have already cleaned the sensors, checked the wires, and reset the opener, it may be time for professional help. A trained technician can test the opener system with proper tools and confirm whether the problem is in the sensors, wiring, logic board, or power supply.
Call a pro if:
- The door will not close after basic troubleshooting
- Wiring damage is visible
- The opener flashes the code even after sensor replacement
- You suspect internal opener failure
- You are not comfortable working near the door system
From a practical standpoint, paying for one good service call can save hours of guessing. It also reduces the risk of making a small problem worse.
Frequently Asked Questions of Liftmaster Error Codes 11 Flashes
What does Liftmaster Error Codes 11 Flashes mean?
It usually means the safety sensors are blocked, misaligned, or not working correctly. The opener stops closing the door because it cannot confirm that the path is safe.
Can I bypass Liftmaster Error Codes 11 Flashes?
You should not bypass the safety sensors for normal use. The sensors are a critical safety feature, and bypassing them can create a serious injury risk.
Why do the sensors work during the day but fail at certain times?
Sunlight can interfere with the sensor beam, especially when the sun hits one sensor directly. This is common in garages with east or west exposure.
Do I need to replace both sensors if one fails?
Not always, but replacing both is often a smart choice if they are old or exposed to the same wear and tear. It helps avoid a second failure soon after the first repair.
Will unplugging the opener fix Liftmaster Error Codes 11 Flashes?
Sometimes it clears a temporary glitch, but it will not fix a dirty lens, bad alignment, or damaged wiring. If the error comes back, the underlying sensor issue still needs attention.
Is this error code dangerous?
The code itself is not dangerous, but it signals a safety system problem. The opener is designed to stop closing when it cannot verify that the door path is clear.
Conclusion
Liftmaster Error Codes 11 Flashes usually trace back to the safety sensor system, and that is good news because the fix is often simple. Start with cleaning the lenses, checking alignment, inspecting the wires, and watching for sunlight interference. If those steps do not solve it, sensor replacement or professional service may be the next best move.
The key takeaway is this: the opener is protecting you, not punishing you. Take a calm, step-by-step approach, and you can usually get the door working again without stress. If this guide helped, explore more garage door troubleshooting tips or leave a comment with the symptoms you’re seeing.

Similar Posts






















[…] is the good news. Many Whirlpool Cabrio washer error codes are tied to common issues you can test at home with a little patience. The key is to match the code […]
[…] LiftMaster openers use built-in diagnostics to help identify faults. When the system senses a problem, it may flash a code on the opener or wall control, depending on the model. […]