Maytag Bravos Xl Dryer Troubleshooting
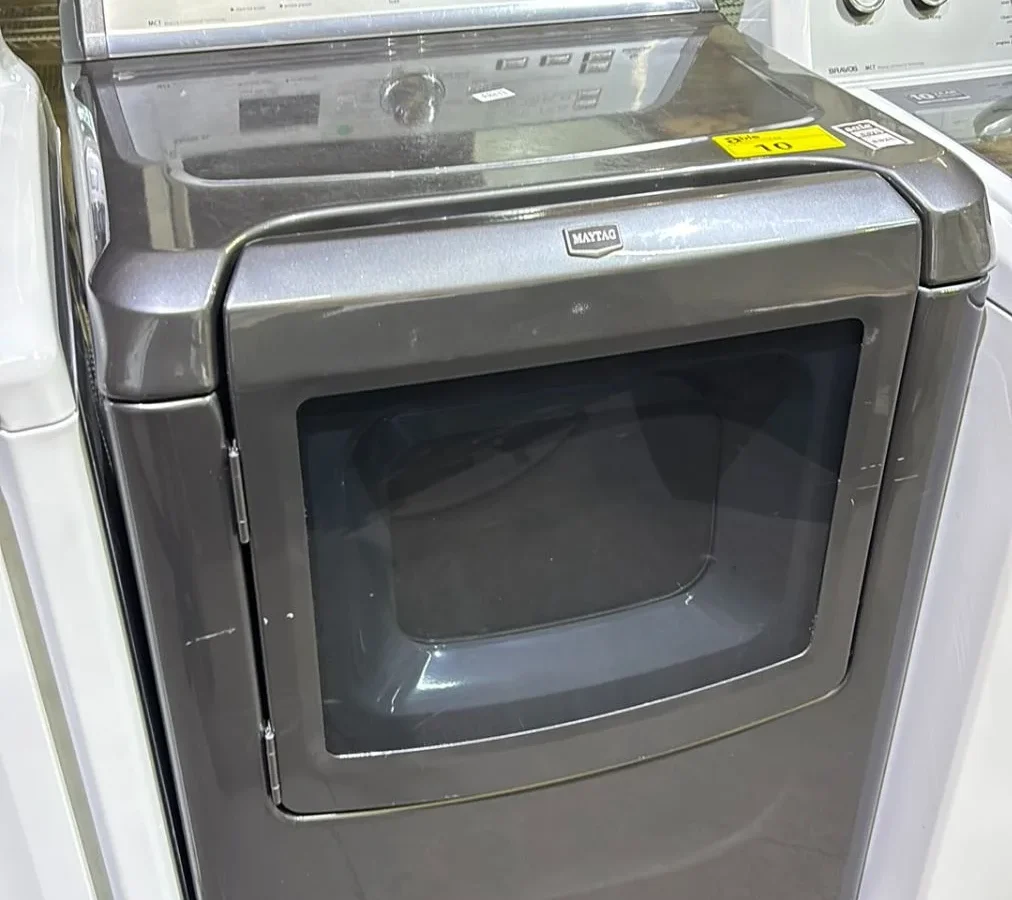
Maytag Bravos XL dryer troubleshooting is a lot easier once you know what your dryer is actually trying to tell you. Most owners run into the same handful of issues, no heat, a drum that won't spin, loud noises, or loads that take forever to dry. The fix is almost always one of about five parts.
Manufacturer specifications indicate that the Bravos XL series uses a built-in diagnostic system that blinks error codes through the LED display. As of 2026, these models (MEDB955FC, MGD955FC, and similar) remain widely used. The repair approach hasn't changed.
Let's walk through the exact workflow so you can pin down the real problem without guessing.
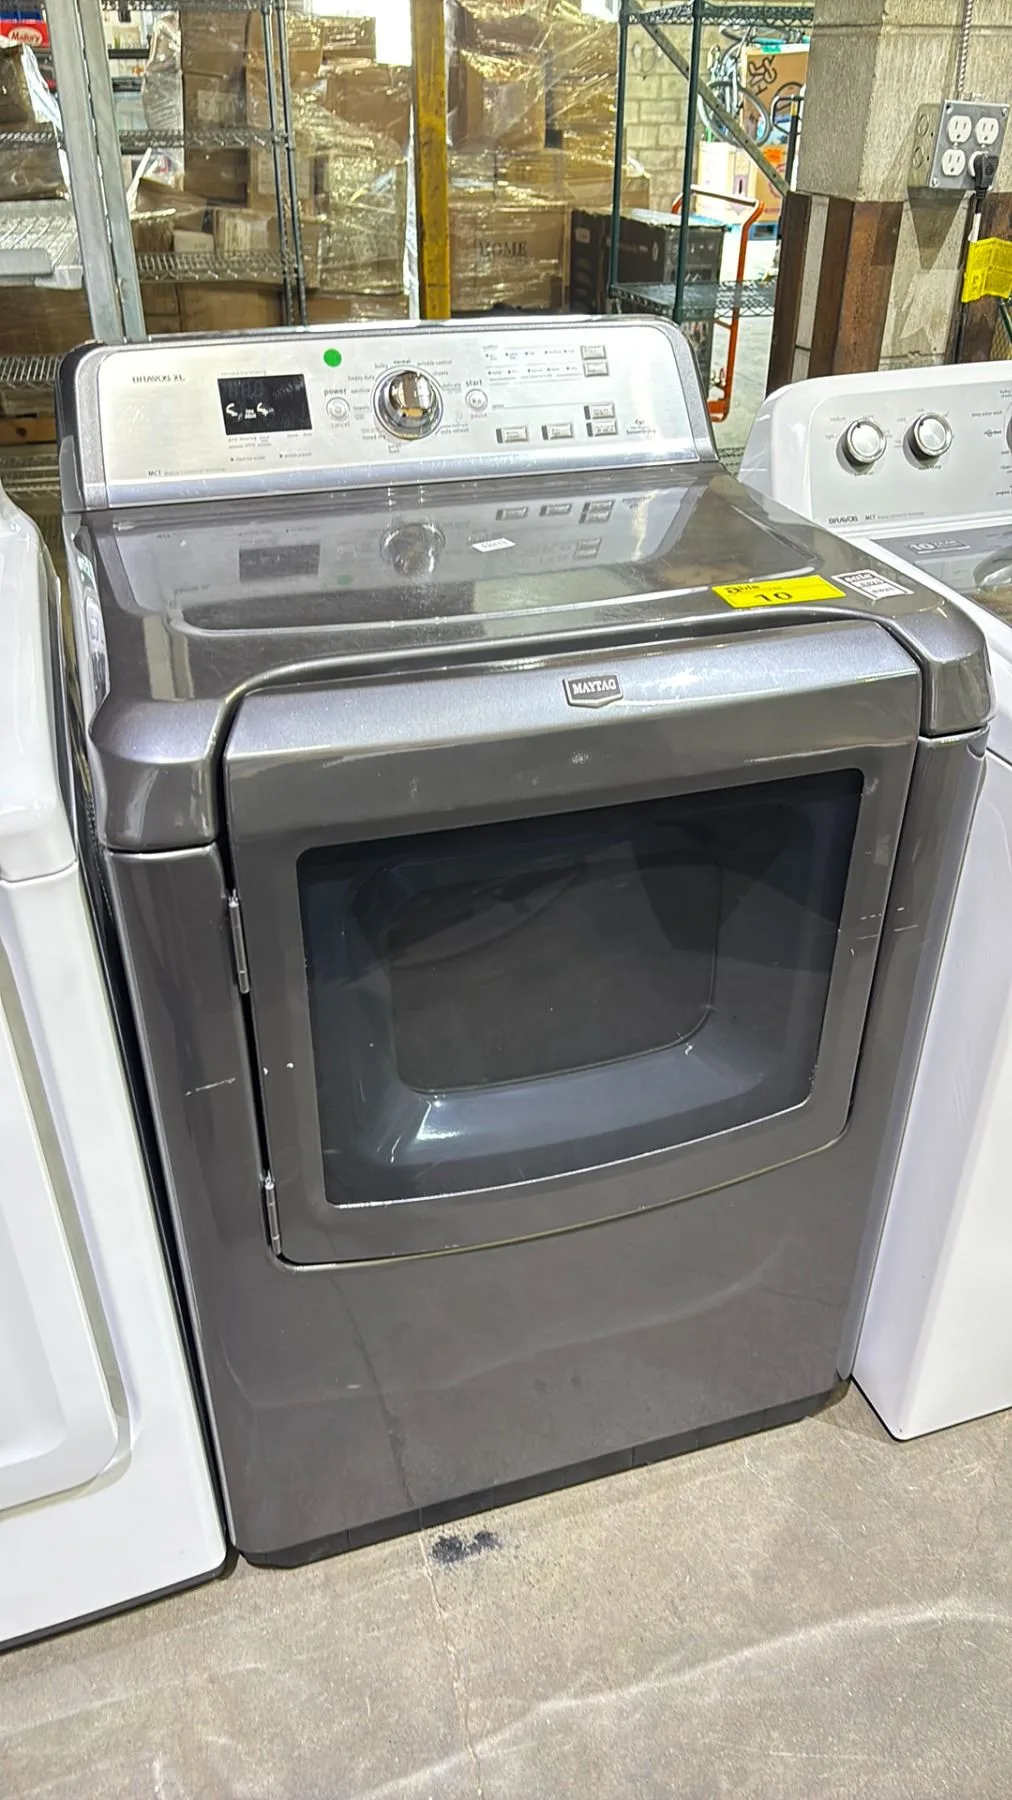
Image source: Bing (Web (fair-use with source credit))
Quick Answer
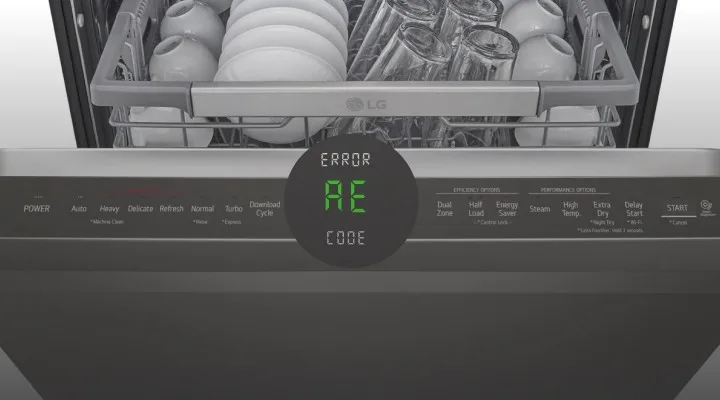
Start with the built-in diagnostic mode. Hold Cool Down and Start for three seconds. Read the blinking error code.
Match it to the chart below. Test the suspected part with a multimeter. Replace only the failed component.
Clear the code. Run a test cycle. Call a technician if the vent is restricted or the control board is faulty.
First Things First: Run the Built-In Diagnostic Mode
The Bravos XL has a diagnostic mode built into the control board. You don't need any tools to enter it. It will tell you, with specific blinking LED codes, what the machine thinks is wrong.
This is your starting point.
The exact button combination depends slightly on your model year. The standard method works on most Bravos XL dryers. Press and hold the Cool Down and Start buttons simultaneously for about three seconds.
The LED display should show a series of flashes or a code. If nothing happens, try Temp and Start instead.
Here is what the error codes mean:
| Error Code | What It Means | Most Likely Cause |
|---|---|---|
| F21 | Blower motor fault or restriction | Blocked vent or blower wheel jammed with lint |
| F31 | No heat detected | Burner won't light (gas) or element open (electric) |
| F34 | Thermistor fault | Bad thermistor or loose wiring |
| F42 | Moisture sensor fault | Dirty or failed moisture sensor bars |
| F43 | Door switch fault | Faulty door switch or broken wire |
| F44 | Outlet thermistor shorted | Wiring issue or failed control board |
Write down the error code before exiting diagnostic mode. Press Start again to exit. Or unplug the dryer for 30 seconds to reset it.
Some codes clear on their own. Others won't go away until the actual part is replaced.
Symptom Tree: Match Your Problem to the Right Fix
Not every issue shows up as an error code. If your dryer is running but not performing correctly, your symptom will tell you where to look. Here are the most common ones with a decision table to help you pick the right branch.
| If You Notice.. | The Likely Branch |
|---|---|
| No heat, but drum turns | Power path: thermal fuse, thermostat, element or igniter |
| Drum won't turn at all | Mechanical path: belt, idler pulley, motor |
| Loud squealing or grinding | Mechanical path: rollers, idler pulley, blower wheel |
| Takes forever to dry | Airflow path: vent restriction, lint filter, moisture sensor |
| Dryer shuts off mid-cycle | Overheat path: vent restriction, thermal fuse, thermostat |
| Never starts, no sound | Electrical path: door switch, start switch, control board |
The most common symptom, no heat, always deserves a dedicated branch. Electric and gas models have completely different parts. But before you dig into either branch, listen for the drum.
If the drum isn't turning, you are in the mechanical branch, even if heat is also missing. A broken belt stops both motion and heating on many models.
Branch 1: No Heat? Follow the Power Path
No heat is the single most common complaint on the Bravos XL. The fix depends on whether you have electric or gas. Let's handle both.
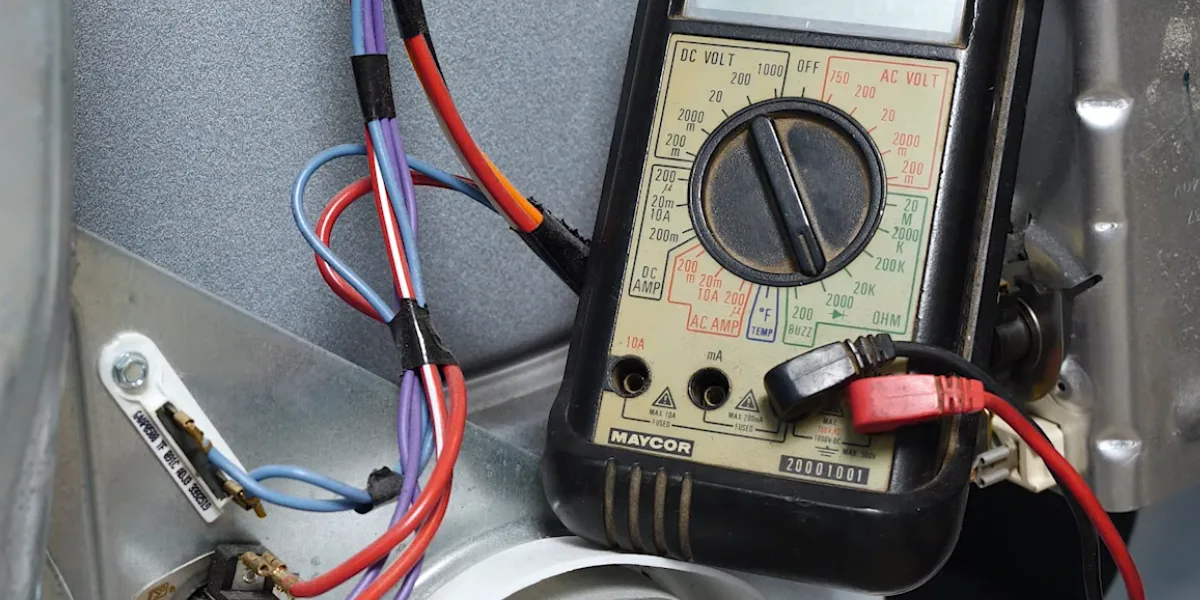
Image source: Bing (Web (fair-use with source credit))
Electric models. The heat path starts at the wall outlet. It runs through the thermal fuse, then the high-limit thermostat, then the cycling thermostat, and finally the heating element. If any one of these fails in the open position, interrupting the circuit, you get no heat.
The thermal fuse is the most likely culprit. But it almost never fails on its own. A thermal fuse blows because the dryer got too hot.
That heat almost always comes from a restricted vent. If you replace the thermal fuse without cleaning the vent, you will blow the new fuse too. Industry repair data shows that about 70 percent of thermal fuse failures trace back to a lint-clogged duct.
Test the thermal fuse with a multimeter set to continuity. It should read near 0 ohms. If it reads OL, meaning open, it is blown.
The part costs about $8 to $15. Replace it with the exact same part number, 3392519 or equivalent. Do not bypass it or use a generic substitute.
If the thermal fuse tests good, check the high-limit thermostat and cycling thermostat. Both should show continuity when cold. If they are open at room temperature, replace them.
The heating element typically fails open as well. On the Bravos XL, the element should read between 10 and 20 ohms. If you get infinite resistance, the coil has broken.
A new element runs about $25 to $50 and takes about 30 minutes to swap.
Gas models. The heat path is different. You have a thermal fuse, same as electric. Then an igniter.
Then a flame sensor. Then two gas valve coils. The igniter glows hot, about 50 to 100 ohms resistance.
The flame sensor detects the flame. The gas coils open the valve.
If your gas Bravos XL tumbles but never heats, the igniter is the first thing to test. If it doesn't glow, it is probably burned out. If it glows but the gas never lights, the flame sensor or the gas valve coils are suspect.
Each coil should measure between 1,000 and 2,000 ohms. Open coils mean replace the entire valve coil assembly, about $20 to $40.
Before you test any part on a gas model, turn off the gas at the shutoff valve behind the dryer. Then unplug the dryer. Then open the cabinet.
Branch 2: Drum Won't Turn or Making Noise? Follow the Mechanical Path
If the drum doesn't spin at all, or if it makes a noise that sounds like a dying animal, you are in the mechanical branch.
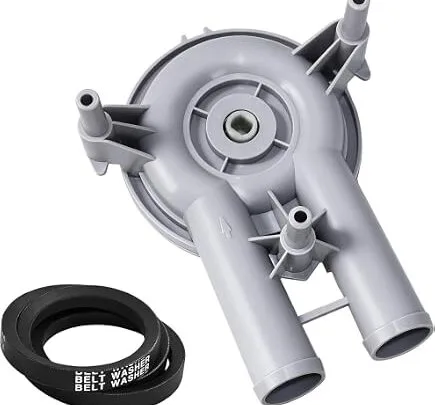
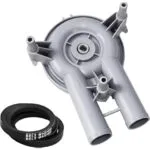
A broken belt is the most common reason for a drum that won't turn. The belt wraps around the drum, the idler pulley, and the motor pulley. When it snaps, the drum stops.
You can sometimes hear the motor running but the drum sits still.
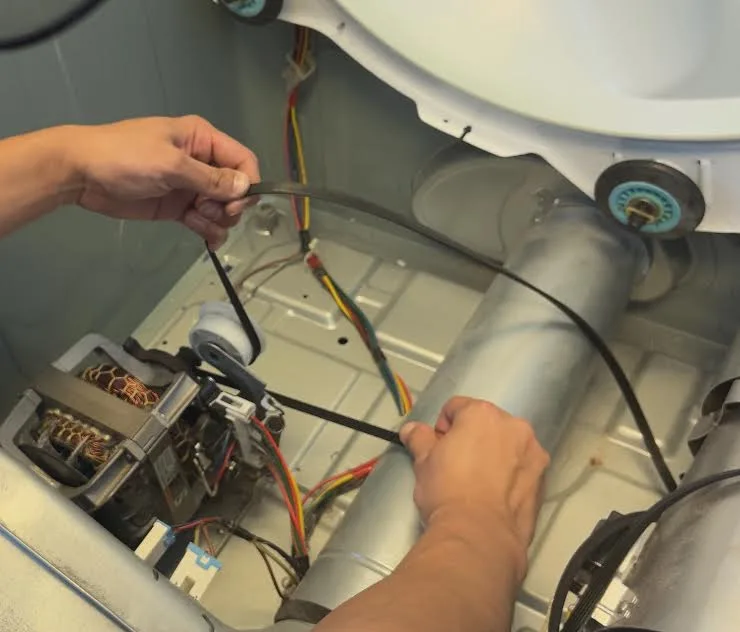
Image source: Bing (Web (fair-use with source credit))
To confirm a broken belt without pulling the dryer apart, reach through the top of the drum with the lint filter removed. Try to spin the drum by hand. If it spins freely with no resistance, the belt is likely broken.
A working belt creates some resistance because it is tensioned against the idler pulley.
The Bravos XL uses a 93.5-inch, 4-rib belt. The part number is 341241 or equivalent. Cost is about $10 to $20.
Replacing the belt also requires checking the idler pulley. If it feels rough, stiff, or makes noise when you spin it by hand, replace it too. The idler pulley runs about $8 to $12.
Noise diagnosis. Here is how to tell what is making the racket:
- Squealing or chirping. Almost always the idler pulley or drum rollers. The rubber gets glazed or the bearing dries out.
- Thumping or wobbly drum. The glides, felt strips on the front drum support, are worn. Or the drum is off track.
- Grinding or growling. The blower wheel is hitting the housing. The wheel is loose or the bearing is shot.
- Banging sound. A foreign object like a coin, button, or nail is caught in the blower wheel or between the drum and housing.
Won't start at all. If you press Start and nothing happens, no noise and no drum movement, start with the door switch. Open and close the door. Listen for a click.
If you don't hear a click, the switch is misaligned or dead. Test it with a multimeter. It should show continuity when the door is closed.
If the door switch is good, test the start switch. You can jump the terminals briefly with a jumper wire to see if the dryer starts. Only do this if you are comfortable with live circuits.
If it starts when jumped, replace the start switch. A faulty control board is less common but possible.
Testing the Parts Yourself: A Safe, Simple Multimeter Workflow
Before you open anything, follow the two safety rules. Unplug the dryer. For gas models, turn off the gas shutoff valve.
These are not suggestions. A 240-volt shock can kill you. A gas leak can explode.
Once the dryer is safely disconnected, remove the top panel. On most Bravos XL models, there are two screws at the back of the top lip. Remove them.
Slide the top panel backward about half an inch. Then lift it off. You now have access to the control board, thermal fuse, thermostats, and the top of the heating element housing.
To access the blower wheel, drum belt, and motor, you need to remove the front panel. Remove the screws at the bottom of the front panel. Release the clips at the top.
Tilt the front panel forward. The lint filter housing may need to come off first.
Now test in this order:
- Thermal fuse. Set multimeter to continuity. Touch probes to the two terminals. Should read 0 ohms. If it reads OL, it is blown.
- Cycling and high-limit thermostats. Same test. Both should read 0 ohms when cold. If they are open, replace.
- Heating element, electric models. Set multimeter to ohms. Probe the two terminals. Should read 10 to 20 ohms. Infinite resistance means broken. Very low resistance under 5 ohms means shorted, also replace.
- Igniter, gas models. Probe the two wires or terminals. Should read 50 to 100 ohms. Infinity means burned out.
- Gas valve coils, gas models. Each of the two coils should read 1,000 to 2,000 ohms. If one is open, infinity, replace the coil assembly.
- Door switch. Depress the plunger. The switch should show continuity at 0 ohms. When released, it should show open, OL.
- Moisture sensor bars. Not an electrical test. Just wipe them clean with fine sandpaper or steel wool. If they look corroded, replace them. They cost about $15 to $25.
Write down every reading. If a part tests good but you have a symptom, move to the next part in the path. Replacing one good part after another is how service calls turn into money pits.
Test first. Buy second.
Five Mistakes That Turn a $15 Fix into a $300 Service Call
Replacing parts before testing them is the fastest way to waste money. Aggregate repair data shows that nearly half of all DIY dryer repairs install at least one part that wasn't broken. The parts store loves this.
Your wallet doesn't.
Jumper-wiring the thermal fuse. A thermal fuse is a safety device. Bypassing it with wire creates a fire hazard. Dryer vent fires are a real cause of household blazes, according to the [U.S.
Fire Administration](https://www.usfa.fema.gov). The fuse costs $10. The fire isn't worth it.
Ignoring the vent when the fuse keeps blowing. A blown thermal fuse is almost always a symptom. The real problem is restricted airflow, not the fuse. If you skip the vent cleaning, you will buy a second fuse within a month.
Clean the full run, not just the lint trap.
Overloading the drum and shredding the belt. The Bravos XL holds a lot, but overstuffing strains the belt and idler pulley. A stretched belt slips, then snaps. Use the one-third full rule for heavy items like comforters.
Forgetting to clear error codes after a repair. After replacing a part, the control board may still display an old fault code. Unplug the dryer for 30 seconds or run a diagnostic reset. Otherwise you will think the repair failed and start replacing good parts again.
Skipping the multimeter at every step. You can't fix a dryer by staring at it. The multimeter is the only way to know if a part is open, shorted, or fine. It costs $15.
It will save you hundreds. Test before you buy.
FAQs: Quick Answers for Maytag Bravos XL Owners
How do I reset my Bravos XL dryer?
Unplug the dryer. Wait 30 seconds. Plug it back in.
For error codes, enter diagnostic mode by holding Cool Down and Start for three seconds. Press Start to clear the code. If the code returns, the underlying part is still faulty.
Why does it keep throwing the same error code after a repair?
Usually one of three things. The part wasn't actually the problem. You didn't clear the code.
A wiring harness is loose. Run diagnostic mode again. Check the new part's readings with a multimeter.
Verify all connectors are seated. If the code persists, test the control board last.
How do I clean the moisture sensor bars?
Locate the two metal bars just inside the lint filter housing. Wipe them with fine sandpaper or steel wool until they shine. Then wipe with a dry cloth.
Do this every few months. Dirty sensors cause the dryer to run longer, wasting energy.
Is an older Bravos XL worth repairing, or should I replace it?
If the dryer is under ten years old and the repair costs less than half the price of a new unit, fix it. Common repairs like a thermal fuse, belt, or heating element run $15 to $50 in parts. Labor is your cost if you DIY.
Over ten years, control board failures may signal replacement time.
When should I stop the DIY route and call a technician?
Stop if you smell gas. Stop if the machine sparks. Stop if you are uncomfortable working near 240V.
Also call a pro if you have replaced more than three parts on the same symptom. That pattern suggests a wiring fault or control board failure that needs expert diagnosis.

Similar Posts