Rock Ola Jukebox Troubleshooting Guide: Fast Fixes
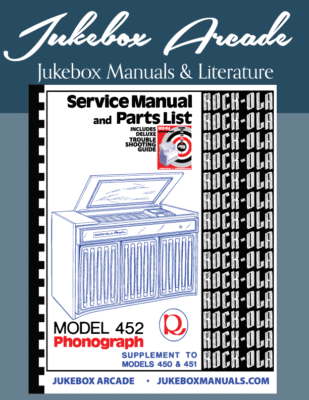
Most Rock Ola jukebox problems come from power, worn parts, dirty contacts, or simple alignment issues.
If you own a Rock Ola machine, you already know it’s more than a music player. It’s a piece of history, a conversation starter, and, when it works right, pure joy. I’ve spent enough time around vintage jukeboxes to know that most problems are not mysterious at all. A good Rock Ola Jukebox Troubleshooting Guide is really about learning the small signs before they turn into bigger repairs.
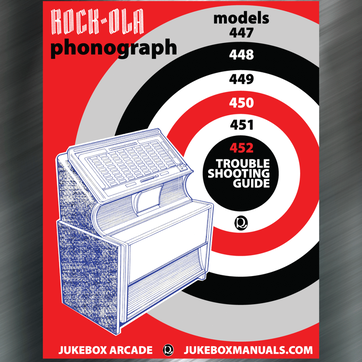
Understanding How a Rock Ola Jukebox Works
A Rock Ola jukebox looks complicated at first, but the basics are pretty simple. Power comes in, the selector system finds the right record, the mechanism moves it into place, and the sound system plays it back. When one part fails, the whole machine can seem dead, even if only one small issue is to blame.
In my experience, the fastest way to solve a jukebox problem is to think in stages. First check power. Then check selection. Then check movement. Finally, check sound. That order saves time and keeps you from chasing the wrong problem. A Rock Ola Jukebox Troubleshooting Guide works best when you understand this flow.
Common Rock Ola systems may include:
• Mechanical selector assemblies
• Turntable or record carousel parts
• Amplifier and speakers
• Relays, switches, and fuses
• Light circuits and coin or credit units
Each section can fail in a different way. That is why a careful Rock Ola Jukebox Troubleshooting Guide matters so much.

Safety First Before You Troubleshoot
Vintage jukeboxes can hold dangerous voltage, even after being unplugged for a short time. If you are not comfortable with electronics, it is smart to stop at basic checks and call a qualified technician. That is not being overly cautious. It is being smart.
Before you do anything else:
• Unplug the jukebox before opening panels
• Wait for capacitors to discharge
• Use a flashlight instead of testing blindly
• Keep drinks, dust, and metal tools away from circuits
• Take photos before removing parts
I always tell people this: many expensive mistakes happen because someone rushed. A careful Rock Ola Jukebox Troubleshooting Guide starts with patience, not tools.
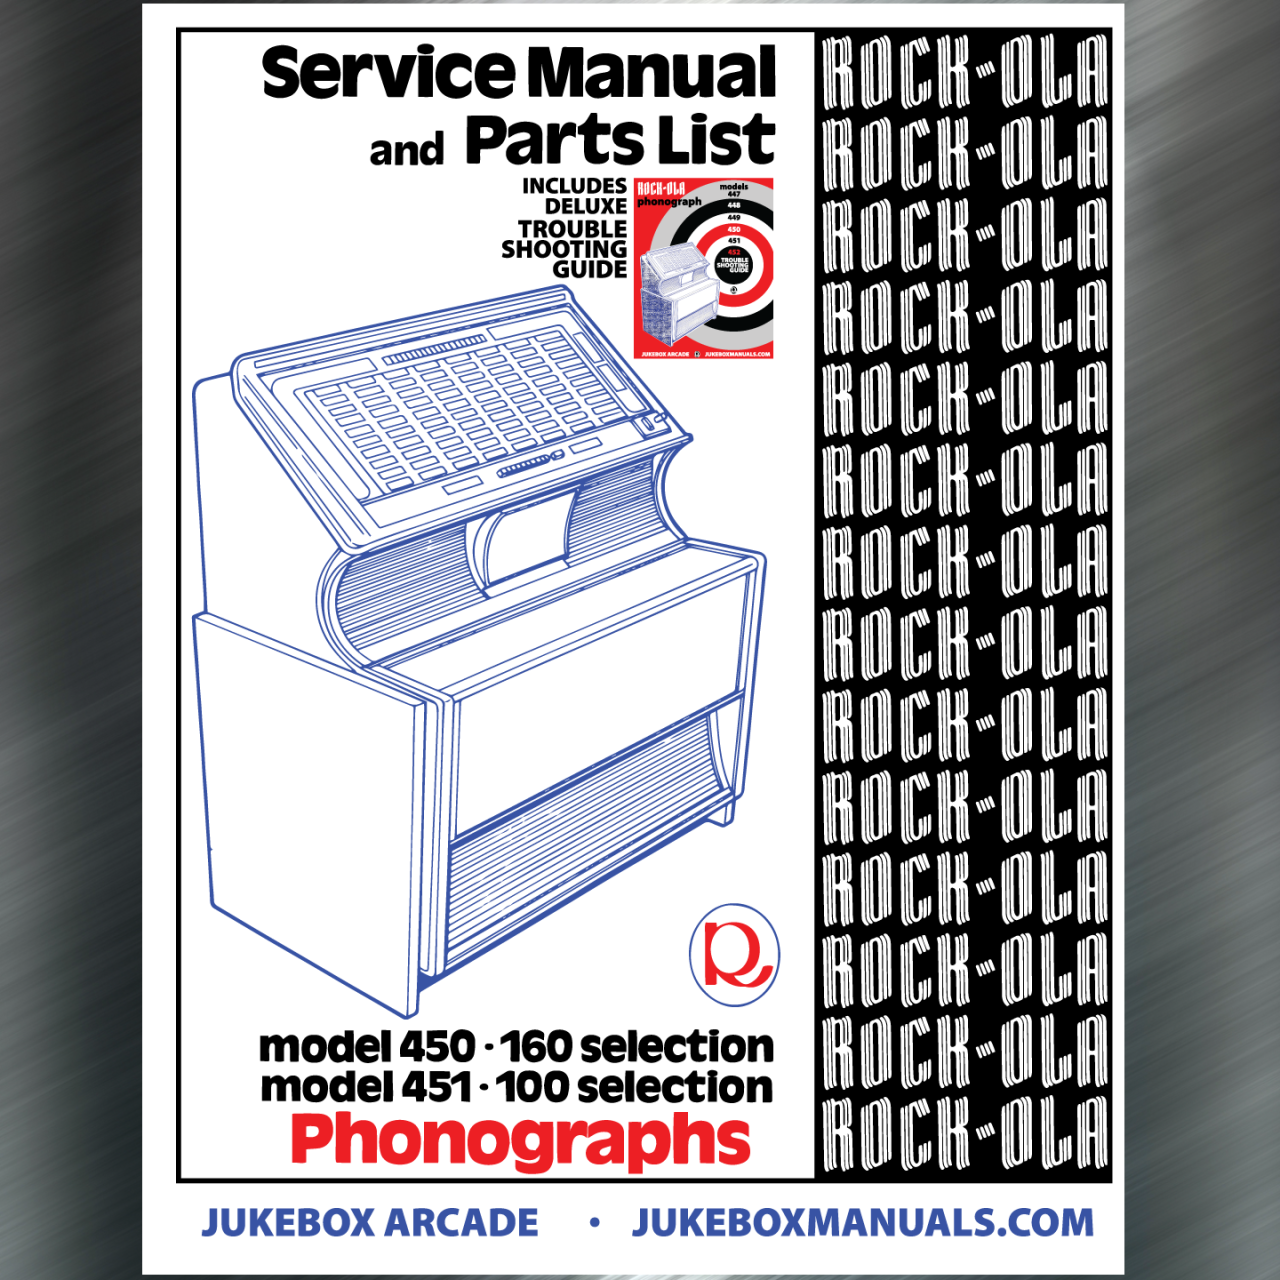
Rock Ola Jukebox Troubleshooting Guide for Power Problems
No power is one of the most common complaints. If the jukebox does not light up, does not hum, and shows no response, begin with the power path. A dead machine does not always mean a major failure. Sometimes it is just a plug, fuse, or switch.
Check these first:
- Power cord for damage or looseness
- Wall outlet with another device
- Main fuse and any inline fuse
- Power switch position
- Transformer signs of overheating
If the machine gets partial power, look for dim lights, weak sound, or a motor that tries to start and stops. That often points to voltage loss, bad wiring, or a tired power supply. In a Rock Ola Jukebox Troubleshooting Guide, power issues are the first branch you should always rule out.
Rock Ola Jukebox Troubleshooting Guide for Selection Problems
If the jukebox powers on but does not choose a record, the issue may be in the selector system. This part can be sensitive to dirt, dried grease, and worn contacts. I have seen machines fail simply because old grease hardened like glue. That kind of problem can make the selector feel “dead” even when the electronics are fine.
Look for these signs:
• No movement when a selection is made
• Repeated clicking without record selection
• Wrong record chosen
• Selector carriage sticking
• Dirty or bent contacts
A gentle cleaning can help, but do not force moving parts. Small springs and linkages can bend easily. This is where a Rock Ola Jukebox Troubleshooting Guide saves money, because it helps you fix the cause instead of replacing random parts.
Rock Ola Jukebox Troubleshooting Guide for Record Pickup and Mechanism Issues
If the machine selects a record but fails to grab, move, or return it, the issue is usually mechanical. Rock Ola jukeboxes rely on smooth motion. When grease dries out or a drive belt slips, the whole cycle gets messy fast.
Watch for:
• Stuck transfer arms
• Slipping belts or worn tires
• Dirty record grippers
• Weak motor action
• Misaligned record magazines
One mistake I used to see often was over-lubrication. People think more grease means better motion, but on vintage jukeboxes, too much grease can attract dust and gum up the works. A balanced Rock Ola Jukebox Troubleshooting Guide always warns against that.
Rock Ola Jukebox Troubleshooting Guide for Sound Problems
Sound issues can be very frustrating because the machine may seem to work perfectly otherwise. If records play but the audio is weak, distorted, or missing, start with the amplifier, speakers, and cartridge. A bad connection can sound like a major failure.
Check for:
• No sound at all
• Hum or buzz
• One speaker working, the other silent
• Distorted playback
• Low volume even at full setting
A worn cartridge needle is a common problem. So are dirty pins, loose speaker wires, and failing amplifier tubes or transistors, depending on the model. A good Rock Ola Jukebox Troubleshooting Guide should remind you that sound problems are not always caused by the amplifier itself.
Rock Ola Jukebox Troubleshooting Guide for Lighting Problems
Lighting is not just cosmetic. On many Rock Ola models, lights help show the machine is powered and active. If the display, buttons, or title area is dark, the issue may be a burned bulb, bad socket, or wiring fault.
Try this:
• Replace burnt-out bulbs with correct matches
• Check sockets for corrosion
• Inspect light wiring for breaks
• Test switches that control illumination
• Look for loose lamp holders
When I worked on an older jukebox years ago, the owner thought the entire panel was failing. It turned out to be two bad bulbs and one loose wire. That is a classic Rock Ola Jukebox Troubleshooting Guide lesson: always start simple.
Cleaning and Maintenance That Prevents Future Problems
A lot of Rock Ola trouble comes from neglect, not major damage. Dust, smoke residue, and old lubricant are enemies of smooth operation. Regular cleaning can prevent half the problems people think are “electrical.”
Good maintenance habits include:
• Dusting internal surfaces with care
• Cleaning contacts with approved cleaner
• Replacing brittle wiring only when needed
• Checking belt wear and rubber condition
• Keeping the cabinet dry and stable
Do not use harsh cleaners on delicate trim or labels. Vintage finishes can be fragile. The best Rock Ola Jukebox Troubleshooting Guide is also a maintenance guide, because prevention is easier than repair.

Common Causes of Rock Ola Jukebox Failures
Most failures fall into a few repeating categories. Once you know these, troubleshooting gets much easier. You stop guessing and start testing.
Common causes include:
• Dirty contacts
• Old grease and hardened lubricants
• Weak fuses or bad switches
• Worn belts, tires, or motors
• Loose wires or bad solder joints
• Speaker or amplifier failure
• Misaligned mechanical parts
This is where experience matters. I’ve seen people replace expensive components before checking a simple contact strip. A Rock Ola Jukebox Troubleshooting Guide should teach you to think like a mechanic, not a gambler.
Step-by-Step Troubleshooting Routine
If you want a repeatable method, use the same sequence every time. This keeps you calm and helps you avoid missed details. It also makes it easier to describe the issue if you later call a repair tech.
Follow this process:
- Confirm the machine is plugged in and switched on
- Check fuses and visible wiring
- Listen for motor, relay, or selector sounds
- Test whether selections register properly
- Watch the record cycle from start to finish
- Check audio output and speaker response
- Inspect lamps and display lighting
- Clean or adjust only after identifying the fault
This routine is the backbone of a solid Rock Ola Jukebox Troubleshooting Guide. It keeps the job organized and reduces the chance of causing extra damage.
When You Can Fix It Yourself and When to Call a Pro
Some jobs are safe for careful owners. Others are better left to a technician who understands vintage jukebox electronics. Knowing the difference can save time and protect the machine.
You can often handle:
• Replacing bulbs
• Cleaning external contacts
• Checking outlets and fuses
• Light dusting and visual inspection
• Simple wiring checks with the power off
Call a pro for:
• Transformer or amplifier failure
• Broken selector assemblies
• Complex motor or cam issues
• Rewiring old brittle harnesses
• Any repair involving high voltage
A Rock Ola Jukebox Troubleshooting Guide is useful partly because it helps you know your limits. That kind of judgment is worth just as much as technical skill.
Practical Tips from Real-World Repairs
Over the years, I’ve learned that patience beats force every time. The people who damage jukeboxes the most are usually the ones who try to “make it work.” Vintage machines respond better to careful testing and small corrections.
A few lessons I keep coming back to:
• Photograph every step before removing a part
• Label wires if you disconnect them
• Test one change at a time
• Use the correct replacement parts when possible
• Never assume the biggest part is the problem
One of my biggest early mistakes was cleaning too aggressively. I used too much pressure on a contact assembly and created a new problem. That taught me a simple rule: in a Rock Ola Jukebox Troubleshooting Guide, gentle wins almost every time.
Frequently Asked Questions of Rock Ola Jukebox Troubleshooting Guide
Why does my Rock Ola jukebox turn on but not play records?
This often means the power system works, but the selector or transfer mechanism does not. Dirty contacts, dried grease, or a weak motor are common causes. Start with a visual check and listen for relay clicks or motor noise.
What should I check first if my jukebox is completely dead?
Check the outlet, power cord, fuse, and main switch first. Those are the most common reasons a jukebox will not power up at all. If those parts are fine, the issue may be deeper in the power supply or transformer.
Why is my Rock Ola jukebox making humming noises?
A hum can come from the amplifier, grounding problems, or a failing speaker connection. It can also happen when a tube or electronic component is aging. If the hum gets louder as the machine warms up, the amplifier is worth inspecting.
How often should I clean a Rock Ola jukebox?
Light cleaning every few months is a good habit, especially in dusty rooms. Deeper internal cleaning depends on use and storage conditions, but old grease and dirty contacts should be checked regularly. Keeping it clean helps prevent many common failures.
Can I use regular lubricant on a Rock Ola jukebox?
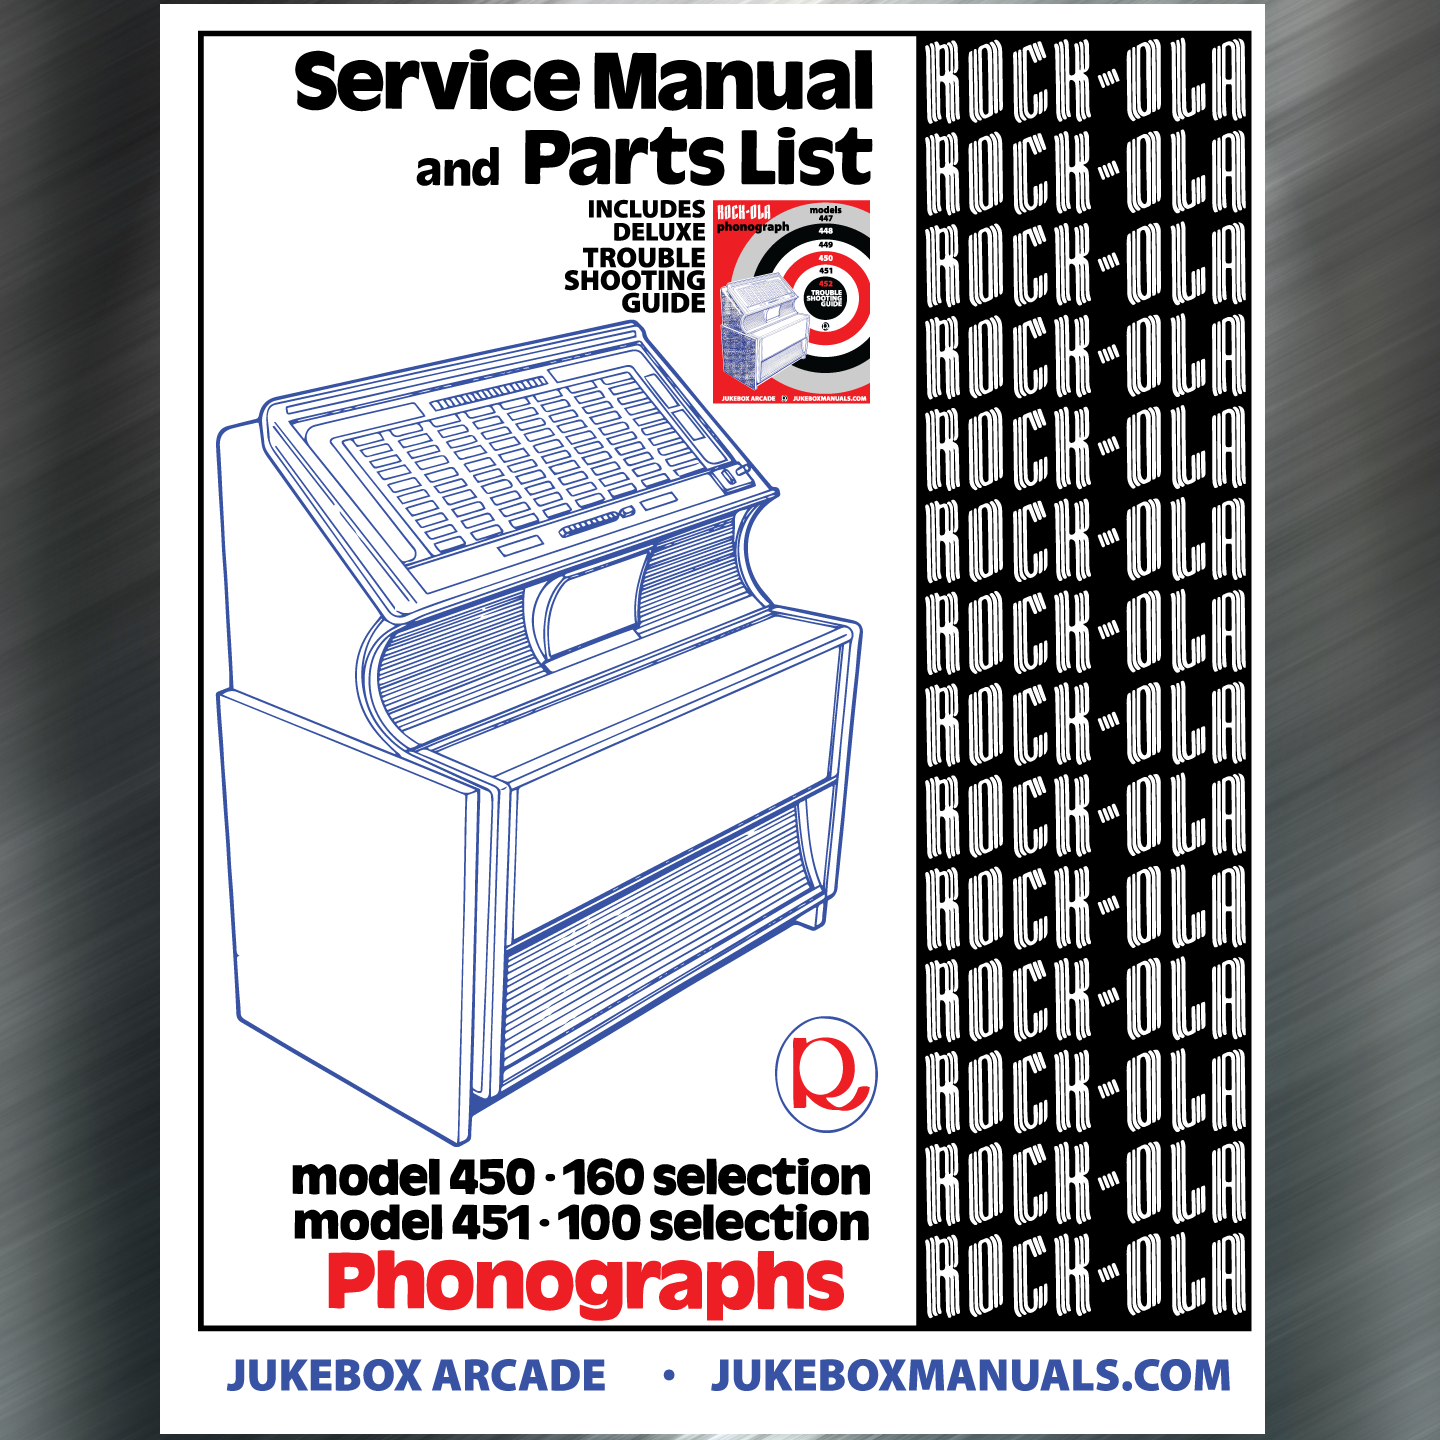
Not always. Vintage jukeboxes usually need a lubricant that is safe for the specific part, and too much grease can cause sticking. Use only a product meant for precision mechanisms or follow the service manual for your model.
Conclusion
A Rock Ola Jukebox Troubleshooting Guide is really about learning the machine’s logic. Once you understand power, selection, movement, and sound, the problems stop feeling random. Most issues can be traced to dirt, wear, loose connections, or aging parts, and many can be found with a calm, step-by-step approach.
The best advice is simple: start small, test carefully, and avoid forcing anything. If you treat the jukebox with patience, it usually rewards you with years of music and character. If this guide helped, take a few minutes to inspect your machine today, and keep exploring trusted repair resources or share your own troubleshooting experience in the comments.

Similar Posts