Stahls Hotronix Heat Press Troubleshooting
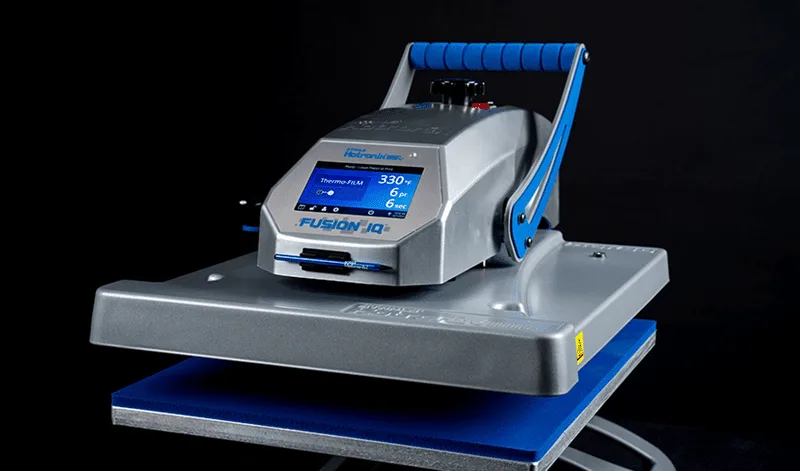
If your Stahls Hotronix heat press is throwing error codes, running cold, or applying uneven pressure, you're not alone. These machines are workhorses, but like any precision tool, they have common failure points you can diagnose and fix yourself. Understanding the basics of Stahls Hotronix heat press troubleshooting saves you downtime and keeps production moving.
Manufacturer specifications indicate that the digital PID controller on models like the Fusion IQ should maintain temperature within ±5°F of the set point under normal conditions. When that reading drifts beyond that window, or when the display flashes an error code, the root cause is usually one of a handful of repeatable problems. Let's walk through the most common symptoms and what to actually do about them.
Quick Answer
Most Hotronix heat press problems come from three sources: the thermocouple, the solid-state relay, or the controller calibration. Error codes E-1, E-2, and E-3 point directly at these components. Start with a cold boot reset.
If the error returns, test the thermocouple and SSR with a multimeter. Run an auto-calibration if temperature is off.
Start Here: Match Your Symptom to the Right Fix
The fastest way through a heat press problem is to identify exactly what's wrong before you touch any tools. Randomly swapping parts wastes time and money. Use the table below to match your symptom to the most likely cause.
| Symptom | Most Likely Cause | Next Action |
|---|---|---|
| Display shows E-1 | Thermocouple open or shorted | Check thermocouple wiring and resistance |
| Display shows E-2 | Machine exceeded max safe temperature | Test solid-state relay for stuck-short |
| Display shows E-3 | Heater not reaching set temperature | Check heating element continuity and SSR |
| Temperature drifts more than ±10°F | Loose thermocouple or bad controller calibration | Run auto-calibration routine |
| No heat at all | Blown fuse, dead controller board, or broken element | Check fuse, then test element continuity |
| Uneven pressure on one side | Platen out of level or debris under lower platen | Level the platen and clean lower surface |
| Timer not counting down | Door switch fault on clam models | Test or bypass the microswitch |
Power and Setup Checks to Rule Out First
Before you dive into error codes or component testing, confirm the basics. A surprising number of "broken" heat presses just need a proper reset or a clean power source.
- Verify power at the outlet. Use a multimeter or plug in a known-working device. Low voltage or a tripped breaker causes strange behavior.
- Do a cold boot reset. Unplug the machine for 30 seconds, plug it back in, and power on. This clears minor controller glitches.
- Check the inline fuse. On most Hotronix models, it sits inside the power cord housing or near the power entry. Replace it with the exact rating marked on the fuse.
- Inspect the power cord. Look for cuts, kinks, or melted spots. Frayed cords cause intermittent power loss.
If all those check out and the problem persists, move to the error code on your display.
Decode Hotronix Error Codes: E-1, E-2, and E-3
The digital controller on your Hotronix is smart enough to tell you what's wrong. It just does it in a three-letter code. Here is what each code means and how to respond.
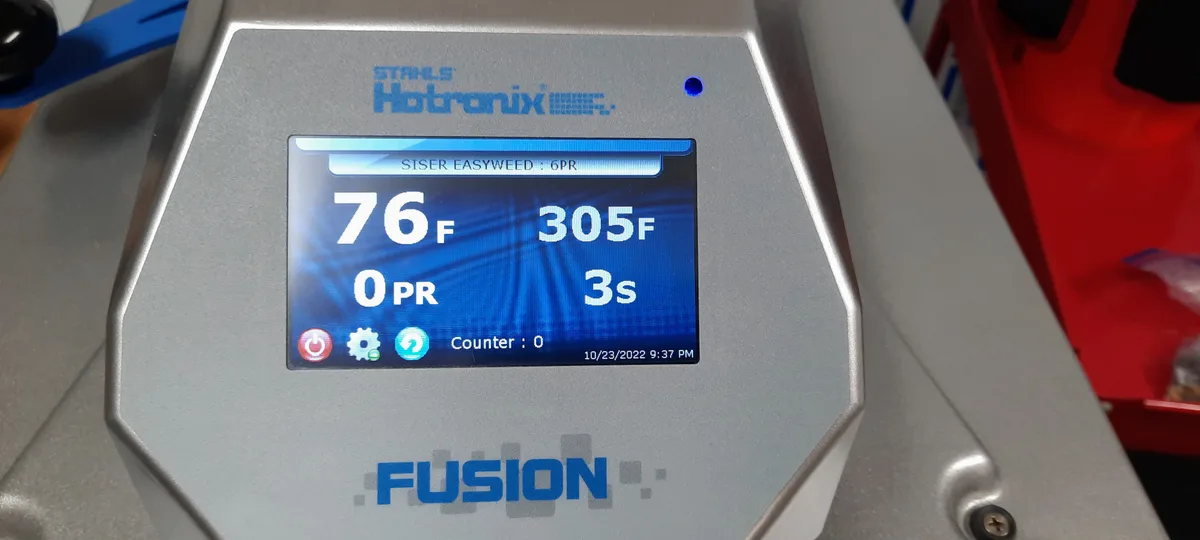
E-1: Thermocouple Fault
The thermocouple is the temperature sensor. It sits near or inside the heating platen and sends a small voltage signal to the controller. E-1 means the controller sees an open circuit or a short circuit in that sensor.
What to check: Measure the thermocouple resistance with a multimeter set to ohms. A type K thermocouple should read roughly 1 ohm per degree Fahrenheit above ambient. At room temperature, expect about 20 to 25 ohms.
Infinite resistance means an open sensor. Near-zero resistance means a short. Either way, replace it.
On a Fusion IQ model, the thermocouple wire runs from the platen to the controller board. Check the connection at both ends. Sometimes a loose screw or a pinched wire is the only problem.
E-2: Overtemperature Error
E-2 fires when the platen temperature exceeds roughly 500°F. That should never happen under normal operation. The cause is almost always a solid-state relay that has failed closed, meaning it sends continuous power to the heating element with no switching.
What to check: Power the machine off and unplug it. Use a multimeter to test the SSR for continuity between the input and output terminals. If you see a short when the machine is off, the SSR is stuck.
Replace it. Do not attempt to reuse a stuck SSR. It can cause a fire.
E-3: Undertemperature Error
E-3 means the controller called for heat but the platen never reached the set temperature within a specific timeout period. Either the heating element itself is open, or the SSR is stuck open and never sent power.
What to check: Test the heating element continuity with a multimeter. Disconnect the element wires and measure resistance. A good element typically reads 10 to 30 ohms depending on the model.
Infinite resistance means the element is burned out. If the element checks good, test the SSR for an open condition with power off.
How to Clear and Reset the Controller
After replacing any faulty component, you need to clear the error code. On most Hotronix digital controllers, power the machine off, wait 10 seconds, then power it back on. If the repair was correct, the code disappears.
If it returns immediately, the new part may be defective or the issue is elsewhere.
Temperature Troubleshooting: Too Cold, Overheating, or Drifting
Temperature problems are the most common complaint we see in our research. A heat press that cannot hold steady temperature ruins transfers and wastes material.
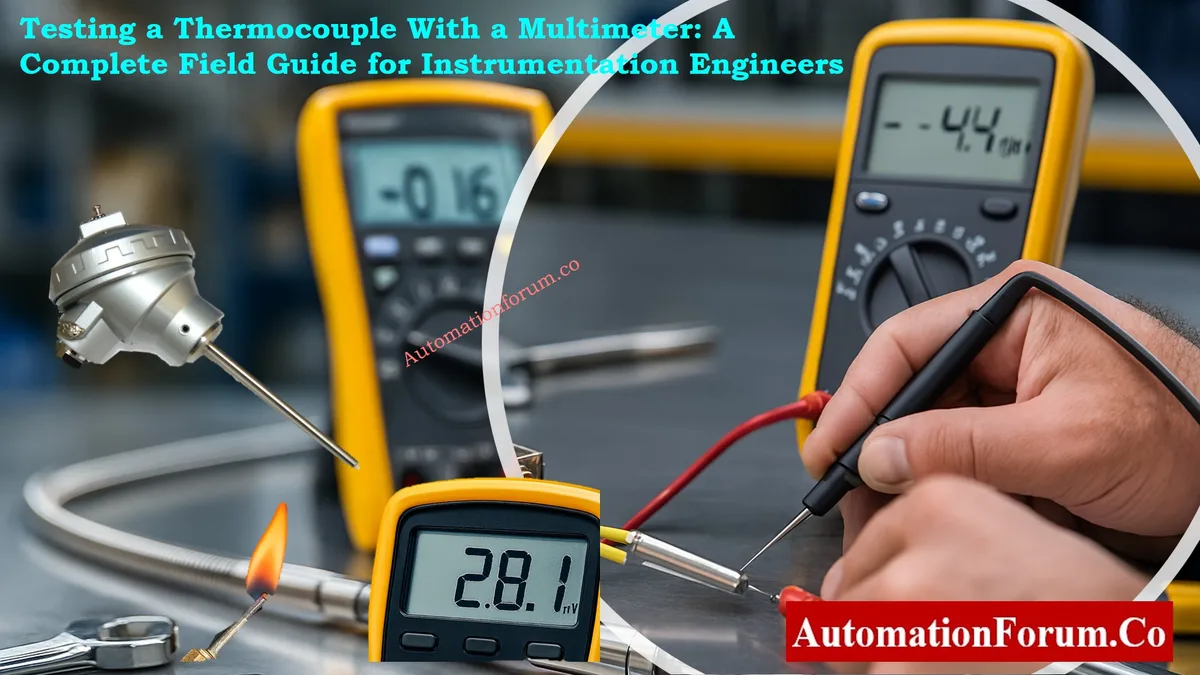
Testing the Thermocouple and Solid-State Relay
We covered the basics in the E-1 and E-3 sections above. Here is the deeper diagnostic flow.
If your display reads hot but the platen feels cold, the thermocouple or the controller configuration is the suspect. If the display reads accurate but the platen runs too hot or too cold, suspect the SSR or the heating element instead.
Step-by-step:
- Set the machine to 350°F and let it run for 10 minutes.
- Use a calibrated thermocouple probe or an infrared gun to read the actual platen temperature at the center.
- Compare the display reading to the probe reading.
- If the difference is more than 15°F, run the auto-calibration routine described below.
- If calibration does not fix it, replace the thermocouple.
Running a Manual Calibration
The Fusion IQ and other digital Hotronix controllers have a built-in calibration mode. You will need a known accurate temperature probe.
- Enter the calibration menu. On most models, hold the up and down arrow buttons simultaneously for 5 seconds.
- The display will show a temperature reading. Place your probe on the lower platen.
- Wait until the probe reading stabilizes.
- Use the arrow buttons to adjust the display to match the probe.
- Save and exit. The machine now uses the offset.
Calibrate your press every six months or anytime you replace the thermocouple. It takes 5 minutes and prevents a lot of frustration.
Pressure Problems: Weak Prints, Uneven Edges, and Sticking Platens
Even if the temperature is perfect, bad pressure ruins a transfer. Weak adhesion, ghosting, and edges that lift off after washing are all pressure symptoms.
How to Test Pressure Distribution
The simplest test costs nothing. Use a plain sheet of copy paper.
- Place the paper on the lower platen.
- Close the press fully with no garment or transfer.
- Attempt to pull the paper out. If it slides out easily, the pressure is too low.
- Adjust the pressure knob one full turn tighter and test again.
For a more precise test, use a four-layer pressure test strip or thermal paper that darkens under heat and pressure. Close the press for 5 seconds at 300°F. Open it and look at the imprint.
The dark area should be even across the entire platen. If one corner is lighter, the platen needs leveling.
Adjusting the Pressure Knob on Your Model
Pressure adjustment varies slightly by model. On the Fusion IQ and Auto Clam, the knob sits on the top of the upper arm. On the manual Clam, it is on the left side.
- Too much pressure: The machine may not close fully or the handle feels extremely stiff. Back the knob out 1/2 turn at a time.
- Too little pressure: Turn the knob clockwise. Do not exceed the manufacturer recommended maximum turns. For most models, that is 3 to 4 full turns from zero.
Important: Never turn the pressure knob when the press is hot and closed. Always open the press and let it cool slightly before adjusting. Forcing an adjustment under load can strip the threads.
If the pressure knob spins freely and does not tighten, the threaded stop collar inside the press may have slipped. You will need to remove the top cover and reset the collar position. This is a common issue on older machines with heavy use.
The Step-by-Step Diagnostic Workflow: From Symptom to Fix
Now let us walk through the four most common failure scenarios end to end. Each path gives you a clear sequence of checks.
No Heat at All
You power on the machine. The display lights up. But the platen stays cold.
- Check the fuse first. It is the cheapest and fastest fix.
- If the fuse is good, test the heating element continuity. Disconnect power and measure across the element terminals.
- If the element shows infinite resistance, replace it.
- If the element reads normal ohms, the problem is the SSR. Test it per the instructions in the E-3 section.
- If both test good, the controller board itself may be dead.
Heat Is Too Low or Tops Out Early
The machine heats to maybe 250°F and stops. Or it climbs slowly and never reaches 400°F.
- This is almost always a failing heating element or a weak SSR.
- Test the element. A partly open element can still conduct some current but not enough to reach full temperature.
- If the element tests good, swap the SSR. A relay that drops significant voltage across its output will throttle the heat.
- Verify the voltage at the outlet. A 110V machine running on 105V may not reach top temperature on cold days.
Timer Not Counting Down
You set the time, close the press, and the timer stays frozen.
- On clam models, check the door switch. The timer only counts down when the press is fully closed and the switch is engaged.
- Listen for a click when you close the press. No click means the switch is not contacting.
- Bypass the switch temporarily to confirm. If the timer counts down, replace the switch.
- On swing-away models, the timer starts when the handle latches. Look for a magnetic switch or reed sensor near the latch point.
Display Is Blank or Flickering
The machine powers on but the LCD shows nothing, random characters, or flickers.
- A dim or flickering display usually points to a failing power supply on the controller board.
- On some models, a loose ribbon cable between the display and the main board causes this. Open the controller housing and reseat the ribbon cable.
- If the display is completely dead, the controller board needs replacement.
Common Mistakes That Make Troubleshooting Worse
A few well-meaning fixes cause more damage than the original problem. Avoid these.
Using the Wrong Teflon Cover
Aftermarket Teflon covers that are too thick or have adhesive on the wrong side can trap heat and throw off the thermocouple reading. Always use a factory spec cover for your model. The thickness matters more than you think.
Overtightening or Under-Tightening the Pressure Knob
We see ruined platens from overtightening. The knob stops turning for a reason. If you force it past the stop, you can bend the frame or strip the threaded rod.
Back off and check the actual pressure with paper instead of trusting the knob position.
Ignoring Loose Wiring and Ribbon Cables
Loose connections cause intermittent errors that feel impossible to diagnose. Before replacing any major component, open the controller housing and check every visible connection. Push each terminal down and reseat ribbon cables.
This solves a surprising number of "ghost" problems.
When to DIY vs. When to Call Stahls Support
Knowing your limits saves money and keeps you safe.
Parts You Can Safely Swap Yourself
- Thermocouple
- Solid-state relay
- Fuse
- Teflon cover
- Power cord
These are plug-and-play or two-wire swaps. If you can use a screwdriver and a multimeter, you can handle these repairs.
Warning Signs You Should Stop Immediately
The machine arcs or sparks when powered on. You smell burning plastic from inside the controller. There are scorch marks around any component.
In those cases, call Stahls technical support or take the press to a qualified repair shop. Fire risk is not worth saving a few dollars on a DIY attempt.
Frequently Asked Questions
My Hotronix shows E-2 but resets after a while. Is it safe to keep using?
No. E-2 means the machine exceeded 500°F. That is a stuck SSR.
Even if it resets, the relay can fail again at any moment. Replace the SSR before using the press again.
How often should I calibrate my Hotronix?
Every six months under normal use. If you move the machine or replace the thermocouple, calibrate immediately. A 15°F drift is enough to ruin transfer adhesion.
Can I use a regular extension cord with my Hotronix?
No. A standard extension cord creates voltage drop and fire risk. Plug the press directly into a grounded wall outlet.
If you must extend the run, use a heavy-duty 12-gauge cord rated for your model's amperage.
My pressure knob is all the way in but there is still no pressure. What now?
The internal stop collar has likely slipped. Open the top cover of the press and locate the collar on the threaded rod. Loosen the set screw, slide the collar back to its original position, and tighten.
This is a 10 minute fix on most models.

Similar Posts