Starlink Not Working After Power Outage
The power comes back after an outage. Your fridge hums. Your lights work.
But your Starlink stays dark.
If your Starlink is not working after a power outage, you are dealing with the most common support scenario the company handles. Aggregate user reports from official Starlink documentation confirm that power disruptions cause more "offline" status events than any other single trigger. A brief brownout that barely flickers your lights can stall the whole system.
The good news is that most cases resolve with the right sequence of steps.
Image source: Bing (Web (fair-use with source credit))
Quick Answer
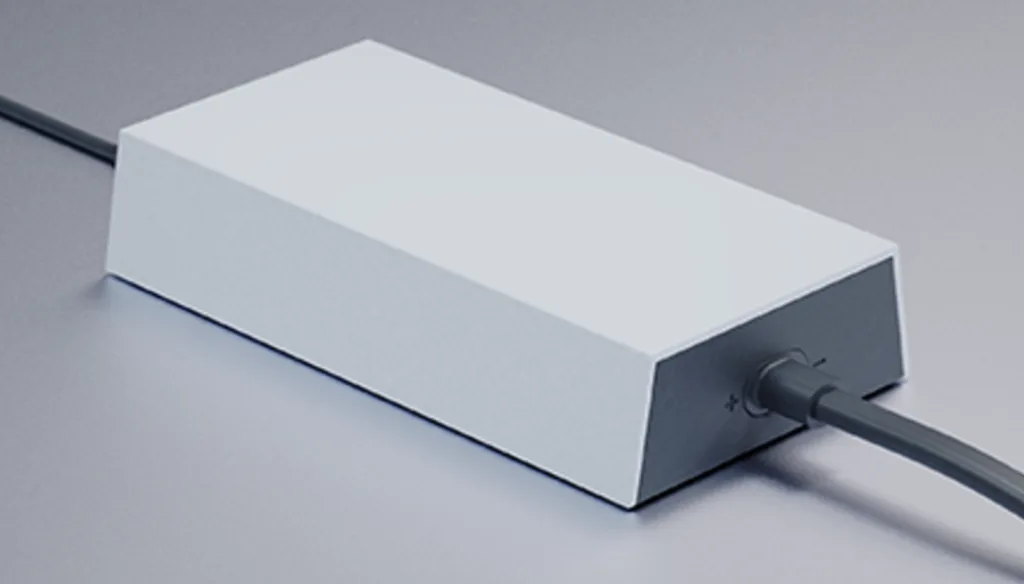
Your Starlink needs a clean boot cycle after a power outage. Unplug the power brick for 30 seconds. Plug it back in.
Wait 5 to 10 minutes. Check the app for status.
Starlink Won't Boot After Power Comes Back. You're Not Alone.
This scenario is incredibly common. The power flickers off and on. Your TV turns on.
But your Starlink dish stays frozen wherever it was when the power cut out.
Here is why that happens. Starlink uses Power over Ethernet (PoE). The power brick sends electricity and data through a single cable to the dish.
When power drops suddenly, the brick does not always resume cleanly. It can get stuck sending power without a data signal. Or it sends data without enough voltage to boot the dish.
The dish follows a specific startup sequence. It checks its actuator position. It runs through firmware.
It begins scanning for the satellite constellation. The whole process takes 5 to 10 minutes on a normal day. After a power loss, the dish may need to stow and unstow again.
That adds time.
Most people give up too fast. They see a blinking router after two minutes and assume the hardware is dead. Per manufacturer documentation and aggregate user reports from official Starlink support channels, the majority of "offline after power outage" cases resolve with patience and a clean boot sequence.
You are not looking at broken hardware in most cases. You need a proper restart.
The first rule is simple. Do not panic. Do not unplug everything at once.
Do not factory reset the router before checking the power brick. Wrong steps can make the problem worse.
Watch the boot process through the Starlink app. Open the app and tap the "Starlink" tab. It shows the dish status in real time.
You may see "Connecting" or "Searching" or "Boot" as the message. Each step is normal. Let it run.
The red light on the router means the dish has not linked with the satellite constellation. This is normal after a full power loss. Wait 15 minutes before taking further action.
The key insight is timing. The actual boot window for Starlink is closer to 8 minutes on average. Give it the full window before you touch anything.
Start With the Power Brick. It Tells You Everything.
The power brick is your first diagnostic tool. It has a small LED indicator on the side. That light tells you what is happening.
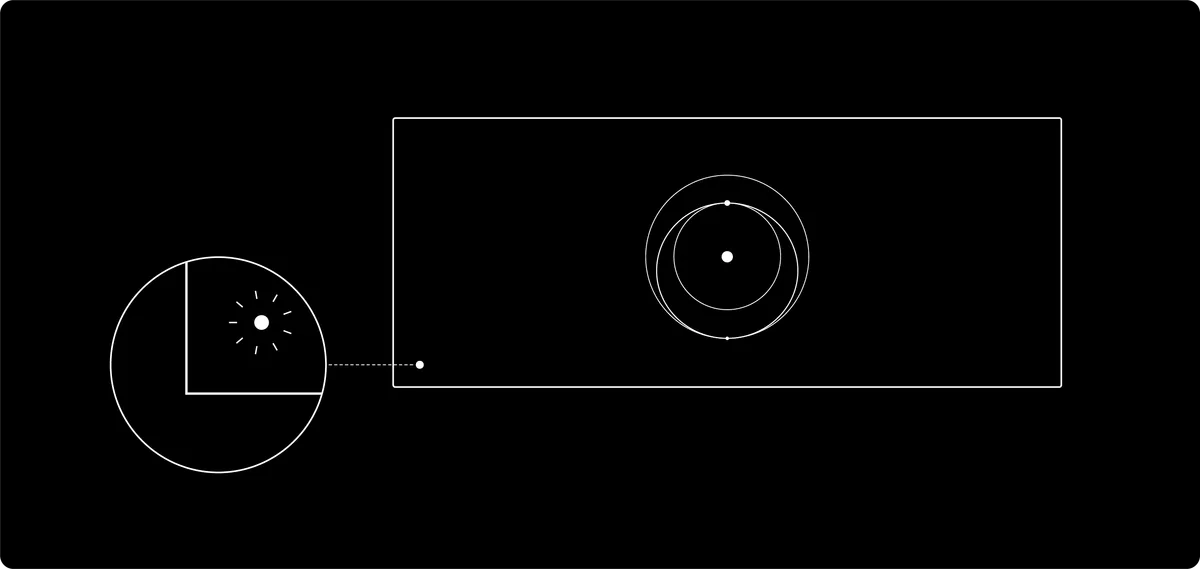
Image source: Bing (Web (fair-use with source credit))
Here is what the LED means. A solid white light means the brick has power and functions normally. No light at all means the brick is not receiving power or is dead.
A flashing light indicates a fault condition.
Start here. Check that the power brick is plugged into a working wall outlet. Do not use a power strip that may have tripped.
Confirm the outlet has power by plugging in a lamp or phone charger. A tripped GFCI outlet or a surge protector that switched itself off causes this problem more often than you would think.
If the brick has no light, unplug it from the wall. Wait 30 seconds. Plug it back in.
The light should come on within a few seconds. If it stays dark, try a different outlet. If it still stays dark, the power brick itself may be damaged.
Power surges are the most common cause of brick failure after an outage. The Starlink power brick has internal surge protection, but it is not unlimited. A nearby lightning strike or a strong voltage spike can fry the brick while leaving the dish intact.
This is actually the best outcome. Replacing a power brick costs far less than replacing the entire dish.
If the light is solid white but the router is still offline, move to the cable. The power brick sends power and data through the proprietary Starlink cable. A bad connection at either end can stop the system from booting correctly.
The brick also serves as the data pass-through. On Gen 2 systems, the router plugs into the brick. On Gen 3 systems, the router and brick are combined.
Check your specific setup. If you have a separate brick and router, make sure the ethernet cable between them is fully seated. A loose ethernet cable is an easy fix that people overlook.
Dish and Cable Check. The Boot Lug Nut.
The cable between your power brick and your dish is the most fragile part of the entire system. It carries power and data over a single line. A partial disconnect can look exactly like a dead dish.
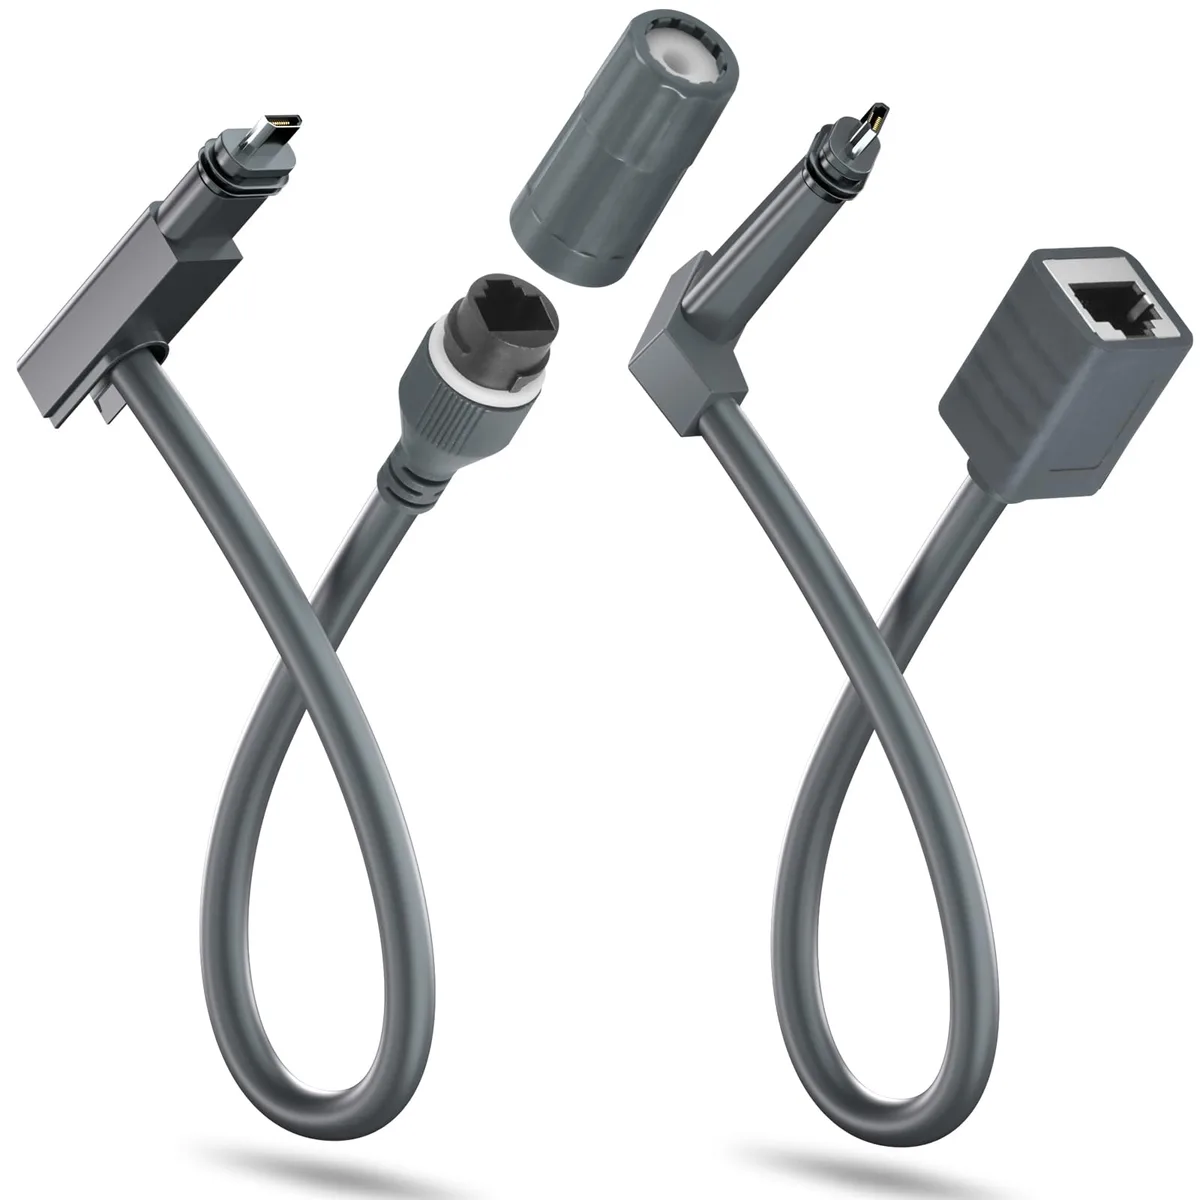
Image source: Bing (Web (fair-use with source credit))
Start at the dish end. The cable connects to the dish arm with a locking connector. Push it in until you hear a click.
The locking ring must be fully tightened. If the ring is loose, the connection can break when the dish moves. After a power outage, the dish may have shifted slightly.
That movement can disturb an already loose connection.
Check the modem or power brick end next. On systems with a separate router, the cable plugs into the power brick. On combined units, it plugs into the router base.
In both cases, push the connector in firmly until it stops. Do not force it past that point.
Inspect the cable itself for damage. Look for kinks, cuts, or pinch points. Rodents sometimes chew through Starlink cables.
A power outage that leaves your home dark can make cable damage harder to spot initially. Use a flashlight and inspect the full length if you can reach it.
If the cable looks fine and both ends are secure, try reseating it. Unplug both ends. Wait 10 seconds.
Plug the dish end first. Then plug the modem end. The order matters because the power brick detects the dish during its startup sequence.
After reseating, wait for the dish to reboot. You will hear the actuator motors. The dish tilts and rotates to find its home position.
That sound is a good sign. It means the dish is getting power and data. The system is working through its boot sequence.
If the dish does not move at all and the power brick has a solid light, the cable may be damaged internally. A break in the line can stop data transmission while still passing power. The brick lights up but the dish never gets the signal to boot.
This requires a cable replacement.
Starlink sells replacement cables on their official shop site. You can also contact support through the app. As of 2026, cable replacements are the most common hardware fix after power surge situations.
What If You Are Using a Third-Party Router?
Many people bypass the Starlink router and connect to a third-party mesh system or wired router. This setup adds complexity after a power outage.
When the power comes back, the Starlink dish and the third-party router boot up at the same time. The third-party router may request an IP address before the Starlink system is ready to assign one. The result is a "no internet" status on your devices even though the dish is working fine.
Here is how to handle it. Power down your third-party router completely. Let the Starlink system boot fully.
Wait for the Starlink app to show "Online" status. Then power on your third-party router. This gives the Starlink system time to establish its connection before another device tries to talk to it.
If you have set up bypass mode in the Starlink app, the process is the same. The Starlink router handles the satellite connection. Your third-party router handles your home network.
Bypass mode can cause confusion after a power loss because the Starlink Wi-Fi network disappears. You might think the system is down when it is actually working.
Check the Starlink app directly. Do not rely on your Wi-Fi connection to the third-party router. Use mobile data on your phone to open the app.
If the app shows the dish is connected and working, the problem is between your third-party router and the Starlink system. Power cycle the third-party router. Wait 2 minutes.
Check again.
The ethernet adapter is another common failure point. If you use the official Starlink ethernet adapter, make sure it is fully inserted. A loose adapter can drop the connection to your third-party router.
Remove it and reseat it. The click tells you it is secure.
Common Mistakes That Make Things Worse
Some troubleshooting steps cause more harm than good. Here are the most common ones from aggregate user reports.
| Mistake | What Happens | What To Do Instead |
|---|---|---|
| Factory reset the router immediately | Erases custom settings and doubles boot time | Wait through the full 10-minute boot cycle first |
| Unplugging the dish cable while powered | Can short the connector pins | Power down the brick first, then disconnect |
| Using a different power supply | May not deliver the correct voltage | Use only the official Starlink power brick |
| Moving the dish by hand | Can damage the actuator gears | Let the dish boot itself and self-align |
| Ignoring the Starlink app | Wastes time guessing the problem | Open the app and read the actual error message |
The biggest mistake is panic. People unplug everything at once and plug it back in randomly. This does not fix the boot order.
It usually makes things worse because the system never gets a clean startup.
The second biggest mistake is not waiting long enough. The full boot cycle can take 10 minutes. Some systems take up to 15 minutes after a complete power loss.
If you are timing out at 3 minutes, you are not giving the hardware enough time.
The third mistake is assuming the dish is dead. Most components survive power outages. The power brick is the most vulnerable part.
The dish itself is rugged and designed for outdoor use. Check the brick first. Check the cable second.
Only then consider a dish issue.
A final mistake worth mentioning is skipping the surge protector after the first outage. Once you get your system back online, a basic UPS or a quality surge protector can prevent this headache the next time. A $40 investment can save you from a $600 replacement.

Similar Posts