Whirlpool Side By Side Refrigerator Troubleshooting
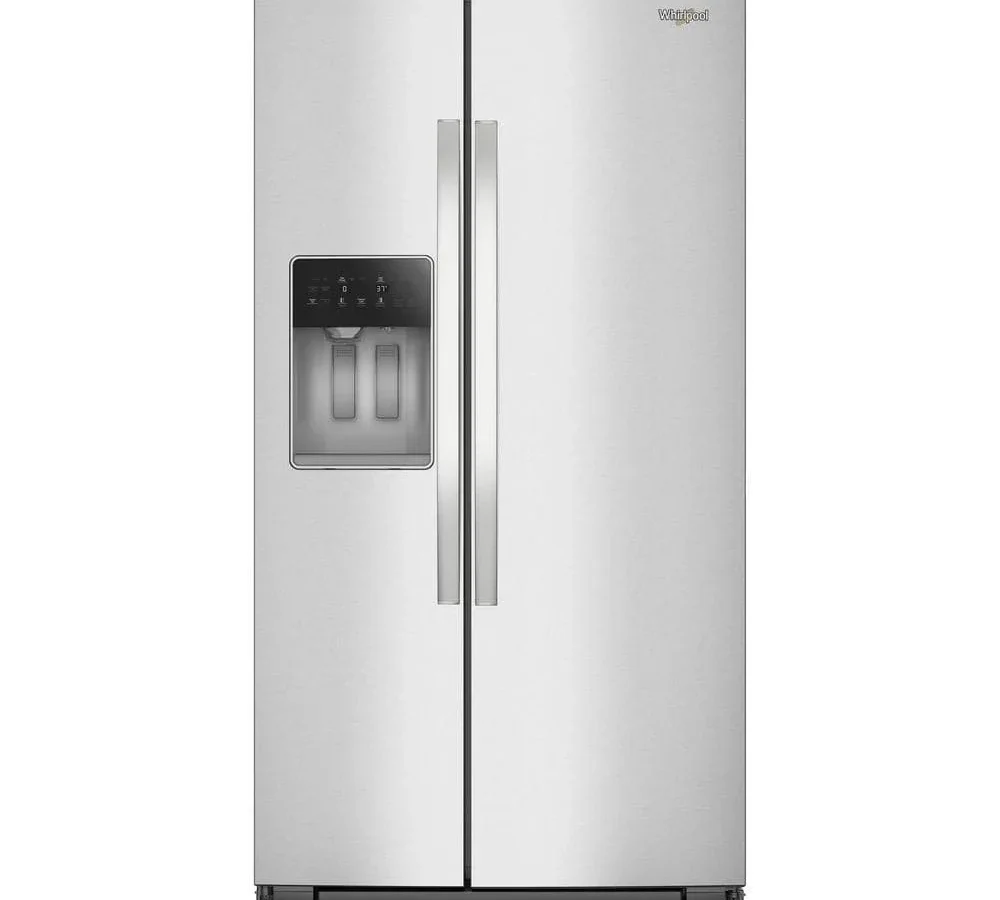
Your Whirlpool side-by-side refrigerator troubleshooting session starts the moment something stops working right. Maybe the ice maker went silent, the water dispenser stopped flowing, or the fridge feels warm while the freezer stays cold. These are common problems, and many of them have straightforward fixes you can handle yourself.
Manufacturer specifications indicate the freezer should hold a steady 0°F while the fridge stays between 37°F and 40°F. If your temps are drifting outside that range, something in the airflow path or sealed system needs attention. Let's walk through the most likely causes so you can get your fridge back on track.
Quick Answer
Most issues come down to a handful of causes. Start by checking the condenser coils for dirt. Then verify the evaporator fan is running.
Clean coils and a working fan solve many cooling faults. For ice or water problems, the filter and inlet valve are the usual suspects. If the compressor is hot but not running, the start relay likely failed.
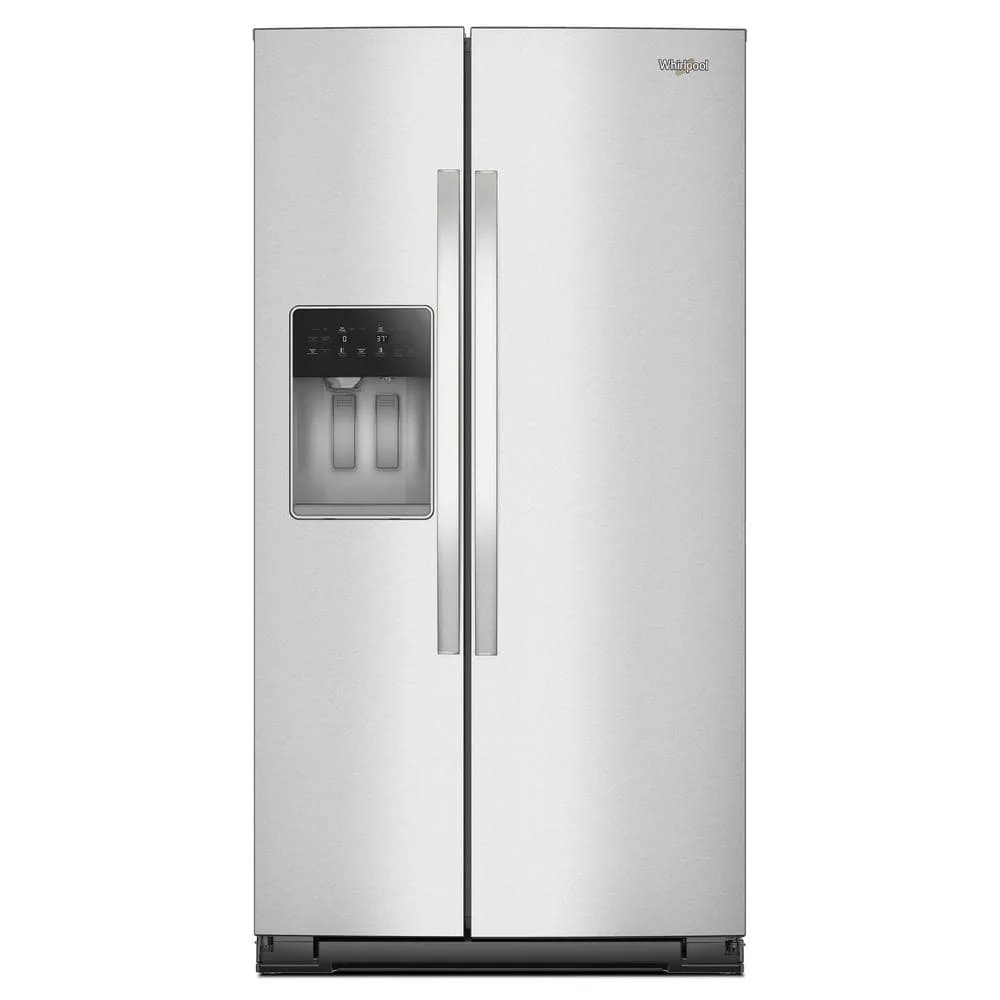
Image source: Bing (Web (fair-use with source credit))
Start Here: Match Your Symptom to the Right Diagnostic Branch
Before you pull any parts, take a minute to figure out what you're actually dealing with. Whirlpool side-by-side refrigerators share a common set of failure patterns. The fastest fix depends entirely on which symptom you see first.
Think of this as your triage step.
Is the ice maker not making ice or making small cubes?
That branch points toward the ice maker module itself, the water inlet valve, or a clogged filter. Go straight to the ice and water section below.
Is the fridge warm but the freezer still cold?
This usually means the damper is stuck closed, the evaporator fan has failed, or the defrost drain is frozen solid. Head to the cooling failure section.
Is the compressor running but the fridge and freezer are both warm?
You may have a sealed system leak, a failed start relay, or dirty condenser coils. Check the coils first. If they're clean and the compressor is hot to the touch, the start relay is the likely culprit.
Is there water pooling on the floor?
That's almost always a clogged defrost drain or a cracked drain pan. Both are easier to fix than you'd think.
| Symptom | Most Likely Cause | Diagnostic Branch |
|---|---|---|
| No ice | Filter or valve | Ice maker section |
| Warm fridge, cold freezer | Damper or fan | Cooling section |
| Both compartments warm | Coils or relay | Cooling section |
| Water on floor | Defrost drain | Noises and leaks section |
Once you match your symptom, jump to the right section below. Each diagnosis branch assumes the fridge is plugged in and has power.
Cooling Failure: Warm Fridge, Cold Freezer (Damper and Fan Diagnosis)
If the freezer stays cold but the fridge feels like a warm pantry, the problem is almost never the sealed system. It's an airflow or temperature control issue. Two parts handle the cold air transfer: the damper and the evaporator fan.
The damper is a small flap between the freezer and the fridge. It opens and closes to let cold air pass through. When it sticks shut, the fridge gets no cold air even if the freezer is working perfectly.
On some Whirlpool models the damper is mechanical, controlled by a simple thermostat bulb. On newer ones it's electronic, driven by a small motor and a thermistor. Both can fail.
The evaporator fan sits inside the freezer compartment behind a rear panel. It pulls air across the evaporator coils and pushes it into the fridge through the damper. If the fan is dead or blocked by ice, air stops moving.
The freezer might still feel cold because you're right next to the evaporator, but the fridge will warm up fast.
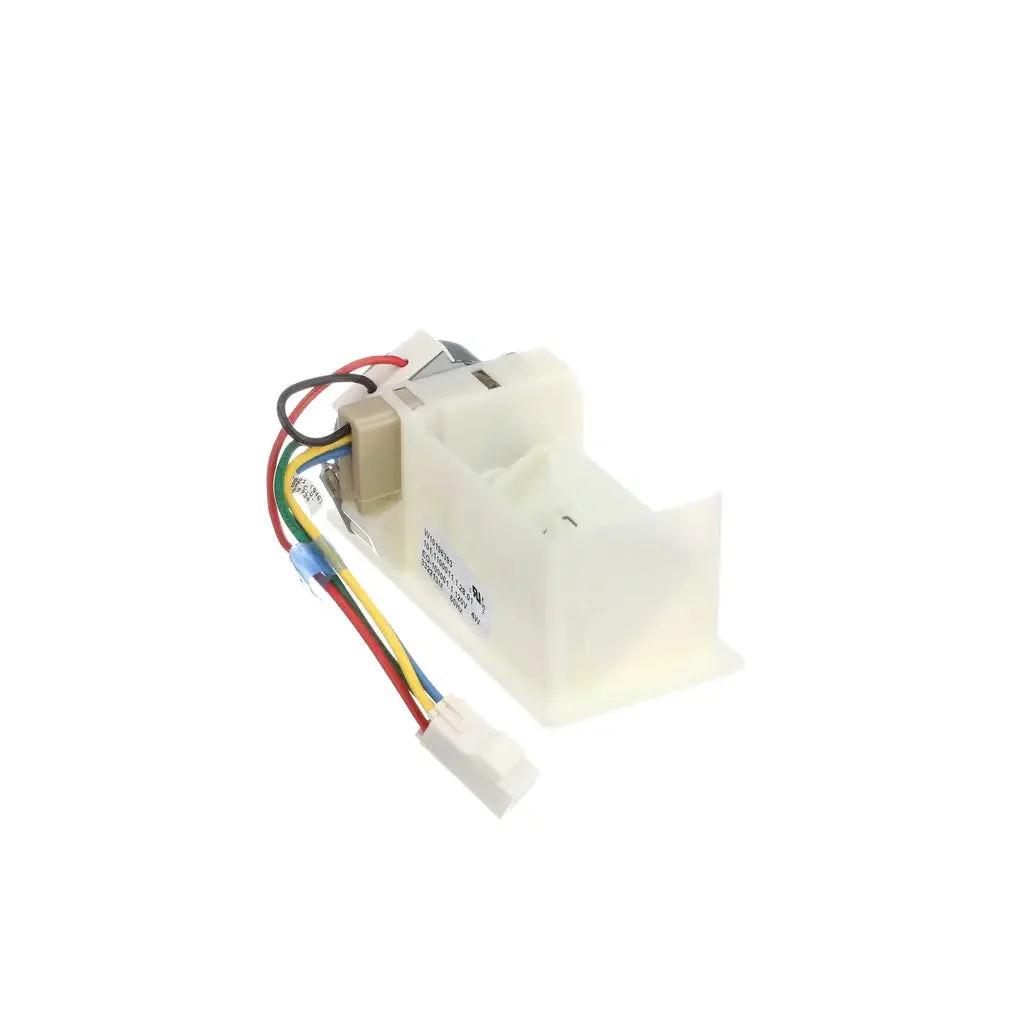
Image source: Bing (Web (fair-use with source credit))
How to test the evaporator fan
Open the freezer door and press the door switch. If the fan doesn't spin, you've found your problem. A frozen fan blade is common.
Check for ice buildup around the fan shroud. If it's clear but the fan still doesn't move, the motor or its wiring needs replacing.
How to check the damper
Look inside the fridge at the top back wall. You should see a vent with movable louvers. With the freezer running, feel for cold air coming through that vent.
No cold air means the damper is closed or the fan isn't feeding it. On electronic dampers, you can sometimes hear a small click when the fridge calls for cooling. No click points to a faulty thermistor or control board.
If both fan and damper check out, move on to the condenser coils behind the bottom grille. Dirty coils force the compressor to run too long, which can freeze the evaporator and block airflow. Clean them with a vacuum brush and try again.
Ice Maker and Water Dispenser: Module, Valve, and Filter Checks
Ice and water problems are the most common complaints on Whirlpool side-by-side refrigerators. The good news is that nearly all of them are fixable without a service call. The bad news is that a lot of people replace the wrong part first.
The three usual suspects are the water filter, the water inlet valve, and the ice maker module itself. Always start with the filter. A clogged filter reduces water pressure to both the ice maker and the dispenser.
Replace it with a genuine Whirlpool EveryDrop filter. If you've already replaced it recently, try running a bypass plug to rule out the filter as a restriction.
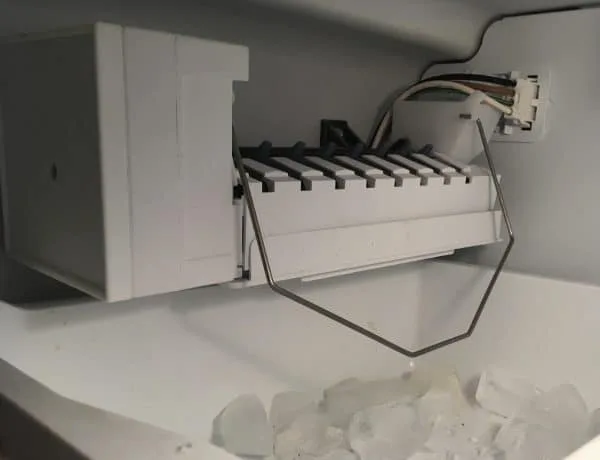
Image source: Bing (Web (fair-use with source credit))
Ice maker not making ice at all
First, check that the ice maker arm is down and the wire shutoff arm hasn't been bumped into the off position. If the arm is down, listen for a faint hum from the water inlet valve when the ice maker calls for water. No hum means the valve isn't getting power, or it's failed.
A multimeter continuity test will tell you. If the valve clicks but doesn't let water through, it's mechanically stuck and needs replacement.
Ice cubes are small, hollow, or misshapen
This points to low water pressure or a partially clogged inlet valve screen. Pull the refrigerator out, disconnect the water line from the valve, and check for a tiny metal screen inside the fitting. Mineral deposits can clog it over time.
Clean it with a toothbrush or replace the valve.
Water dispenser not working
If the dispenser lever feels stiff but no water comes out, the water filter is almost certainly the problem. Swap it first. If the dispenser trickles slowly, check the saddle valve on your home water line.
Many homes have a self-piercing valve that restricts flow. Replace it with a proper 1/4-turn shutoff valve for a permanent fix.
| Problem | Most Likely Fix | Part Cost (Approx.) |
|---|---|---|
| No ice | Replace filter or inlet valve | $30 to $80 |
| Small cubes | Clean valve screen or replace valve | $30 to $80 |
| Dispenser trickling | Replace saddle valve with ball valve | $10 to $20 |
| Ice maker clicking but no water | Replace water inlet valve | $30 to $80 |
Noises, Leaks, and Frost Buildup: What's Normal and What's Not
Refrigerators make noise. A low hum from the compressor, a gentle whoosh from the fan, and periodic clicks from the defrost timer are all normal. But some sounds and leaks tell you something's wrong.
Loud buzzing or rattling from the back
That's usually the condenser fan motor. The fan sits behind the bottom grille and moves air across the condenser coils. A blade that's bent or hitting a piece of packaging will rattle.
Shine a flashlight in there. If the fan is spinning but noisy, it may just need the blade repositioned. If it's not spinning at all, the motor bearings have gone bad.
Clicking sound that repeats every few seconds
This is a classic sign of a failing start relay. The compressor tries to start, fails, clicks off, then tries again. You'll hear this cycle every 30 to 60 seconds.
Unplug the fridge immediately and replace the start relay and overload protector. They're cheap and easy to swap, and the compressor won't last long if you keep letting it try.
Water puddle under the fridge
In our research, nine out of ten water leaks come from a clogged defrost drain. The drain is a small tube inside the freezer that carries water from the defrost cycle to the evaporation pan underneath. When it freezes shut, water overflows and drips down.
Thaw it with hot water using a turkey baster. Then clean the drain line with a pipe cleaner to prevent recurrence.
Frost buildup on the back wall of the freezer
This points to a failing defrost system. The defrost heater, thermostat, or timer isn't doing its job. If frost is thick and the freezer still holds temperature, the defrost heater has probably burned out.
You can test it with a multimeter. If the heater has continuity, the defrost thermostat is the next suspect.
Tools, Safety, and Common Mistakes to Avoid
You don't need a full mechanics tool set to troubleshoot a Whirlpool side-by-side. A few basics will cover most jobs. Knowing what not to do is just as important as knowing what to do.
Tools you'll actually need
- Multimeter with continuity and resistance settings
- Nut driver set (1/4-inch and 5/16-inch are the most common)
- Phillips and flathead screwdrivers
- Needlenose pliers
- Soft brush and vacuum for condenser coils
- Turkey baster for defrost drain thawing
- Pipe cleaner or flexible brush for drain cleaning
Safety rules that are non-negotiable
Unplug the refrigerator before you touch any electrical component. That means the compressor, fans, control board, and heater. Water and electricity are a dangerous combination inside a fridge.
If you need to test a live part like the main board, keep one hand in your pocket to avoid completing a circuit through your chest.
Common mistakes that waste time and money
Mistake 1: Replacing the ice maker module before checking the water line. Most ice makers fail because they aren't getting water. The module itself rarely goes bad. Check the filter and valve first.
Mistake 2: Assuming a warm fridge means low refrigerant. On a side-by-side Whirlpool fridge, the freezer almost always shows cooling problems first if the sealed system is leaking. If the freezer is cold and the fridge is warm, it's an airflow problem, not a refrigerant leak.
Mistake 3: Forgetting to level the fridge. If the refrigerator tilts forward, the defrost drain can drip instead of flowing to the evaporation pan. Use the front leveling rollers to adjust it so the front sits about 1/4-inch higher than the back.
Mistake 4: Not waiting 24 hours after installation. If you just got the fridge, plug it in and leave it alone. The compressor needs time to stabilize the temperature. The ice maker needs time for the water line to fill.
Don't touch anything for the first day.
If you suspect a refrigerant leak, turn off the fridge and call a professional. The next section covers when DIY stops being a good idea.
When to Stop DIY and Call a Professional
Some problems are beyond what a homeowner can safely fix. Knowing that limit saves you money and prevents bigger damage. Refrigerant leaks are the biggest example.
If the compressor runs continuously but both compartments stay warm, suspect a sealed system leak. The freezer won't get cold either, which is the key difference from a simple airflow problem. Refrigerant repairs require EPA certification, specialized tools, and vacuum pumps.
The Environmental Protection Agency regulates refrigerant handling under Section 608 of the Clean Air Act. DIY work on sealed systems is illegal and dangerous, especially with R600a refrigerant used in newer models since 2024.
Another case is a main control board failure. If you've tested every component and nothing works, the control board might be bad. Replacing it is straightforward, but diagnosing it correctly isn't.
A misdiagnosis means you spend $150 on a board you didn't need. If the board costs more than $200 and the fridge is over 10 years old, consider replacement instead.
Call a pro if you hear the compressor clicking repeatedly. That start relay failure can damage the compressor windings if it cycles too long. A replacement compressor costs more than a new refrigerator.
| Symptom | Action |
|---|---|
| Both compartments warm, compressor hot | Call a pro (sealed system) |
| Repeated clicking from back | Unplug and call a pro |
| Control board needed but unsure | Have a pro diagnose first |
| Water line leaking behind fridge | Turn off water, call plumber |
| Fridge over 12 years old with major failure | Compare repair cost to new unit |
Preventive Maintenance for a Longer Life
A Whirlpool side-by-side can run reliably for 15 years or more with basic care. The number one maintenance task is cleaning the condenser coils. Dust and pet hair build up fast, especially if your kitchen floor gets traffic.
Dirty coils force the compressor to overwork. That shortens its life and raises your electric bill.
Clean the coils every six months. Pull the fridge out, remove the bottom grille, and use a soft brush attachment on your vacuum. Go side to side across the fins.
Do not bend them. While you're back there, vacuum the condenser fan blades too.
Replace the water filter every six months. Mark it on your calendar. A clogged filter doesn't just slow the water dispenser.
It also reduces flow to the ice maker, which can cause the fill tube to freeze and leak. Use only genuine Whirlpool EveryDrop filters or a certified equivalent.
Check the door gaskets twice a year. Close a dollar bill in the door. If it slides out easily, the gasket is worn and letting warm air in.
Warm air makes the compressor run longer and causes frost buildup. Clean gaskets with warm soapy water to keep them pliable.
Level the fridge if it rocks or the doors don't close by themselves. Use the front leveling legs. The front should sit about 1/4 inch higher than the back.
This helps the defrost drain flow properly and prevents water leaks.
| Task | Frequency | Time Required |
|---|---|---|
| Clean condenser coils | Every 6 months | 15 minutes |
| Replace water filter | Every 6 months | 5 minutes |
| Check door gaskets | Every 6 months | 5 minutes |
| Level the refrigerator | As needed | 10 minutes |
| Clean defrost drain | Annually or if leaking | 20 minutes |
Frequently Asked Questions
Why is my Whirlpool side-by-side ice maker not making ice?
The most common cause is a clogged water filter. Replace it first. If that doesn't help, check the water inlet valve for power with a multimeter.
The valve needs 120 volts to open. No voltage points to a bad ice maker module.
How do I reset the ice maker on my Whirlpool refrigerator?
Locate the test button on the ice maker module. Press and hold it for 10 seconds. The ice maker should cycle through a harvest test.
If it moves, the module is working. If nothing happens, the module likely needs replacement.
Why is my Whirlpool refrigerator not cooling but the freezer is cold?
This is almost always a stuck damper or a failed evaporator fan. Check the fan by opening the freezer door and pressing the door switch. If the fan doesn't spin, replace it.
If it spins, check the damper vent in the fridge for cold airflow.
What does it mean when my Whirlpool fridge is clicking?
A clicking sound every 30 to 60 seconds means the compressor is trying to start and failing. The start relay is failing or has failed. Unplug the fridge and replace both the start relay and the overload protector as a pair.
How often should I clean the condenser coils on my Whirlpool refrigerator?
Clean them every six months. If you have pets, check them every three months. Dirty coils cause the compressor to run longer and hotter, which reduces efficiency and shortens the fridge's lifespan.
Can I replace the water filter with a generic brand?
Yes, but choose one certified against NSF/ANSI Standard 42 for taste and odor and Standard 53 for contaminants. Genuine Whirlpool EveryDrop filters meet these standards. Generic filters may not fit properly and can leak.

Similar Posts