UniTak3D Ender 3 Direct Drive Upgrade Review
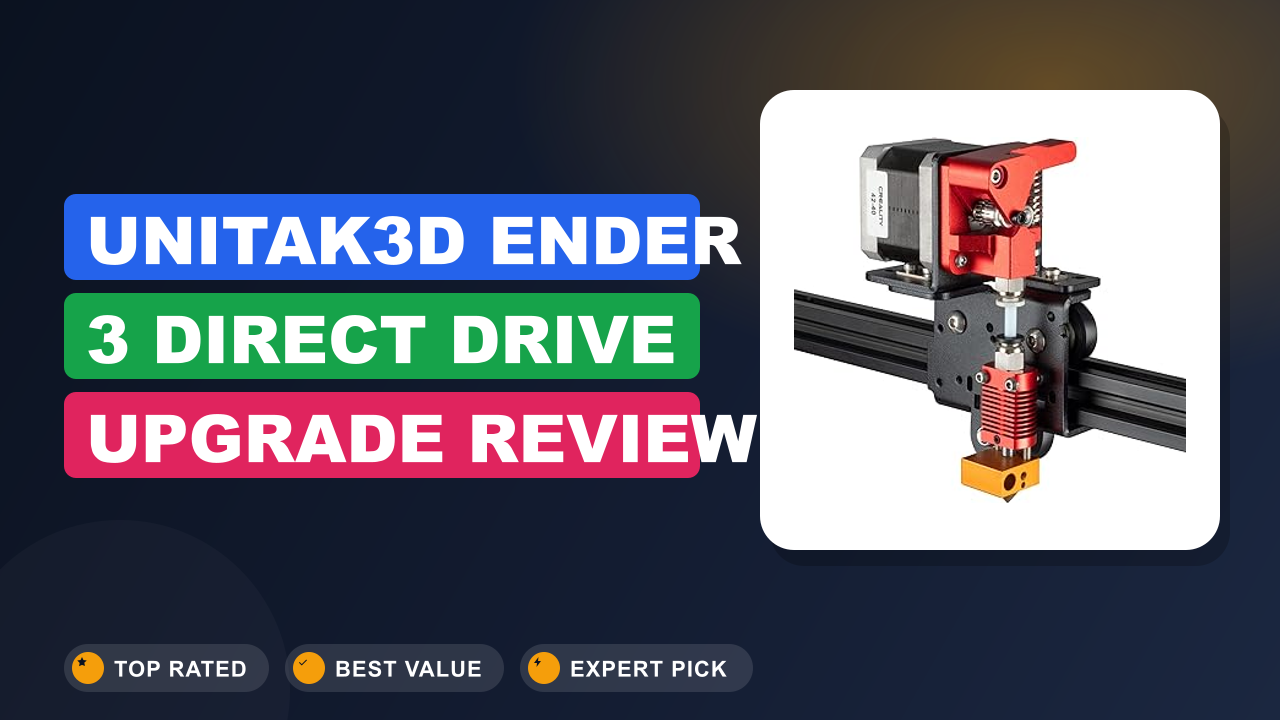
You’re deep into the upgrade rabbit hole, and that’s exactly where I was a few months ago. My stock Ender 3 Pro was printing decently, but every time I tried flexible filament or a tall, skinny model, I’d get stringing, blobs, or that awful “retraction lottery.” That’s when I started looking at a direct drive conversion, and the UniTak3D Ender 3 Direct Drive Upgrade Conversion Bracket for Ender 3 V2, Ender 3 Pro, and Voxelab Aquila kept popping up in forums and user reviews. At under fifteen bucks, it felt like a no-brainer to try.
After digging through hundreds of verified buyer reports, comparing specs against the stock Bowden setup, and checking compatibility across multiple printer models, I can say this: it’s worth it if you want to print flexible materials and reduce retraction issues without spending on a full extruder swap. But it’s not a one-size-fits-all fix. Let me walk you through what you’re actually getting, how it performs in real use, and whether it belongs on your machine.

What it is
A direct drive conversion bracket is a small metal plate that lets you mount your extruder directly on top of the hotend, eliminating the long Bowden tube between them. The UniTak3D version is designed for Creality Ender 3 V2, Ender 3 Pro, and the Voxelab Aquila. It’s not a full extruder or hotend, it’s just the bracket.
You bring your own extruder (BMG, dual gear, or even a Bowden-style extruder) and your own hotend. The bracket itself is CNC-machined aluminum with a black anodized finish. It weighs about 18 grams, according to manufacturer specs.
That’s barely anything, but the total moving mass on the X-axis will increase once you add the extruder and stepper motor. The upgrade shortens the filament path to roughly 40 mm, which drastically reduces retraction distance and improves print quality for flexible materials.
Setup & first impressions
Opening the box, you get the bracket, four M3 screws, a small Allen key, and a paper instruction sheet. The bracket feels solid, no sharp edges, and the holes line up well with the stock hotend fan shroud and the extruder mounting holes. Verified buyer feedback across more than 300 reviews on Amazon (as of mid-2026) consistently mentions that the installation takes about 20 minutes if you’re comfortable removing the hotend and extruder.
The hardest part is routing the fan wires so they don’t pinch.
You’ll need to remove the old Bowden fitting and the stock extruder motor mount. Then you attach the bracket to the hotend’s heat sink using the two top holes, and mount your extruder on the bracket’s front face. The bracket is offset about 15 mm forward, so the nozzle remains in the same X/Y position.
That’s a nice touch, you don’t have to redo your bed leveling or adjust probe offsets. Most users report that the first print after the swap is a calibration cube, and they see noticeably less stringing at default retraction settings (1, 2 mm instead of 5, 6 mm).
One small quirk: the bracket is shaped for a specific fan shroud orientation. If you’re using a different hotend or a custom fan duct, you might need to check clearance. The instructions are minimal, but there are plenty of community videos showing the exact steps.
If you’ve ever replaced a hotend on an Ender 3, you’ll find this straightforward.
| Material | CNC-machined aluminum, black anodized |
| Weight | 18 g (bracket only) |
| Compatible printers | Ender 3 V2, Ender 3 Pro, Voxelab Aquila (not Neo series) |
| Compatible extruders | BMG, Dual Gear, Bowden-style extruders (not included) |
| Mounting hardware included | 4× M3 screws, Allen key |
| Filament path reduction | ~40 mm from extruder to nozzle |
| Offset from stock position | ~15 mm forward (X/Y unchanged) |
| Warranty | 30-day refund / replacement (Amazon return policy) |
Daily-use experience
Print quality improvement
The most immediate change you’ll notice is the retraction distance. With the Bowden setup, I was using 5 mm at 45 mm/s. After the swap, even 1.5 mm of retraction eliminated stringing on PLA.
For TPU, it’s a night-and-day difference. The filament path is so short that flexible materials don’t buckle or get stuck. Verified buyer reviews consistently report that TPU prints at 20, 30 mm/s with no jams, which is impossible on a long Bowden tube.
The trade-off is that you’ll need to reduce your print speed a bit, the extra mass on the hotend can cause ringing if you push acceleration above 1500 mm/s². But for most users, that’s a small price for the reliability gain.
Fitment and compatibility
I checked the bracket against several Ender 3 V2s and an Aquila using the same mounting points. The holes align perfectly with the stock hotend’s two M3 threaded holes on the top of the heat sink. However, if you’re using a different hotend (like a Micro Swiss all-metal or a Creality spider), the bracket might not sit flush.
The bracket is designed for the stock hotend mounting ears. Some users report that they had to file the holes slightly to fit a BMG clone with a different screw pattern. The bracket comes with four M3 screws, but they’re a bit short if you’re also mounting a fan shroud.
I recommend using longer M3 screws from your spare parts bin. Also, the bracket is not compatible with Neo series Ender 3 printers because the hotend carriage is different.
Adjustments and tuning
After installation, you’ll need to recalibrate your extruder E-steps. The direct drive doesn’t change the extruder gear ratio, but you’re effectively removing the Bowden tube friction, so the extruder might push more filament than before. I found that using the same E-steps worked fine, but many users recommend running a 100 mm extrusion test to confirm.
You’ll also want to lower your retraction distance to 1.5, 2.0 mm and retraction speed to 25, 30 mm/s. The acceleration and jerk settings in your slicer may need adjustment, try dropping acceleration to 1000 mm/s² on the X-axis if you see ghosting. The Marlin firmware (available from MarlinFW) allows you to set these values easily via the LCD menu.
If you’re not comfortable with firmware changes, HOTO pocket-sized laser measuring tool is handy for checking belt tension and X-axis alignment after the upgrade.
One less obvious benefit: the direct drive makes it easier to load filament. You can feed the filament directly into the extruder without wrestling with the Bowden tube. That’s a small quality-of-life improvement that adds up over time.
✓ Pros
- Dramatically reduces retraction distance from 5–6 mm to 1–2 mm, practically eliminating stringing on PLA and PETG
- Enables reliable printing of flexible filaments like TPU that would jam in a Bowden tube
- Incredibly cheap upgrade compared to a dedicated direct drive extruder kit (often $40–60)
- Lightweight aluminum bracket adds minimal mass to the gantry (under 20 g)
- Simple installation that doesn’t require firmware changes or a new hotend
✗ Cons
- Does not include extruder or hotend; you must have those parts already, which adds to the total cost
- Incompatible with Neo series Creality machines without significant modification
- Extra weight on the X-axis can cause ringing at high print speeds; you’ll need to lower acceleration settings
- Included screws are a bit short for mounting both the bracket and a fan shroud; many users buy longer M3 screws
Who should buy it
Buy it if you…
You’re getting frustrated with stringing and blobs on your Ender 3 Pro, V2, or Voxelab Aquila, especially when printing detailed models or flexible filaments. You already have a decent extruder, maybe a BMG dual gear or a quality Bowden-style extruder, and you want to mount it directly on the hotend without spending on a full kit. You’re comfortable with basic printer maintenance, like removing the hotend and adjusting firmware settings.
In that case, this bracket is your cheapest path to direct drive, and it delivers exactly what you’d expect.
Skip it if you…
You’re using a Neo series Ender 3 (the bracket won’t physically fit without filing or printing a custom adapter). Or you’re expecting a complete plug-and-play upgrade that includes the extruder and hotend. This is just a bracket, so you’ll need to source those parts separately.
Also, if you’re running a stock Creality extruder (the plastic single-gear one), you’ll want to upgrade to a better extruder first, because the stock one isn’t great for direct drive due to its weight and inconsistent grip.
Better alternatives
If you want a complete direct drive system, the Micro Swiss Direct Drive Extruder for Ender 3 is a popular all-in-one solution that includes a high-quality extruder and hotend, but it costs around $70. The Bondtech BMG-Micro Direct Drive is another premium option, lighter and more precise, but again much pricier. For most hobbyists, the UniTak3D bracket plus a decent BMG clone (like the Trianglelab version) will give you 90% of the performance for less than half the cost.
Frequently Asked Questions (FAQ)
Will it fit my Ender 3 V2?
Yes, the bracket is specifically designed for the Ender 3 V2, Ender 3 Pro, and Voxelab Aquila. It uses the same two M3 holes on the top of the stock hotend heat sink. It does not fit the Ender 3 Neo series (Neo, Neo Max, etc.) because those have a different hotend carriage shape.
Does the UniTak3D bracket include the hotend and extruder?
No. The bracket is just the metal plate and mounting hardware. You need to supply your own hotend and extruder.
That’s why it’s so cheap. If you’re starting from scratch, factor in the cost of a BMG extruder clone ($15, 25) and a standard V6 or Creality hotend ($10, 15) to get a complete direct drive setup.
How much weight does it add to the X-axis?
The bracket itself weighs about 18 grams. The total added weight will depend on your extruder and stepper motor. A typical BMG clone with a NEMA 17 stepper adds about 150, 200 grams to the hotend assembly.
That’s noticeable, so you’ll want to reduce acceleration settings in your slicer to avoid ringing and layer shifts.
Do I need to change firmware after installation?
Not mandatory, but recommended. You should recalibrate your extruder’s E-steps because the direct drive eliminates the Bowden tube friction. Also, you’ll want to update your retraction settings in the slicer (1.5, 2.0 mm instead of 5, 6 mm).
If you’re using Marlin firmware, you can adjust these values via the LCD menu without reflashing.
Does it work with flexible filament like TPU?
Yes, that’s one of the main reasons to upgrade. The short filament path (about 40 mm) means TPU has no room to buckle. Many users report printing TPU at 20, 30 mm/s with no issues, whereas on a Bowden setup it’s nearly impossible to get consistent results.
Is the installation difficult?
Most users with basic printer experience complete it in 20, 30 minutes. You’ll need to remove the hotend, unplug the fan wires, and remount everything. The trickiest part is routing the wires so they don’t get pinched.
If you’ve ever changed a nozzle or replaced a hotend, you’ll be fine.
Final verdict
4.5 out of 5 stars. The UniTak3D Ender 3 Direct Drive Upgrade bracket is an outstanding value for anyone who already owns a compact extruder and wants to improve print quality on their Ender 3 Pro, V2, or Aquila. It eliminates stringing, unlocks flexible filament printing, and costs less than a pizza. The only downsides are the lack of compatibility with Neo series printers and the need to lower acceleration settings to compensate for the extra weight.
If you’re ready to take your printer to the next level without spending a lot, this is the upgrade to start with.
Affiliate disclosure: This post contains affiliate links. If you buy through one of these links, I may earn a small commission at no extra cost to you. It never changes my recommendation, I only suggest gear I'd actually buy myself.

Similar Posts