Wii Nunchuk Not Working
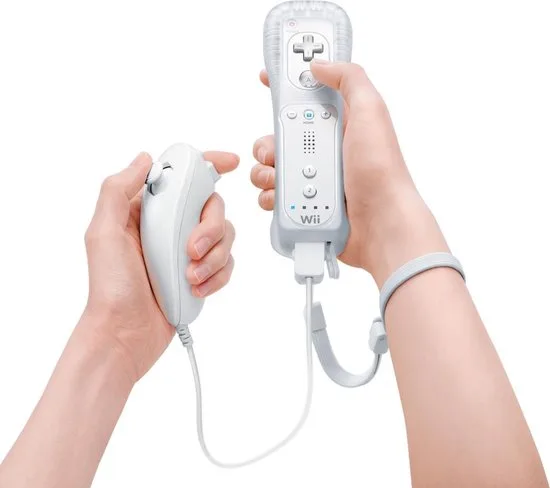
Wii Nunchuk Not Working. It's one of those frustrating moments that can kill a whole gaming night. The good news: most failures are easy to diagnose and fix at home.
No soldering skills or special tools required.
The nunchuk connects to the Wii Remote through a six-pin proprietary port at the bottom. As of 2026, Nintendo's official support documentation still covers this accessory. The nunchuk has no wireless components, no batteries, and no sync process.
That's why a dead connection almost always points to a physical cause.
Image source: Bing (Web (fair-use with source credit))
Quick Answer: 90% of Nunchuk Problems Come Down to These Three Things
Wii Nunchuk Not Working usually means a loose connection, dirty pins, or a broken cable. Check the Home menu first. If the nunchuk icon appears, the hardware is connected.
If not, reseat the connector firmly. Clean the pins with isopropyl alcohol and test again.
How the Nunchuk Actually Connects to Your Wii Remote
Before you start troubleshooting, it helps to know what you're actually dealing with. The nunchuk connects to the Wii Remote through a six-pin port at the bottom. Those pins carry power, ground, and data between the two devices.
There's no Bluetooth radio and no battery inside the nunchuk.
The Wii Remote polls the nunchuk continuously. As soon as the remote detects it, a small symbol appears next to your player indicator on the Home menu. That icon is your main diagnostic tool.
If it doesn't show up, the Wii Remote can't see the nunchuk at all.
There's no pairing process. Nintendo's official support documentation confirms the nunchuk is plug-and-play. You can't sync it like a Wii Remote because it doesn't communicate wirelessly.
It's a wired extension of the remote, full stop.
Third-party nunchuks follow the same pinout, but not always perfectly. Cheap knock-offs sometimes have slightly shorter pins or looser housings. That alone can cause intermittent connections.
If you're using a non-Nintendo nunchuk, keep that in mind.
The cable itself is deceptively simple. Inside that thin plastic sleeve are several small wires that carry signals back and forth. Over years of twisting and pulling, those wires fatigue and break at the strain point near the connector.
That's why a nunchuk can work intermittently. Shake the cable and the connection comes back. Let go and it fails again.
When you press the C or Z button, the button closes a circuit that the Wii Remote reads as a digital signal. The analog stick works as a pair of variable resistors. Moving the stick changes resistance along two axes.
The accelerometer sits on a separate chip and measures gravitational pull along three axes. Each input runs through the same six pins, which is why a single broken wire can produce weird symptoms.
Step 1: Is the Nunchuk Detected on the Home Menu?
A small nunchuk icon appears next to your player number on the Home menu. If you see it, the Wii Remote has detected the accessory. If not, you have a connection problem on your hands.
First, unplug the nunchuk and plug it back in. Sounds too simple, but you'd be surprised how many issues come from a partially seated connector. Push it in all the way until you feel it click into place.
Check the Home menu again.
Still no icon? Swap the nunchuk to a different Wii Remote. If the icon appears on the second remote, the problem is your original Wii Remote, not the nunchuk.
If it still doesn't show up, the nunchuk itself is the likely suspect.
Next, test a known-good nunchuk on your original Wii Remote. If the known-good one works, your nunchuk is the problem. If it doesn't, the port on the Wii Remote might be damaged or dirty.
At this point, you've isolated the failure to one of three things: the nunchuk, the Wii Remote port, or the cable in between. Most of the time it's the nunchuk or its cable. The port on the Wii Remote can fail, but it's less common unless the connector was forced in upside down.
| Test | Result | What it means |
|---|---|---|
| Reconnect the nunchuk | Icon appears | Loose connection, fixed |
| Swap nunchuk to another Wii Remote | Icon appears | Original Wii Remote has port issue |
| Try a known-good nunchuk | No icon | Wii Remote port needs inspection |
The player LED can also help with diagnosis. When you plug in a nunchuk, the LED next to your player number stays lit. If the nunchuk icon doesn't appear but the LED looks normal, the problem is likely the connector or the cable, not the remote itself.
One more thing to check: the Wii Remote's own settings. Some third-party Wii Remotes have a controller mode that disables the nunchuk port entirely. Check your remote's manual or the Wii console's controller settings to make sure the port is enabled.
Nintendo's official Wii Remotes don't have this toggle, but third-party units sometimes do.
Keep a mental note of which test fails at which step. That trace tells you everything you need before you spend a cent on a replacement. The goal here is to replace the cheapest or most likely part first, not to guess blindly.
Step 2: C and Z Buttons or Analog Stick Not Responding?
The nunchuk icon shows up on the Home menu, but the C button, Z button, or analog stick doesn't do anything. That narrows things down considerably. The Wii Remote can see the nunchuk, but one or more inputs aren't getting through.
First, test the inputs on the Home menu. Select the Wii Remote icon and choose Controller. This screen shows button inputs in real time.
Press C and Z one at a time. Move the analog stick in all directions. If the on-screen indicators respond, the nunchuk hardware is fine and the issue is game-specific.
That's an important branch. Some games expect the nunchuk to be inserted before launch. Others let you plug it in mid-session but won't recognize it until you restart.
If your inputs work in the controller test but not in a game, restart the game or check its control settings.
If nothing responds in the controller test, the nunchuk is likely damaged internally. But there's one more thing to check first: the connector. Unplug the nunchuk, inspect the pins for any bent or dirty contacts, and reseat it firmly.
A loose connection can make the Wii Remote see the nunchuk but drop individual input signals.
Here's another angle. If the analog stick drifts or jumps on its own, that points to a worn potentiometer inside the stick mechanism. Cleaning won't fix that.
The stick module needs to be replaced, which is delicate soldering work for most people. Swapping the whole nunchuk is often the smarter move.
If only the C button works but Z doesn't, or vice versa, the internal ribbon cable or solder joints are likely cracked. This is common in older nunchuks that have been dropped. Again, replacement beats repair in most cases.
The C and Z buttons sit on the underside of the nunchuk. If your thumb rests wrong, it's easy to miss them. Make sure you're pressing the buttons properly before assuming hardware failure.
Also check whether the game requires you to hold the nunchuk in a specific orientation. Sometimes the simplest explanation really is the right one.
Step 3: Motion and Tilt Not Registering in Games?
It's usually a calibration issue, a game setting, or a failed accelerometer. Buttons work. Analog stick works.
But shake, tilt, and swing gestures do nothing. That points to the nunchuk's built-in accelerometer or the game's motion calibration.
The nunchuk contains a three-axis accelerometer that detects orientation and acceleration. The Wii Remote has one too, but games that use the nunchuk for motion read both together. If the nunchuk's sensor stops communicating, the game can't detect your movements.
First, check whether the game actually uses nunchuk motion. Some titles only use the Wii Remote for gestures and use the nunchuk only for buttons and stick. Read the control scheme in the game manual or options screen before assuming something is broken.
If the game does use nunchuk motion, try recalibrating. Many games include a calibration option in their settings. Place the nunchuk flat on a table and follow the on-screen prompts.
That resets the accelerometer's zero point, which fixes drifting or unresponsive gestures.
Let's test the sensor directly. Open the Wii Menu and select the Wii Remote icon, then choose Controller. The screen displays your inputs in real time.
Shake the nunchuk and see if any motion indicator appears. If the game sees movement but the Home screen doesn't, the issue is game calibration, not hardware.
Still nothing after calibration? The accelerometer may be dead. There's no user-level fix for a failed accelerometer.
The chip is soldered to the main board inside the nunchuk. Your options are a replacement nunchuk or paying for repair, which usually isn't worth it.
One edge case worth knowing. Some early third-party nunchuks never had functional accelerometers. They copied the connector and button wiring but skipped the sensor to cut costs.
If you're using a generic unbranded nunchuk, that could be the entire explanation.
Also, be aware that some games require the Wii MotionPlus attachment to be connected before they'll accept nunchuk motion. If you're playing a MotionPlus game, make sure the accessory is properly seated. A loose MotionPlus can mess with the nunchuk port.
The good news is motion issues are the least common failure mode. The accelerometer is a solid-state chip with no moving parts, and it rarely fails on its own. If motion suddenly stops working after years of use, check the cable first.
A partially severed wire can cause erratic sensor readings before it kills the connection entirely.
Cleaning the Nunchuk Connector and Pins Without Breaking Anything
Cleaning fixes a solid third of all nunchuk connection issues. It's cheap, it takes five minutes, and it's the first real repair you should attempt. All you need is isopropyl alcohol (90% or higher), a cotton swab, and something thin for scraping, like a plastic toothpick.
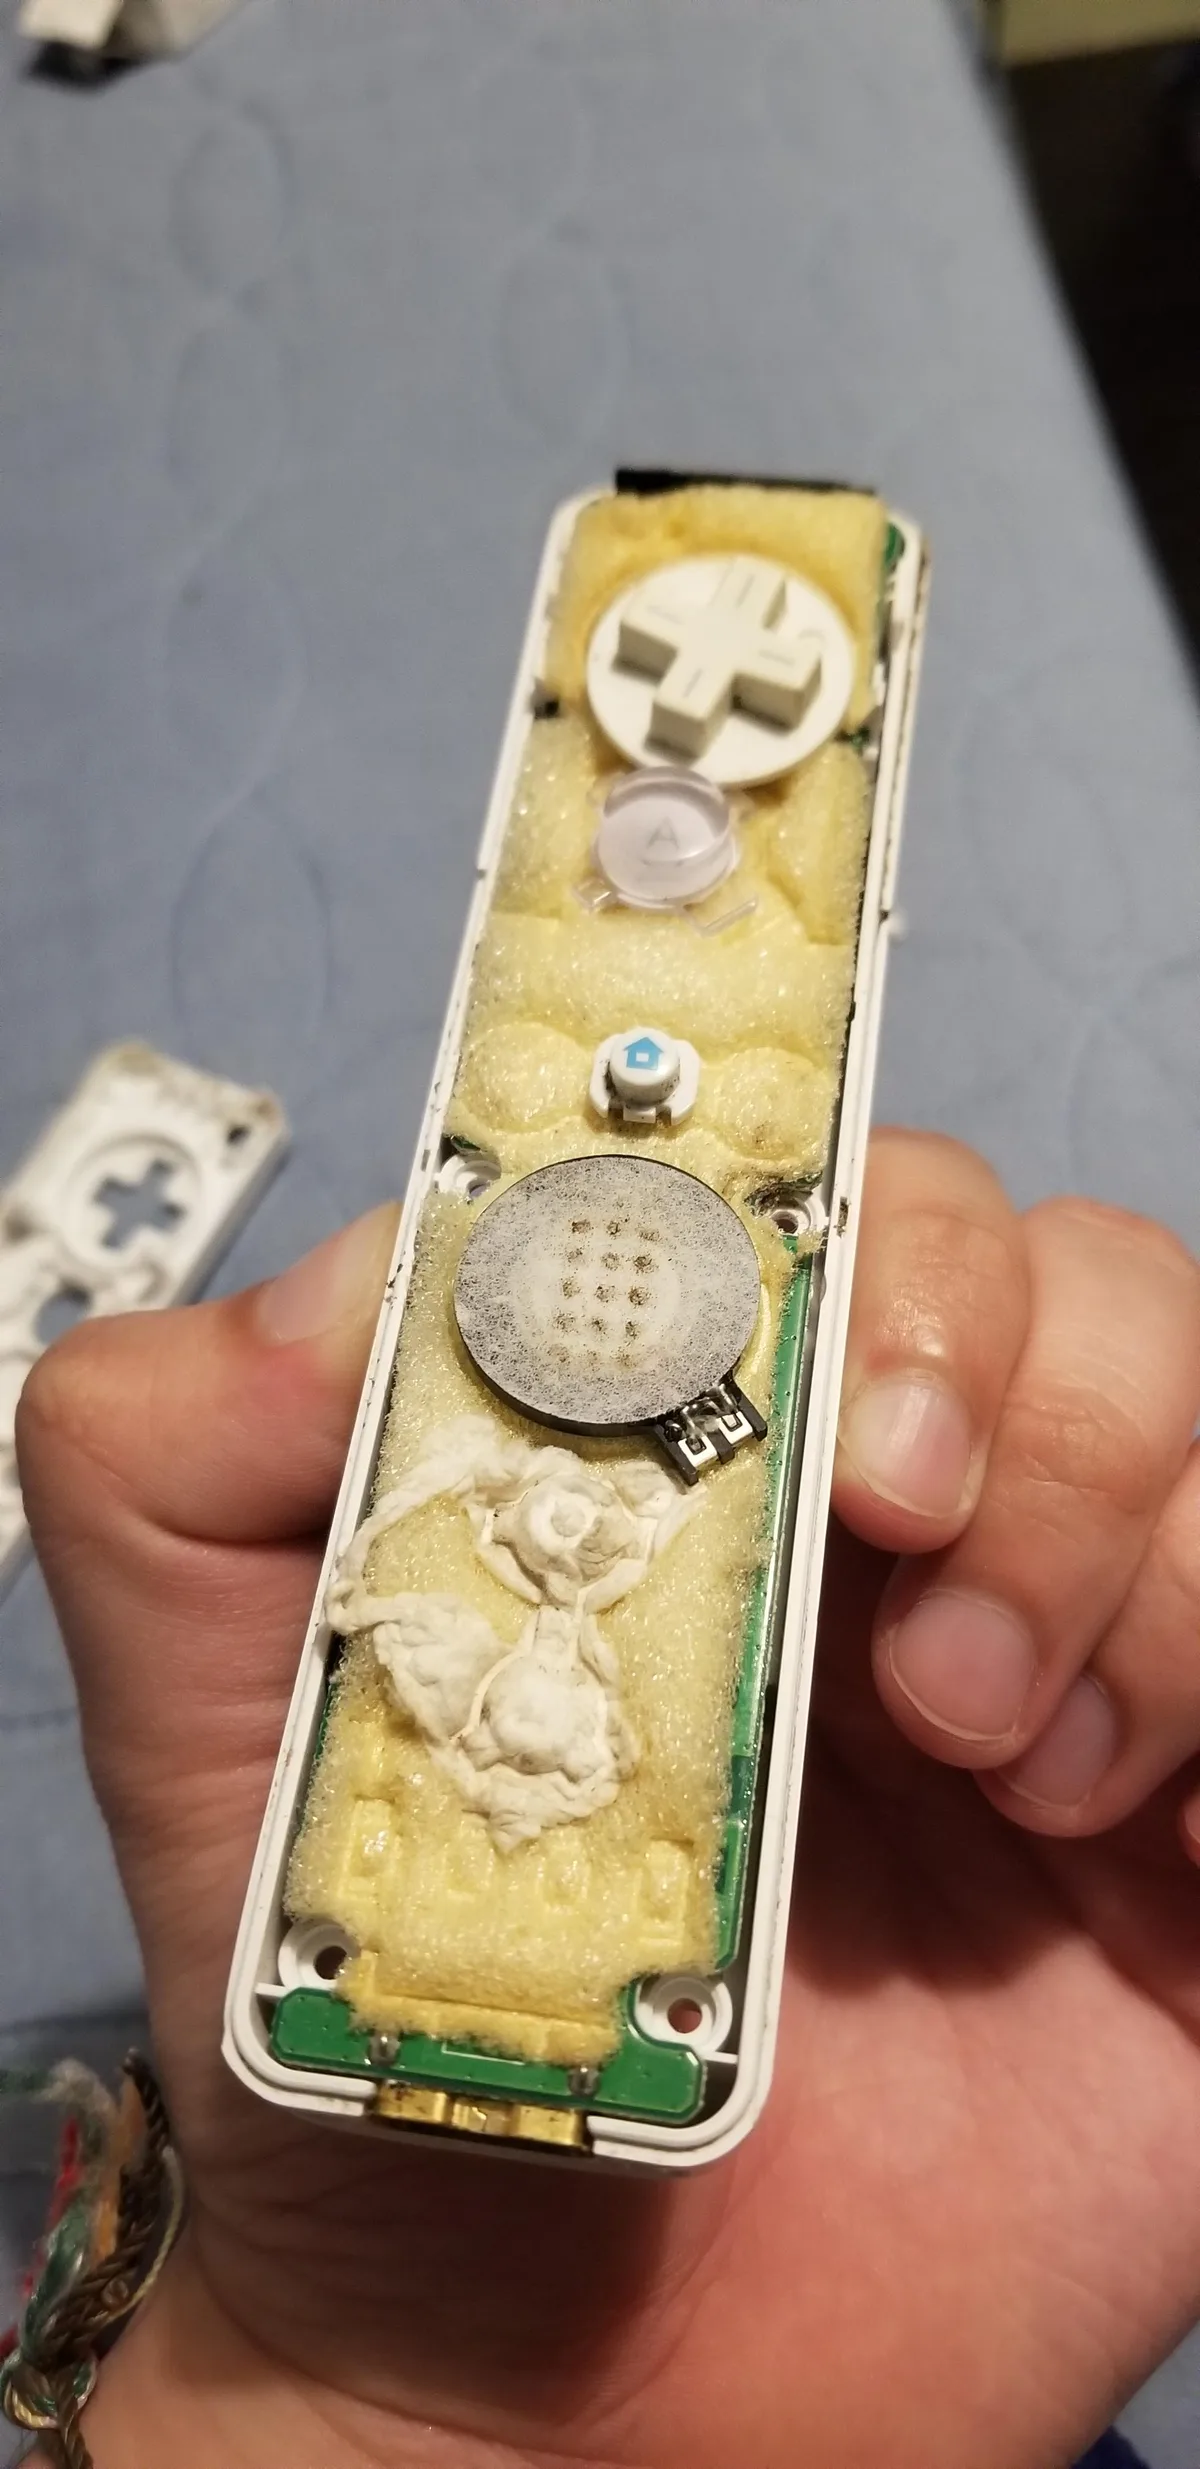
Image source: Bing (Web (fair-use with source credit))
Start by removing the batteries from the Wii Remote. Work on a clean, well-lit surface so you can see what you're doing. Detach the nunchuk and hold the connector with the flat side facing up.
Look closely at the six pins. Bent, tarnished, or crusty pins are all fixable.
Use a cotton swab lightly dipped in isopropyl alcohol. Wipe each pin gently. Alcohol evaporates fast, so there's no drying time.
For crusty buildup or oxidation, scrape lightly with a plastic toothpick. Do not use a metal tool, the pins are delicate and easy to bend.
Next, clean the port on the Wii Remote. Dip a fresh swab in alcohol and work it around the inside of the socket. You'll be surprised how much dark residue comes off a port that looked clean.
Let it dry for thirty seconds, then plug the nunchuk back in.
Don't forget the cable itself. Run your fingers along the full length, including where it enters the nunchuk housing and the connector. Feel for kinks, soft spots, or exposed wire.
If the cable has a soft spot, that's internal damage. No amount of cleaning will fix a broken wire.
One more tip: compressed air works for loose dust but won't shift tarnished pins. Alcohol is the real workhorse here. If cleaning doesn't restore the connection, the problem is likely mechanical, not dirty.
When to Repair vs. Replace: OEM vs. Third-Party Nunchuk Options and Costs
Once you've ruled out a dirty connector and a loose fit, you're facing a choice. Do you crack open the nunchuk and repair it, or just buy a new one? For most people, the answer is replace.
A new OEM nunchuk runs roughly $15 to $25 as of 2026. Third-party units go for $8 to $15. That's hard to justify spending an hour on soldering work.
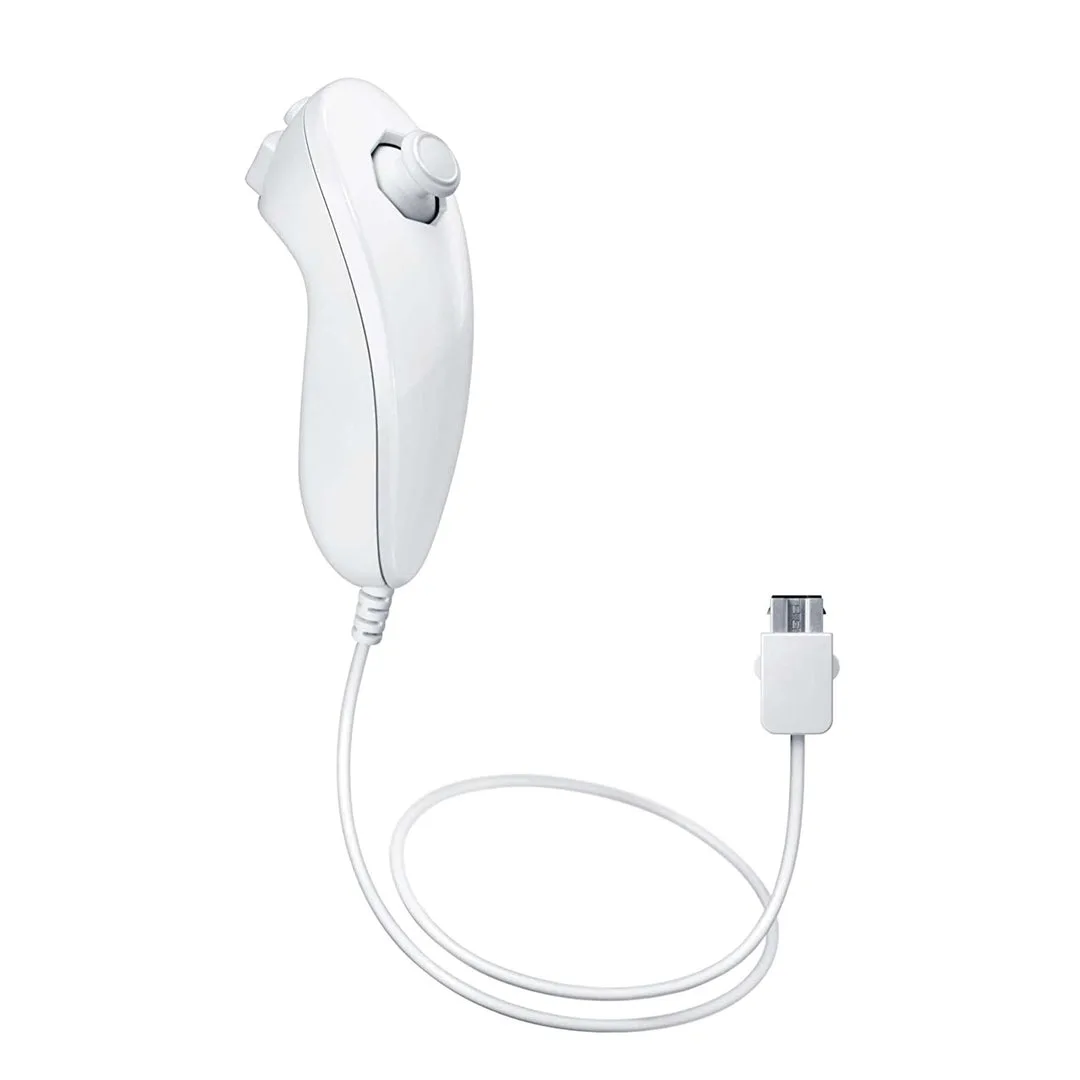
Image source: Bing (Web (fair-use with source credit))
Repair only makes sense in two situations. First, if you have an official Nintendo nunchuk you're emotionally attached to, a broken cable can be spliced or soldered. Second, if you enjoy tinkering and see it as a fun project, not a chore.
The accelerometer chip failure is the one exception, there's no practical repair path for that.
| Option | Typical Price | Lifespan | Best For |
|---|---|---|---|
| OEM replacement | $15 to $25 | 10+ years with typical use | Reliability, motion accuracy |
| Third-party | $8 to $15 | 2 to 5 years | Budget setups, casual play |
| Repair old unit | $0 to $5 in parts | Depends on your skill | Tinkerers, sentimental value |
OEM nunchuks win on durability and consistent motion tracking. Nintendo's own parts hold up for years because the cable jacket is more flexible and the analog stick mechanism is higher quality. Third-party options work well for most games, but aggregate reviews report more drift, stiffer buttons, and cables that kink faster.
Before you buy, check your current nunchuk's cable. If the rubber is cracked or the wires are visible, replacement is the same price as repair. If the buttons are sticky or the stick drifts, replacement fixes both issues at once.
For everything else, a new nunchuk is the smarter buy.
Common Mistakes That Turn a Simple Fix Into a New Purchase
The biggest mistake is forcing the connector into the port the wrong way. The nunchuk plug has a flat side that faces the front of the Wii Remote. If you jam it in backwards, you risk bending the pins in both the connector and the port.
A bent pin often means a dead connection permanently.
Second, don't yank the cable out by pulling the wire. Grab the connector firmly at its base. Pulling the cable itself stretches the internal wires, which leads to intermittent signal loss.
That's the exact failure mode you're trying to avoid.
Another frequent miss: testing only one input. Just because C and Z work doesn't mean the accelerometer does. Always test all three input types, buttons, analog stick, and motion, before declaring a nunchuk dead.
A partial failure sometimes points to a different fix, like a game setting.
People also skip the known-good test. They assume the nunchuk is broken when it's the Wii Remote's port that's faulty. The known-good swap takes thirty seconds.
It's the only way to isolate which component actually failed.
Don't use water or household cleaners on the pins. Water leaves residue that conducts poorly and can corrode the metal over time. Stick with isopropyl alcohol.
It's specifically designed to clean electronics without leaving anything behind.
Finally, don't forget that the nunchuk doesn't sync. Searching for a sync button is a waste of time. The accessory is purely wired and has no wireless components.
If the Home menu icon doesn't appear, it's a hardware connection issue, not a pairing problem.
Real-Life Fixes: Three Walkthroughs of Common Nunchuk Failures
Let's walk through three actual scenarios to see how the workflow plays out in real-world settings.
Scenario 1: The Party Guest
A family is setting up Wii Sports for a group. The second nunchuk isn't recognized. The Home menu shows no icon.
Our workflow says: reseat, then swap to another Wii Remote, then clean. In this case, reseating didn't help. Swapping to a different Wii Remote worked immediately.
The conclusion: the original Wii Remote's port had a loose internal connection. The nunchuk itself was fine. The fix took two minutes, zero dollars, and the family switched remotes.
Scenario 2: The Intermittent Stick
A player's analog stick starts drifting leftward during Mario Kart. It gets worse over two weeks until the game becomes unplayable. The nunchuk icon appears fine, and the buttons work.
Our workflow branches to the stick test. The stick input jumps around even without being touched. Aggregate reviews confirm this is classic wear in the potentiometer.
Cleaning the connector didn't help. The replacement cost $12 and solved the issue in ten minutes. Diagnosis was the real labor.
The fix was swapping parts.
Scenario 3: The Dead Accelerometer
A retro gamer buys a used nunchuk for $5 at a flea market. Buttons work, stick works, but shake gestures do nothing in Wii Sports Resort. The Home menu shows input for buttons and stick, zero motion response.
Manufacturer specs indicate this nunchuk is third-party and lacks the accelerometer. The gamer replaced it with an OEM unit from an official reseller, and motion worked instantly. The cheap purchase turned into a false economy.
Each of these cases takes under fifteen minutes to resolve. The shared thread is methodical testing. Nobody had to guess, open anything up, or master soldering.
The workflow narrows the suspect until the fix is obvious.
FAQ: Quick Answers When You Just Want It Fixed
Why is my Wii nunchuk not being detected on the Home menu?
The connection is likely loose or dirty. Unplug the nunchuk, clean the six pins with isopropyl alcohol, and reseat it firmly. If the icon still doesn't appear, test the nunchuk on a different Wii Remote.
That tells you whether the issue is the nunchuk or the remote.
Do I need to sync my nunchuk to the Wii?
No. The nunchuk is a purely wired accessory with no wireless components. It connects directly to the Wii Remote's six-pin port.
There is no sync process. If you're looking for a sync button, stop. It doesn't exist.
Can a broken nunchuk cable be repaired?
Yes, with soldering skills and heat-shrink tubing. Cut out the damaged section, splice the wires, and insulate each connection. Most people realistically replace the nunchuk instead.
OEM replacements cost around $15 to $25, which is cheaper than buying soldering equipment.
Are third-party nunchuks worth buying?
For occasional play, yes. For serious or frequent play, OEM is the safer bet. Third-party units cost less but more commonly suffer from stick drift, stiff buttons, and higher failure rates.
Aggregate reviews suggest they last roughly half as long as official Nintendo nunchuks.
Why does my nunchuk work in one game but not another?
The game's control scheme may not use the nunchuk in certain modes. Check the in-game controller settings. Also, some games expect the nunchuk to be connected before launch.
If you plug it in mid-session, restart the game to force a new detection.

Similar Posts