How To Test A USB Charger: Easy Safety Guide
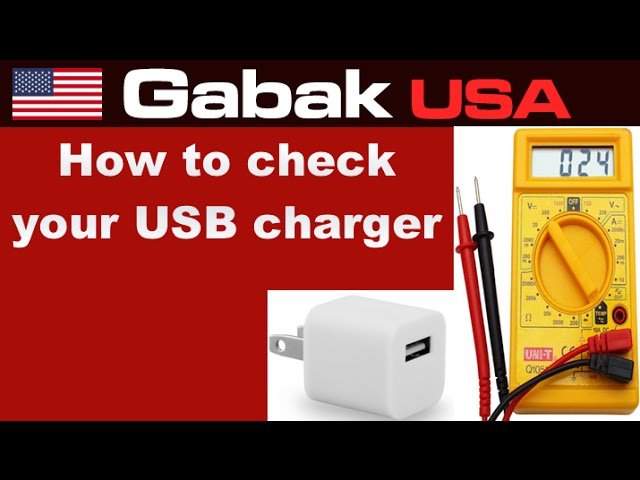
A USB charger can be tested with a meter, a USB load tester, and safe checks for voltage, current, heat, and stability.
Learning how to test a USB charger helps you spot weak power, unsafe heat, poor cables, and false fast-charging claims. I have found that a simple test often explains why a phone charges slowly or why a charger cuts out under load. This guide shows safe, practical steps for testing USB-A and USB-C chargers at home.

Why Test a USB Charger?
A charger may look fine and still deliver poor power. Its label may list a high output, but the real result can change with the cable, device, temperature, or charging standard.
Testing a USB charger can help you:
• Confirm its output voltage
• Measure charging current
• Check whether fast charging works
• Find voltage drops under load
• Detect overheating
• Compare charger quality
• Avoid using a damaged or unsafe adapter
A good charger should provide stable power within the limits stated on its label. USB standards allow small changes in voltage, but large drops, sudden spikes, or unstable readings can point to a fault.
USB chargers also use different power modes. A basic USB port may provide 5 volts, while USB-C Power Delivery, or USB PD, can negotiate higher levels such as 9, 12, 15, or 20 volts. The higher voltage should appear only after the charger and device agree on the correct mode.
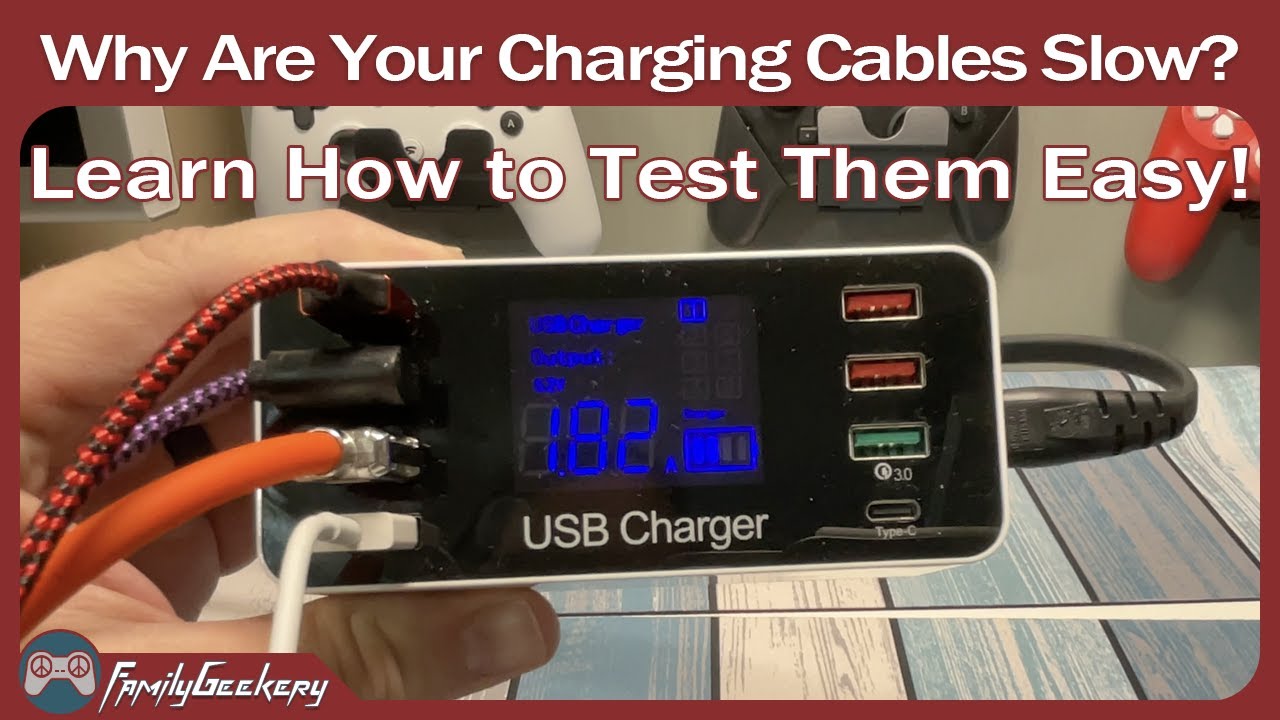
What You Need to Test a USB Charger
The best tool depends on how much detail you need. You can perform a basic check with a multimeter, but a USB power meter gives a clearer picture during real charging.
Basic tools
• USB power meter: Measures voltage, current, power, and sometimes capacity.
• USB load tester: Draws a set amount of current to test charger stability.
• Digital multimeter: Checks voltage and continuity when used correctly.
• Known-good USB cable: Removes a weak cable from the test.
• Thermometer or infrared camera: Measures surface heat.
• Timer: Helps you watch long charging tests.
• Notebook or spreadsheet: Records readings over time.
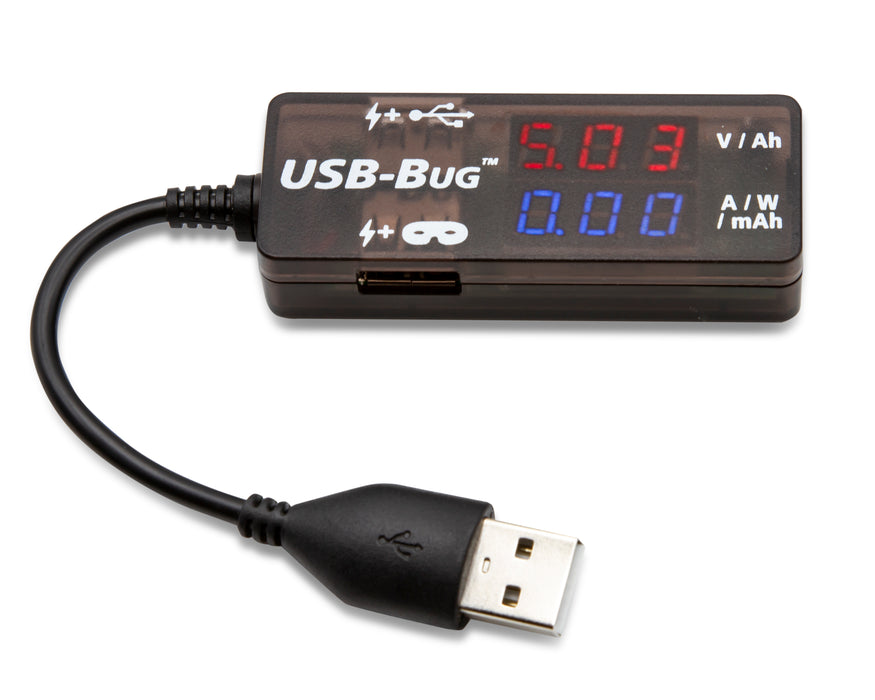
A USB power meter is the easiest option for most people. Place it between the charger and the cable, then connect the load or device to the other side.
A simple meter may show only volts and amps. More advanced models can identify USB-C PD profiles, charging protocols, ripple, and data signals. Still, even a basic meter can reveal many common problems.
Choose the right meter
Make sure the meter supports the connector and power level you plan to test. A low-cost USB-A meter may not safely measure USB-C PD voltage above 5 volts.
Check these details before buying:
• Maximum voltage rating
• Maximum current rating
• USB-A or USB-C support
• USB PD measurement support
• Resistance and accuracy
• Pass-through design
• Load testing ability
Never connect a meter beyond its rated limit. The device may heat up, fail, or create a short circuit.
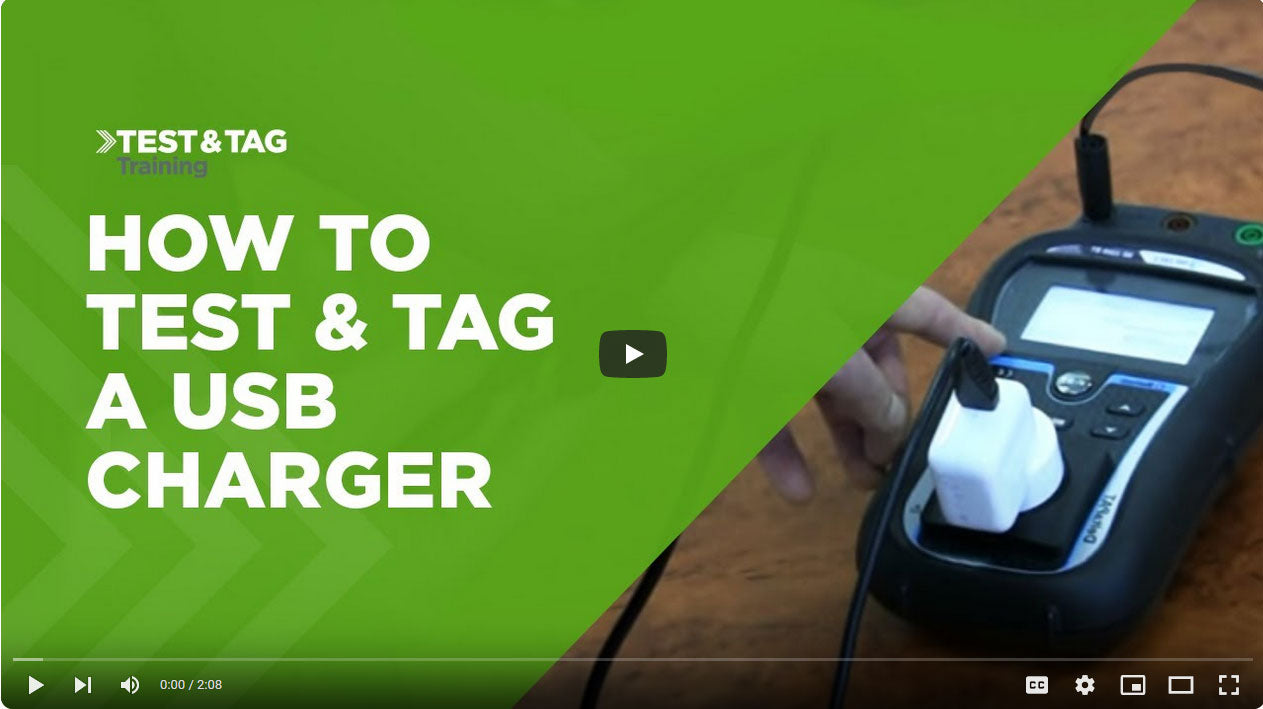
Safety Rules Before Testing a USB Charger
Testing the low-voltage USB output is usually safe when you use sound equipment. The wall side of a charger is different. It contains dangerous mains voltage, even after you unplug it.
Follow these rules:
• Do not open the charger case.
• Do not touch exposed circuit boards.
• Do not test wall-side parts unless you are trained and properly equipped.
• Stop if you smell burning plastic or see smoke.
• Keep damaged cables away from testing equipment.
• Use a meter rated for the expected voltage and current.
• Keep metal tools away from exposed USB contacts.
• Test on a dry, clear surface.
• Unplug the charger before changing connections.
A charger can become warm during normal use. It should not become too hot to hold, smell strange, buzz loudly, or shut down again and again.
One lesson from hands-on charger checks is that many errors come from poor connections, not bad chargers. A loose USB plug can create resistance and heat. Always use a firm, known-good cable before judging the charger.
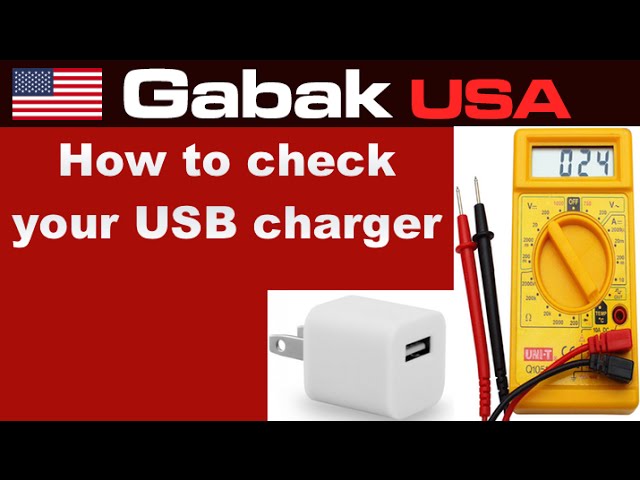
How to Test a USB Charger With a USB Power Meter
This is the simplest method for most home users. It shows what the charger delivers while a device or load is connected.
Step 1: Read the charger label
Write down the listed output. A common label may show:
• 5 V at 2 A
• 5 V at 3 A
• 9 V at 2 A
• 12 V at 1.5 A
• 20 V at 3.25 A
Multiply volts by amps to estimate power in watts.
For example:
5 V × 2 A = 10 W
A USB-C charger may list several output profiles. These profiles do not mean the charger always sends the highest voltage. The connected device must request that mode.
Step 2: Connect the meter
Plug the USB power meter into the charger. Then connect a known-good cable and your phone, tablet, power bank, or USB load tester.
Watch the first reading. A basic 5-volt charger should usually show close to 5 volts with a light load. The current may be low if the connected device is nearly full or does not support fast charging.
Step 3: Record voltage and current
Record the following values:
• Voltage in volts
• Current in amps
• Power in watts
• Charging mode, if shown
• Temperature
• Test duration
Power meters often calculate watts automatically. If not, multiply voltage by current.
For example:
5.05 V × 1.8 A = 9.09 W
Do not expect the current to match the label at all times. A charger marked 3 A can deliver less if the device asks for less.
Step 4: Watch the reading for several minutes
A stable charger should not show large, repeated swings without a reason. Small changes are normal because phones adjust charging power as their battery fills.
A charger may reduce current when:
• The battery reaches a high charge level
• The phone becomes warm
• The screen turns on
• A fast-charge session ends
• The cable has high resistance
• The device changes charging modes
How to test a USB charger properly means looking at the pattern, not just one number on the screen.

How to Test a USB Charger With a Load Tester
A USB load tester replaces a real device with an adjustable electronic load. It lets you ask the charger for a fixed current and see how it responds.
Step-by-step load test
- Set the load tester to a low current, such as 0.5 A.
- Connect it to the charger through the power meter.
- Record the voltage and temperature.
- Increase the current slowly.
- Stop at the charger’s rated current.
- Watch for voltage drops, shutdowns, or excessive heat.
- Let the charger cool before another test.
Suppose a charger claims 5 V at 3 A. At 1 A, it may show 5.05 V. At 3 A, it may fall slightly. That small drop can be normal, but a major drop or repeated restart suggests a problem.
Do not assume a failed test always means the charger is defective. The load tester, cable, meter, or connector may have its own limit. Some inexpensive load testers also become hot and can affect the reading.
Test duration matters
Run a short test first. Then perform a longer test only if the equipment remains cool and stable. A charger that works for 30 seconds may fail after 20 minutes due to heat.
For a practical home check, observe the charger for 10 to 30 minutes at a reasonable load. Stop the test if the case becomes very hot, the output becomes unstable, or the charger cycles on and off.

How to Test USB-C Fast Charging and USB PD
USB-C does not automatically mean fast charging. USB-C describes the connector shape and connection system. The charger, cable, and device must all support the same power method.
USB Power Delivery uses communication between the charger and device. The device requests a suitable voltage and current. The charger then switches to that approved profile.
To test USB-C fast charging:
• Use a USB-C power meter that supports PD.
• Use a cable rated for the required power.
• Connect a device that supports USB PD.
• Check the negotiated voltage and current.
• Compare the result with the charger label.
• Watch for stable output during the test.
A charger may list 5 V, 9 V, 12 V, 15 V, and 20 V profiles. If your phone supports only 9 V charging, it may never use the 15 V or 20 V profile.
Some phones use their own fast-charge systems. A USB-C charger can supply power correctly but still charge at a lower speed if it lacks the required protocol.
Do not use a basic USB meter to force a higher USB-C voltage. USB PD voltage changes require proper negotiation. A meter that only measures power should not be used as a voltage trigger unless the manufacturer clearly says it supports that function.

How to Test a USB Charger With a Multimeter
A multimeter can measure USB voltage, but it requires care. The small contacts inside USB connectors are close together, so a slipped probe can short the power pins.
For a basic voltage check:
- Set the multimeter to DC voltage.
- Select a range above 5 volts.
- Connect the black probe to ground.
- Touch the red probe to the positive power contact.
- Read the voltage without touching nearby contacts.
For USB-A, the outer metal shell is often connected to ground, but do not rely on that in every setup. For USB-C, the contacts are dense and harder to probe safely.
A multimeter shows voltage, not the full charging performance. It cannot tell you how much current the charger can provide unless you add a proper load. Never place the multimeter in current mode directly across the positive and negative USB pins. That can create a short circuit and damage the meter or charger.
For most readers, a USB power meter is safer and more useful than probing the connector by hand.

How to Test USB Charger Current and Power
Current depends on the device and the charging system. A charger does not push its maximum current into every device. The device draws what it needs, within the limits agreed by the charging standard.
To measure real charging power:
• Connect the charger to a power meter.
• Use a device with a partly charged battery.
• Turn off demanding apps.
• Record voltage, current, and watts.
• Repeat the test with a second cable.
• Compare the results at similar battery levels.
A phone may draw high power at 10 percent battery and much less at 80 percent. This protects the battery and controls heat.
For a better comparison, test each charger under the same conditions. Use the same phone, cable, battery level, room temperature, and screen setting. Even then, phone software may change the result.
A power reading of 8 W does not prove a charger is weak if the phone is limiting input. Use a load tester when you need to test the charger itself rather than the complete charging system.
How to Test a USB Charger for Voltage Drop
Voltage drop is the loss of voltage caused by resistance in the charger, cable, connector, or load. Think of it like water pressure falling through a narrow pipe.
To check for voltage drop:
- Measure the output with no load.
- Connect a known load.
- Measure the output under load.
- Compare both readings.
- Repeat with another cable.
A large difference often points to a weak cable, poor connector, or overloaded charger. Thin or long cables usually create more resistance than short, well-made cables.
USB-C cables can also have different current ratings. Some higher-power cables include an electronic marker chip that tells the device what current level the cable supports. Use a properly rated cable for high-power charging.
If the charger voltage stays stable but the device charges slowly, the cable or device may be the cause. If the voltage falls sharply at the charger output, the charger deserves closer inspection.
How to Test a USB Charger for Heat and Reliability
Heat is one of the most useful clues in charger testing. Some warmth is normal because power conversion is not perfectly efficient. Excessive heat can reduce reliability and may indicate stress or poor design.
During a longer test, check:
• Charger case temperature
• Cable and connector temperature
• Output stability
• Charging interruptions
• Unusual noise
• Smell or discoloration
Measure the same area each time. Surface temperature is not the same as internal temperature, so an infrared reading gives only an estimate.
A charger that becomes warm but remains stable may be working normally. A charger that becomes too hot to touch, shuts down, or smells like hot plastic should be removed from service.
Do not cover a charger with clothing, bedding, or other materials. Keep air around it. Heat trapped inside a small space can make a safe charger run far hotter.
Common USB Charger Testing Mistakes
Even careful testing can give misleading results. Avoid these common mistakes:
• Testing with a nearly full phone
The phone may reduce current as part of normal battery control.
• Using a poor cable
Cable resistance can create voltage drop and heat.
• Reading current with no load
A charger may show almost no current when nothing is connected.
• Testing a USB-C PD charger with a basic meter
The meter may not display negotiated high-voltage modes.
• Trusting the label alone
A printed rating does not prove real-world performance.
• Running maximum load for too long
This can overheat the charger or load tester.
• Comparing different battery levels
A phone at 15 percent may draw more power than one at 75 percent.
• Measuring the wrong point
Voltage at the charger can differ from voltage at the device.
A repeatable test is more useful than a dramatic single reading. Change one part at a time, record the result, and test again.
How to Tell if a USB Charger Is Bad
A charger may be unsafe or defective if it shows several warning signs:
• Output voltage is far outside its stated range
• Voltage drops sharply under a normal load
• The charger repeatedly turns off
• It becomes extremely hot
• It makes loud buzzing or clicking sounds
• The case is cracked or loose
• The USB port is burned or discolored
• It smells like burning plastic
• Charging starts and stops with a known-good cable
• It fails a suitable load test
One strange reading is not always enough to condemn a charger. Confirm the result with another cable, meter, or load. If the charger still behaves poorly, replace it rather than trying to repair or open it.
A low-cost charger is not automatically dangerous, and an expensive charger is not automatically perfect. Testing provides better evidence than price or appearance.
How to Test a USB Charger in Real-World Use
A bench test is useful, but daily use reveals issues that a short test can miss. Test the charger with the devices you actually use.
Try this simple routine:
- Charge a phone from a low battery level.
- Record the starting battery percentage.
- Use the same cable for the full test.
- Check charging power after five minutes.
- Check again after 20 minutes.
- Feel the charger and connector for unusual heat.
- Repeat with another device if possible.
The goal is not to force the maximum number. The goal is stable, safe charging.
In practical testing, I pay close attention to charging interruptions. A charger can show normal voltage with no load but restart when a phone changes power modes. That behavior often points to a poor charger design, a weak cable, or a compatibility issue.
When to Replace a USB Charger
Replace the charger when testing confirms unstable output or when physical warning signs appear. Do not keep using it just because it still charges a phone.
Replace it immediately if:
• The plug or case is damaged
• The USB port is loose or burned
• It smells hot or electrical
• It produces smoke or sparks
• It becomes dangerously hot
• It causes repeated charging errors
• It fails at a normal rated load
Choose a replacement with clear safety marks, accurate output information, and the right USB standard for your device. For USB-C laptops and tablets, check both the charger wattage and the cable rating.
A charger is part of a power system. The adapter, cable, connector, and device must all work together.
Frequently Asked Questions About How to Test a USB Charger
Can I test a USB charger without a special tool?
Yes. You can inspect the charger, use a known-good cable, and check whether charging remains stable. A USB power meter or load tester gives much more useful information than visual inspection alone.
What voltage should a USB charger show?
A basic USB charger should usually provide close to 5 volts under a light load. USB-C PD chargers can provide higher voltages only after the connected device properly negotiates a supported profile.
Can a multimeter measure USB charger current?
A multimeter can measure current only when placed correctly in series with a suitable load. Never connect a multimeter in current mode directly across USB power and ground because this can cause a short circuit.
Why does my charger show less current than the label?
The label shows the maximum available current, not the amount every device must draw. Battery level, device temperature, charging protocol, cable quality, and software can all reduce current.
Is a hot USB charger dangerous?
Warmth is common during power conversion, but a charger that is too hot to hold, smells bad, changes output, or shuts down may be unsafe. Unplug it and replace it if the heat seems excessive.
Can a USB power meter test USB-C fast charging?
Some can, but not all. Choose a meter that clearly supports USB-C Power Delivery and the voltage and current levels you need to measure.
How long should I test a USB charger?
Start with a short test of a few minutes, then observe it for 10 to 30 minutes under a safe load. Stop sooner if the charger becomes very hot, unstable, or noisy.
Conclusion
How to test a USB charger is simple when you use the right process. Check the label, use a known-good cable, measure voltage and current, test under load, watch USB-C negotiation, and monitor heat over time.
A USB power meter is the best starting tool for most people. A load tester provides a stronger check, while a multimeter works well for careful voltage testing. Never open a charger or ignore signs of heat, smell, noise, or unstable output.
Test your chargers before trusting them with a phone, tablet, laptop, or power bank. If you find a problem, replace the charger with a certified model that matches your device. Share your testing results or explore more practical USB and charging guides to make every connection safer and more reliable.

Similar Posts