Ricoh IM 430F Troubleshooting: Easy Fixes Guide
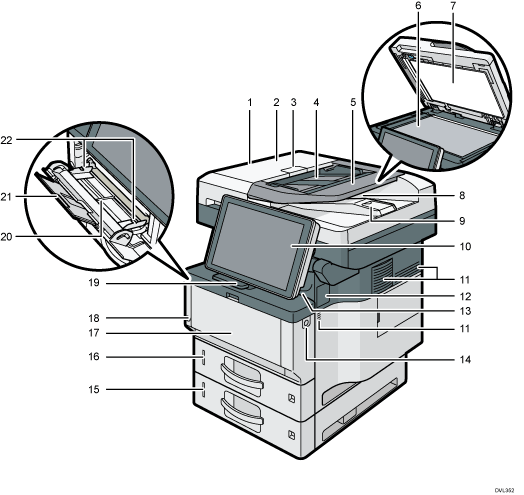
Ricoh IM 430F troubleshooting starts with checking simple causes such as paper, toner, network settings, and error codes.
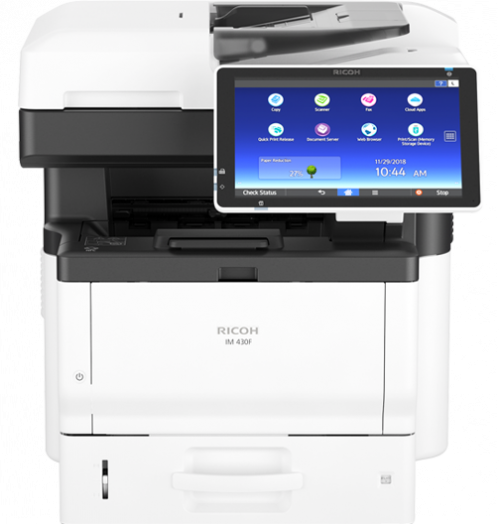
The Ricoh IM 430F is a fast black-and-white multifunction printer, but even reliable office equipment can show paper jams, scan errors, print delays, or connection faults. This Ricoh IM 430F troubleshooting guide explains the most common problems, safe fixes, and signs that you need professional service.
Ricoh IM 430F troubleshooting basics
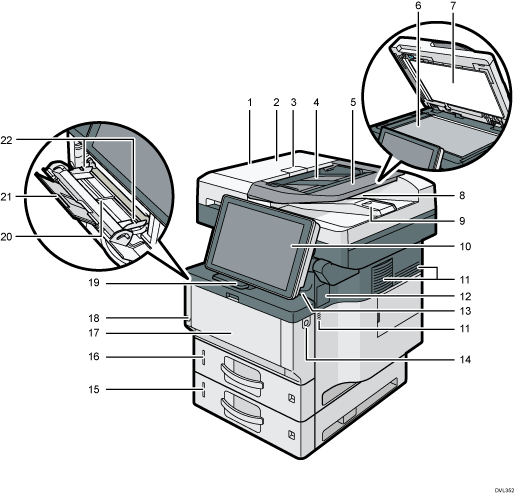
Before changing settings or opening covers, check the printer’s control panel. The Smart Operation Panel often displays an error message, icon, or instruction that points to the cause.
Start with these simple checks:
• Confirm that the main power switch is on.
• Make sure the power cord is firmly connected.
• Check the paper trays for the correct paper size.
• Look for a displayed error code or warning.
• Confirm that the toner cartridge is installed correctly.
• Check whether the printer is paused or offline on the computer.
• Restart the printer if no active job needs to remain in memory.
A restart can clear a temporary software or communication fault. However, do not restart the machine while it is updating firmware or processing a critical system task.
Good Ricoh IM 430F troubleshooting follows a simple path: observe the symptom, identify the likely cause, test one fix, and confirm the result. Changing many settings at once can make the original problem harder to find.
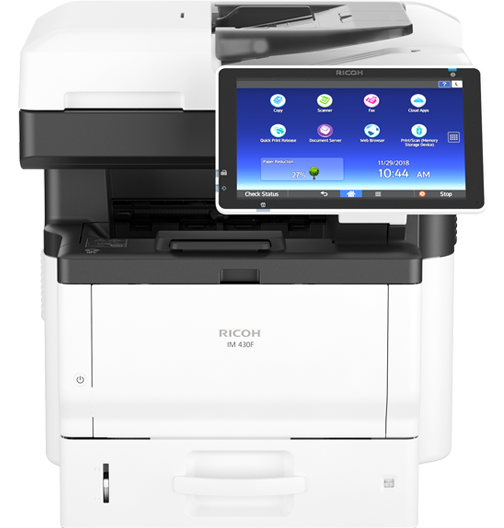
Ricoh IM 430F troubleshooting for power and startup problems
A Ricoh IM 430F that will not start may have a power issue, a control-panel fault, or a system error. Check the wall outlet with another device first. If the outlet works, inspect the printer’s power cable and connection.
Follow these steps:
Turn off the printer using the main power switch.
Wait at least 30 seconds.
Check the power cable for cuts, loose ends, or signs of heat damage.
Connect the printer directly to a known working wall outlet.
Turn the main power switch back on.
Wait for the normal startup process to finish.
Avoid using an overloaded power strip. Large office printers draw more power than small desktop printers, especially during warm-up and printing.
If the control panel remains blank, listen for signs of startup activity. A fan, hard drive, or internal motor may run even when the screen does not respond. Do not remove internal covers unless you are trained to work on office imaging equipment.
For Ricoh IM 430F troubleshooting, repeated startup failure often requires a technician. It may involve the power supply, controller board, fuser system, or display panel. Record the exact behavior and any lights or sounds before contacting support.
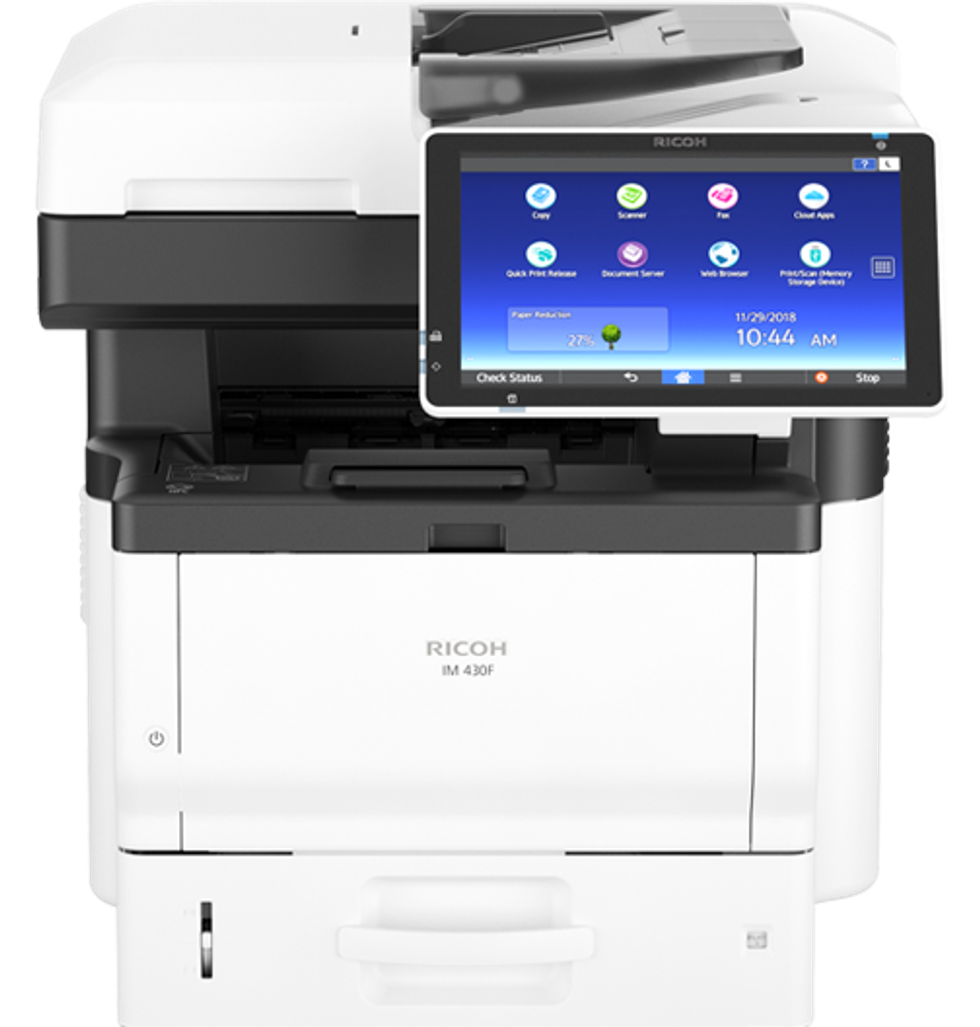
Ricoh IM 430F troubleshooting for paper jams
Paper jams are among the most common Ricoh IM 430F problems. They often result from damp paper, overloaded trays, curled sheets, incorrect guides, or small paper scraps left inside the paper path.
The control panel may show a jam location. Common areas include:
• Tray 1 or an optional paper tray
• The bypass tray
• The registration area
• The duplex unit
• The fuser area
• The automatic document feeder
Use this safe clearing method:
Read the jam location shown on the display.
Open only the cover named in the instructions.
Pull the paper slowly in the direction of normal travel.
Remove every visible scrap.
Check beneath rollers and near the duplex path.
Close all covers firmly.
Press the on-screen confirmation button.
Never pull hard on a sheet stuck near the fuser. The fuser becomes very hot, and force can damage delicate rollers. Turn off the printer and allow it to cool before working near that area.
I have seen users remove the main sheet but miss a small corner near a sensor. The printer then reports another jam after every restart. A bright flashlight can help you find scraps, but never place fingers deep inside the machine.
To prevent future jams, store paper in a dry room. Keep it sealed until needed, fan the stack lightly, and adjust the tray guides so they touch the paper without squeezing it. Use paper that matches the size and weight settings selected on the printer.
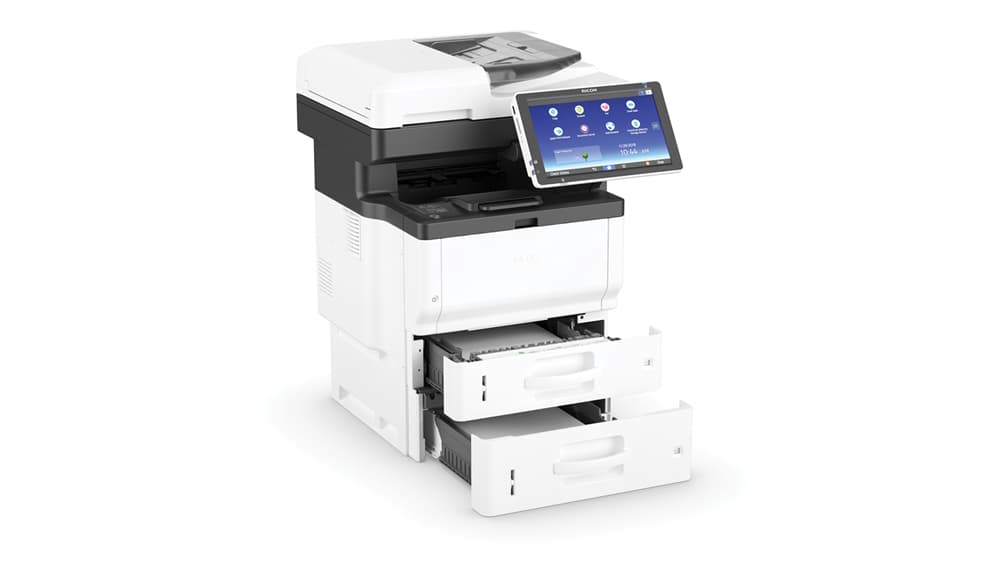
Ricoh IM 430F troubleshooting for poor print quality
Faint text, black streaks, gray backgrounds, and repeated marks usually point to toner, paper, drum, transfer, or fuser issues. Start with the easiest checks before requesting parts.
Faint or light prints
Light output may occur when toner is low or when the wrong paper setting is selected. Check the toner level and replace the cartridge if the display indicates that it is empty.
Also check the print density setting in the printer driver and on the control panel. A low density setting can make documents look weak, especially when using thin fonts.
Black lines or repeated marks
Vertical lines may come from dust, paper fibers, or a damaged imaging component. Repeated marks at regular intervals often suggest a roller or drum issue.
Try printing an internal configuration page. If the line appears there, the printer itself is the likely source. If the line appears only from one computer or application, check the driver, document file, or print settings.
Gray background or dirty pages
Gray backgrounds can result from unsuitable paper, incorrect media settings, or an imaging system that needs service. Test with fresh, standard office paper and select the correct paper type.
Do not touch the drum or imaging surface. Fingerprints and scratches can create permanent defects.
Toner smears or loose toner
Smearing may indicate a fuser problem, damp paper, or a paper type that does not match the selected setting. Print a few test pages after replacing the paper. If toner still rubs off easily, stop using the printer and arrange service.
This part of Ricoh IM 430F troubleshooting matters because poor print quality can worsen quickly. A small streak may become a costly component failure if users continue printing through a mechanical problem.

Ricoh IM 430F troubleshooting for toner and consumables
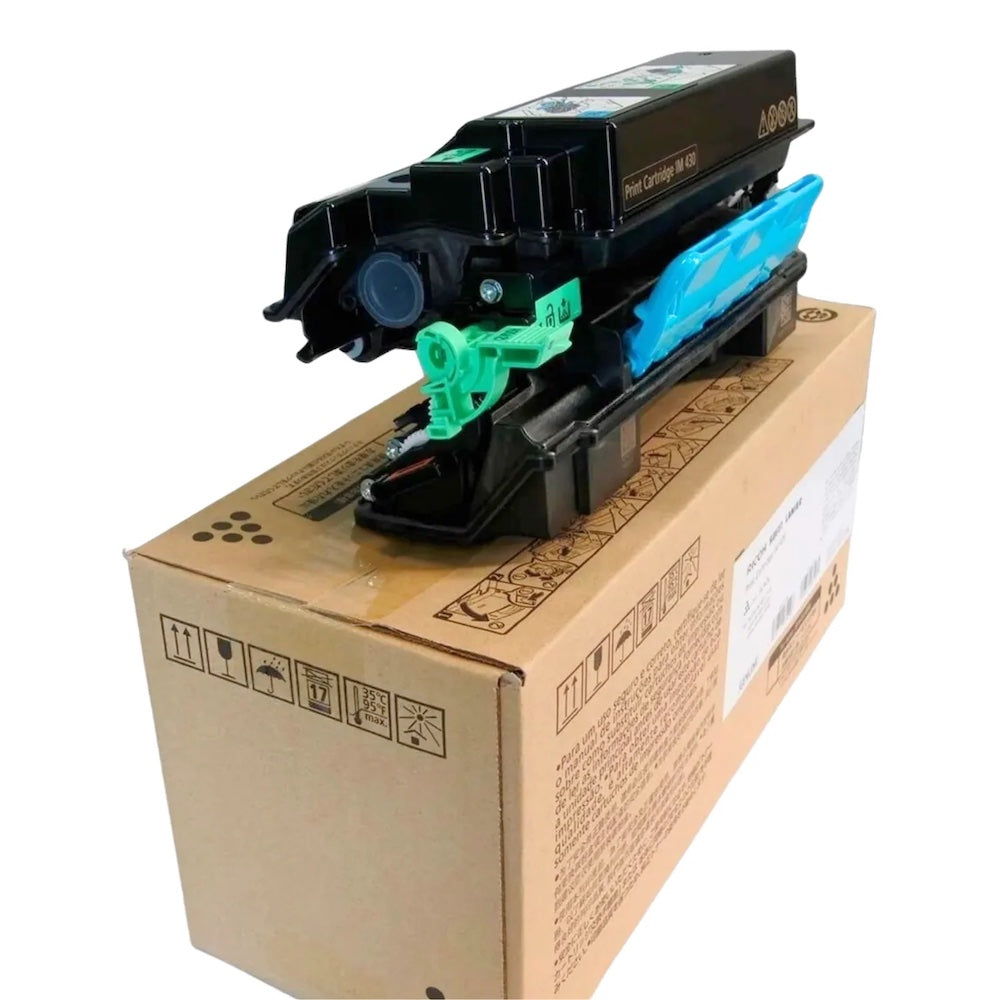
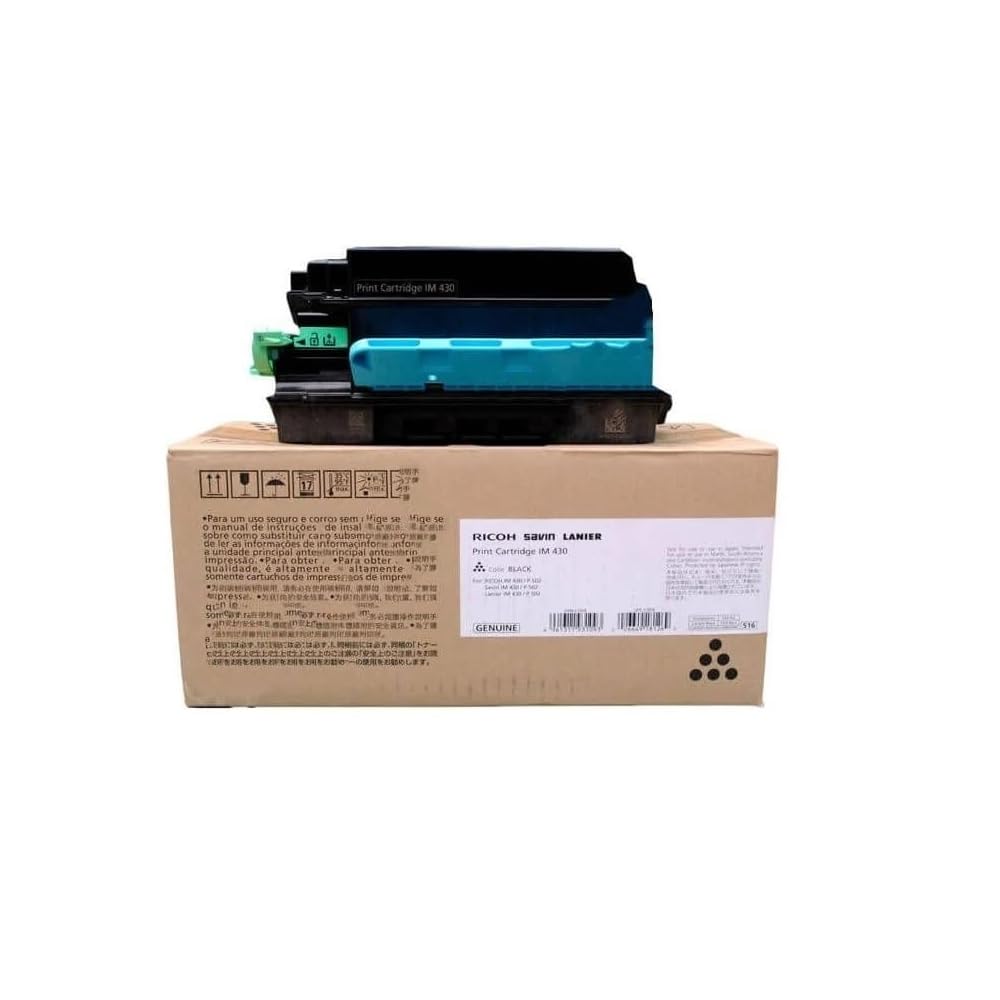
The Ricoh IM 430F uses toner and imaging components that must be installed correctly. A “toner not recognized” message does not always mean the cartridge is empty. The cartridge may be loose, incompatible, damaged, or incorrectly seated.
Try the following:
• Open the toner access area shown on the display.
• Remove the cartridge carefully.
• Check for damaged packaging material or broken parts.
• Reinstall the cartridge until it sits firmly.
• Close the cover completely.
• Restart the printer if the message remains.
Use genuine or approved consumables that match the Ricoh IM 430F model and regional supply specification. Some third-party cartridges may work well, but quality can vary. Poor toner can cause faint images, excess dust, background shading, and service problems.
Do not shake a leaking cartridge over the printer. Toner is a fine powder and can spread into fans, sensors, and electrical areas. Place the damaged cartridge in a sealed bag and follow local recycling instructions.
A useful service habit is to record when the toner was replaced and what symptoms appeared afterward. This helps separate a consumable problem from a developing hardware fault.
Ricoh IM 430F troubleshooting for scanning and copying
When copies look poor but computer prints look normal, the scanner glass or automatic document feeder may be dirty. Clean the large glass, the narrow feeder glass, and the white reference strip with a soft, lint-free cloth.
Do not spray cleaner directly onto the glass. Apply a small amount to the cloth instead, and keep liquid away from the edges and control panel.
For lines on scans:
Make a copy from the main glass.
Make a copy through the automatic document feeder.
Compare both pages.
A line that appears only through the feeder usually points to the narrow scanning glass or feeder components. A line that appears from both methods may involve the scanner unit or image processing system.
If the Ricoh IM 430F scans blank pages, check whether the original is loaded face up or face down as required by the selected scan method. Also confirm that the correct source, resolution, color mode, and file format are selected.
For scan-to-email problems, check the destination address, network connection, date and time, and authentication settings. Modern mail systems may require updated security settings that the printer administrator must configure.
Ricoh IM 430F troubleshooting for network and printing problems
A printer can be powered on and still appear offline. The issue may involve the network cable, IP address, print queue, driver, or firewall.
Use this process:
Check the Ethernet cable at the printer and network switch.
Print or view the printer’s network configuration page.
Confirm that the IP address is valid for your office network.
Check whether the computer can reach the printer.
Remove stuck documents from the print queue.
Restart the print spooler or computer if needed.
Confirm that the selected driver matches the Ricoh IM 430F.
A changing IP address can cause repeated “offline” messages. A reserved address or managed print server usually provides a more stable setup than manually entering a random address.
If users can print but cannot scan to shared folders, check folder permissions and the saved path. If users can scan but cannot print, focus on the driver, queue, and printer port.
Security settings also matter. Disable unused protocols and restrict administrator access where possible. Firmware updates should come from an approved Ricoh support channel and should follow the organization’s change process.
In my experience, many “printer faults” are really queue or network faults. Testing the printer’s internal page is a fast way to separate a machine problem from a computer problem.
Ricoh IM 430F troubleshooting for slow printing
The Ricoh IM 430F is designed for high-volume office work, but print speed can drop for several reasons. Large PDF files, complex graphics, secure print settings, network congestion, and low-power recovery can all add delay.
Check these areas:
• Print quality and resolution settings
• Duplex or booklet finishing options
• Large image-heavy documents
• Print server load
• Wireless network performance
• A long queue with failed jobs
• Paper tray switching
A simple text document should print faster than a document with many images. If every job is slow, print an internal test page. Slow internal output suggests a printer or consumable issue. Normal internal output points more toward the computer, network, or document.
Do not repeatedly press the print button when a job seems delayed. This can create duplicate jobs and make the queue appear worse. Clear the queue, wait for the current task to finish, and then send one test page.
Ricoh IM 430F troubleshooting for error codes
Error codes provide useful clues, but the exact meaning depends on the code and the machine condition. Write down the full code before clearing it.
When an error appears:
• Read the complete message on the control panel.
• Note whether the printer can copy or print internal pages.
• Check for paper, open covers, or missing consumables.
• Restart only if the message allows it.
• Search the official user or service documentation using the exact code.
• Contact an authorized technician for recurring hardware codes.
Some codes relate to temporary communication faults. Others point to the fuser, laser unit, motor, sensor, controller, or memory. Clearing a code without fixing its cause may only provide a short pause.
Do not enter service-mode adjustments from random online instructions. Incorrect calibration or diagnostic changes can damage print quality and create new errors. This is one of the most important safety rules in Ricoh IM 430F troubleshooting.
Ricoh IM 430F troubleshooting and routine maintenance
Preventive care reduces downtime. Keep the printer clean, use suitable paper, and follow the maintenance schedule provided for the machine.
A practical routine includes:
• Clean the scanner glass each week in busy offices.
• Remove paper dust from accessible areas.
• Keep ventilation openings clear.
• Store paper away from humidity.
• Replace consumables before severe quality loss begins.
• Review error history when faults repeat.
• Keep the printer firmware and driver environment managed.
• Schedule service based on usage and manufacturer guidance.
Avoid compressed air inside the printer. It can push toner and dust deeper into sensors or electrical parts. Use approved cleaning methods and never use harsh chemicals.
Maintenance records are valuable. Include the date, page count if available, error message, action taken, and result. This record helps a technician find patterns and helps managers plan supplies.
When to call a Ricoh technician
Basic Ricoh IM 430F troubleshooting is suitable for paper removal, cleaning the glass, checking cables, clearing queues, and replacing approved consumables. More serious work should be handled by a trained technician.
Request service when:
• The printer repeatedly jams in the same location.
• A burning smell, smoke, or unusual heat appears.
• The fuser causes repeated errors.
• Print defects remain after fresh paper and toner.
• The machine makes grinding or clicking sounds.
• The power trips when the printer starts.
• A hardware error returns after a restart.
• Internal parts need removal or adjustment.
Turn off and unplug the printer if you notice smoke, sparks, liquid exposure, or a strong burning odor. Do not continue testing it.
When contacting support, provide the model, serial number, error code, page count, recent maintenance history, and a sample print if safe to produce. Clear details can shorten the service visit.
Common mistakes to avoid
Troubleshooting becomes slower when users make several changes without recording them. Use one change at a time and test after each step.
Avoid these common mistakes:
• Pulling jammed paper with excessive force
• Touching the drum or imaging surface
• Installing the wrong toner model
• Using damp or damaged paper
• Spraying cleaner into the printer
• Repeating a print job many times
• Ignoring a burning smell
• Changing network settings without documenting the old values
• Installing unknown firmware or drivers
• Resetting the machine before recording the error
A calm, careful approach works better than guesswork. Think of the printer like a traffic system: the error message shows where traffic stopped, but you still need to find what blocked the road.
Frequently Asked Questions of Ricoh IM 430F Troubleshooting
Why is my Ricoh IM 430F not printing?
Check the print queue, printer status, paper supply, toner level, and network connection. Print an internal configuration page to determine whether the issue is in the printer or on the computer.
How do I clear a paper jam on the Ricoh IM 430F?
Follow the jam location shown on the control panel and remove the paper slowly in the normal paper path direction. Check for small scraps, close every cover firmly, and avoid touching hot fuser parts.
Why does the Ricoh IM 430F show an offline message?
The printer may have a loose network cable, changed IP address, paused queue, wrong driver port, or network outage. Check the printer’s network information and remove stuck jobs before reinstalling the driver.
Why are Ricoh IM 430F prints faint?
Low toner, an incorrect paper setting, a low print-density setting, or an imaging problem can cause faint prints. Check toner and paper first, then print an internal test page.
How can I fix lines on Ricoh IM 430F scans?
Clean the main scanner glass, narrow feeder glass, and white reference strip with a soft cloth. If the line remains on both feeder and glass scans, the scanner may need professional service.
Should I restart the Ricoh IM 430F when an error appears?
A restart can clear a temporary fault, but first record the error code and follow the panel instructions. Do not restart repeatedly when the machine reports a hardware, overheating, or firmware-related problem.
Conclusion
Effective Ricoh IM 430F troubleshooting begins with the basics: read the error message, check paper and toner, inspect the network, and test one solution at a time. Safe cleaning, correct media, approved supplies, and good maintenance records can prevent many repeat problems.
Use this guide for routine checks, but call a trained technician for electrical faults, fuser problems, recurring jams, smoke, or internal hardware errors. Save the exact error details, follow the proper service guidance, and explore additional Ricoh support resources when you need model-specific help.

Similar Posts