Action Camera Shaky Video Troubleshooting
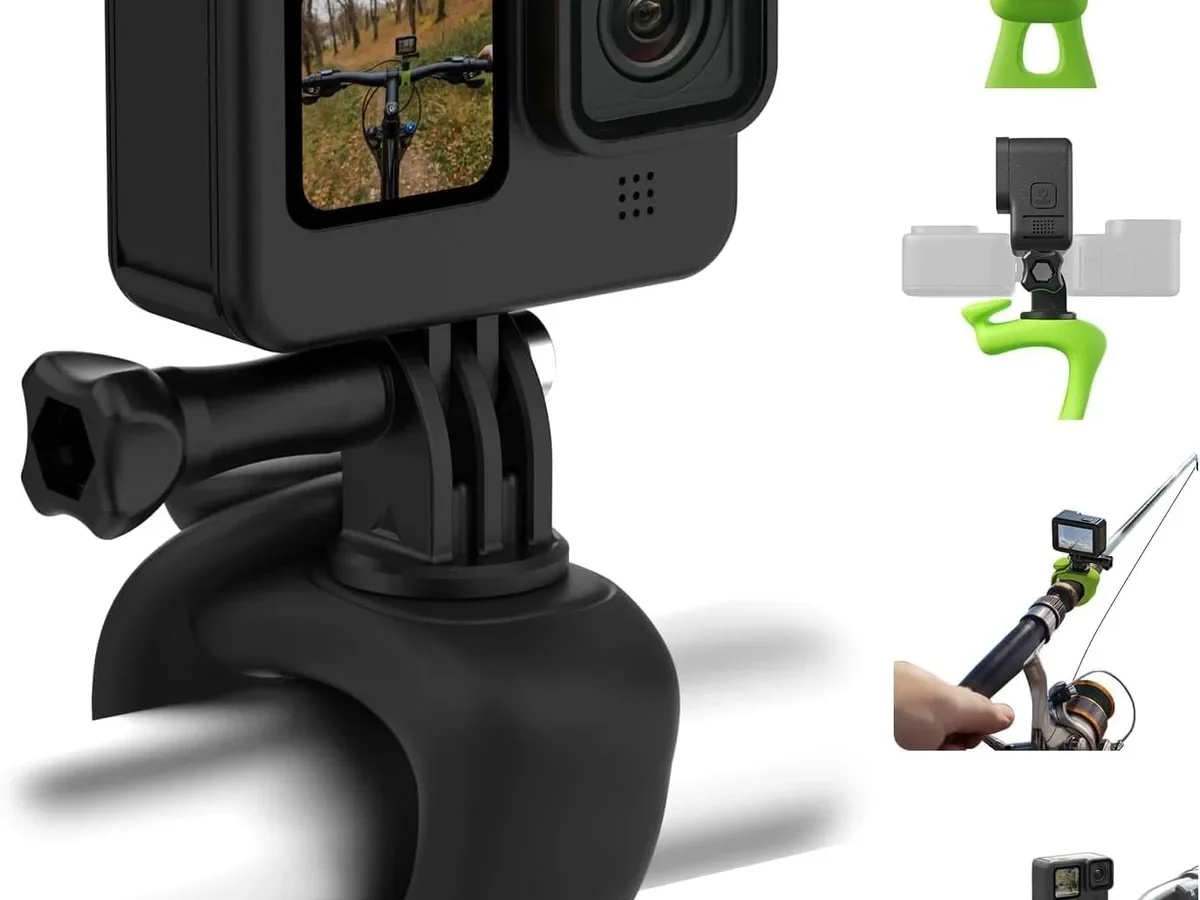
You pull your action camera footage onto the computer and hit play. The video looks like it was filmed inside a washing machine. That shaky mess is the most common problem in action camera shaky video troubleshooting.
The fix is usually straightforward once you identify the real cause.
Most unstable footage comes down to mount issues and settings mismatches, not a faulty camera. The shake pattern tells you exactly which solution to use. Get that diagnosis right, and you will save hours of editing time.
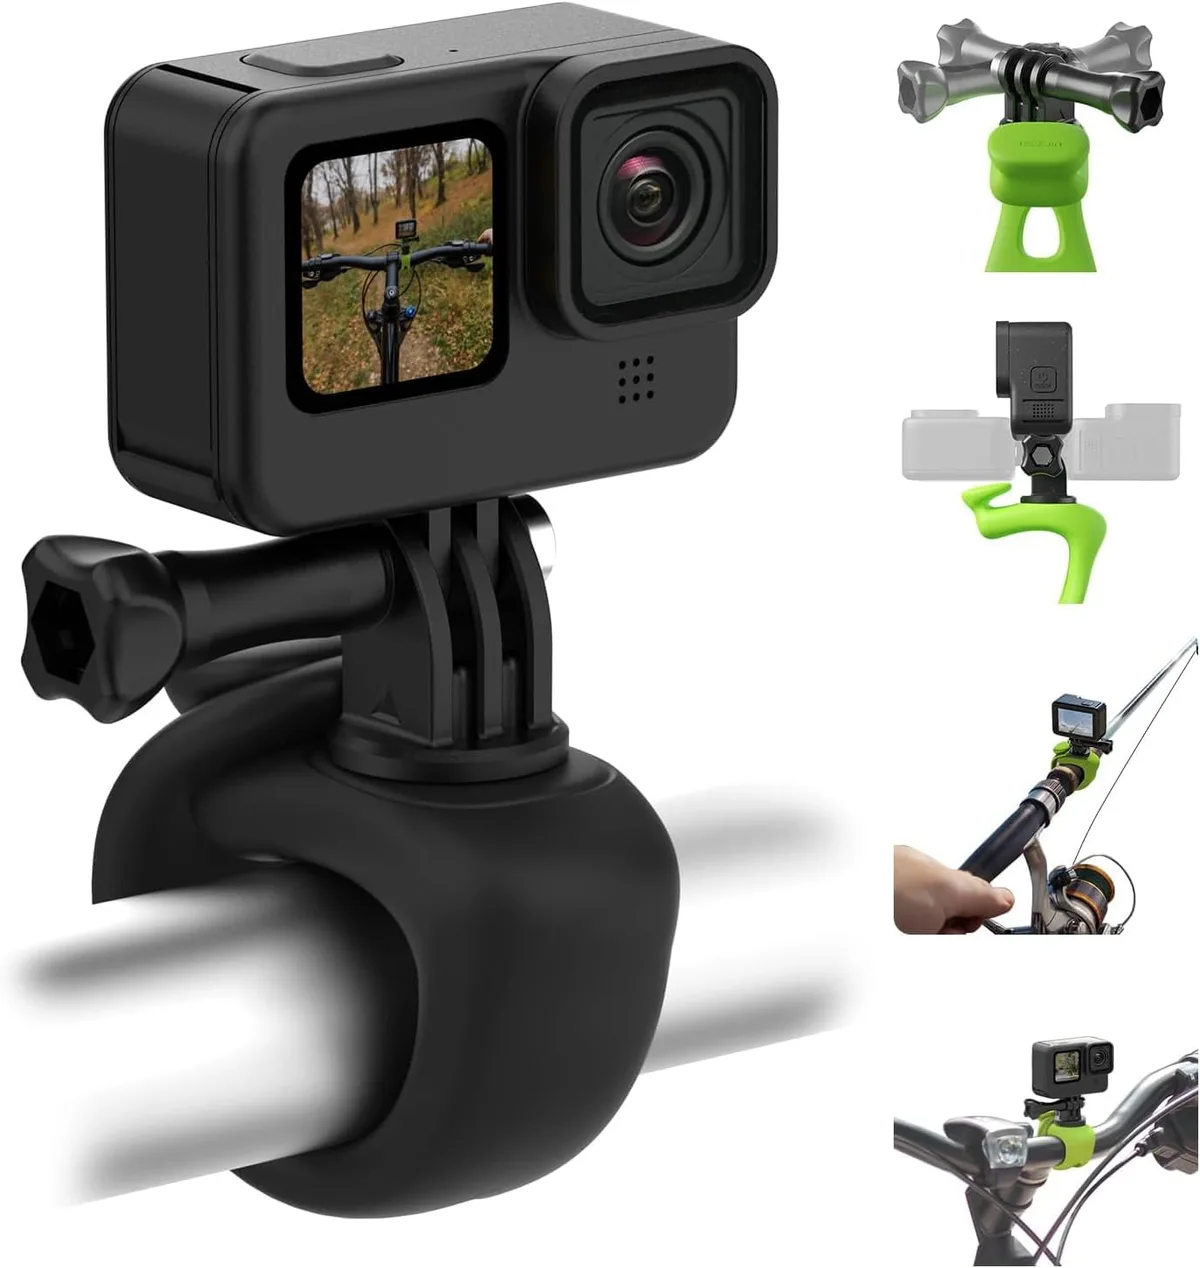
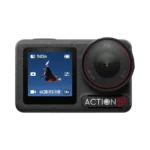
Image source: Bing (Web (fair-use with source credit))
Your Action Camera Footage Is Shaky — Here is How to Diagnose It Fast
The fastest way to fix shaky footage is to stop guessing and start matching the fix to the shake type. Action cameras pick up vibrations from your body, your vehicle, and the mount. A single setting change cannot solve every kind of shake.
You treat high-frequency vibration from a motorcycle engine differently than low-frequency bouncing from a run. You also treat rolling shutter artifacts differently than loose mount wobble. Users who skip this diagnosis tend to try random settings and never land on a permanent fix.
Diagnosing is simple. Play a five-second clip on a laptop and look for the vibration pattern.
- If the image blurs rapidly in tiny jerks, that is high-frequency vibration.
- If the horizon rocks slowly back and forth, that is low-frequency wobble.
- If vertical lines bend like a curtain during a fast pan, that is rolling shutter.
Each pattern leads to a different branch of the troubleshooting tree.
The Three Kinds of Shake (and Why It Matters Which One You Have)
High-Frequency Vibration
This shake comes from motorized activities. Motorcycle handlebars, drone frames, and some bicycle handlebars transmit rapid mechanical vibration into the camera. The result is a blurry, buzzing look that makes footage unwatchable.
Handlebar mounts are the worst offender here. Vibration from a single-cylinder dirt bike can hit 80 to 120 Hz, which is far faster than most in-camera stabilization can cancel.
The fix is a vibration damping mount. GoPro sells a dedicated Vibration Damping Mount that uses a rubber isolator to absorb those high-frequency waves. Third-party versions also work, but check that the rubber stays pliable in cold weather.
A solid metal mount with no dampening material means the camera will never stabilize that vibration, no matter what settings you choose.
Low-Frequency Wobble
This shake shows up when you walk, run, or ride a mountain bike over slow technical terrain. The horizon sways side to side or bobs up and down. Unlike high-frequency vibration, in-camera stabilization can handle this type fairly well.
The catch is that the mount has to be tight enough.
A chest mount or head strap that is slightly loose amplifies every footstep. The camera moves independently of your body, and the stabilizer fights against itself. Tighten every strap before you hit record.
If the wobble persists, switch to a more aggressive stabilization mode like HyperSmooth Boost or RockSteady Plus.
Rolling Shutter (Jelly Effect)
Rolling shutter happens when the camera sensor reads out the image line by line and the scene moves faster than the sensor can keep up. Vertical poles, tree trunks, and building edges look diagonal or wavy during quick pans. This is a sensor readout speed problem, not a mount problem.
As of 2026, most action cameras still read out slower than a modern mirrorless camera. The fix is to reduce horizontal panning speed and increase frame rate. A higher frame rate reduces the time between sensor lines, which reduces the jelly effect.
You can also remove rolling shutter in post-production with tools like Gyroflow or the Warp Stabilizer in a video editor.
| Shake Type | Common Cause | Best Fix |
|---|---|---|
| High-frequency vibration | Motorcycle, drone, handlebars | Vibration damping mount |
| Low-frequency wobble | Running, walking, slow trail | Chest strap or Boost mode |
| Rolling shutter (jelly) | Fast pans, sensor readout delay | Higher frame rate, slower pans |
Quick Answer: Check Your Mount First — Every Time
The single most effective step in action camera shaky video troubleshooting is to check your mount. It sounds simple, but user reports consistently point to the mount as the root cause in most cases.
A loose or flimsy mount introduces micro-movements that no stabilization algorithm can fix. The camera shakes inside the plastic cradle. The adhesive pad peels just enough to wobble.
The articulating arm has a worn hinge that lets the camera nod with every bump. All of this creates instability that the gyro data treats as legitimate motion.
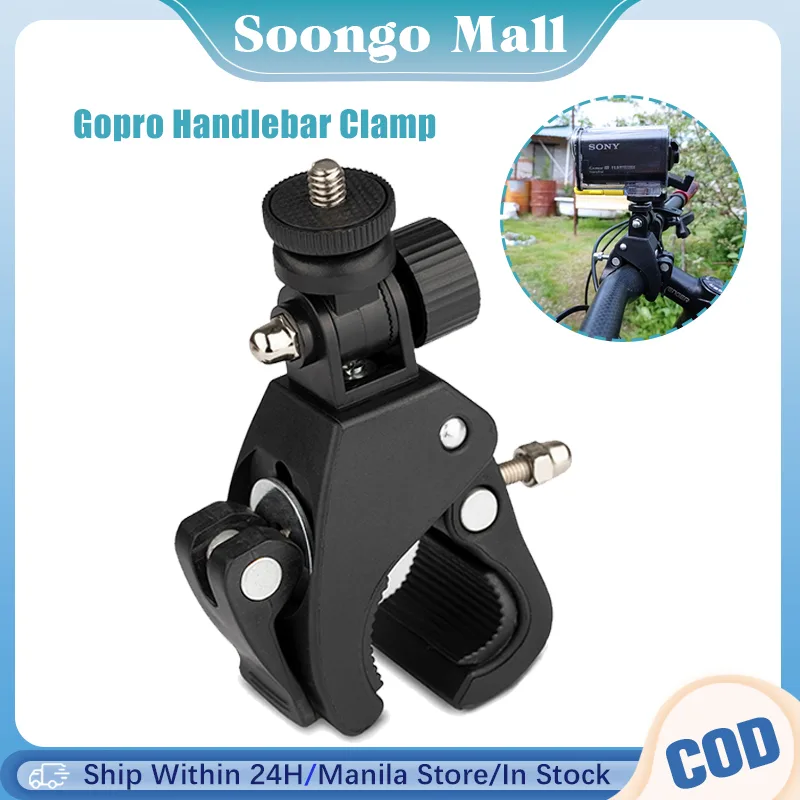
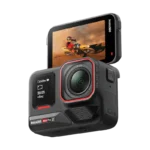
Image source: Web (Bing) / shopee.ph (Web image (fair-use with source credit))
Start with this checklist before you change a single setting.
- Tighten every screw and latch until you feel positive resistance.
- Press the camera into the mount and check for any play.
- Test the adhesive pad by trying to twist it with moderate force.
- If using a chest harness, pull the straps snug against your ribcage.
If the mount is solid and the footage is still shaky, move to the settings branch. Skip this step and you will fight a losing battle against a problem that started with a half-tightened screw. The same principle applies to other camera types.
Mirrorless cameras develop similar shake issues when the lens mount or tripod connection is loose, though the underlying stabilization technology differs.
Match Your Settings to the Scene: Frame Rate, Shutter Speed, and Stabilization Mode
Once the mount is tight, the next variable is your camera settings. Many people set the camera to 4K at 24 frames per second and expect the stabilizer to work magic. It does not work that way.
Stabilization needs the right combination of frame rate, shutter speed, and motion blur.
The 180-degree rule is your guide. For natural-looking motion blur, set your shutter speed to double your frame rate. At 30 fps, use 1/60 shutter.
At 60 fps, use 1/120 shutter. That blur masks micro-jitters between frames. Without it, every tiny shake shows up as a hard stutter.
If the scene is bright and you cannot hit that shutter speed without overexposing, add a variable ND filter. A filter like a PolarPro or K&F concept reduces light so you can keep the shutter angle open without clipping highlights. Professional action camera shooters use ND filters as standard gear in daylight.
Stabilization modes vary by brand. GoPro HyperSmooth has Standard, High, and Boost. DJI RockSteady offers Standard and High.
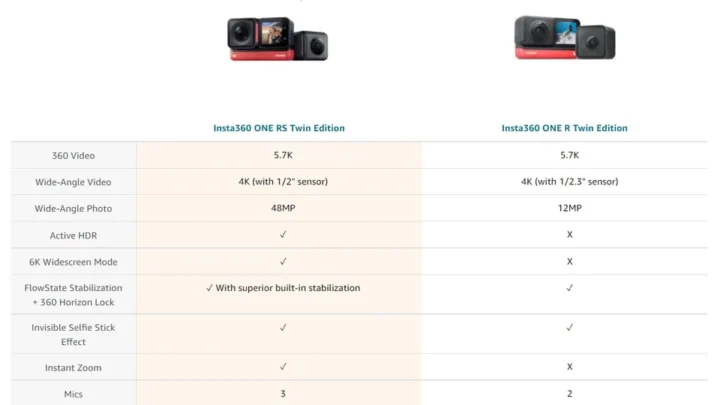
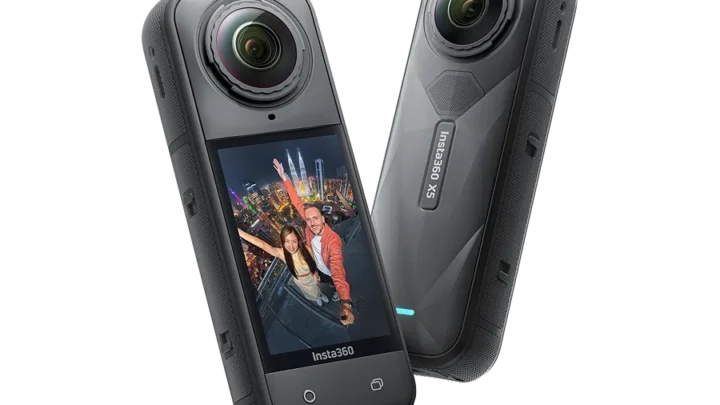
Insta360 calls theirs FlowState. The general rule is that Boost mode crops the image more and uses aggressive gyro data to cancel stronger vibration. Use it for high-impact activities like mountain biking or skiing.
Use Standard for walking and everyday vlogging because Boost can create an unnatural gliding effect.
If you use a camera with interchangeable lenses, the same exposure rules apply, though the settings menu looks different. You can apply these principles alongside the standard image stabilization settings for other cameras in your kit.
The Decision Branch: Fix It In-Camera or Fix It in Post-Production
You have two paths to stabilize footage. Do it in the camera while shooting, or do it in post-production on your computer. Each path has clear trade-offs.
In-camera stabilization is fast. You finish recording and the file is ready to share. But it crops the image permanently and you cannot undo the processing.
If the stabilizer makes the shot look wobbly or jittery, that is baked into the footage. No editor can recover the lost edge pixels.
Post-production stabilization with a tool like Gyroflow keeps your original footage untouched. Gyroflow uses the camera internal gyroscope data to calculate motion and apply a smooth path after the fact. This preserves the full field of view from the uncropped original and lets you fine-tune smoothness sliders until the movement looks natural.
Image source: Bing (Web (fair-use with source credit))
The catch is time. Gyroflow takes extra steps. You have to sync the gyro data file to the video clip, apply a lens profile, export a stabilized version, and then drop that into your editor.
It can add ten to fifteen minutes per clip, but the result is often better than the camera internal processing.
Choose in-camera stabilization when you need quick results and the shake is mild. Choose post-production when you need the best quality and you have time to process. A good rule of thumb is to record with Standard or High stabilization in the camera so you get a usable preview on site, then apply Gyroflow for the final cut if the raw footage needs more smoothing.
Some action cameras generate overheating warnings during long recording sessions in Boost mode. If the camera gets hot, the stabilizer may throttle or turn off. This is worth keeping in mind alongside general battery care and heat management for electronics.
5 Common Mistakes That Make Shaky Footage Worse
Mistake 1: Using the Wrong Stabilization Mode for the Activity
Standard mode handles walking and gentle movement. Boost mode handles rough terrain and motor vibration. Using Standard on a mountain bike trail leaves footage shaky.
Using Boost for a walking vlog creates an unnatural floaty look.
Mistake 2: Ignoring the Vibration Damping Mount
A rigid metal mount transmits every vibration straight into the camera. A rubber damping mount absorbs those high frequencies. The difference is night and day on a motorcycle or drone.
Mistake 3: Shooting at 24 fps Without a Gimbal
24 fps gives a cinematic look but leaves almost no room for stabilization cropping. At 24 fps, the camera has less footage to smooth into each frame. Use 30 fps or 60 fps for action shots.
Mistake 4: Forgetting to Tighten Straps Mid-Shoot
Chest harnesses and head straps loosen over time. A strap that was tight at the trailhead may be loose after ten minutes of running. Check and retighten during breaks.
Mistake 5: Relying Only on Post-Production to Fix Bad Source Footage
No editor can fix severe vibration or extreme rolling shutter. Post-production works best as a polish step, not a rescue operation. Get the mount and settings right first.
Quick-Reference Cheat Sheet: Best Settings by Activity
| Activity | Mount Type | Frame Rate | Shutter Speed | Stabilization Mode |
|---|---|---|---|---|
| Hiking, walking | Chest harness, head strap | 30 fps | 1/60 | Standard |
| Trail running | Chest harness | 60 fps | 1/120 | High |
| Mountain biking | Handlebar with damping mount | 60 fps | 1/120 | Boost |
| Motorcycle | Handlebar with damping mount | 60 fps | 1/120 | Boost |
| Snowboarding | Helmet mount | 60 fps | 1/120 | High or Boost |
| Drone flying | Built-in gimbal | 30 fps | 1/60 | Auto |
| Vlogging, static | Tripod, handheld | 24 or 30 fps | 1/48 or 1/60 | Off or Standard |
Frequently Asked Questions
Why is my GoPro footage still shaky with HyperSmooth on?
HyperSmooth works best when the mount is tight and the camera has some motion blur. If the mount is loose or the shutter speed is too high, even Boost mode cannot fix it. Check the mount first, then verify your shutter speed follows the 180-degree rule.
Can I fix shaky action camera footage in editing without a gimbal?
Yes. Tools like Gyroflow use the camera internal gyroscope data to stabilize footage after recording. The result can match or exceed in-camera stabilization.
You need a camera that records gyro metadata and a computer with enough power to process the clips.
What is the best frame rate to avoid shaky footage?
60 fps is the most versatile for action shots. It provides enough frames for the stabilizer to work with while keeping natural motion blur. 30 fps works for slower activities. 24 fps looks cinematic but leaves the stabilizer less material to smooth.
Do I need an ND filter for my action camera?
Yes for sunny conditions. An ND filter lets you keep your shutter speed at 1/60 or 1/120 instead of climbing to 1/1000 or higher. That slower shutter creates motion blur that masks micro-jitters.
Without it, footage looks stuttery and sharp.
Why does my footage look wavy during fast pans?
That is rolling shutter or jelly effect. It happens when the sensor reads out the image slower than the scene moves. Reduce panning speed, increase frame rate, or use a camera with a faster sensor readout.
You can also correct it in Gyroflow or your video editor.
Should I use Boost stabilization all the time?
No. Boost mode crops the image and creates an artificial floating look that many viewers find distracting. Use Boost only for high-impact activities like mountain biking, skiing, or motor sports.
Use Standard or High for walking, hiking, and general vlogging.

Similar Posts