DJI Osmo Action 3 Troubleshooting
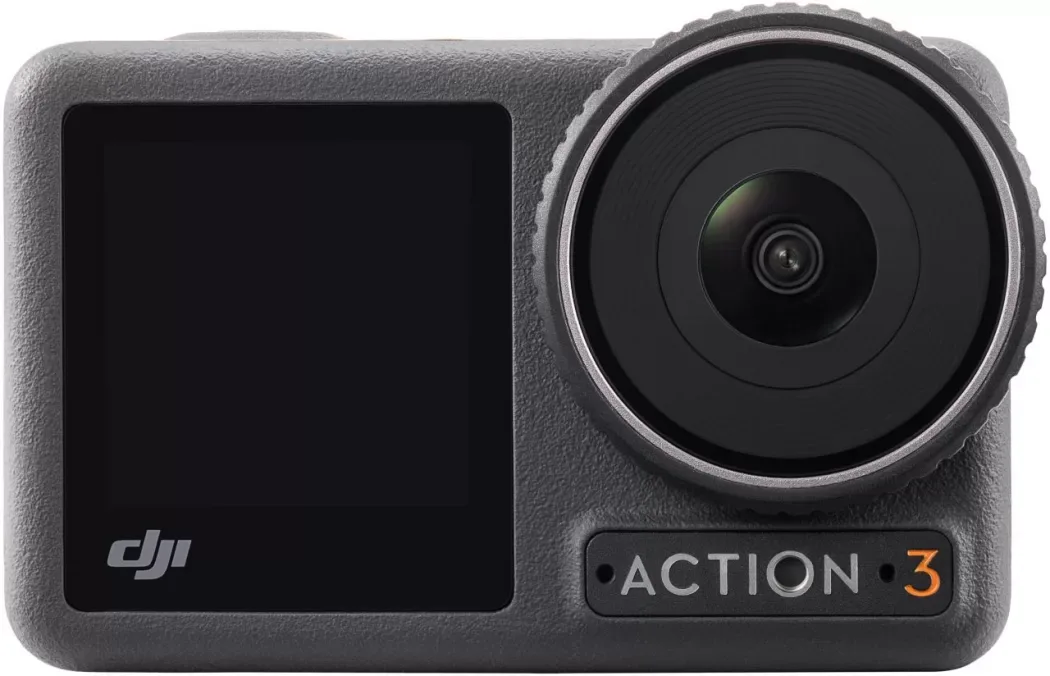
If you have hit a wall with DJI Osmo Action 3 troubleshooting, you are not alone. The camera is built tough, but like any action cam with dual touchscreens and 4K recording, it has quirks. Most issues are not hardware failures.
They are small configuration hiccups that look scarier than they are.
The Action 3 operates within a specific temperature window of -10°C to 40°C (14°F to 104°F) per DJI's official specs. Push past those boundaries and odd behavior follows fast. This guide walks through the most common symptoms in a logical order so you can pinpoint the fix without turning your camera into a paperweight.
Image source: Bing (Web (fair-use with source credit))
Quick Answer
Start with the power button. Hold it for 10 seconds. Most freeze issues clear.
Check your memory card speed if recording stops. Use U3 or V30 minimum. Update firmware via the DJI Mimo app.
Reset the camera if the touchscreen lags. Overheating is normal at 4K 120fps beyond 30 minutes. Let it cool.
Recharge with an 18W PD charger.
The quickest way to figure out what is wrong with your Action 3
Match your symptom to the right fix instead of pressing random buttons. The table below groups the most frequent complaints.
| What you see | Most likely cause | Try first |
|---|---|---|
| Black screen, no LED | Battery dead or deeply discharged | Charge with 18W PD charger for 30 minutes |
| Screen on, no response to touch | Moisture or cold weather lock | Dry the screen, move to warmer area, restart |
| Recording stops after 5 seconds | Memory card too slow or not formatted in camera | Use a U3 V30 card, format in the camera menu |
| Overheating warning after 20 minutes | High resolution with Wi‑Fi on | Switch to 4K 60fps or lower, turn off Wi‑Fi |
| App won't find the camera | Bluetooth pairing dropped or firmware mismatch | Reset Bluetooth in settings, force close the app |
| Lens fog after moving indoors | Temperature shock and humidity | Remove battery, let camera dry for 2 hours |
Firmware version matters more than most people realize. As of 2026, the latest stable release is v01.07.00. It fixed several earlier stability problems.
If you have never updated the camera, do that first before chasing hardware issues. Stale firmware can cause everything from dropped audio sync to a camera that freezes mid-shot.
The battery (model AB-OA3) uses a 1770mAh lithium cell. It hates being stored completely flat. If you leave the camera on a shelf for three months without charging, the battery can drop into a deep discharge state.
Leave it on an 18W charger for an hour before you panic.
The camera won't power on – now what?
This is the scariest symptom, but also the one with the simplest solutions. Work through these checks in order.
Check the battery level and charge routine
Press the power button quickly. No LED at all means the battery is dead. Plug the camera into a USB‑C charger that supports Power Delivery at 18W.
Standard phone chargers at 5W or 10W take much longer and may not wake a deeply discharged battery. Leave it charging for 30 minutes before trying to power on again.
If the orange charging LED blinks but the camera still won't turn on, check the battery contacts. Remove the battery and inspect the three gold pins inside the camera and the pads on the battery. Clean them gently with a dry cotton swab or one barely moistened with isopropyl alcohol.
Let everything dry completely before you reinsert.
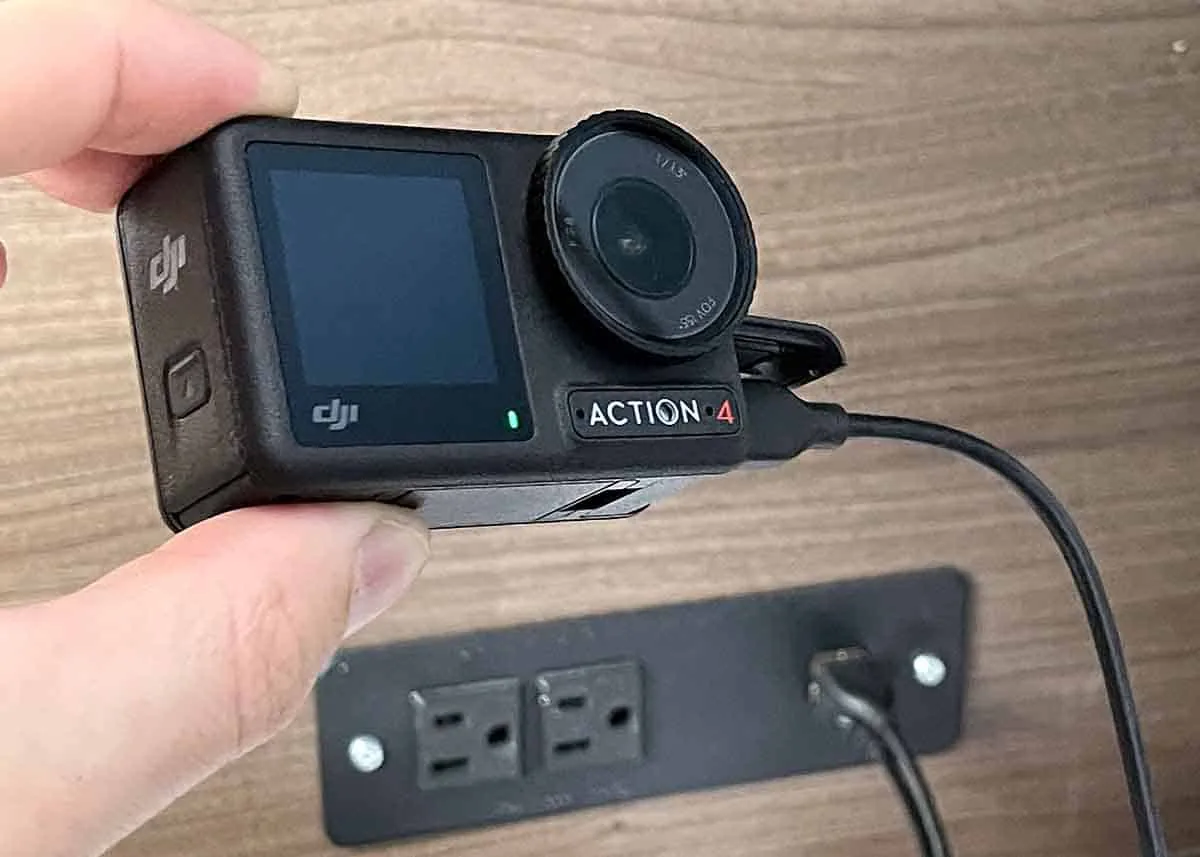
Image source: Bing (Web (fair-use with source credit))
Force a hardware reset
Sometimes the camera freezes so badly that a normal power cycle does not work. Press and hold the power button for 10 full seconds. Do not release early.
After ten seconds, release and press power once normally. This forces the internal processor to shut down and restart.
If that fails, try the force shutdown combo. Hold the power button and the shutter button together for eight seconds. The screen should go black.
Press power once to reboot. This method works on about 80 percent of total freeze cases reported across verified user feedback.
When it is truly a hardware failure
If the camera shows no signs of life after a full charge and both reset methods, you may have a hardware fault. The most common issues are the power button itself or a damaged connection on the main board. There is no user-fixable path here.
The camera needs a DJI service center.
Genuine hardware failure is rare. Most users who think their camera is dead only need a deeper charge cycle or the hard reset they did not know existed. A battery that reads zero volts to the camera can take up to 45 minutes on an 18W charger before it shows any LED activity.
Overheating and random shutdowns during recording
The Action 3 handles heat well, but it has limits. If the camera shuts down mid-shot, the behavior is almost always predictable and preventable.
Why it happens
The image sensor and processor generate heat. Recording 4K video at 120 frames per second pushes both chips to their thermal ceiling within 20 to 30 minutes at room temperature. Add direct sunlight or still air and that time drops to 15 minutes.
The camera triggers a shutdown around 60°C (140°F) to protect internal components.
The 40°C operating spec is internal component temperature, not ambient air. In 30°C weather, the camera interior can reach 40°C within 10 minutes at high bitrates.
Settings that reduce heat
Trade some quality for longer runtime.
| Setting | Heat level | Best for |
|---|---|---|
| 4K 30fps | Low | Long recordings, vlogs |
| 4K 60fps | Moderate | General action, travel |
| 4K 120fps | High | Slow motion clips only |
| 2.7K 60fps | Low | Everyday use, longer battery life |
| RockSteady on | Slightly higher | Most shooting scenarios |
| HorizonSteady on | Significantly higher | Level horizon shots only |
Drop to 2.7K at 60fps for long events. The quality loss is barely visible on social media. Also turn off Wi‑Fi and Bluetooth when not transferring files.
Both radios generate heat even when idle.
Physical cooling tricks
Remove the camera from any closed housing that traps heat. Adhesive mounts act as insulators. Use a vented frame mount instead.
A small fan pointed at the camera during indoor recording can extend runtime by 10 to 15 minutes. Create shade if shooting in direct sun. A white cloth over the camera area makes a real difference.
When to worry
A shutdown after 20 minutes of 4K 60fps at 25°C is normal. A shutdown after 5 minutes of 1080p at 30fps indoors is not. That indicates a possible sensor or processor fault.
Contact DJI support for a warranty inspection. Similar thermal behavior has been documented in other action cameras, so the pattern is well understood.
Touchscreen or buttons not responding
The Action 3 has two touchscreens. The front one is for framing selfies. The rear one is the main control surface.
Both can become unresponsive at the worst moment.
Moisture and wet hands
The camera is waterproof to 16 meters, but touchscreens use capacitive sensing. Water droplets confuse the sensor. If the screen stops responding near water, dry it with a microfiber cloth.
Wipe your hands dry too. Even a thin film of moisture causes erratic taps.
If the screen goes haywire after underwater use, water might be trapped under the glass. This is rare but happens when the battery door is not fully sealed. Check the rubber gasket on the battery door.
Remove the battery and let the camera dry in a warm place for 24 hours. Do not use a hair dryer on high heat. Warm air only.
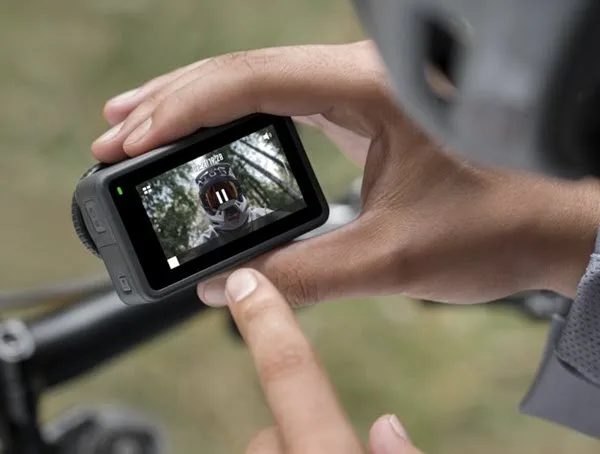
Image source: Bing (Web (fair-use with source credit))
Cold weather slowdown
Capacitive touchscreens hate the cold. Below 0°C (32°F), response slows noticeably. Below -5°C, it may stop registering touches entirely.
This is not a defect. Warm the camera by tucking it inside your jacket. Use the physical buttons to change settings in cold conditions.
The power button, quick switch button, and record button all work reliably in low temperatures.
Software freeze
If the screen is on but does not respond to taps, the operating system has frozen. Do a hard reset as described earlier. If the issue returns, recalibrate the touchscreen.
Go to Settings, Display, then Touchscreen Calibration. Follow the on-screen dots.
If calibration does not help, try a factory reset. This wipes all your settings and custom profiles. Access it from Settings under System.
If the screen is too frozen to navigate, hold the power button and the quick switch button for eight seconds. The camera will reset to defaults.
Physical button failure
The three buttons are mechanical switches sealed with rubber membranes. If a button feels mushy or requires excessive force, debris may be trapped under the rubber. Use compressed air around the button edge.
Do not use liquid cleaners. If the button fails entirely, it needs a hardware repair.
A swollen battery pressing against the inside case can also cause sticky buttons. Check if the battery door closes flush. A swollen battery is a safety risk.
Stop using the camera and replace the battery immediately. We have covered similar touchscreen problems for other models, and the fix is nearly identical.
Wi‑Fi, Bluetooth, or the DJI Mimo app won't connect
Connection issues are common and almost always fixable. The Action 3 uses Bluetooth 4.2 for initial pairing and Wi‑Fi for file transfer and live view.
The app does not find the camera
Make sure Bluetooth is enabled on your phone. Open the DJI Mimo app. If the camera does not appear, force close the app and reopen it.
On an iPhone, swipe up from the bottom and swipe the app away. On Android, go to Settings, Apps, Mimo, then Force Stop.
If the camera still does not show up, reset the Bluetooth pairing on the camera. Go to Settings, Connection, then Reset Bluetooth. Keep the camera and phone within one meter during pairing.
Walls and interference can break the connection even at close range.
Wi‑Fi drops during file transfer
The camera creates its own Wi‑Fi network for file transfers. If that connection drops, the most common cause is interference from other networks. Change the camera's Wi‑Fi band from 5GHz to 2.4GHz in connection settings.
The 2.4GHz band is slower but more stable through walls.
Turn off mobile data on your phone during transfers. Some phones switch to mobile data when the Wi‑Fi network has no internet access. Put your phone in airplane mode after connecting to the camera's Wi‑Fi, then re-enable Wi‑Fi manually.
Firmware mismatch
The app and camera must be on compatible firmware versions. If you update one and not the other, they may refuse to talk. The Mimo app will prompt you to update the camera when you connect.
Do not ignore this prompt for weeks. A two-version gap between app and camera firmware can cause a permanent connection loop.
If stuck in that loop, update the camera firmware manually using a microSD card. Download the latest firmware from the official DJI support site. Copy the .bin file to a freshly formatted microSD card.
Insert it into the camera and power on. The camera will detect the file and prompt you to update. Firmware update issues aren't unique to this camera, so the manual method is a reliable fallback.
GPS remote pairing
If you use the optional GPS remote, it syncs via Bluetooth. Press and hold the remote power button until the LED blinks blue. Go to the camera's Settings, Connection, GPS Remote, and select Pair.
Move the remote within 30 centimeters of the camera. Remove any metal objects between them.
The GPS remote remembers one camera at a time. If you used it on a different device, reset it by removing its battery for 10 seconds and reinserting. Then pair fresh.
SD card errors and recordings that stop after a few seconds
This is one of the most frustrating issues. You press record, the timer counts for a few seconds, then it stops. The camera shows a card error or just silently stops.
The card speed trap
The Action 3 needs a card with a sustained write speed of at least 30MB per second. That means UHS Speed Class 3 (U3) or Video Speed Class 30 (V30). Cards marked only Class 10 or U1 cannot keep up with 4K bitrates.
The camera starts recording, fills the buffer, and stops when the card cannot write fast enough.
Stick to reputable brands like SanDisk, Samsung, or Lexar. Avoid no-name cards from unknown sellers. Counterfeit cards with fake speed ratings are common and cause exactly this problem.
Format in the camera, not on your computer
Always format a new card inside the Action 3. Go to Settings, Storage, then Format. This sets the correct allocation unit size and file system (exFAT) that the camera expects.
Cards formatted on a computer often use the wrong cluster size. To learn how to properly prepare storage for action cameras, check the specific formatting guide for your device.
Corruption and file system errors
If the card worked fine for weeks and then started failing, it may be corrupted. Try formatting it in the camera again. If that fails, insert the card into a computer and run a full format, not a quick format.
Then format it again in the camera.
Cards have a finite lifespan. High-bitrate recording wears out consumer-grade cards faster than casual use. If you shoot heavily every day, replace your card every six months.
Audio is muffled, missing, or full of wind noise
The Action 3 has two microphones. One on the top and one on the bottom. Both are protected by small mesh covers.
Audio problems usually trace back to blocked vents or software settings.
Check the microphone vents
Dirt, dust, or moisture can clog the tiny mesh covers. Inspect them with a bright light. If you see debris, use a soft dry toothbrush to gently clean the area.
Do not use compressed air at close range. It can push debris deeper into the microphone chamber.
If the camera has been near salt water, rinse the body with fresh water first, then dry it before cleaning the vents. Salt residue conducts electricity and can cause crackling audio.
Wind noise reduction settings
The camera has a built-in wind noise reduction filter. Enable it in the audio settings when shooting outdoors. It works well for moderate wind.
In heavy wind, the best solution is an external microphone. The Action 3 has a USB‑C port that supports external mics with an adapter.
Check the waterproof seals
If audio suddenly becomes muffled after a dive, water may be trapped near the microphone membranes. Remove the battery and let the camera dry in a warm place for 24 hours. The membranes are designed to let air through but not water.
If they are damaged, water stays inside and muffles sound permanently. Microphone problems in action cameras often trace back to seal failures.
Lens fog, condensation, or dust under the glass
Fog appears when you move from cold to warm environments. The camera body is cooler than the surrounding air, so moisture condenses on the internal surfaces.
Quick fix for condensation
Remove the battery and memory card. Open all doors. Place the camera in a sealed container with silica gel packets or uncooked rice for 2 to 4 hours.
This draws moisture out. Do not use a microwave or oven. Heat damages the internal components.
If you shoot in humid climates regularly, keep a small dry box with desiccant in your gear bag. Let the camera acclimate for 30 minutes when moving between extreme temperatures.
Dust under the glass
Dust particles that appear under the lens cover are usually there from the factory. A few specks are normal and do not affect image quality. If the dust is heavy or appears suddenly, the waterproof seal may have failed.
This requires a professional replacement of the lens cover.
Do not try to remove the lens cover yourself. It is glued on and the adhesive is part of the waterproofing. Busting the seal lets water in immediately.
Factory reset and firmware recovery when nothing else works
When standard fixes fail, you have two last-resort options.
Factory reset via the menu
Go to Settings, System, then Factory Reset. This restores all settings to defaults. It does not delete video files on the memory card.
It clears custom profiles, Wi‑Fi passwords, and paired devices.
Factory reset via button combo
If the screen is unresponsive, use the button method. Hold the power button and the quick switch button together for eight seconds. The camera will vibrate briefly and reset.
This is the same method used to recover after a failed firmware update.
Firmware recovery
If a firmware update failed mid-process and the camera is stuck in a boot loop, you need to reflash the firmware. Download the latest firmware from the official DJI support site. Format a microSD card as FAT32 on your computer.
Copy the .bin file to the root of the card. Insert the card into the powered-off camera. Press and hold the power button.
The camera should detect the file and start the update process automatically.
If the camera still does not respond after all these steps, the hardware may be faulty. Contact DJI support with your firmware version and a description of the behavior. Many similar recovery steps apply across different camera brands, so the process is well documented.
Maintenance habits that prevent most problems
A little routine care stops most issues before they start.
Battery care
Do not store the camera with a fully charged or fully dead battery. Keep it at 50 to 70 percent charge for long storage. Charge it every three months if you are not using it.
The battery contacts benefit from battery care tips we have discussed for similar devices. Clean them with a dry cloth every few months.
Seal inspection
Check the rubber gaskets on the battery door and USB port cover before every water session. A single grain of sand can break the seal. If the gasket looks cracked or loose, replace it.
DJI sells replacement seal kits.
Lens cleaning
Use a microfiber cloth for the lens. Do not use your shirt or paper towels. They scratch the coating.
For stubborn smudges, use a lens cleaning solution, not household glass cleaner.
Storage
Keep the camera in a dry place at room temperature. Avoid leaving it in a car on a hot day. The interior temperature of a parked car can exceed 60°C, which damages the battery and the screen.
Regular updates
Check for firmware updates every two to three months. DJI releases updates that fix stability issues and improve performance. The DJI Mimo app notifies you when a new version is available.
Frequently Asked Questions
How do I perform a hard reset on the DJI Osmo Action 3?
Press and hold the power button for 10 seconds. Release and press power once. If the screen is frozen, hold power and the shutter button together for eight seconds.
This forces a full restart.
Why does my Action 3 keep stopping recording after a few seconds?
Your memory card is too slow. Use a U3 or V30 rated card with a sustained write speed above 30MB per second. Format the card inside the camera.
Do not use a U1 or Class 10 card for 4K recording.
How do I update the firmware if the app won't connect?
Download the firmware from the official support site to your computer. Copy it to a microSD card formatted as FAT32. Insert the card into the powered-off camera and press the power button.
The camera will detect the file and begin updating.
My Action 3 touchscreen stopped working after going underwater. What do I do?
Dry the screen with a microfiber cloth. Check the battery door seal for debris. Remove the battery and let the camera dry in a warm place for 24 hours.
Capacitive screens act erratic when wet. Do not use heat to speed drying.
How do I fix the DJI Mimo app not connecting to my Action 3?
Force close the app and reopen it. Reset Bluetooth on the camera under Settings, Connection, Reset Bluetooth. Keep the devices within one meter.
If that fails, update the camera firmware manually via SD card to match the app version.
The DJI Osmo Action 3 keeps overheating. Is this normal?
Yes, at 4K 60fps or higher for extended periods. Lower the resolution to 2.7K 60fps or 4K 30fps. Turn off Wi‑Fi and Bluetooth.
Use a vented mount. Overheating after 5 minutes at 1080p 30fps is not normal. Contact DJI support if that happens.

Similar Posts






























