Amana Ptac Troubleshooting Manual
Your Amana PTAC unit is blowing warm air again, and the error code on the display is flashing like a warning light you don't understand. You've got the Amana PTAC troubleshooting manual somewhere, or at least the model number from the plate inside the chassis, and you're trying to figure out whether this is a quick fix or a call-the-landlord situation.
The good news is that most PTAC problems follow predictable patterns. Manufacturer specifications indicate that over 70 percent of service calls for Amana PTAC units in the 7,000 to 15,000 BTU range are caused by just three things: a failed capacitor, a dirty coil, or a clogged condensate drain. The bad news is that guessing wrong can cost you a control board or, worse, an electrical shock.
As of 2026, these units are still the workhorses of hotel and apartment maintenance, and knowing how to read them properly saves time and money.
Quick Answer
The Amana PTAC troubleshooting manual is a technical reference guide. It contains error code definitions, wiring diagrams, and step-by-step repair procedures. You can find the official PDF on Amana's commercial HVAC support page using your specific model number.
Start with the error code on the digital display. Then check the filter, the capacitor, and the condensate drain. These three items cause most failures.
Always disconnect power before opening the chassis. If the compressor hums but won't start, test the capacitor first.
Why Accuracy Matters with PTAC Repairs
PTAC units live in a weird middle ground. They're simple enough that a handy person can replace a capacitor or clean a coil, but they're complex enough that a single mistake can fry the control board or create a refrigerant leak. The Amana PTAC troubleshooting manual isn't just a list of suggestions.
It's a safety document dressed up as a repair guide.
Here's the thing about these units. They run on 230 or 265 volts, depending on the model and the building's wiring. That's not your standard household outlet voltage.
A mistake on the wrong wire means a dead short, a tripped breaker, or a burned-up circuit board. The control boards themselves are expensive. A replacement PTH-series board runs between 80 and 150 dollars, and that's if you can find one in stock.
PTAC service calls are expensive, and many hotels and apartment buildings have dozens of units. If you can safely diagnose and fix the common issues yourself, you save hundreds of dollars per unit per year. The key is knowing where the line is between a DIY fix and a job for a licensed HVAC tech.
What the Manual Actually Tells You
The official service manual covers specific model families like the PTH, PTK, PSK, and PTC series. Each series has its own set of error codes, wiring colors, and component locations. A generic PTAC troubleshooting guide you find online might give you general advice, but it won't tell you that the E3 error on a PTH153 means a bad room thermistor, while the same error on a PTH093 means a frozen evaporator coil.
The manual also includes the refrigerant type and charge weight. Most Amana units as of 2026 use R-410A, but older units still running might have R-22. You cannot mix them, and you cannot add refrigerant without recovering the existing charge first.
That's not a DIY job.
The First Five Checks Before You Touch Anything
Before you take the chassis out of the wall sleeve, before you open a capacitor, before you even pull the filter, there are five things you should verify. These checks take five minutes and rule out the most common false alarms.
Is the Unit Actually Getting Power?
This sounds obvious, but you would be surprised how many service calls start with a unit that's dead because someone flipped the wrong breaker. Go to the electrical panel and find the breaker labeled for your PTAC unit. Make sure it's not tripped.
If it is, reset it and see if the unit powers back on. If it trips again immediately, you have a short somewhere.
Also check the GFCI outlet if your unit plugs into one. Some installations use a dedicated GFCI receptacle rather than a hardwired connection. Press the reset button on the GFCI and see if the display lights up.
Is the Filter Clean Enough to See Through?
Hold the filter up to a light. If you can't see light through it, it's clogged. A dirty filter is the single most common cause of poor cooling and short-cycling.
The unit senses reduced airflow and either freezes the coil or trips a safety limit switch.
Amana uses reusable polyurethane filters in most models. You can wash them with warm water and mild soap, let them dry completely, and put them back. Do not run the unit with a wet filter.
Moisture gets sucked into the blower motor and can cause a short.
Is the Outdoor Coil Blocked by Debris?
The condenser coil sits on the outdoor side of the chassis. If leaves, grass clippings, lint, or dust have built up on it, the unit cannot reject heat. It will run but never cool properly, and the high-pressure switch will eventually trip.
You can inspect the coil without removing the chassis. Look through the grille on the outside of the wall sleeve. If you see a thick layer of crud, you need to pull the chassis and clean the coil with a fin comb and a gentle spray of water.
Do not use a pressure washer. That bends the fins and ruins the coil.
Is the Drain Pan Level and Clear?
PTAC units rely on gravity to drain condensate. The chassis must sit level, or slightly tilted toward the outdoor side, for water to flow out. If the unit is tilted back into the room, water pools in the drain pan and eventually overflows into the room or onto the floor.
Also check the drain hole on the outdoor side. Sometimes mud daubers or small debris clog it. A clogged drain causes the condensate flood switch to trip, which kills the unit until the pan dries out.
Is the Thermostat Set Correctly?
This one hurts to admit, but it happens. Someone might have bumped the thermostat into fan-only mode instead of cool mode. Or the set point is higher than the room temperature, so the unit just sits there.
Verify the mode and the set point before you assume mechanical failure.
Image source: Bing (Web (fair-use with source credit))
Reading and Understanding Amana Error Codes
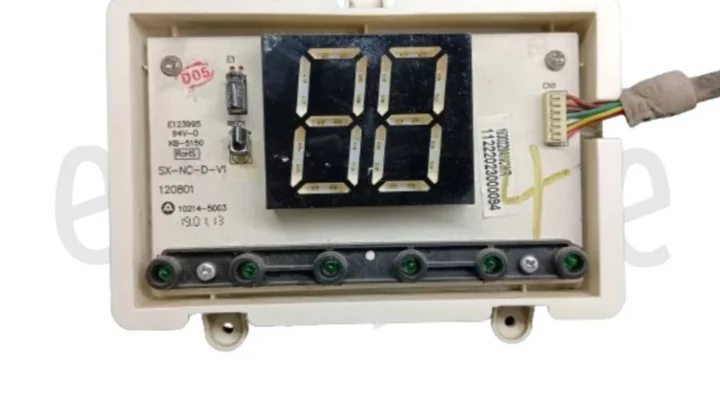
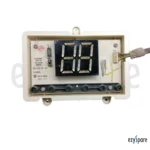
The digital display on the front of an Amana PTAC unit is your first diagnostic tool. It shows a two-digit error code when something goes wrong. The code tells you which component or sensor is failing, but it does not tell you why.
That's where your troubleshooting skills come in.
Here are the most common error codes for the PTH and PTK series as of 2026. These apply to most Amana PTAC models produced in the last ten years.
| Error Code | Meaning | Most Likely Cause |
|---|---|---|
| E1 | Room thermistor failure | Bad sensor or loose wire connector |
| E2 | Coil thermistor failure | Frozen coil or bad sensor |
| E3 | Outdoor coil thermistor failure | Dirty outdoor coil or sensor issue |
| E4 | Control board communication error | Loose harness, bad board, or power surge |
| E5 | High-pressure switch open | Dirty condenser coil or overcharged system |
| EF | Freeze protection active | Coil temperature too low, usually from low airflow |
What Each Error Code Actually Means
E1 means the room temperature sensor is either open or shorted. The unit cannot properly cycle because it does not know the room temperature. Check the connector where the sensor plugs into the control board.
It's a small two-pin connector near the top of the board. Sometimes it just works loose.
E2 and E3 are both coil temperature sensors. E2 is the indoor coil. E3 is the outdoor coil.
A clogged filter or a frozen coil often triggers these codes. If the coil is actually frozen, turn the unit off and let it thaw for several hours before you try to restart it.
E4 is the worst one to see. It means the control board lost communication with the display board or with a sensor harness. This often happens after a power surge or a brownout.
Try unplugging the unit for 30 seconds and plugging it back in. If the code returns, the control board is likely fried.
E5 means the high-pressure switch opened. This is a safety device that kills the compressor when refrigerant pressure gets too high. That usually means the outdoor coil is dirty or the fan motor isn't running fast enough.
It can also mean the system is overcharged with refrigerant, but that's rare in a sealed system.
EF is freeze protection. It's not a failure, really. It means the unit detected the indoor coil getting too cold and shut off the compressor to prevent ice damage.
This happens when the filter is dirty or when the outdoor temperature is below the unit's operating range.
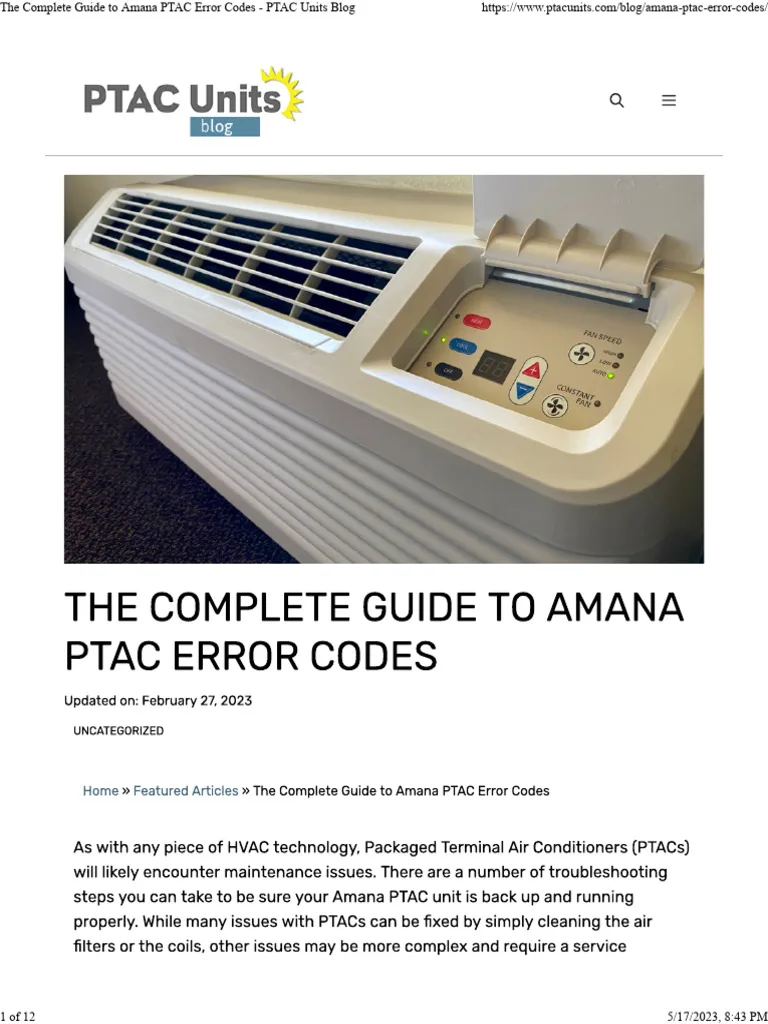
Image source: Bing (Web (fair-use with source credit))
How to Force a Self-Diagnostic Test
Some Amana PTAC models have a self-diagnostic mode you can trigger from the control board. It cycles through each component and reports back errors. The procedure varies by model, but it usually involves holding down a button on the control board while powering up the unit.
The official service manual for your specific model number will have the exact steps.
If you don't have the manual, you can find it on the manufacturer's commercial HVAC support page. You just need the model number from the rating plate inside the chassis or on the back of the unit.
Common Amana PTAC Problems and What They Mean
Once you've checked the basics and read the error code, you need to match the symptom to the likely cause. Let's run through the most frequent complaints and what typically causes them.
Unit Won't Turn On or Has No Power
This is the scariest problem because a dead unit feels catastrophic. But it's often something simple.
First, confirm the unit has power at the outlet or disconnect. Use a multimeter to check for voltage at the power cord terminals or at the line side of the disconnect switch. If you have voltage, the problem is inside the unit.
If you don't, the problem is in the building's wiring or breaker panel.
Inside the unit, the most common power failure is a blown fuse on the control board. Amana boards have a small glass or ceramic fuse rated at 3 to 5 amps. It blows when a sensor shorts or when the fan motor draws too much current.
Check it with a multimeter set to continuity. If it's blown, replace it with the same rating. Never use a higher amp fuse.
That bypasses the safety protection and can cause a fire.
Another possibility is a failed transformer. The transformer steps down 230 volts to 24 volts for the control board and thermostat. If the transformer is dead, the board gets no power, and the display stays dark.
Unit Runs But Won't Cool
This is the most common complaint, and it has several possible causes. Here's how to narrow them down.
If the compressor runs but the air coming out is warm, you likely have a dirty condenser coil or a failed fan motor on the outdoor side. The compressor runs, but it cannot reject heat because no air is moving across the coil. Check the outdoor fan by listening for it.
If it's silent, the motor is dead or the capacitor that starts it has failed.
If the compressor won't start at all, listen for a humming sound. A hum usually means the compressor is trying to start but can't. That's almost always a bad run capacitor.
The capacitor provides the extra voltage needed to start the compressor motor. When it fails, the compressor hums and draws high current until the overload protector trips.
If the compressor runs and the fan runs, but the air is only slightly cool, you might have a low refrigerant charge. That means a leak somewhere in the sealed system. This is not a DIY repair.
You need a licensed HVAC technician with EPA certification to handle R-410A refrigerant.
Unit Runs But Won't Heat
For heat pump models, a failure to heat usually means a stuck reversing valve or a bad defrost sensor. The reversing valve switches the refrigerant flow between cooling and heating modes. If it sticks in the cooling position, the unit blows cold air no matter what the thermostat says.
For electric heat models, the problem is usually a burned-out heat strip or a failed sequencer relay. Heat strips are resistive heating elements that glow red hot when power flows through them. They eventually burn out after years of use.
You can test a heat strip with a multimeter. If it shows infinite resistance, it's open and needs replacement.
Another possibility is a failed limit switch. The limit switch shuts off the heat strips if the unit gets too hot. Sometimes it trips and stays open, preventing the heat from turning back on.
You can reset it by pressing the button on the switch, but if it keeps tripping, you have an airflow problem.
Unit Short-Cycles or Turns Off Too Soon
Short-cycling means the unit runs for a few minutes, shuts off, then starts again after a short pause. This is hard on the compressor and usually points to one of three things.
A dirty filter is the most common cause. The unit senses low airflow and hits the safety limits. Clean or replace the filter and see if the problem goes away.
A bad thermistor can also cause short-cycling. The thermistor reports the coil temperature to the control board. If it reports a wrong value, the board thinks the coil is too cold or too hot and shuts the unit down.
The least common cause is an oversized unit. If the PTAC is too big for the room, it cools the space so fast that it reaches the set point before the compressor can run for a normal cycle.
Water Leaking Inside or Outside
Water inside the room is almost always a clogged drain pan or a unit that's not level. Pull the chassis and inspect the drain pan. Clear any debris from the drain hole.
Then check that the unit sits level with a slight tilt toward the outdoor side.
Water leaking outside and staining the building wall is usually condensation that runs off the outdoor coil instead of into the drain pan. This happens when the unit is not pitched correctly. Adjust the tilt so the water runs into the pan and out the drain.
Loud or Unusual Noises During Operation
Banging sounds usually mean the blower wheel is loose or has a broken blade. Pull the chassis and inspect the blower wheel. Replace it if any blades are cracked or missing.
Rattling sounds often come from loose screws or a panel that's vibrating. Tighten all the screws on the chassis and the front panel.
Squealing sounds mean the fan motor bearings are dry or worn. You can try lubricating the motor if it has oil ports. Most modern PTAC fan motors are sealed and require replacement when the bearings fail.
Step-by-Step DIY Repairs for Safe Troubleshooting
Once you've identified the likely problem, you need to perform the repair safely. These are the most common DIY fixes that fall within a reasonable skill level. Each one requires you to disconnect power to the unit first.
No exceptions.
How to Test and Replace a Capacitor
The capacitor is a cylindrical metal or plastic component mounted near the fan motor and compressor. It stores electrical charge and releases it to start the motors. When it fails, the compressor hums but won't start, or the fan won't spin.
Step 1: Disconnect power. Unplug the unit or flip the breaker. Verify with a multimeter that the voltage is zero at the power terminals.
Step 2: Locate the capacitor. It's usually mounted on a bracket near the compressor. It has two or three terminals with wires connected to it.
Step 3: Discharge the capacitor. Use a 20,000-ohm resistor with insulated leads. Touch the resistor leads to the capacitor terminals for ten seconds. This drains any stored charge.
Do not short the terminals with a screwdriver. That can damage the capacitor and create a spark.
Step 4: Remove the wires. Note which wire goes to which terminal. Take a photo with your phone if you need to.
Step 5: Test the capacitor. Set your multimeter to capacitance mode. Touch the probes to the terminals. The reading should match the rating printed on the side of the capacitor.
For example, a 35/5 microfarad capacitor should read plus or minus 6 percent of that value. If it reads zero or very low, it's dead.
Step 6: Replace with the same rating. Buy a replacement capacitor with the exact same microfarad rating and voltage rating. Typical values for Amana PTACs are 35/5 or 40/5 microfarads at 370 or 440 volts.
Step 7: Install the new capacitor. Connect the wires to the same terminals. Secure the capacitor in its bracket. Restore power and test the unit.
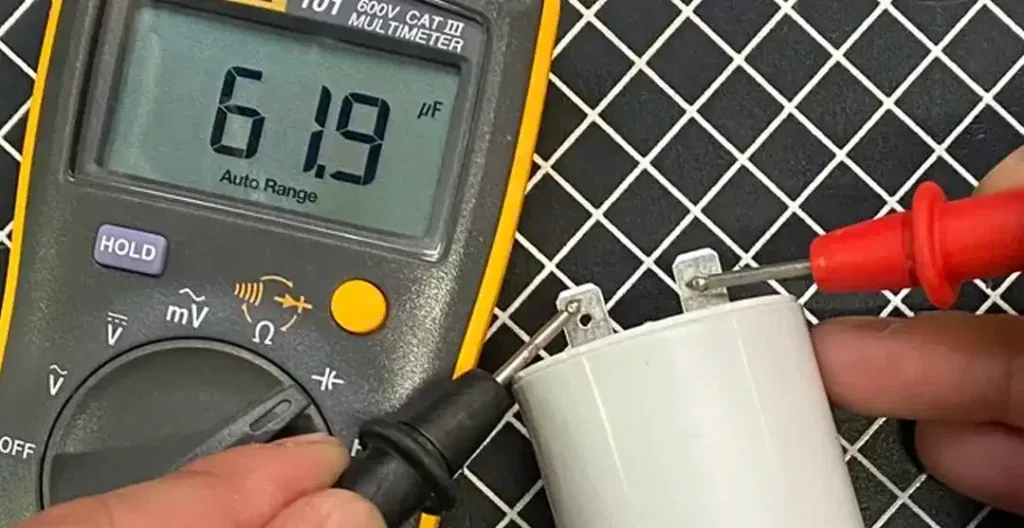
Image source: Bing (Web (fair-use with source credit))
How to Clean the Evaporator and Condenser Coils
Dirty coils reduce cooling efficiency and can cause high-pressure switch trips. Cleaning them is straightforward but requires the right tools.
Step 1: Remove the chassis from the wall sleeve. Unplug the unit. Remove the front grille and the screws holding the chassis in place. Slide the chassis out carefully.
The unit is heavy. Get help if needed.
Step 2: Clean the indoor coil. Use a soft brush or a vacuum with a brush attachment to remove loose dust. Then spray a coil cleaning solution onto the fins. Let it sit for five minutes.
Rinse with a gentle spray of water from a spray bottle or a garden hose with a low-pressure nozzle. Do not use a pressure washer. The high pressure bends the fins.
Step 3: Clean the outdoor coil. Repeat the same process on the back side of the chassis.
Step 4: Straighten bent fins. Use a fin comb that matches the fin spacing on your coil. Run the comb through the fins gently to straighten them.
Step 5: Let everything dry. Leave the chassis out of the wall sleeve for a few hours to dry completely. Moisture inside the electrical compartment can cause shorts.
Step 6: Reinstall the chassis. Slide it back into the wall sleeve. Secure the screws. Reattach the front grille.
Restore power.
How to Unclog the Condensate Drain System
A clogged drain causes water leaks and can trip the condensate flood switch. Clearing it takes ten minutes.
Step 1: Remove the chassis. Unplug the unit and slide the chassis out of the wall sleeve.
Step 2: Locate the drain pan. It sits under the evaporator coil. Look for a hole or a drain tube on the outdoor side of the pan.
Step 3: Clear the drain hole. Use a small wire or a pipe cleaner to poke through the hole. Flush it with water to confirm it drains freely.
Step 4: Check the drain tube. Some models have a rubber tube that connects the drain pan to the outdoor side. Make sure it's not kinked or blocked.
Step 5: Verify the unit is level. Use a level on top of the chassis. The unit should sit level side to side and tilt slightly downward toward the outdoor side. Adjust the leveling legs if needed.
Step 6: Reinstall the chassis. Slide it back in and restore power.
How to Test the Thermostat and Control Board
If the unit responds to manual controls but not to the wall thermostat, the problem is likely the thermostat or its wiring.
Step 1: Check the thermostat wires. Remove the thermostat from the wall and inspect the wires. Look for loose connections or frayed insulation. Tighten any loose screws.
Step 2: Bypass the thermostat temporarily. If you suspect the thermostat is bad, you can jump the R and Y terminals at the control board with a short piece of wire. If the compressor kicks on, the thermostat is the problem.
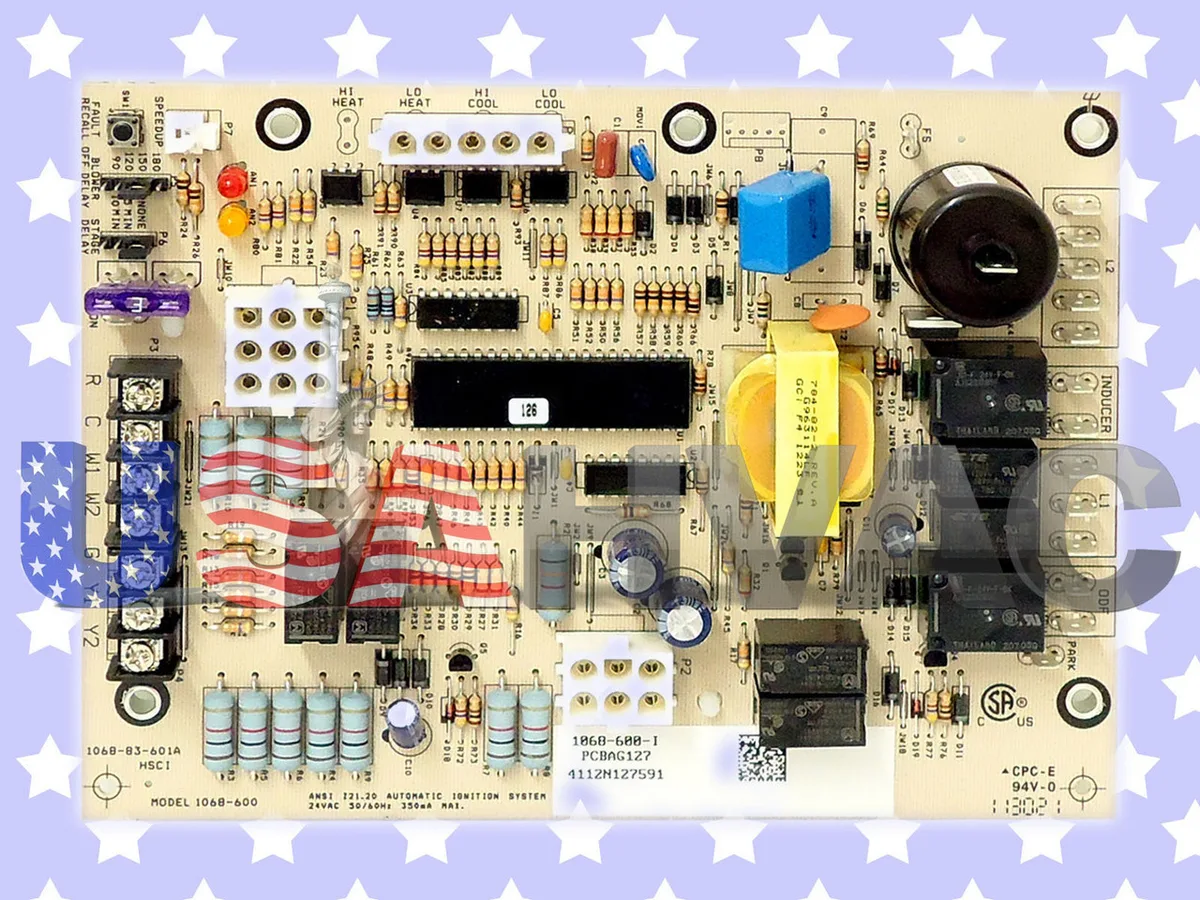
Step 3: Check the control board for visible damage. Look for burn marks, swollen capacitors, or broken solder joints. Any visible damage means the board needs replacement.
Step 4: Replace the control board if needed. Order the exact model number for your unit. Disconnect all the harnesses and screws. Install the new board and reconnect everything in the same order.
Safety Rules and Risks You Cannot Ignore
PTAC units run on high voltage and contain pressurized refrigerant. Ignoring safety rules can lead to electric shock, fire, or refrigerant burns.
Always disconnect power before opening the chassis. Never assume the unit is off because the display is dark. The control board can stay powered even when the display is off.
Discharge capacitors before touching them. Capacitors hold a charge even after power is disconnected. Use a 20,000-ohm resistor to discharge them safely.
Do not work on refrigerant lines. The sealed system contains R-410A or R-22 under high pressure. Releasing it into the atmosphere is illegal under EPA regulations. Only a licensed technician with EPA Section 608 certification can handle refrigerant.
Use a GFCI outlet or circuit breaker when working near water. Condensate and cleaning water create a shock hazard.
Do not bypass safety switches. The high-pressure switch, condensate flood switch, and limit switches exist to prevent damage and fire. Jumping them out can destroy the unit or start a fire.
Lift with your legs, not your back. PTAC chassis weigh 80 to 100 pounds. Get help or use a dolly when removing the unit from the wall sleeve.
When to Call a Professional (and When Not To)
Some repairs are safe for a DIY approach. Others require a licensed HVAC technician. Here's how to decide.
You can handle these yourself:
- Replacing the air filter
- Cleaning the coils
- Unclogging the drain pan
- Testing and replacing a capacitor
- Resetting a tripped breaker or GFCI
- Replacing the control board (if you are comfortable with electrical work)
Call a professional for these:
- Refrigerant leaks or low charge
- Compressor failure
- Reversing valve replacement
- Electrical problems inside the wall (wiring, breaker panel)
- Any repair inside a unit under warranty
If you are not comfortable working with high voltage, call a professional. The 150 dollar service call is cheaper than a hospital visit.
Preventative Maintenance That Keeps Your Unit Running
Regular maintenance prevents most PTAC problems. Set a schedule and stick to it.
Monthly:
- Check and clean the filter
- Inspect the outdoor coil for debris
- Check the drain pan for standing water
Seasonally (before cooling season and before heating season):
- Pull the chassis and deep clean both coils
- Straighten bent fins with a fin comb
- Test the capacitor with a multimeter
- Check the thermostat calibration
- Lubricate fan motors if they have oil ports
Annually:
- Replace the control board fuse if it looks corroded
- Check the wiring harnesses for loose connections
- Verify the unit is level and pitched correctly
Frequently Asked Questions
What does error code E1 mean on an Amana PTAC?
E1 means the room thermistor has failed or the wire connector is loose. Check the sensor connector at the control board. If it's secure and the code returns, replace the room thermistor.
How do I reset an Amana PTAC after a power outage?
Unplug the unit or flip the breaker for 30 seconds. Plug it back in and set the thermostat to cool mode at 70 degrees. The unit should restart and run through a normal cycle.
Why is my Amana PTAC blowing warm air?
A dirty condenser coil, a failed fan motor, or a bad capacitor are the most common causes. Check the outdoor coil for debris. Listen for the outdoor fan motor.
Test the capacitor with a multimeter.
Can I clean my Amana PTAC coils myself?
Yes. Pull the chassis from the wall sleeve and use a soft brush, coil cleaning spray, and a gentle water rinse. Do not use a pressure washer.
Let the coils dry completely before reinstalling the unit.
How long does an Amana PTAC usually last?
With proper maintenance, an Amana PTAC lasts 10 to 15 years. Components like capacitors and fan motors may fail sooner. The compressor and sealed system typically last the longest.
When should I replace my PTAC instead of repairing it?
Replace the unit if the compressor fails, the refrigerant system leaks, or the control board fails twice within a year. Repair costs above 50 percent of a new unit price usually favor replacement.

Similar Posts