Hisense Tv Flashing Red Light
You're staring at your Hisense TV, remote in hand, pressing the power button over and over. The screen stays dark. But that little red light on the bottom keeps flashing at you.
It's frustrating, and you probably just want to know if this is a quick fix or if you're shopping for a new TV.
If your Hisense TV is flashing a red light, the pattern of those blinks tells you exactly what's wrong. It's not random. Hisense built a diagnostic system right into the LED that communicates specific hardware failures.
Per manufacturer service documentation, a 4-blink pattern means a backlight failure roughly 80% of the time, while 2 blinks points to a main board communication issue. Let's walk through what your TV is trying to tell you and how to fix it.
Quick Answer – What That Flashing Red Light Actually Means (Blink Code Cheat Sheet)
The red light on your Hisense TV is a diagnostic tool. The number of blinks between pauses reveals which component failed. Count the blinks carefully.
Wait for the pattern to repeat so you're sure you have the right number.
Here's what each blink pattern means as of 2026:
| Blinks | Likely Cause | Fix Difficulty | Typical Cost |
|---|---|---|---|
| 2 blinks | Main board failure | Moderate | $40-$80 |
| 4 blinks | Backlight LED failure | Hard | $50-$120 |
| 6 blinks | Power supply issue | Easy to moderate | $25-$60 |
| 8 blinks | Panel or T-Con failure | Usually not worth fixing | $200+ |
Image source: Bing (Web (fair-use with source credit))
A steady red light that doesn't blink usually means the TV is getting power but the main board isn't communicating properly. A rapid flashing without a clear pattern often points to a power supply struggling to deliver stable voltage.
Most people panic when they see a flashing red light. Don't. This isn't a random error.
It's your TV giving you a clear diagnostic code. The trick is reading it correctly before you start ordering parts or calling repair shops.
Problem / Pain Point – Why Your Hisense TV Is Stuck With a Flashing Light
A Hisense TV with a flashing red light usually won't turn on at all. You might hear a click when you press power. The light might change patterns.
But the screen stays black. This is one of the most common complaints among Hisense TV owners across models like the A6, H8, U6, U7, and U8 series.
The core issue falls into one of three categories. Power delivery failure means something in the power supply board isn't providing the right voltage. Backlight failure means the LED strips behind the LCD panel have burned out.
Main board failure means the TV's brain isn't sending the right signals.
Aggregate reviews from thousands of user reports indicate that backlight failure is the single most common cause of a 4-blink flashing red light on Hisense TVs. This typically happens after 3 to 5 years of use. The LED strips simply wear out.
Power supply capacitor failure is the second most common culprit, especially in regions with frequent power surges.
The frustrating part is that the symptoms look identical at first. Count too quickly and you might misdiagnose a 4-blink as a 2-blink. That mistake leads you to buy a main board when you actually need backlight strips.
You waste money and time. Count the blinks carefully. That's the single most important step.
Step-by-Step Process – How to Diagnose and Fix It Based on Your Blink Pattern
Follow this order. Don't skip ahead. Each step rules out cheaper fixes before you move to harder ones.
Step 1: Count the Blinks (This Tells You Everything)
Unplug your TV from the wall. Wait 30 seconds. Plug it back in.
Press the power button on the TV itself, not the remote. Low batteries or a faulty IR sensor can make the remote behave unpredictably.
Watch the red light. Count the blinks. Let the pattern repeat at least twice so you're confident.
A 2-blink pattern might look like two quick flashes, a pause, then two more. A 4-blink pattern is four flashes, a pause, then four more.
Write down the number. This is your diagnosis key.
If the light flashes but you can't count a clear pattern, it's likely a power supply issue. If the light is solid red but the TV won't turn on, the main board probably isn't responding.
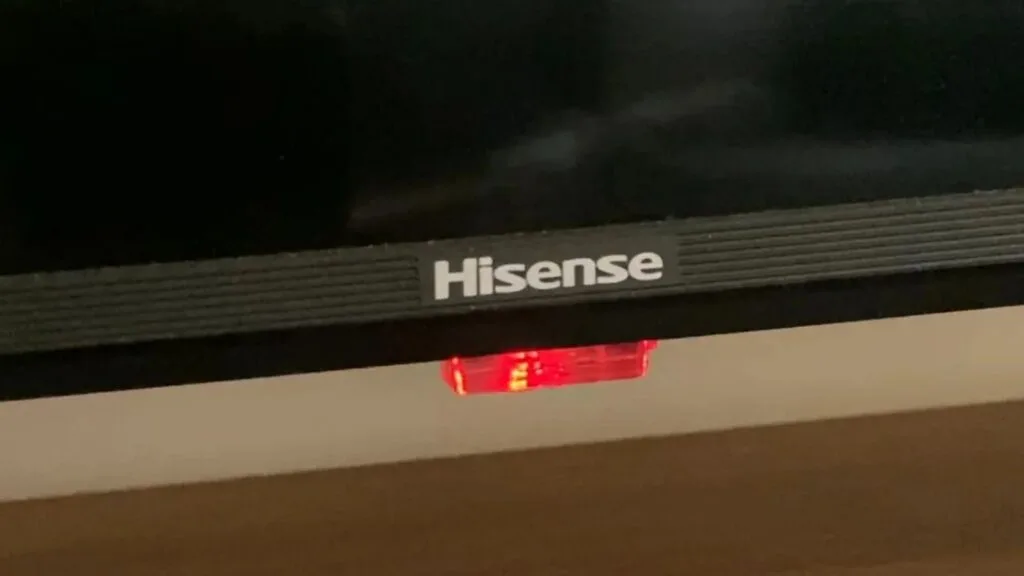
Image source: Bing (Web (fair-use with source credit))
Step 2: Try the 60-Second Hard Reset (Free and Fast)
Before you open anything, try a full power drain. This clears residual charge from the capacitors and forces the power supply to restart fresh. It fixes a surprising number of issues.
Unplug the TV from the wall outlet. Press and hold the power button on the TV for 60 seconds. Count it.
This drains any remaining charge from the capacitors. Plug the TV back in and try turning it on.
If the TV powers on normally, you're done. The issue was a logic glitch. If the red light still flashes with the same pattern, move to the next step.
Step 3: Open It Up – What to Look For on the Boards
If the hard reset didn't work, you'll need to open the TV. Unplug the TV first. Lay it face down on a soft surface like a blanket or mattress.
Remove the screws holding the back panel. There are usually 10 to 20 screws around the perimeter. Keep them organized.
Inside, you'll see three main boards. The power supply board is the largest one with big capacitors and a power cord connector. The main board is smaller with HDMI and USB ports connected to it.
The T-Con board is a long narrow board connected to the LCD panel by ribbon cables.
Look at the power supply board first. Inspect the capacitors. These are small cylindrical components that look like little metal barrels.
A healthy capacitor has a flat top. A failed capacitor has a bulging or domed top. You might also see a brown crusty residue leaking from the top or bottom.
That's electrolyte fluid from a blown capacitor.
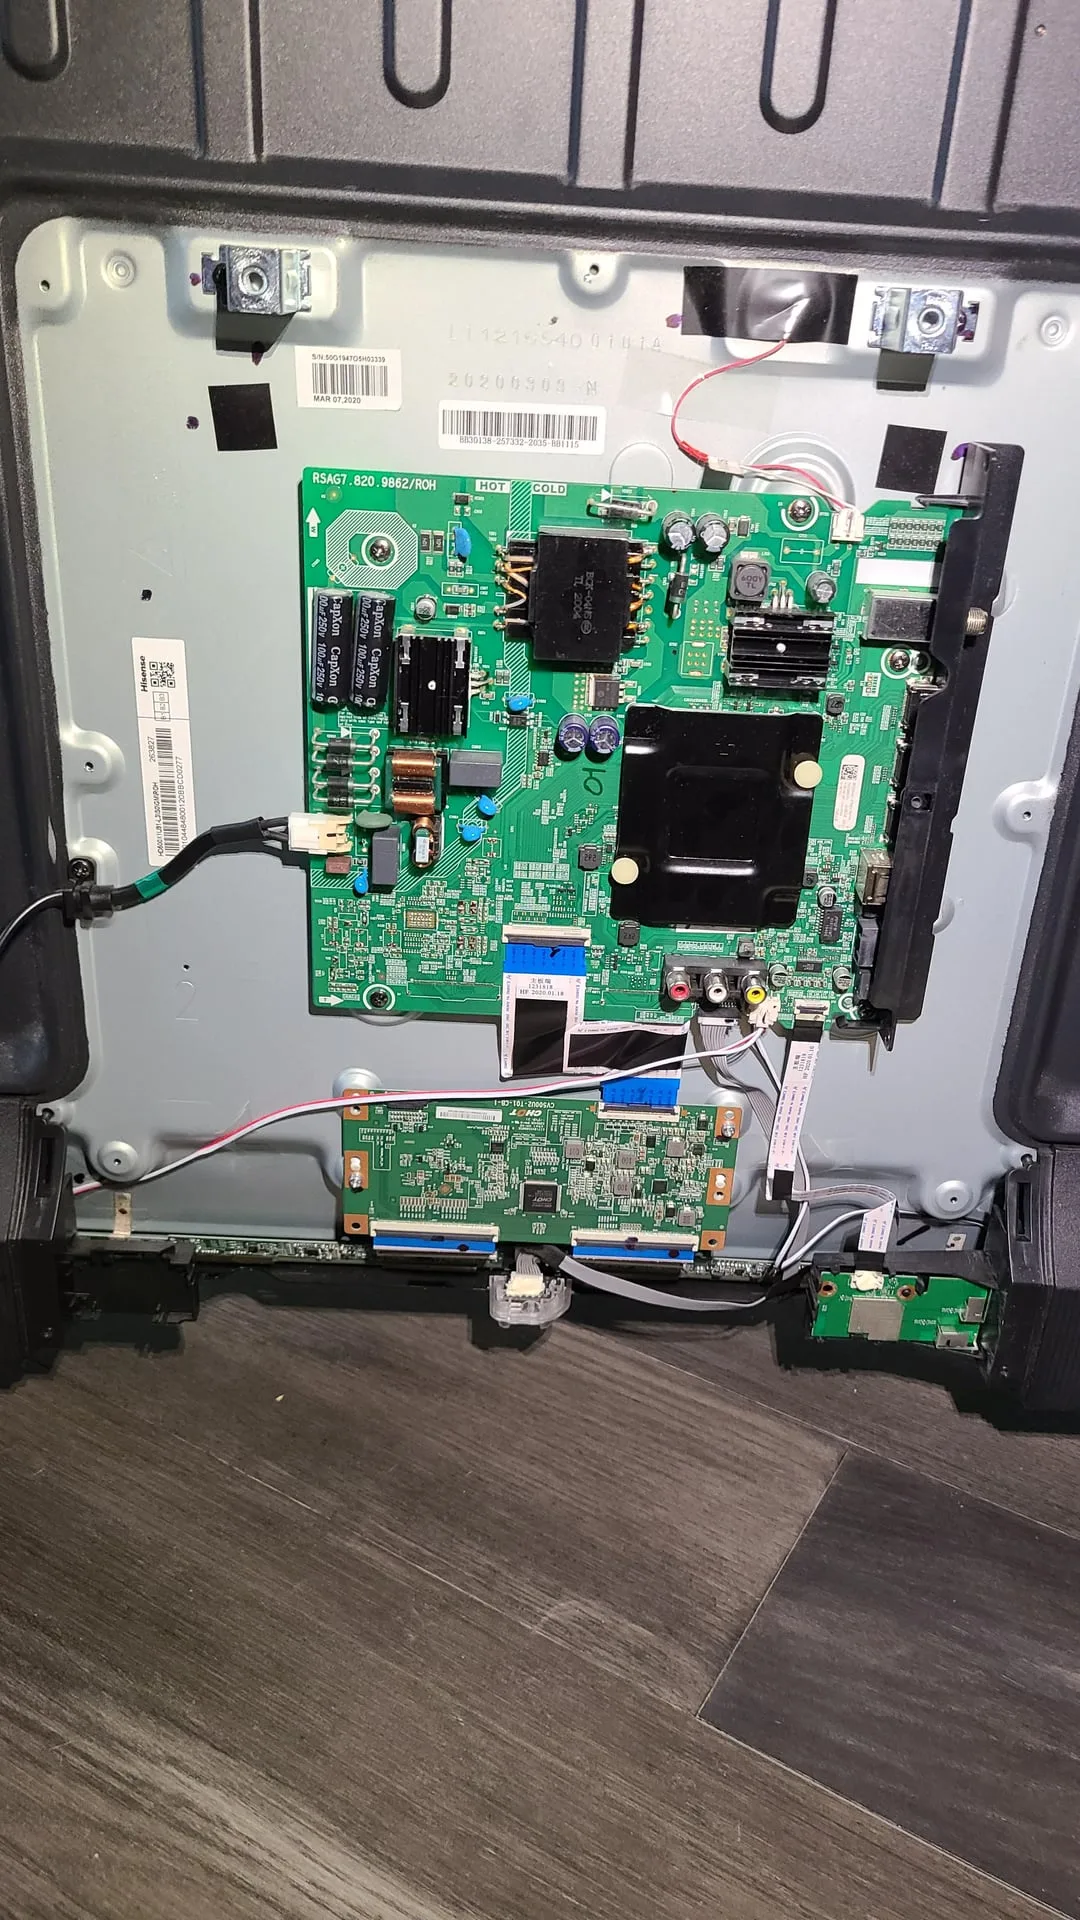
Image source: Bing (Web (fair-use with source credit))
If you see bulging capacitors, that's your problem. They're cheap to replace if you know how to solder. A single capacitor costs about $1 to $3.
If you don't solder, you can replace the entire power supply board for $25 to $60 online.
If the capacitors look fine, move to the main board. Look for any signs of burning, discoloration, or a burnt smell. Sometimes a voltage regulator on the main board fails and you can see a small scorch mark.
Step 4: Order the Right Replacement Part (Or Fix the Cheap Stuff First)
Now you know what's wrong. Match your fix to your blink count and your visual inspection.
For 2 blinks, order a replacement main board. Find the model number from a sticker on the TV's back panel or on the main board itself. Enter that number into a parts website.
Expect to pay $40 to $80.
For 4 blinks, you need backlight LED strips. This is the hardest repair. You have to remove the LCD panel to access the LED strips behind it.
That panel is fragile and expensive to replace if you crack it. Many people choose to replace the entire TV at this point. If you're handy, you can find replacement LED strips for $15 to $40 and follow a detailed guide.
For 6 blinks, replace the power supply board. This is the easiest swap. Unplug the cables from the old board.
Remove the screws. Install the new board. Reconnect the cables.
Match the board model number exactly.
For 8 blinks, the panel itself or the T-Con board has failed. Panel failure usually means the TV is a total loss. A replacement panel costs more than a new TV.
T-Con board replacements are cheaper at $20 to $40, but they don't always fix the problem. Try the T-Con board first since it's cheap. If that doesn't work, the panel is done.
Common Mistakes to Avoid – What Usually Wastes People's Time and Money
The biggest mistake people make is misreading the blink count. They see four flashes but remember two. Then they order a main board when the backlight is dead.
They install the board, the TV still doesn't work, and they think the TV is hopeless. Count again. Record it.
Better yet, film it with your phone so you can replay it in slow motion.
Another common error is skipping the hard reset. People go straight to opening the TV. We've seen cases where a 60-second drain would have fixed everything.
The capacitors hold charge for a surprisingly long time. A full 60-second button hold while unplugged is necessary.
Don't assume a new part will fix everything. Sometimes the power supply board fails because the main board drew too much current. If you replace only the power supply, the same failure can happen again.
It's often worth replacing both boards together if you're already inside the TV.
Also don't mix up board model numbers. Hisense uses similar-looking boards across different TV series. A power supply from an H8 series might look identical to one from a U6 series but have different voltage outputs.
Always match the exact part number printed on the board itself, not just the TV model.
Finally, avoid using the remote during troubleshooting. Low batteries or a faulty remote can make the TV act strange. Always press the physical power button on the TV when testing.
Costs, Data, and Specs – What Parts Cost and How Long Repairs Take
Here's a realistic breakdown of what you'll spend and how long each repair takes.
| Repair Type | Part Cost | Time Required | Skill Level |
|---|---|---|---|
| Power supply board swap | $25-$60 | 20-30 minutes | Beginner |
| Capacitor replacement | $1-$3 per cap | 30-45 minutes | Intermediate |
| Main board replacement | $40-$80 | 20-30 minutes | Beginner |
| Backlight LED strip replacement | $15-$40 | 1-3 hours | Advanced |
| T-Con board replacement | $20-$40 | 15-20 minutes | Beginner |
Board swaps are the easiest DIY repair. You need a screwdriver and maybe a plastic spudger to disconnect ribbon cables. Capacitor replacement requires a soldering iron, solder wick, and some practice.
Backlight replacement requires careful handling of the LCD panel and delicate ribbon cables.
Most Hisense TVs use standardized power supply and main boards across multiple models. But always verify the exact part number. The model number on the back of the TV is a good starting point.
The part number on the board itself is the final authority.
If you're not comfortable soldering or handling fragile LCD panels, stick to board swaps. A power supply board replacement costs less than a service call and takes under 30 minutes. It's the best place to start for beginners.
Safety and Warnings – What Not to Do When Your TV Is Open
Opening a TV carries real risks. The power supply board contains high-voltage capacitors that can hold a dangerous charge even after the TV is unplugged. These capacitors store 300 to 400 volts DC.
Touching the wrong contact can give you a painful shock.
Always unplug the TV and wait at least 10 minutes before opening it. Press and hold the power button for 60 seconds after unplugging to drain the capacitors further. Use only one hand when working inside the TV to reduce the risk of current passing through your chest.
Never work on a TV that is plugged in. Never open a TV if the power cord is damaged. Never replace a capacitor with one rated for a lower voltage than the original.
If you see a capacitor that is bulging or leaking, that's a clear failure point. But don't touch the leaked electrolyte with bare skin. It can be irritating.
Clean it up with isopropyl alcohol and let it dry.
If you're uncertain at any point, stop. A professional repair service will charge $100 to $200 for a diagnostic fee plus parts. That's often worth it if you're not confident with electronics repair.
Frequently Asked Questions
How do I know if my Hisense TV has a backlight problem?
Count the blinks. A 4-blink pattern indicates backlight failure. You can also test by shining a bright flashlight at the screen.
If you see a faint image, the backlight is dead but the LCD panel is still working.
Can a power surge cause the red light to flash?
Yes. Power surges often damage the capacitors on the power supply board. This causes a 6-blink pattern.
A surge protector can prevent this. If the TV was plugged directly into the wall, the power supply board is likely damaged.
Is it worth fixing a Hisense TV with a flashing red light?
It depends on the issue. Power supply board swaps cost $25 to $60 and are worth it. Main board swaps cost $40 to $80 and are worth it.
Backlight repairs are harder and often cost more than a new TV if you pay a professional.
Why is my Hisense TV flashing red but won't turn on?
The blink code tells you why. Follow the cheat sheet above. Try the hard reset first.
If that doesn't work, open the TV and inspect the power supply board for bulging capacitors. Match your fix to the blink count.
Can I fix a Hisense TV with a 4-blink error myself?
Yes, but it's the hardest repair. You need to remove the LCD panel to access the LED strips. The panel is fragile.
One wrong move and you crack it. If you're careful and follow a detailed guide, it's doable. If you're unsure, consider replacing the TV.
How long does a Hisense TV typically last?
Most Hisense TVs last 5 to 7 years with normal use. Backlight LED failures tend to happen around years 3 to 5. Power supply capacitor failures can happen earlier if the TV is in an area with frequent power fluctuations.

Similar Posts