How To Connect A Smart Home Hub: Easy Setup Guide
A smart home hub connects your devices, apps, and voice assistants into one easy, reliable system.
Setting up a smart home hub can feel intimidating at first, but once you understand the steps, it becomes surprisingly simple. I’ve helped set up everything from starter kits to full-home systems, and the biggest difference always comes from good planning, clean network setup, and choosing the right hub for the devices you already own. In this guide, I’ll walk you through how to connect a smart home hub the right way, so your lights, locks, sensors, and speakers work together without the usual headaches.
What a Smart Home Hub Does
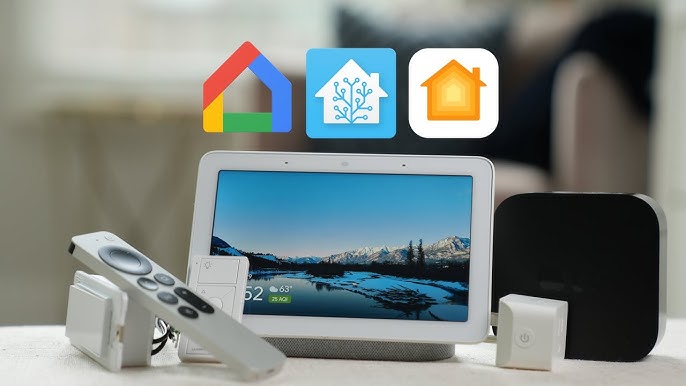
A smart home hub is the control center for your connected devices. It helps different products talk to each other, even when they use different wireless standards or apps. Instead of juggling five separate platforms, you can manage everything in one place.
Many hubs support Wi-Fi, Zigbee, Z-Wave, Thread, Bluetooth, or Matter. That mix is what makes them useful. Think of the hub like a translator at a busy airport, helping every device understand the same instructions.
A good hub can help you:
- Control devices from one app
- Build automations and routines
- Improve device reliability
- Reduce app clutter on your phone
- Bring together products from different brands
Before You Connect a Smart Home Hub
Before you plug anything in, take a few minutes to prep. This small step saves a lot of time later, and in my experience, it prevents the most common setup mistakes. One of the biggest issues I see is people rushing into setup before checking compatibility.
Here’s what to check first:
- Internet connection: Make sure your router is working and the internet is stable
- Hub compatibility: Confirm the hub supports your devices and smart home ecosystem
- Power source: Keep the hub near a reliable outlet
- App readiness: Download the hub’s app before setup
- Account setup: Create or sign in to the required account
- Network details: Know your Wi-Fi name and password
If your hub uses Ethernet, you may need a router port nearby. If it uses Wi-Fi, place it within a strong signal range. For hubs with Zigbee or Thread, central placement in the home can improve coverage.
How to Connect a Smart Home Hub Step by Step
Connecting a smart home hub is usually straightforward if you follow the setup in order. Most brands use a similar process, even if the app screens look different. I’ve set up hubs in apartments, houses, and office spaces, and the same basic pattern always works.
1. Unbox and inspect the hub
Start by checking the box for the hub, power adapter, Ethernet cable if included, and any quick start guide. Make sure nothing is damaged. It sounds basic, but missing accessories cause more delays than people expect.
2. Place the hub in the right spot
Put the hub in a central, open location if possible. Avoid hiding it inside a cabinet or behind a TV, because that can weaken wireless performance. If your hub connects to Zigbee or Thread devices, placement matters even more.
3. Power it on
Plug the hub into power and wait for the indicator light to show it is ready. Some hubs boot up in a minute or two, while others take longer on first startup. If it has an Ethernet port, connect it to your router now.
4. Download the companion app
Open the app store on your phone and install the official app for the hub. Many systems require the app for setup, pairing, updates, and automation control. This is where you will create your home profile and connect the hub to your account.
5. Sign in and add the hub
Open the app and follow the prompt to add a new device or hub. The app may ask you to scan a QR code, press a button on the hub, or enter a setup code. This is the point where the hub usually starts linking to your network and account.
6. Connect to your home network
If the hub uses Wi-Fi, choose your network and enter the password. If it uses Ethernet, the connection may happen automatically once the cable is plugged in. For the smoothest setup, use the 2.4 GHz Wi-Fi band if the manufacturer recommends it, since many smart devices prefer it for range and stability.
7. Update the firmware
Once connected, check for firmware updates right away. I always do this before adding devices because updates often fix pairing issues, security gaps, and automation bugs. Skipping this step is one of the fastest ways to create avoidable problems.
8. Pair your smart devices
Now begin adding your lights, plugs, sensors, thermostats, locks, or cameras. Some devices pair directly through the app, while others need a button press or reset mode. Add them one at a time so you can confirm each device is working before moving on.
9. Test basic control
Try turning devices on and off, checking status updates, and running a simple automation. This helps you confirm the hub is communicating properly. If something does not respond, troubleshoot it now instead of waiting until your whole routine depends on it.
10. Set up automations and scenes
After the basics work, build routines like “Good Morning,” “Away Mode,” or “Movie Night.” Automations are where a smart home hub really earns its keep. A well-set-up hub can make your home feel more seamless, like it is quietly helping in the background.
Choosing the Right Smart Home Hub Connection Method
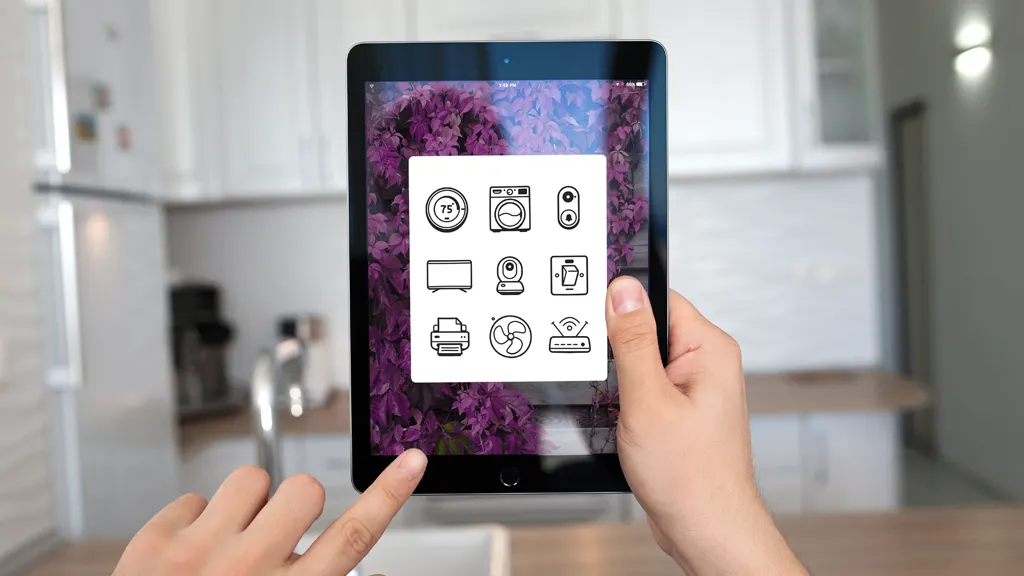
Not every smart home hub connects the same way. The method depends on the hub model, your router, and the devices you plan to use. Knowing the differences helps you avoid compatibility surprises.
Wi-Fi connection
A Wi-Fi hub is easy to place anywhere with a signal. This is convenient, but it can be affected by congestion, weak coverage, or router issues. If your Wi-Fi is crowded with phones, TVs, and laptops, stability may vary.
Ethernet connection
Ethernet is often the most stable option. If your hub supports it, use it for a more dependable connection and faster response time. I usually recommend Ethernet for anyone building a serious smart home setup.
Bluetooth connection
Bluetooth is common for nearby setup and short-range accessories. It is useful, but it is not ideal for whole-home control by itself. Many Bluetooth devices work best when paired with a hub that extends their range.
Zigbee and Z-Wave
These wireless standards are popular for smart lights, sensors, and switches. They create mesh networks, which means devices can help extend the signal. This is one reason a smart home hub can be more reliable than relying on Wi-Fi alone.
Matter and Thread
Matter is a newer smart home standard designed to improve cross-brand compatibility. Thread is a low-power mesh network that supports many Matter devices. Together, they can make setup simpler and future-proof your system a bit more.
Common Problems When You Connect a Smart Home Hub
Even a good setup can run into trouble. The good news is that most issues are easy to fix once you know where to look. I’ve found that the problem is often not the hub itself, but the network or the pairing order.
Common issues include:
- Wrong Wi-Fi band: Some hubs only work well on 2.4 GHz
- Weak signal: The hub may be too far from the router
- Router limits: Some routers block device discovery or multicast traffic
- Outdated firmware: Old software can break pairing
- Device reset problems: Accessories may not be fully reset before pairing
- Account conflicts: A device may still be linked to another home or app
If a device refuses to connect, try these fixes:
- Restart the hub and router
- Move the hub closer to the router during setup
- Remove the device from any old account
- Check app permissions on your phone
- Update the hub firmware again
- Reboot the device and try pairing from scratch
One mistake I made early on was adding too many devices before testing the hub’s range. The system looked fine in the app, but two motion sensors failed because they were too far from the mesh path. After I added a plug or repeater in the middle, everything became stable. That lesson stuck with me: coverage matters as much as setup.
Benefits of a Proper Smart Home Hub Setup
A smart home hub is only useful if it is set up well. When done right, it can make daily life smoother, safer, and more convenient. It can also save time because you spend less effort switching between apps.
Main benefits include:
- Better device coordination
- Faster automations
- Fewer app headaches
- Improved reliability for large setups
- Easier expansion over time
- More control over scenes and schedules
A hub also helps when your home grows. If you start with a few lights and later add locks, sensors, and thermostats, a good hub can keep everything organized. That is why many smart home users end up preferring a hub-based system over a phone-only setup.
Smart Home Hub Security and Privacy Tips
Whenever you connect a smart home hub, security should be part of the process. These systems live on your network and often control devices tied to your daily routine. A little care here goes a long way.
Use these best practices:
- Create a strong, unique password
- Turn on two-factor authentication if available
- Keep firmware updated
- Use a guest network if your hub supports it
- Remove devices you no longer use
- Review automation permissions and shared access
If the hub collects data, review what is stored and whether you can limit it. Privacy settings vary by brand, so it is worth reading the options carefully. I always tell people to treat their smart home hub like a front door key, not just another app.
How to Expand Your Smart Home After the Hub Is Connected
Once the hub is running, think of it as the foundation rather than the finish line. The best smart homes grow in stages. Start simple, then expand based on your daily habits.
A good expansion plan looks like this:
- Start with lighting and plugs
- Add sensors for doors, motion, or temperature
- Build routines around daily patterns
- Add smart locks or thermostats next
- Test each new device before buying more
This staged approach makes troubleshooting much easier. If something goes wrong, you know which new device caused it. It also helps you stay within budget, which is a very real part of any smart home project.
Frequently Asked Questions of How to Connect a Smart Home Hub
How do I know if my smart home hub is connected?
Most hubs show a steady indicator light or a status message in the app. If you can see the hub online and control it from your phone, the connection is usually successful.
Can I connect a smart home hub without Wi-Fi?
Yes, some hubs use Ethernet instead of Wi-Fi. Others may support Bluetooth or local setup first, but most still need internet access for account syncing and remote control.
Why won’t my hub find my smart devices?
This usually happens because of network issues, unsupported standards, or incomplete device reset steps. Check whether the device needs 2.4 GHz Wi-Fi, Zigbee, Z-Wave, Matter, or Thread before pairing again.
Where should I place my smart home hub?
Place it in a central, open spot with good signal and a reliable power source. Avoid metal cabinets, corners, and areas far from your router if the hub depends on Wi-Fi.
Do I need a hub for every smart device?
No, many smart devices work directly with Wi-Fi or Bluetooth. A hub becomes useful when you want better control, stronger automations, or support for device types that need a central bridge.
Conclusion
Connecting a smart home hub is easier when you break it into simple steps: check compatibility, place the hub well, connect it to your network, update the firmware, and then add devices one by one. That process gives you a more stable system and helps you avoid the common setup problems that frustrate many first-time users.
If you want a smart home that feels smooth instead of messy, take your time with the setup and build from the basics. Start small, test often, and let the system grow with your needs. If this guide helped, explore more smart home tips, subscribe for updates, or leave a comment with your setup questions.

Similar Posts






















[…] you're planning a robot vacuum to supplement deep cleaning, a central hub for connected gadgets ties the whole setup together. Choose based on where the machine will live and how often you'll […]