How To Use An Action Camera: Easy Pro Tips
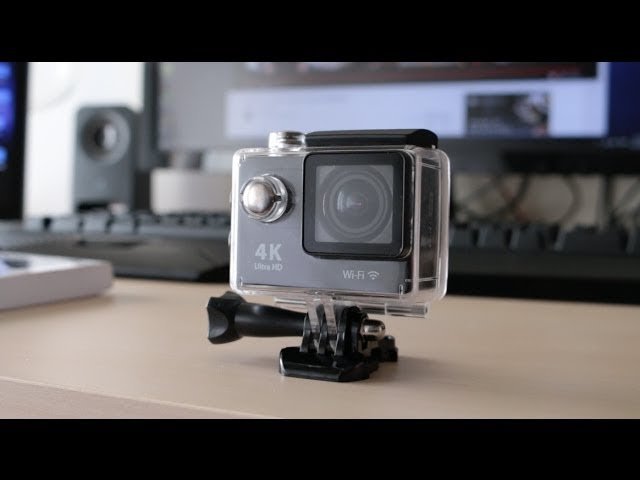
Using an action camera means mounting it properly, choosing the right settings, and shooting with steady, intentional movement.
An action camera can turn ordinary moments into vivid, fast-paced footage if you know how to handle it well. I’ve used them for travel, cycling, and hands-on outdoor shoots, and the biggest difference always comes down to setup, angle, and a few simple habits that save shaky clips and dead batteries. In this guide, I’ll walk you through how to use an action camera in a way that feels practical, clear, and easy to apply right away.
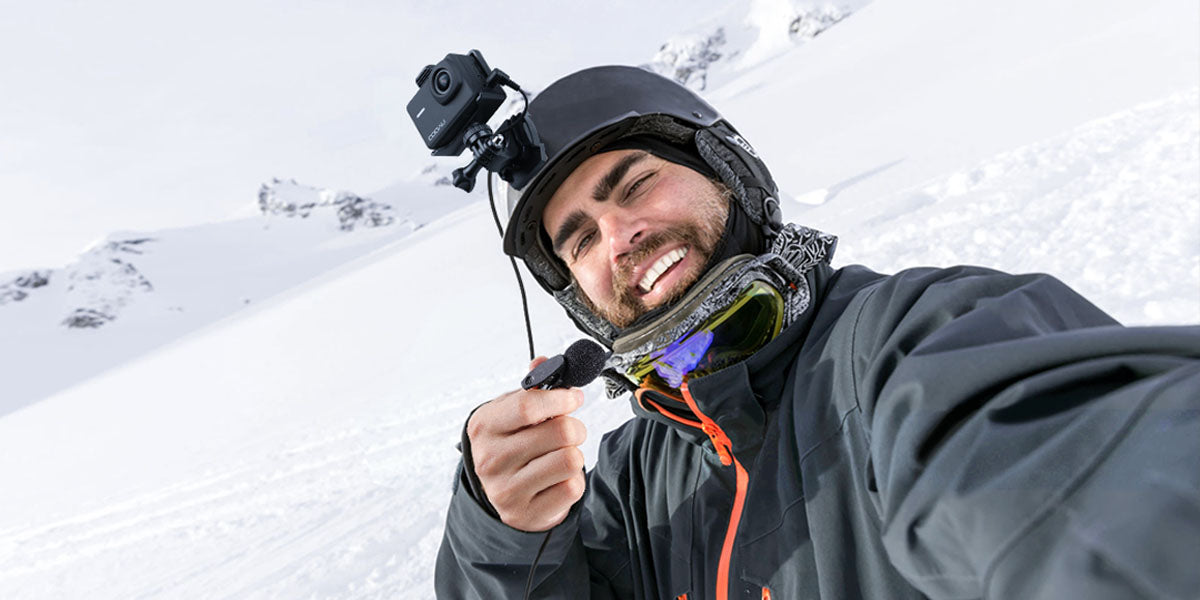
What an Action Camera Is and Why It Works So Well
An action camera is a small, rugged camera made for movement. It is built to handle sports, travel, water, and rough weather better than a regular phone or traditional camera. Most models are compact, lightweight, and easy to mount on helmets, bikes, cars, tripods, or even pets.
What makes an action camera special is its wide-angle lens and stabilization features. That wide view captures more of the scene, which is great for skiing, surfing, hiking, and road trips. In my own experience, that wide frame also helps when you are close to the action and do not want to miss the background details.
Action cameras are popular because they are simple to carry and hard to damage. Many are waterproof with the right housing, and some are even waterproof without extra gear. They are ideal when you need a camera that can keep up with you, not slow you down.

How to Set Up an Action Camera Before Shooting
Before you press record, take a few minutes to set the camera up the right way. This step matters more than most beginners think. A good setup can save you from blurry clips, crooked angles, and short battery life.
Start by charging the battery fully. Then insert a memory card that meets the camera’s speed needs, especially if you plan to record 4K video. Many action cameras need a fast microSD card to handle high-resolution footage without errors.
Next, update the firmware if the camera allows it. Manufacturers often release updates that improve stability, battery use, or video quality. I have skipped updates before and later ran into freezing issues during a shoot, so this is one small task that pays off.
After that, check your settings:
- Video resolution: Use 1080p for easier editing or 4K for sharper detail.
- Frame rate: Use 30 fps for general use or 60 fps for smoother motion.
- Stabilization: Turn it on for sports, walking, or any moving shot.
- Field of view: Choose wide for action, narrow for a more natural look.
- Date and time: Set these correctly so clips stay organized.
Finally, clean the lens. A tiny fingerprint can soften your footage fast. I always give the lens a quick wipe before filming, because even a small smudge can ruin an otherwise great shot.

How to Use an Action Camera for Better Footage
Learning how to use an action camera is really about learning how to think in motion. Unlike a phone camera, this device shines when you plan the shot around movement, angles, and speed. If you treat it like a tiny fixed camera and not just a toy, your results improve fast.
Hold the camera steady when possible. Even with stabilization, smooth movement matters. Try to move with your subject instead of making sudden jumps or fast turns. Think of it like skating on ice instead of stomping through mud.
Use the right mounting option for the job:
- Chest mount: Great for biking, skiing, and hands-free point-of-view shots.
- Helmet mount: Best for immersive first-person footage.
- Handlebar mount: Good for cycling or motorsports.
- Suction mount: Useful for cars and smooth surfaces.
- Tripod or mini stand: Best for stable scenic shots, vlogs, or time-lapse clips.
A lesson I learned early: the mounting point changes the story. A chest mount feels personal and active. A helmet mount gives a true point-of-view feel, while a tripod gives cleaner, more balanced clips. Choose the mount based on the mood you want the viewer to feel.
Also pay attention to framing. Because action cameras use a wide lens, objects can look farther away than they really are. Move the camera closer when you want more impact. If you keep everything too far back, the shot may feel flat.

Best Settings to Use on an Action Camera
The best settings depend on what you are filming. There is no single perfect setup, but there are smart starting points that work well for most situations. Once you understand these basics, you can adjust based on light, motion, and storage space.
Here are practical setting tips:
- For daylight action: Use 4K at 30 fps or 60 fps with stabilization on.
- For low light: Lower the resolution if needed and use the widest aperture available.
- For slow motion: Use 60 fps, 120 fps, or higher if your camera supports it.
- For travel clips: Use a wide field of view for more scenery.
- For talking shots: Use a narrower field of view to reduce distortion.
One common mistake is always choosing the highest resolution. Higher is not always better if the scene is dark or your card fills up too fast. I have found that a clean 1080p clip often looks better than a noisy 4K clip shot in bad light.
If your camera offers color profiles, start with a standard profile unless you plan to edit heavily. Flat profiles can look dull before editing. For beginners, natural color is usually the easiest and safest choice.
Tips for Shooting Smooth, Clear Action Camera Video
A great action camera shot usually feels simple, but it takes a little intention. The good news is that a few small habits can make your footage look much better right away.
Try these tips:
- Keep the lens clean before every session.
- Use stabilization for most moving shots.
- Shoot in bright light when you can, since action cameras perform best there.
- Avoid pointing the camera directly into harsh sun unless you want a strong silhouette effect.
- Use short clips instead of long, empty recordings.
- Hold each shot for a few seconds before moving the camera.
One trick that helps a lot is shooting a little wider than you think you need. That gives you room to crop during editing. It also helps if your hands shake a bit or if the subject moves unexpectedly.
Another useful habit is checking your angle after the first clip. Many people mount the camera once and never look again, only to discover later that the horizon is tilted or the subject is too low in frame. A 10-second test shot can save an entire day of disappointment.
How to Use an Action Camera in Different Situations
The same camera can behave very differently depending on where and how you use it. That is why context matters. If you match the setup to the activity, your footage will feel more polished and natural.
Travel and sightseeing
For travel, keep the camera light and easy to grab. A small grip or mini tripod works well for quick clips of streets, landmarks, and food scenes. Use a wide angle to capture both the subject and the environment.
Sports and outdoor adventure
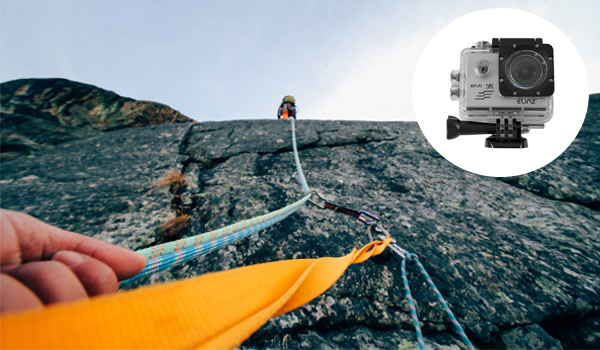
For sports, focus on secure mounting and stabilization. Make sure the camera is locked in before you move. I have seen mounts loosen from vibration, so it is worth double-checking every clip when speed or impact is involved.
Water activities
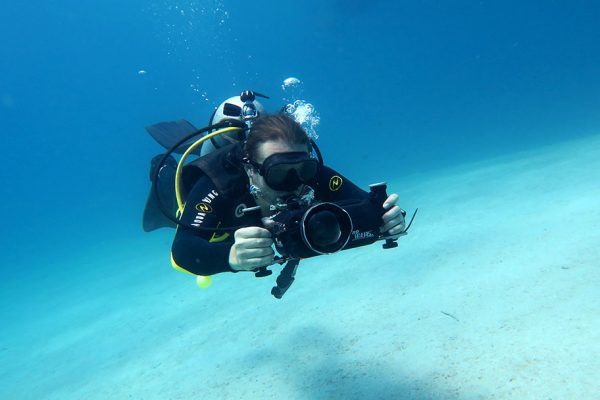
For swimming, surfing, or kayaking, confirm whether the camera is waterproof on its own or needs a case. Saltwater can be rough on gear, so rinse the camera and housing with fresh water afterward. Dry it completely before opening any ports.
Vlogging and everyday use
For casual videos, use a tripod or handheld grip and speak close to the camera. Some action cameras have good microphones, but wind can still be a problem. If you are filming outside, a wind reduction setting or external mic adapter can help.
Time-lapse and slow motion
For time-lapse, keep the camera stable and make sure the battery is full. These clips can run for a while, so power matters. For slow motion, use a higher frame rate and good light, since that gives cleaner results.

Common Mistakes to Avoid When Using an Action Camera
Most action camera problems are easy to avoid once you know what to look for. These mistakes are common, especially for beginners, but they are also easy to fix.
Watch out for these issues:
- Forgetting to format the memory card before a shoot
- Using the wrong mount for the activity
- Filming in poor light without adjusting settings
- Leaving stabilization off during movement
- Ignoring battery levels before going out
- Recording too much footage without checking framing
One mistake I made often at first was assuming the audio would be fine. Action cameras can pick up wind noise fast, especially outdoors or on a bike. If sound matters, test it early and plan for a mic or wind reduction.
Another trap is overusing fancy settings. It is tempting to switch everything on, but simple often wins. A stable shot with good light beats a fancy setup that never quite works as expected.
Editing and Sharing Action Camera Clips
Editing helps turn raw footage into something watchable and fun. Even small cuts can make a huge difference. Trim out shaky starts, long pauses, and repeated scenes so the final video feels tighter.
Basic edits to make first:
- Cut dead time at the start and end of clips
- Add music if it fits the mood
- Stabilize shaky sections only if needed
- Adjust brightness and color slightly
- Slow down key moments for impact
You do not need advanced software to begin. Many phones and desktop apps can handle action camera clips easily. The main goal is to keep the story moving and highlight the best parts.
When you share the clips, choose the platform that fits the format. Short vertical highlights work well for social media, while longer landscape videos are better for YouTube or personal archives. That small format choice can make your content feel much more polished.

How to Take Care of Your Action Camera
Good care keeps the camera ready for the next outing. Action cameras are made for tough use, but they still need regular attention. A little maintenance protects the lens, battery, and seals.
After filming, wipe the body and lens with a soft cloth. If the camera got wet, dry it fully before storing it. Check the ports and battery door for dirt or sand, because small debris can cause damage over time.
Also store batteries in a cool, dry place. If you are not using the camera for a while, charge the battery to a healthy level instead of leaving it empty. That helps preserve battery life in the long run.
I like to keep a small gear pouch with spare batteries, a card reader, a lens cloth, and extra mounts. It sounds simple, but it saves a lot of stress when you need to film on the go.
Frequently Asked Questions of How to Use an Action Camera
How do I start using an action camera for the first time?
Charge the battery, insert a compatible memory card, and set the date, time, and video quality. Then do a short test recording to check the angle, sound, and stabilization before your main shoot.
What is the best setting for an action camera?
For most situations, 4K at 30 fps or 60 fps with stabilization is a strong starting point. If you are in low light, simpler settings may look cleaner than maximum resolution.
Can I use an action camera without a mount?
Yes, you can hold it, place it on a tripod, or use a grip for handheld shots. Still, a proper mount gives better stability and helps keep the camera secure during movement.
Why does my action camera footage look shaky?
Shaky footage usually comes from fast movement, a loose mount, or stabilization being turned off. A steadier hold, a tighter mount, and the right settings usually fix the problem.
How do I get better sound from an action camera?
Keep the microphone area clear and reduce wind exposure as much as possible. If your camera supports it, use an external mic adapter or a wind filter for cleaner audio outdoors.
Is an action camera good for beginners?
Yes, it is one of the easiest cameras to learn because it is simple, durable, and versatile. If you start with basic settings and short test clips, you can improve very quickly.
Conclusion
Using an action camera is easier when you focus on the basics: good setup, the right mount, steady movement, and simple settings that match the scene. Once you understand those pieces, the camera becomes a powerful tool for travel, sports, daily life, and creative clips. The more you use it, the more natural it feels.
If you are just getting started, keep it simple and practice one shot at a time. Try a few different angles, review your clips, and learn what works best for your style. If this guide helped, explore more camera tips, subscribe for updates, or leave a comment with the type of footage you want to capture next.

Similar Posts



























[…] who have dealt with wireless pairing quirks in other cameras will find the first-time setup […]
[…] or app instability, we said so rather than hiding it. And if you're new to the category, our frame-your-shots basics for action cams are worth a quick read before your first […]
[…] None of the thumb cameras on this list offer it, so if your content is high-motion, budget accordingly. If your clips are mostly walking, vlogs, or desk time, you can live without it, and you can get more value from even a basic camera by learning a few good POV shooting habits. […]
[…] POV stuff a thumb cam does best. If this is your first action camera, a quick refresher on shooting basics will make your clips far more polished. The small sensor does show noise in low light, so treat it […]