How to Connect Mirrorless Camera to Smartphone
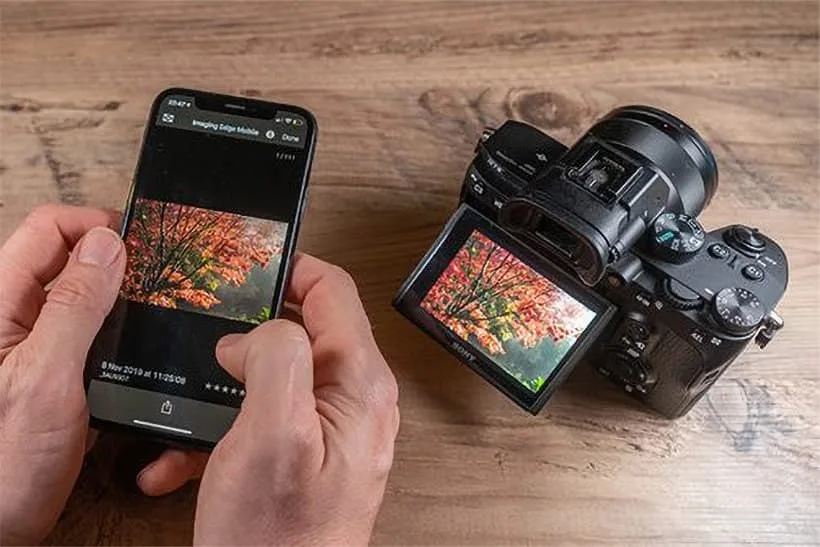
You have a great shot on your mirrorless camera, and you want it on your phone. Fast. But figuring out how to connect mirrorless camera to smartphone feels like a puzzle every time.
The menus are buried. The app names are confusing. Nothing seems to pair on the first try.
As of 2026, every major mirrorless brand supports wireless transfer via Wi-Fi, Bluetooth, or a wired connection. The process varies wildly between brands and even between models from the same manufacturer. Let's walk through the options so you can stop guessing and start transferring.
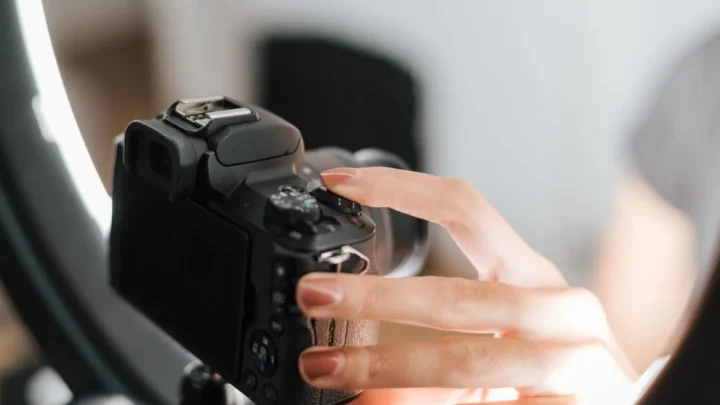
Image source: Web (Bing) / amateurphotographer.com (Web image (fair-use with source credit))
Why Connecting Your Camera to Your Phone Can Be a Headache
Every brand does it differently. Sony calls its app Imaging Edge Mobile. Canon uses Camera Connect.
Nikon has SnapBridge. Fujifilm uses Camera Remote. Each app looks and behaves differently.
If you switch brands, you are learning a whole new system.
The wireless settings on most mirrorless cameras are buried three or four layers deep. You are hunting through menus while your shot sits on the card. Connection reliability is another issue.
The connection can drop mid-transfer, especially with larger files. RAW files are particularly slow. Some apps crash when you try to send more than a few at a time.
Battery drain is a real concern. Wireless transfer eats through your camera battery fast. You might get thirty minutes of steady transfer before your camera starts complaining.
It is one of those things nobody warns you about until you are stuck with a dead battery and a half-transferred folder.
If you run into trouble, knowing how to troubleshoot common issues saves a lot of frustration. Keeping your camera stored correctly between shoots means everything is ready to go when you need it.
The Three Ways to Connect: Wi-Fi, Bluetooth, or a Cable
There are exactly three ways to get photos from your camera to your phone. Each has its own strengths and weaknesses.
| Method | Speed | Ease of Setup | Best For |
|---|---|---|---|
| Wi-Fi Direct | Fast | Moderate | Transferring many high-res photos |
| Bluetooth | Slow | Easy | Low-res previews, remote control |
| USB-C Cable | Fastest | Very easy | Large RAW files, reliable transfers |
Wi-Fi Direct creates a direct wireless link between your camera and phone. It does not need a router. You connect your phone to the camera's Wi-Fi network, then open the app.
This is the most common method for full-resolution transfers. The downside is that it disconnects your phone from the internet while you transfer.
Bluetooth is slower and only good for low-resolution previews. Most cameras use Bluetooth for the initial pairing and then switch to Wi-Fi for the actual transfer. Some cameras also let you use Bluetooth to trigger the shutter remotely.
But if you want the full-resolution file on your phone, you will almost always need Wi-Fi.
A USB-C cable is the fastest and most reliable option. You plug the camera directly into your phone. Many newer mirrorless cameras support USB-C tethering.
You just connect the cable, and your phone recognizes the camera as a storage device. This is ideal for large RAW files or when you are in a hurry.
Which Method Is Right for You? A Simple Decision Tree
This is the part where most guides lose you. They tell you to use the app and hope it works. Instead, let's use some simple logic to find your best path.
Image source: Bing (Web (fair-use with source credit))
If you are transferring a few JPEGs for social media: Use Wi-Fi Direct. It is fast enough for a handful of photos, and you do not need perfect quality. Open the app, connect to the camera's Wi-Fi, select your images, and transfer.
If you are transferring many RAW files after a shoot: Use a USB-C cable. Wi-Fi is too slow for large batches of RAW files. A cable transfer is several times faster and more reliable.
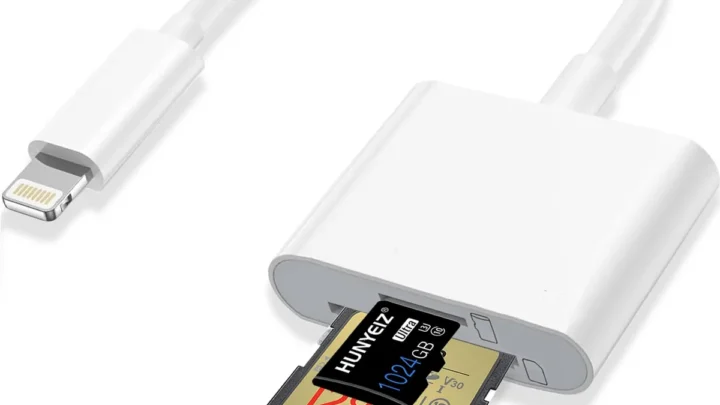
You can also use an SD card reader that plugs into your phone if your camera does not support direct cable transfer.
If you want to control the camera remotely from your phone: Use Bluetooth for the initial pairing, then switch to Wi-Fi for the live view and shutter control. Most camera apps support this. You frame the shot on your phone and trigger the shutter from there.
If you are on a shoot and need photos on your phone immediately: Use a cable or a card reader. Wireless transfer is fine for casual use, but it is not reliable enough for professional workflows where time matters. A card reader is a small investment that saves you a lot of waiting.
If your camera app keeps crashing or failing: Try the cable method. It bypasses the app entirely. Your phone treats the camera like a USB drive.
You just copy the files over.
Step-by-Step: How to Connect Your Camera by Brand
The exact steps depend on your camera brand. Here is how to connect the most common mirrorless systems.
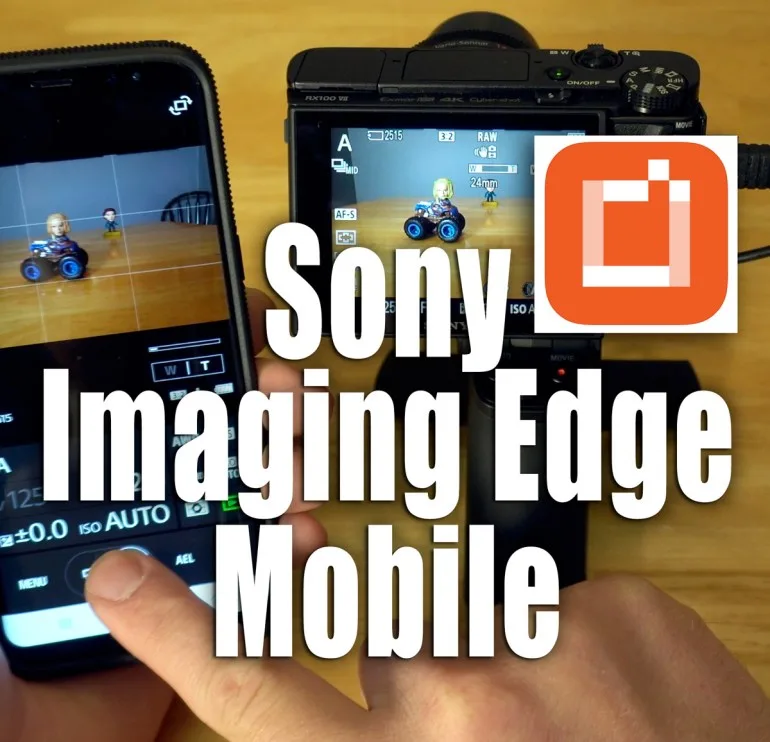
Image source: Web (Bing) / sonyalphalab.com (Web image (fair-use with source credit))
Sony (Imaging Edge Mobile): Download the app first. On your Sony camera, go to the network menu and select "Send to Smartphone." Choose "Select on Camera" or "Select on Smartphone." The camera will display a QR code or a Wi-Fi network name. Open the app, tap the connect button, and scan the QR code.
Your phone connects to the camera's Wi-Fi automatically. Select the images you want and transfer.
Canon (Camera Connect): Download Canon Camera Connect. On your camera, press the Wi-Fi button or go to the menu and select "Wi-Fi/Bluetooth." Choose "Connect to Smartphone." The camera will show a QR code or a Wi-Fi password. Open the app, select "Connect to Camera," and scan the QR code.
Once connected, you can browse and download images.
Nikon (SnapBridge): Download SnapBridge. On your camera, go to the setup menu and select "Connect to Smartphone." The camera will start broadcasting a Wi-Fi signal. Open SnapBridge and follow the on-screen prompts.
Nikon cameras often use Bluetooth for the initial pairing and then switch to Wi-Fi for transfers. The process can be slow, so be patient.
Fujifilm (Camera Remote): Download Fujifilm Camera Remote. On your camera, go to the connection settings and select "Wireless Communication." The camera will display a QR code. Open the app, tap "Connect," and scan the code.
Fujifilm cameras also support a direct Wi-Fi connection if the QR code method fails.
If you are using your camera for specific types of photography, learning how to set exposure correctly for your lighting conditions helps. Good exposure means fewer edits and faster transfers.
What Usually Goes Wrong and How to Fix It
Things go wrong. A lot. Here are the most common issues and how to solve them.
The app cannot find your camera. This is usually a Wi-Fi problem. Make sure your phone is connected to the camera's Wi-Fi network, not your home network. Go to your phone's Wi-Fi settings and look for a network that starts with the camera brand name.
Select it. Then go back to the app.
The connection drops mid-transfer. This happens with large files or weak signal. Try transferring fewer images at once. If you are sending RAW files, switch to JPEG for the transfer.
You can also move your phone closer to the camera. Wireless range is usually about ten meters, but walls and interference reduce it.
The transfer is very slow. Slow transfers are usually caused by distance or interference. Move your phone closer to the camera. Turn off other Wi-Fi devices nearby.
If you are still struggling, use a cable instead. It is always faster.
The app crashes when you try to select multiple images. Some apps have a limit on how many images you can transfer at once. Try transferring five to ten images at a time instead of the whole batch. If the app keeps crashing, restart both your phone and your camera.
The camera battery dies during transfer. Wireless transfer is power hungry. Make sure your camera battery is fully charged before you start. If you are transferring a lot of images, consider using a USB power bank to keep the camera running.
Following routine battery care helps extend your shooting time.
The QR code does not appear on the camera screen. Some cameras require you to enable the QR code display in the menu. Check your camera's manual for the exact setting. Alternatively, you can connect manually by selecting the Wi-Fi network on your phone and entering the password shown on the camera screen.
Pro Tips for a Faster, More Reliable Connection
Small adjustments make a big difference. Here are the ones that work best.
Turn off your phone's mobile data during transfers. Your phone will try to keep both connections active. This can cause the app to freeze or lose the camera. Switch to airplane mode, then turn Wi-Fi back on.
Your phone will focus entirely on the camera connection.
Update your camera's firmware. Manufacturers release updates that fix connection bugs and improve app compatibility. Check your camera maker's support site for the latest version. A five minute firmware update can solve months of frustration.
Use a dedicated SD card reader for large transfers. A USB-C or Lightning card reader is faster than any wireless method. You plug in the reader, insert the card, and copy files directly to your phone. This bypasses the camera's battery and the app entirely.
It is the best option for backing up your images on the go.
Keep your camera's Wi-Fi settings simple. Some cameras let you name the network or set a custom password. Keep the default settings. Custom passwords can cause compatibility issues with the app.
If you have changed the network name, reset it to the factory default.
Transfer in batches of ten or fewer images. Most camera apps struggle with large batches. The connection drops or the app freezes. Select a few images, transfer them, then select the next batch.
It takes a bit longer but rarely fails.
Turn off the camera's auto power off setting. Many cameras shut down after a minute or two of inactivity. You will lose the connection mid-transfer. Set the auto power off to the longest setting or disable it entirely while transferring.
Use a power bank for extended transfer sessions. Plug your camera into a USB power bank while transferring. This keeps the battery topped up and prevents the camera from shutting down. It is especially useful when you are transferring hundreds of images after a long shoot.
Frequently Asked Questions
Why does my camera keep disconnecting from my phone?
The most common cause is distance. Move your phone closer to the camera, ideally within three feet. Also check that your phone is connected to the camera's Wi-Fi network and not your home network.
Interference from other wireless devices can also cause drops.
Can I transfer RAW files to my phone wirelessly?
Yes, but it is slow. Most camera apps support RAW transfer, but each file can take 30 to 60 seconds. A USB-C cable or an SD card reader is much faster for RAW files.
Wireless is fine for a few images, but not for a full card.
Do I need an internet connection to transfer photos?
No. The camera creates its own Wi-Fi network. Your phone connects directly to it.
You do not need a router or internet access. Your phone will lose internet access during the transfer. Enable airplane mode, then turn on Wi-Fi for the best results.
Why won't my camera app find my camera?
First, make sure your phone is connected to the camera's Wi-Fi network. Go to your phone's Wi-Fi settings and look for a network starting with the camera brand name. If it is not there, restart both devices.
Also check that the camera's Wi-Fi is enabled in the menu.
Can I use my phone as a remote shutter for my camera?
Yes. Most mirrorless camera apps include a remote shutter feature. You connect via Bluetooth or Wi-Fi, then use your phone to frame the shot and trigger the shutter.
This is great for group photos and self-portraits.
How long does it take to transfer 100 photos?
Wirelessly, expect 10 to 20 minutes for JPEGs and much longer for RAW files. With a USB-C cable or card reader, the same transfer takes two to three minutes. A card reader is the best investment for speed.

Similar Posts