How to Transfer Action Camera Videos to iPhone
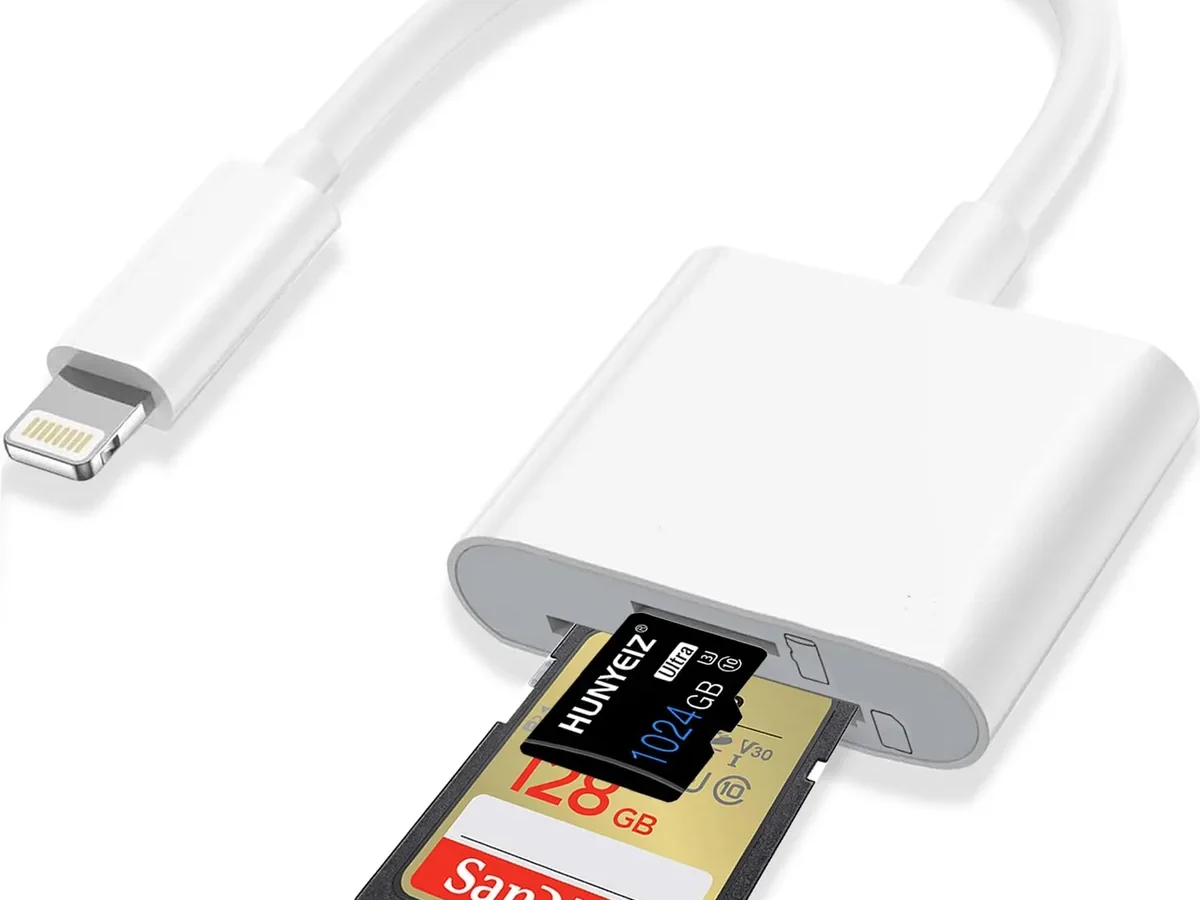
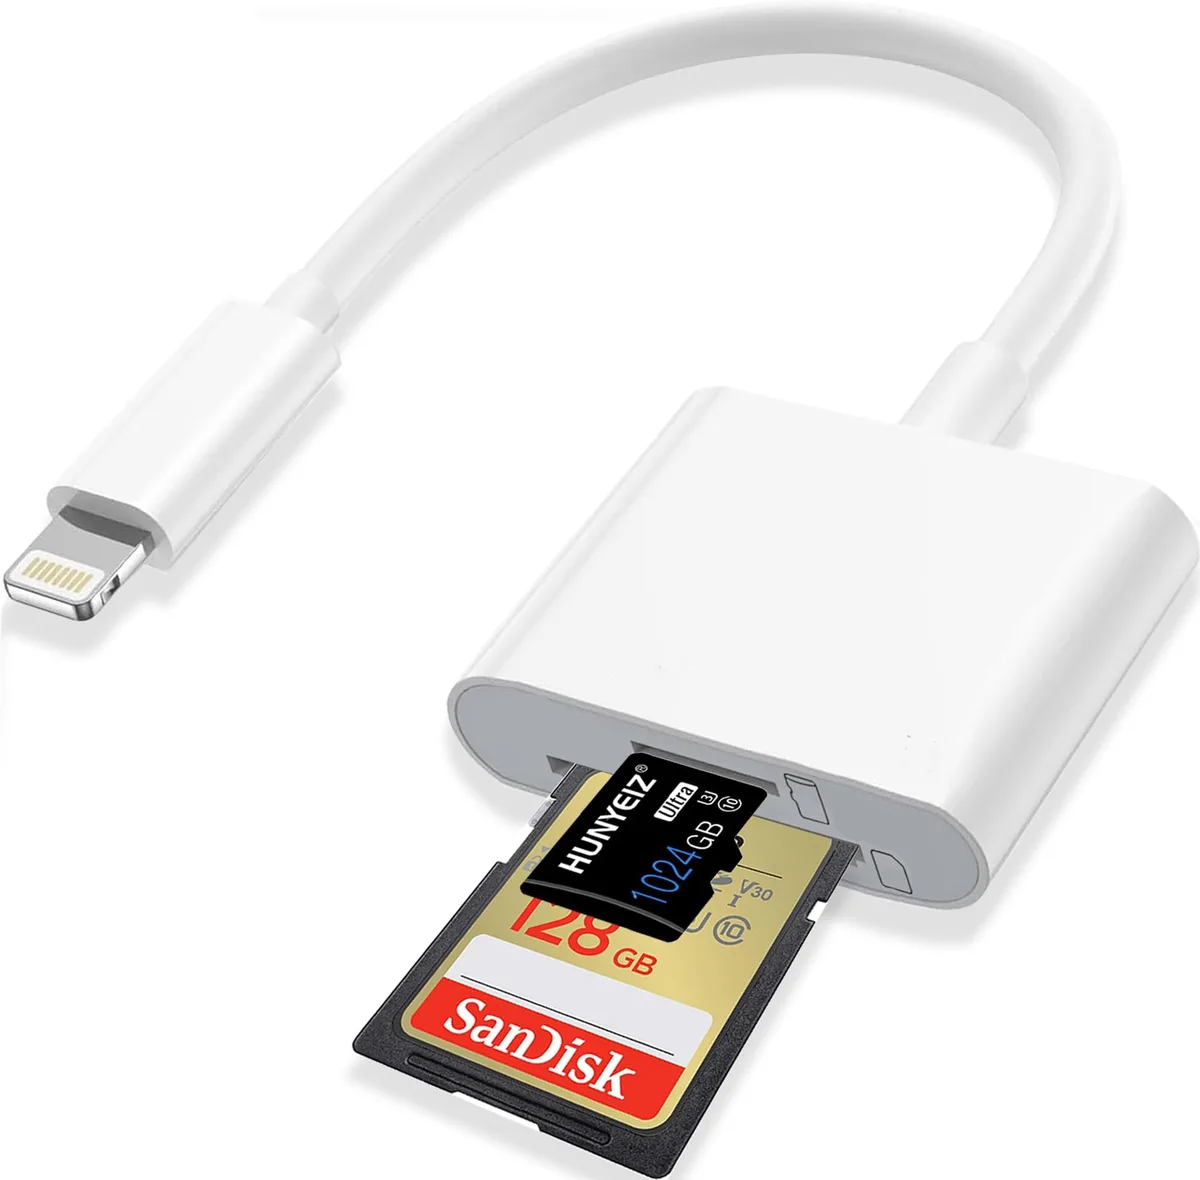
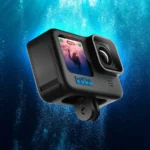
Image source: Web (Bing) / amazon.ca (Web image (fair-use with source credit))
Why Transferring Action Camera Footage to iPhone is Tricky
Action cameras are designed to be rugged and compact. They are not built for seamless file sharing with a phone. The biggest bottleneck is the file size itself.
Modern cameras shoot in 4K or even 5.3K resolution at high frame rates. That creates massive video files that choke a standard Wi-Fi connection.
Wi-Fi transfer through a camera's companion app is the default method for most people. It works fine for a few short clips. But when you try to move ten minutes of 4K footage, the transfer speed drops to a crawl.
Aggregate reviews from verified users report that a 2 GB file can take anywhere from 15 to 30 minutes over Wi-Fi. That is a long time to sit and wait.
Another hidden issue is file format compatibility. Many action cameras record in HEVC (H.265) by default. Newer iPhones handle HEVC just fine.
But older iPhone models may struggle to play or import these files without a third-party app. The camera records in a format that the phone does not fully support, and you end up with a blank thumbnail or a failed import.
The SD card format also matters. Cameras usually format cards as exFAT, which works with modern iPhones. But if you have an older card formatted as FAT32, your iPhone may refuse to read it entirely.
That is a pain point that catches a lot of new users off guard.
Quick Answer
The fastest method is an SD card reader. Use an Apple Lightning to SD Card Camera Reader for older iPhones. Use a USB-C reader for iPhone 15 and later.
Wi-Fi transfer works but is slow and best for small clips only. Do not use Bluetooth for video transfer.
It Depends on Your Camera, iPhone, and Patience
The right transfer method is not one-size-fits-all. It depends on three key variables: your camera model, your iPhone model, and your tolerance for waiting.
Camera model matters. A GoPro HERO13 uses the Quik app for Wi-Fi transfer. A DJI Osmo Action 4 uses the Mimo app. An Insta360 X4 uses its own app.
Each app has a slightly different interface and transfer speed. Some cameras support 5 GHz Wi-Fi, which is faster than the standard 2.4 GHz band. Others do not.
Check your camera's specifications to see if it supports 5 GHz. If it does, enable that option in the settings menu for a significant speed boost during wireless transfer.
Your iPhone model determines the hardware you can use. If you have an iPhone 15 or iPhone 15 Pro, you have a USB-C port. That opens up faster wired transfer options compared to the older Lightning port. The Lightning port on older iPhones is limited to USB 2.0 speeds, which caps out at about 480 Mbps.
The USB-C port on the iPhone 15 Pro can reach up to 10 Gbps, which is more than twenty times faster. That difference is huge when you are moving large video files.
Your patience level is the final factor. If you only need to transfer a few short clips for social media, the Wi-Fi method is perfectly fine. But if you are a travel vlogger or a content creator who needs to move hours of footage, waiting for Wi-Fi is not practical. You will want a wired solution.
For readers who are also curious about transferring footage from a different kind of camera, the principles are similar to what you might find when syncing a mirrorless camera to your phone. The hardware and file sizes differ, but the core workflow of choosing wired versus wireless remains the same.
The Decision Tree: Pick Your Transfer Method
Here is a simple decision tree to help you choose the right method for your situation.
If you have an iPhone 15 or later:
- Use a USB-C SD card reader. This is the fastest option.
- The official Apple USB-C to SD Card Reader works well.
- Third-party readers are cheaper but may have compatibility issues.
If you have an iPhone with a Lightning port (iPhone 14 and earlier):
- Use the Apple Lightning to SD Card Camera Reader.
- This is the official Apple accessory and it is reliable.
- Avoid cheap third-party readers that can cause connection errors.
If you do not have an SD card reader:
- Use the camera's companion app over Wi-Fi.
- This is the slowest method but requires no extra hardware.
- Only use this for small files, like short clips or photos.
If you are transferring very large files (over 4 GB):
- Always use a wired SD card reader.
- Wi-Fi transfer of large files is unreliable and often fails.
- Make sure your SD card is formatted as exFAT, not FAT32.
If your camera supports a USB cable connection:
- Some newer action cameras allow direct USB transfer to iPhone.
- This is a solid alternative if you have the right cable.
- Check your camera's manual to confirm this feature.
The table below compares the three main methods side by side.
| Method | Speed | Requires Extra Hardware | Best For |
|---|---|---|---|
| SD card reader (wired) | Fastest | Yes (reader) | Large files, bulk transfers |
| Wi-Fi app transfer | Slow | No | Small clips, quick shares |
| USB cable direct | Moderate | Yes (cable) | Cameras that support it |
The clear winner for speed and reliability is the SD card reader. If you transfer action camera footage more than once a month, spending $30 on a reader is a smart investment. It saves you time and frustration every single time you use it.
The Fastest Method: SD Card Reader Workflow (Step by Step)
This is the method we recommend for most users. It is fast, reliable, and works with any camera that uses a standard SD or microSD card.
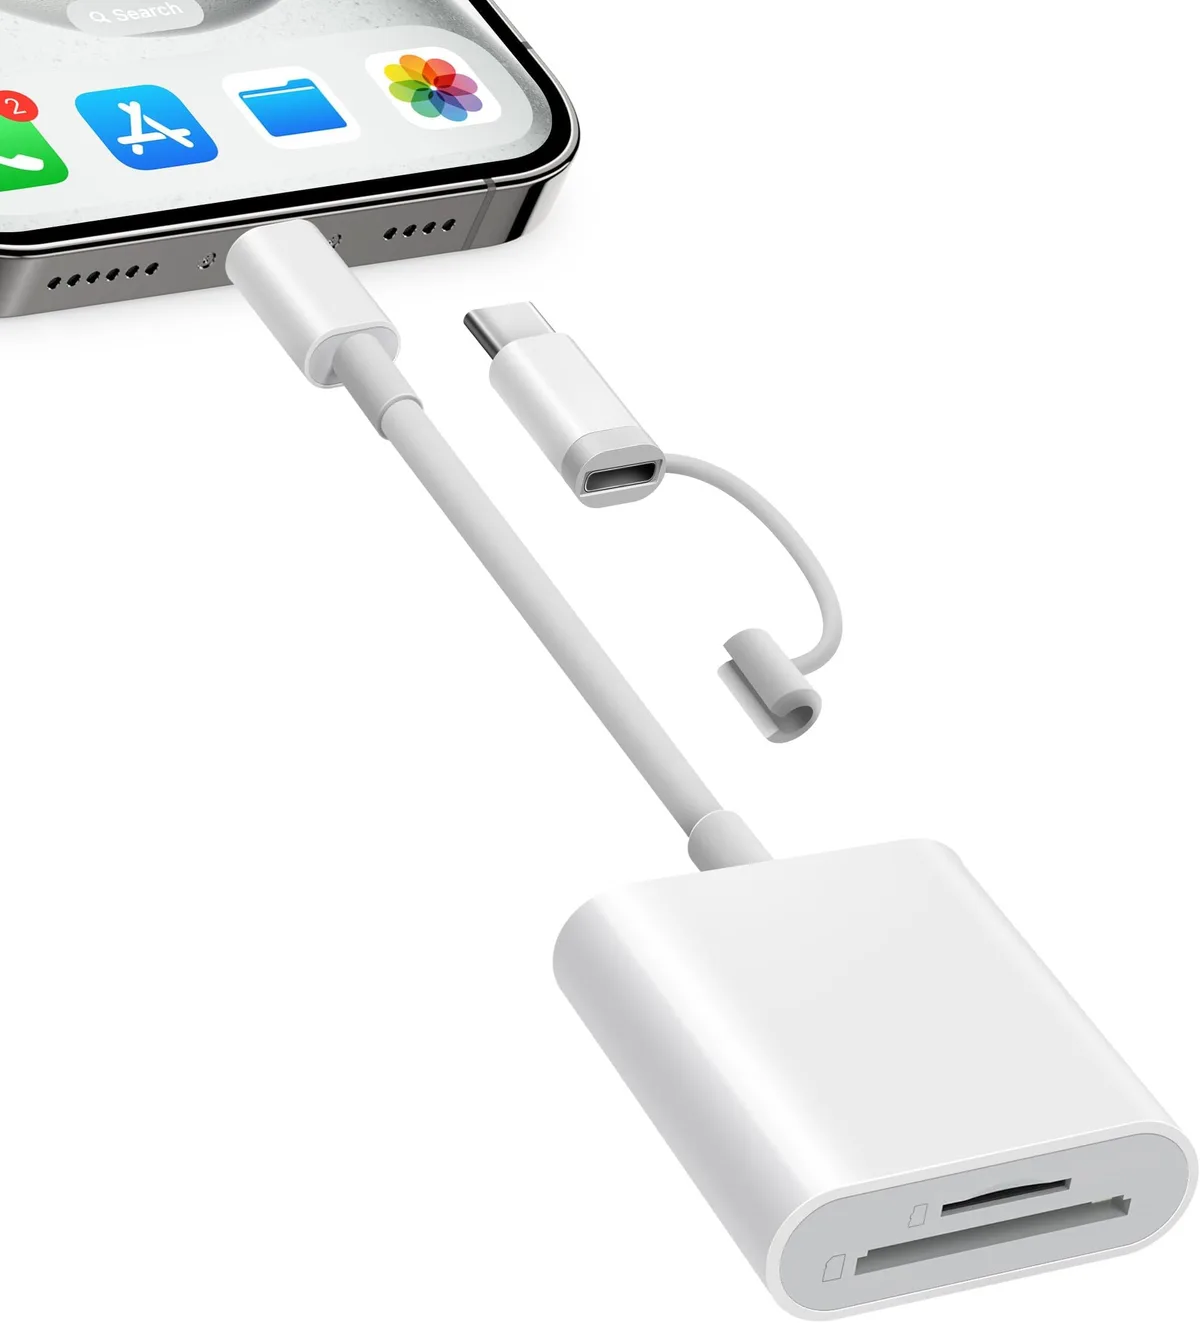
Image source: Web (Bing) / amazon.com (Web image (fair-use with source credit))
Step 1: Remove the SD card from your action camera. Power off the camera first. Use your fingernail or a tool to gently push the card in until it clicks. Then pull it out.
Be careful not to bend the pins inside the slot.
Step 2: Insert the SD card into the reader. If your camera uses a microSD card, you may need an adapter. Most action cameras use a full-size SD card, but some use microSD. Check your camera's specifications.
The card should click into place.
Step 3: Plug the reader into your iPhone. If you have a Lightning iPhone, use the Apple Lightning to SD Card Camera Reader. If you have a USB-C iPhone, use a USB-C SD card reader. The official Apple reader is the most reliable option, but reputable third-party brands also work.
Step 4: Open the Photos app. Your iPhone should automatically detect the SD card and open the Import screen. You will see thumbnails of all the photos and videos on the card. Select the files you want to transfer.
Tap Import All to bring everything over.
Step 5: Wait for the transfer to complete. This is the fast part. A 2 GB file takes about one to two minutes with a wired reader. That is a huge improvement over the fifteen minutes or more that Wi-Fi would take.
Step 6: Eject the SD card safely. In the Photos app, tap the eject icon next to the device name. Wait for the notification that says it is safe to remove. Then unplug the reader and remove the SD card.
This step prevents data corruption on the card.
Step 7: Format the SD card in your camera. After you have confirmed the files are safely on your iPhone, reinsert the card into your camera. Use the camera's menu to format the card. This clears the old files and prepares the card for new recordings.
Do not delete files from the card using your computer or phone. Formatting in the camera is safer and prevents issues.
If you are also looking to back up your mirrorless camera photos, the same SD card reader workflow applies. The hardware is identical, and the process is essentially the same.
Common Mistakes That Ruin Your Transfer (and How to Avoid Them)
Even with the right hardware, small mistakes can cause failed transfers or corrupted files. Here are the most common issues we see in user reports.
Using the wrong SD card format. Your camera likely formats cards as exFAT. That is correct for files over 4 GB. But if you buy a used card or format it on a computer as FAT32, your iPhone will refuse to read it.
Check your card's format in the iPhone Files app before you start. If it shows FAT32, back up the data and reformat it in your camera.
Removing the card or reader during transfer. This is the fastest way to corrupt your files. Always wait for the import to finish completely. Then tap the eject icon in the Photos app.
Only unplug the reader after you see the safe-to-remove message.
Using a cheap third-party reader. Not all SD card readers are built the same. Verified buyer feedback reports that some budget readers overheat during long transfers. Others fail to recognize the card entirely.
The official Apple reader costs more but it works every time. Per Apple's support documentation, the Lightning to SD Card Camera Reader supports standard photo formats and SD and SDHC cards.
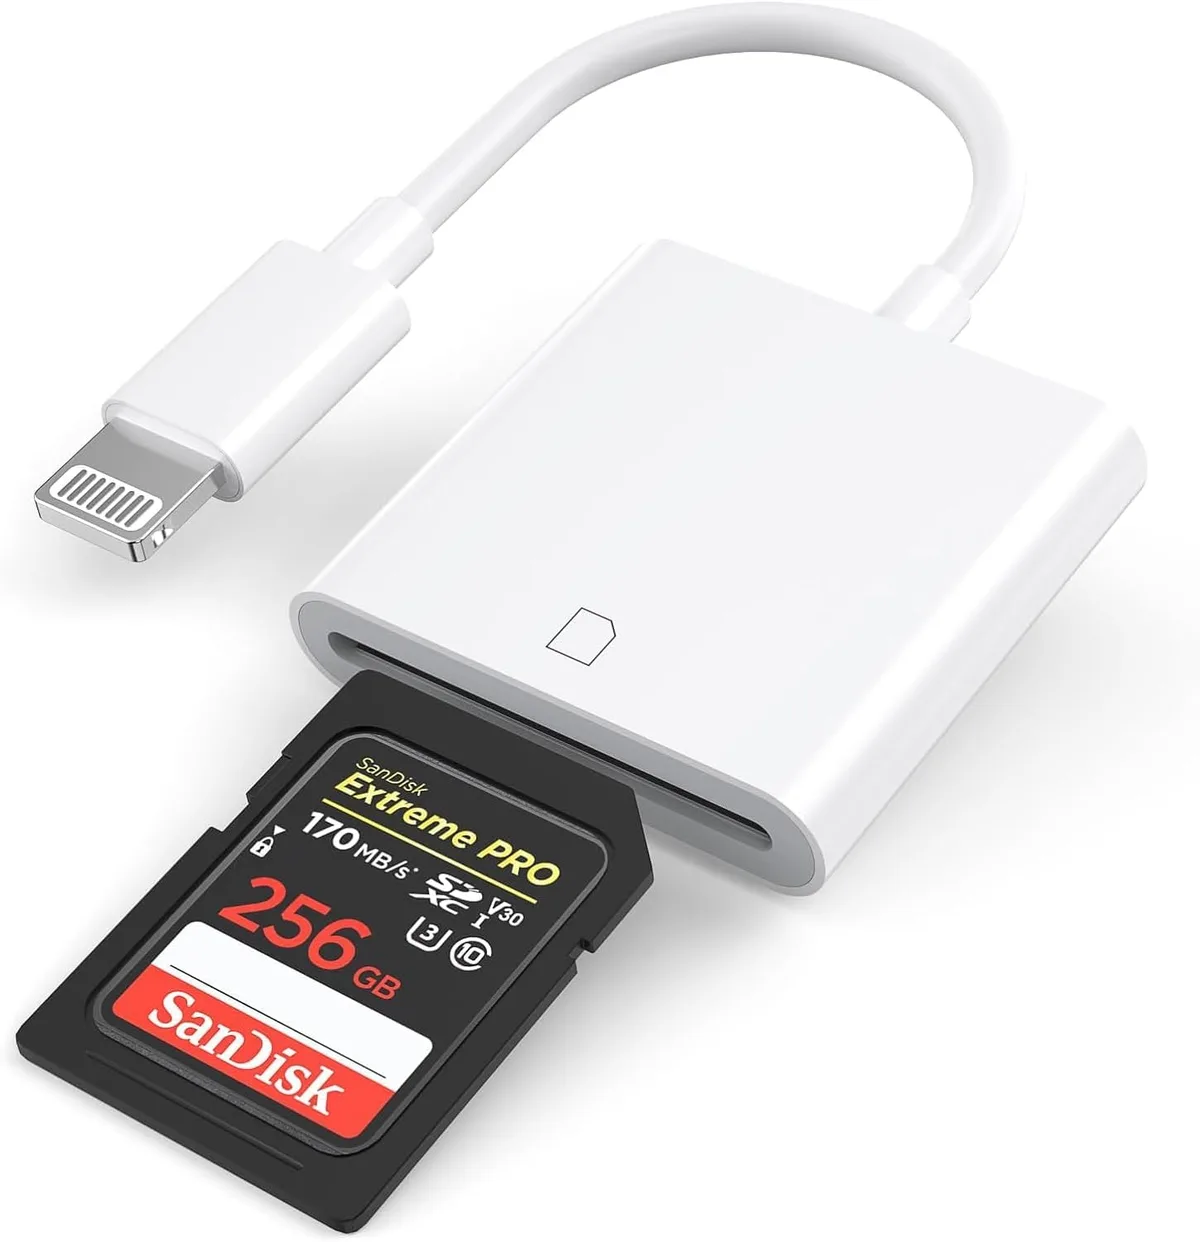
Image source: Web (Bing) / amazon.com (Web image (fair-use with source credit))
Forgetting to enable 5 GHz Wi-Fi. If you use the wireless method, check your camera's settings. Many action cameras default to 2.4 GHz Wi-Fi. That is slower and more prone to interference.
Switch to 5 GHz for a faster and more stable connection. This alone can cut transfer time in half.
Not formatting the SD card in the camera. After you transfer files, do not delete them from the card using your computer or phone. Always reinsert the card into your camera and use the camera's format function. This prevents file system errors that can cause issues on your next shoot.
If you ever run into a situation where files disappear or your iPhone stops recognizing the reader, the process is similar to recovering deleted footage from a memory card. Stop using the card immediately and use recovery software before doing anything else.
Frequently Asked Questions About Action Camera Transfer
Why is my Wi-Fi transfer so slow?
Wi-Fi transfer speed depends on your camera's wireless chip, your iPhone's Wi-Fi generation, and interference in your environment. A 2 GB file can take 15 to 30 minutes over Wi-Fi. Switch to 5 GHz if your camera supports it.
Or use a wired SD card reader for much faster transfers.
Can I transfer videos without an app?
Yes, if you use an SD card reader. The Photos app on your iPhone detects the card automatically. You do not need any third-party app.
For Wi-Fi transfer, you need the camera manufacturer's app. There is no way around that for wireless.
What if my iPhone says "Device Not Supported"?
This usually means the SD card reader is not compatible with your iPhone model. Make sure you are using the correct reader for your port. Lightning readers do not work with USB-C iPhones and vice versa.
Also check that your iPhone is running a recent version of iOS.
How do I transfer files larger than 4 GB?
Use a wired SD card reader. Wi-Fi transfer often fails with files over 4 GB. Make sure your SD card is formatted as exFAT, not FAT32.
The iPhone Photos app handles large files fine when reading from a wired connection.
Do I need to buy the official Apple reader?
No, but it is the safest option. The official Apple Lightning to SD Card Camera Reader costs about $30. It supports all card formats and works reliably.
Third-party readers can work but check verified reviews. Some have compatibility issues with newer iOS versions.
Can I transfer videos using a USB cable directly?
Some newer action cameras support USB tethering to iPhone. You connect the camera to your phone with a USB cable. The camera appears as a storage device in the Files app.
Check your camera's manual to confirm this feature. It is not universal.
Final Verdict: Which Method Should You Actually Use?
Here is the bottom line for most people.
Buy an SD card reader. It is the fastest, most reliable method. The official Apple reader costs about $30. It saves you hours of waiting over the life of your camera.
If you transfer footage more than once a month, it pays for itself in time saved.
Use Wi-Fi only for small clips. If you only need to grab a quick 30-second video for Instagram stories, the app method is fine. It requires no extra hardware. But do not rely on it for bulk transfers or large files.
Match the reader to your iPhone. Lightning for iPhone 14 and older. USB-C for iPhone 15 and later. The wrong reader will not work.
Format your card in the camera. Always do this after transferring files. It prevents corruption and keeps your camera happy.
For anyone who regularly works with camera footage, the same principles apply whether you are using an action camera or a mirrorless setup. Learning how to troubleshoot common camera issues will save you headaches down the road. And if you are looking to build a complete mobile editing workflow, knowing how to use your camera for vlogging pairs perfectly with a solid transfer routine.
The right method is simple. Pick the one that matches your hardware and your patience. Then get back to filming.

Similar Posts