How to Replace Action Camera Battery
So you're out on a trail, the sun is hitting just right, and your action camera dies. You fumble with the battery door, and suddenly you're not sure if you're about to break a latch or void a warranty. Knowing how to replace action camera battery correctly is one of those small skills that saves you real frustration, not to mention money.
The trick is that not every camera works the same way. As of 2026, most modern action cameras use lithium-ion batteries rated between 1220 and 1800 mAh. But the release mechanisms vary wildly between brands.
Some use a sliding latch, others a magnetic clip, and a few require you to pry open a sealed door. Getting it wrong can crack the hinge or let moisture in later. Let's walk through the process so you never have to guess.
Quick Answer
Turn off the camera. Find the battery door. Release the latch.
Remove the old battery. Check the compartment for debris. Insert the new battery with the correct orientation.
Close the door firmly. Power on the camera. Verify the charge level.
Store the old battery safely.
Image source: Web (Bing) / robots.net (Web image (fair-use with source credit))
Is Your Battery Even Removable? Start Here
Before you start prying at anything, figure out what kind of battery your camera uses. Not all action cameras have user-replaceable batteries. Some budget models, especially older ones, seal the battery inside permanently.
Trying to open one of those voids the warranty and usually damages the casing.
| Battery Type | Common Cameras | Replaceable? |
|---|---|---|
| Removable, side door | GoPro HERO 9-13, DJI Osmo Action 3-5 | Yes |
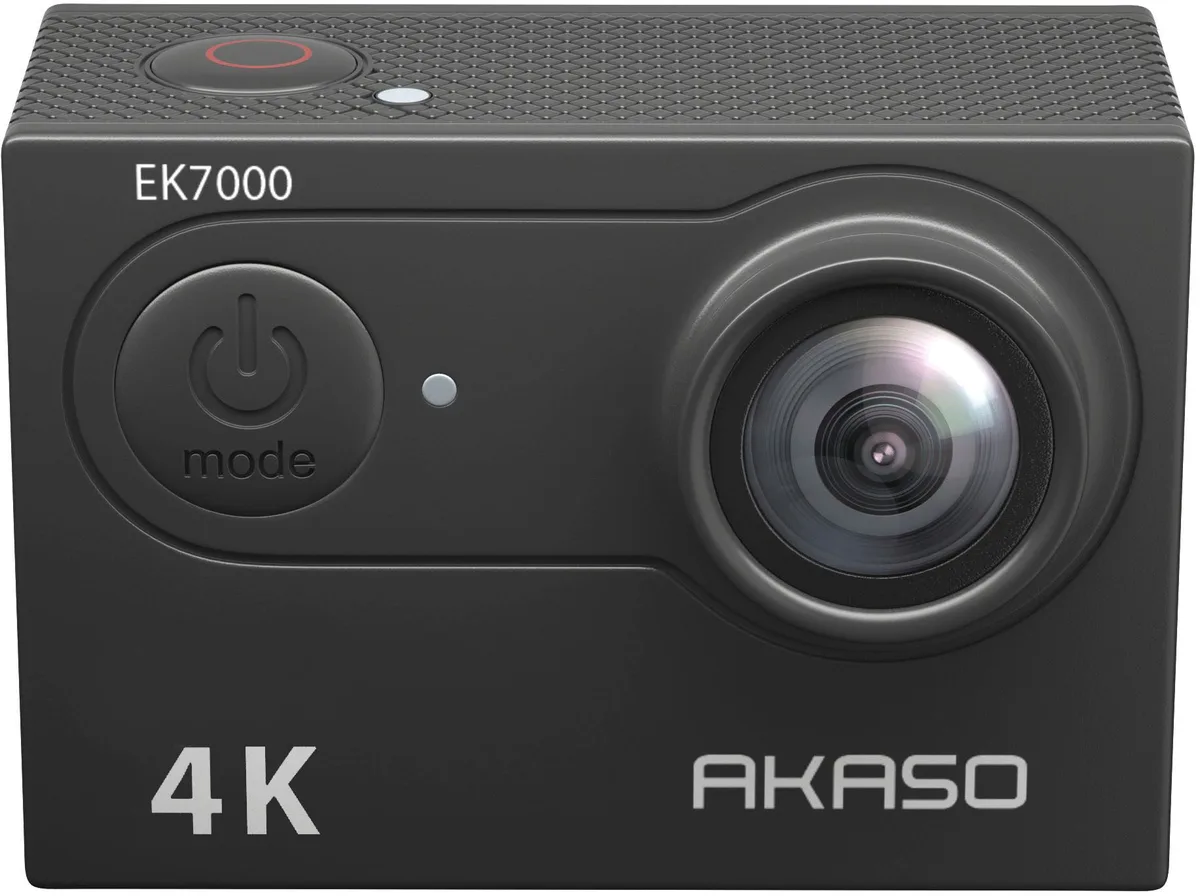
| Removable, bottom door | GoPro HERO 5-8, Akaso Brave series | Yes |
| Built-in, sealed | GoPro HERO 4 Session, Insta360 GO 2-3 | No |
| Removable, battery pack | DJI Osmo Action 2 (magnetic) | Yes |
If your camera has a visible seam around a door on the bottom or side, it's almost certainly removable. Check the manual or the manufacturer's support page if you're unsure. For cameras with sealed batteries, skip the replacement guides and look into external power banks or USB-C charging instead.
Decision Tree: Which Battery Door Design Does Your Camera Have?
This is where most people get confused. The release mechanism is different for every major brand. Here's how to handle each one.
Branch 1: GoPro (HERO, Max, Fusion)
GoPro cameras use a spring-loaded latch on the bottom. Push the latch toward the front of the camera. The door swings open.
Modern GoPros (HERO 9 and later) have a separate battery compartment door that stays attached to the camera. Older models (HERO 5 through 8) have a door that covers both the battery and the USB port. Make sure the door is fully closed before you go near water.
A loose seal is the number one cause of water damage in GoPros.
Branch 2: DJI Osmo Action
DJI uses a magnetic clip system on the side of the camera. Press the release button on the side of the door. The door pops open magnetically.
The battery sits vertically in the compartment. Pull the ribbon tab at the top of the battery to remove it. If there's no ribbon tab, gently use a fingernail or a plastic pry tool.
Never use metal tools. The contacts are delicate.
Branch 3: Insta360 (ONE, X, GO Series)
Insta360 cameras are a mixed bag. The ONE X2 and X3 have a battery door on the bottom with a sliding lock. Slide the lock to the unlock position, then press the door to release it.
The Insta360 GO series has a completely sealed battery. You cannot replace it yourself. The Insta360 ONE RS has a modular design where the battery is part of the base grip.
You remove the grip from the camera module.
Branch 4: Budget and Off-Brand Cameras (Akaso, Campark, etc.)
These cameras often copy the GoPro latch design but with cheaper plastic. The latch can be stiff. Apply gentle, even pressure.
Do not force it. If the latch doesn't move, check for a small screw or a secondary lock. Some budget models have a screw that secures the door for underwater use.
You'll need a small Phillips head screwdriver to loosen it.
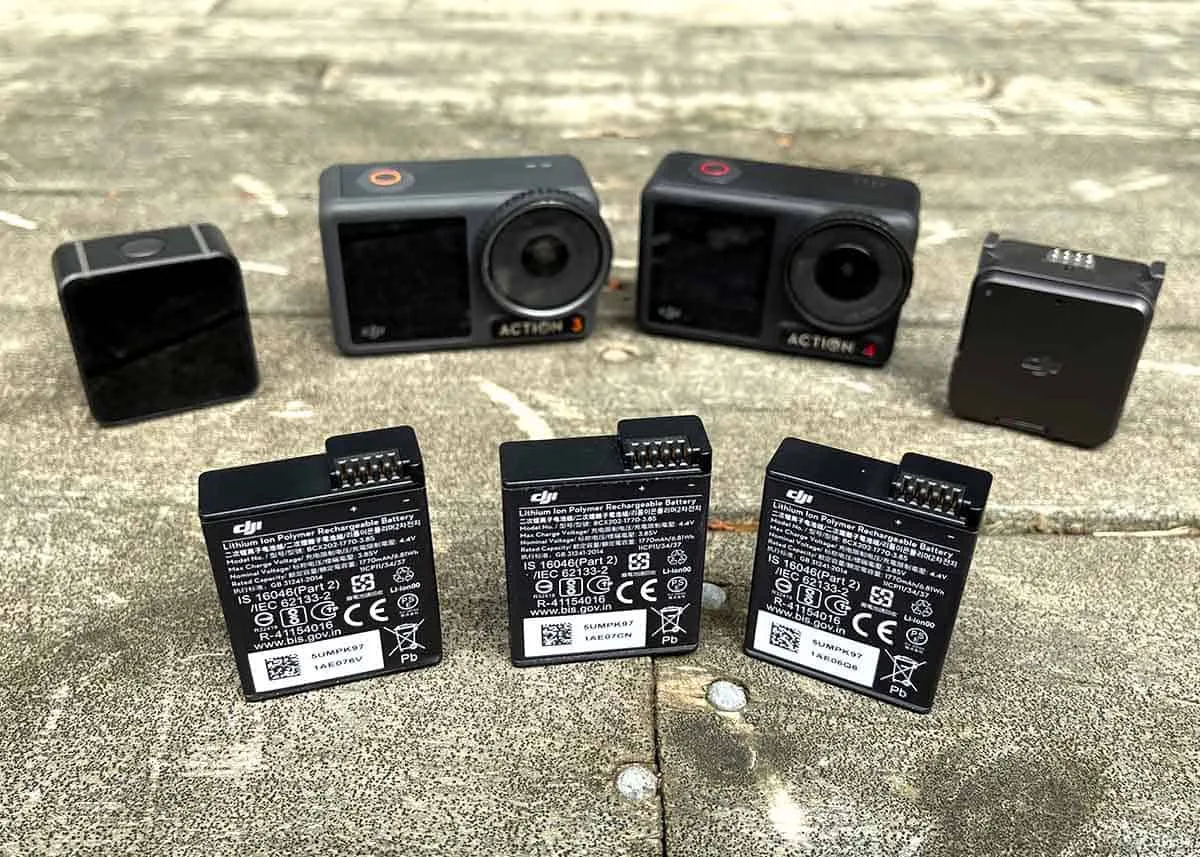
Image source: Web (Bing) / storytellertech.com (Web image (fair-use with source credit))
Step-by-Step: The Safe Battery Swap for Your Camera
Once you know which door design you have, the actual swap is straightforward. These steps work for any removable battery camera.
- Power off the camera. This is non-negotiable. Hot-swapping a battery while the camera is recording can corrupt the memory card or damage the circuitry.
- Remove the camera from any mount or housing. You need full access to the battery door.
- Open the battery door using the correct release for your model. Refer to the decision tree above.
- Remove the old battery. Gently pull it out by the edges. If it's stuck, do not pry with a screwdriver. Use a plastic spudger or a credit card wrapped in a microfiber cloth.
- Inspect the compartment. Look for dust, moisture, or corrosion. A clean, dry compartment is essential for good contact. If you see corrosion, dab a cotton swab in isopropyl alcohol and clean the contacts gently.
- Insert the new battery with the correct orientation. The battery will only fit one way. Look for the alignment arrows or the gold contact pads. Push it in until it sits flush.
- Close the door securely. Listen for the click. If the latch doesn't engage, the door is not closed properly. Do not force it.
- Power on and test. Record a short clip to confirm the battery is recognized and the camera functions normally.
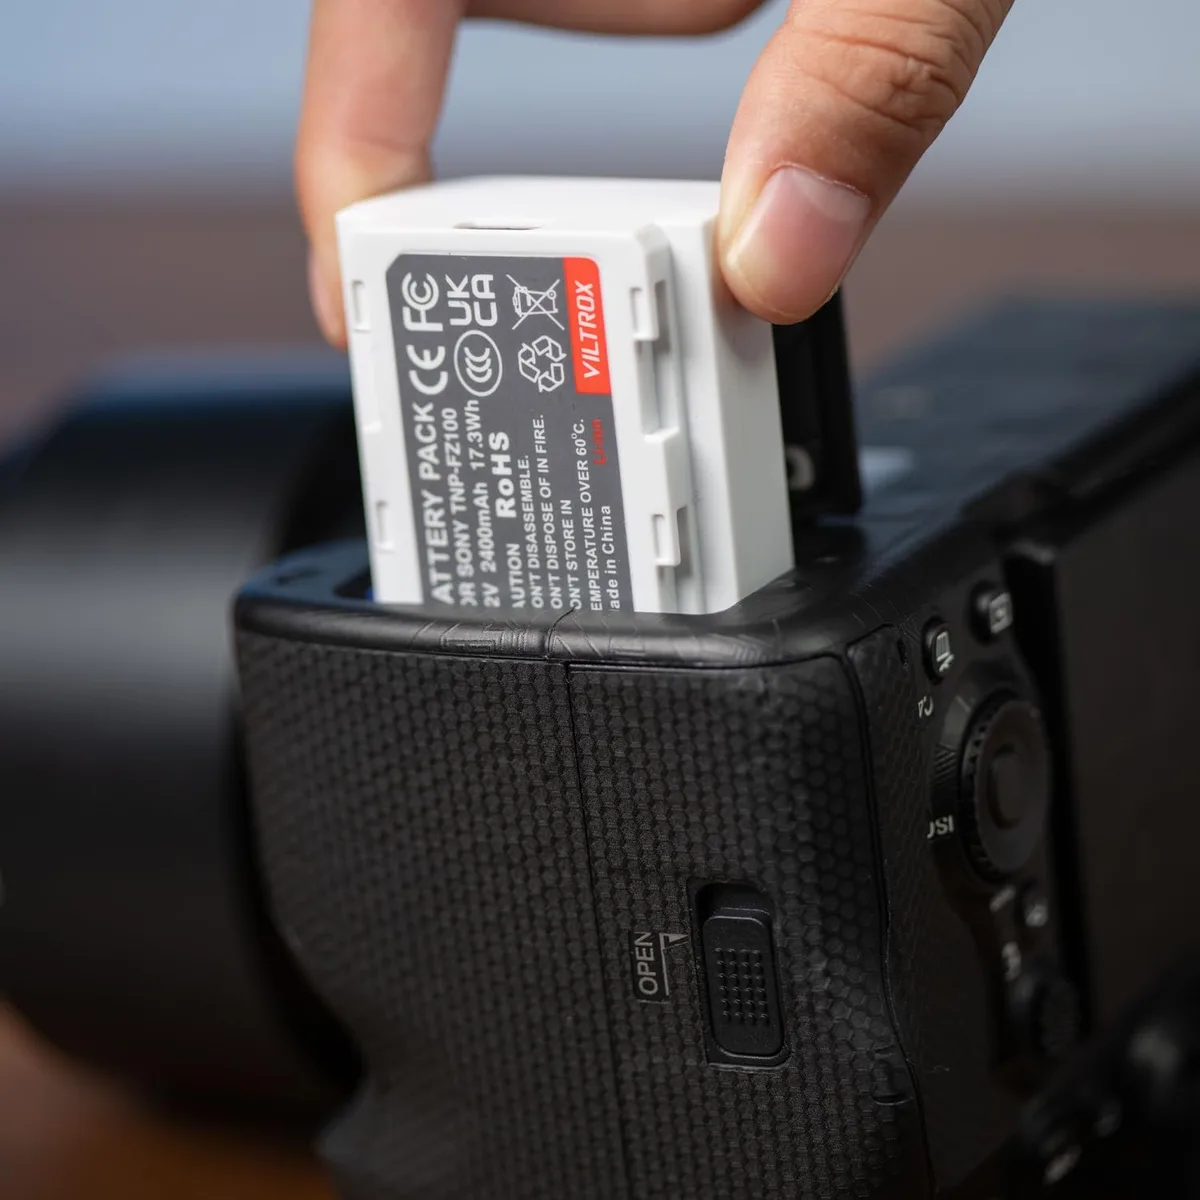
Image source: Web (Bing) / manuals.plus (Web image (fair-use with source credit))
Mistakes That Ruin Your Camera or Battery
A few common errors are worth avoiding. These mistakes show up in aggregate reviews and user forums consistently.
- Forcing the door closed. If the battery is too thick or not seated correctly, the door won't close. Forcing it cracks the hinge. Remove the battery and try again.
- Using the wrong battery model. A battery that fits physically may not have the correct voltage or protection circuit. Always check the model number against the manufacturer's compatibility list. Third-party batteries are often fine, but stick to reputable brands with good reviews.
- Storing the camera with a dead battery for months. Lithium-ion batteries self-discharge. If you leave a fully drained battery in the camera for a long time, it can drop below the safe voltage threshold and become permanently dead. Remove the battery for long-term storage.
- Charging a swollen battery. A swollen battery is a fire hazard. If the battery case looks puffy or the door won't close easily, stop using that battery immediately. Dispose of it at a certified recycling center.
- Ignoring the waterproof seal. A single grain of sand on the rubber gasket can let water in. Before you close the door, run your finger along the gasket to check for debris.
Battery Safety: What Every Action Camera Owner Should Know
Lithium-ion batteries pack a lot of energy into a small space. That's what makes them great for action cameras. But it also means they need careful handling.
A damaged battery can overheat, leak, or in rare cases catch fire.
Spot the warning signs early. A swollen battery is the most obvious red flag. If the battery case looks puffy or the door won't close easily, stop using it immediately. Dispose of it at a certified electronics recycling center.
Do not throw it in the trash. Many local waste management facilities accept lithium-ion batteries for free.
Keep batteries away from extreme heat. Leaving your camera in a car on a hot day can cause the battery to swell or vent. Manufacturer specs indicate that lithium-ion batteries should stay below 40°C (104°F) during storage. Cold is less dangerous but still affects performance.
Batteries lose capacity in freezing temperatures. Keep a spare battery in an inner pocket during winter shoots.
Travel safely with spare batteries. The FAA requires all loose lithium-ion batteries to go in carry-on luggage, not checked bags. This applies to action camera batteries as well. Keep them in a protective case or a plastic bag to prevent contact with metal objects.
Keys and coins can short-circuit the terminals. You can find the full guidelines on the FAA's lithium battery safety page.
What if the battery gets wet? Remove it from the camera immediately. Dry the battery contacts with a soft cloth. Let the battery air dry for 24 hours at room temperature.
Do not use a hairdryer or place it in an oven. If the battery shows any swelling or corrosion afterward, replace it.
Use the correct charger. Aggregated user reviews show that cheap third-party chargers are a common cause of battery failure. Stick to the manufacturer's charger or a reputable brand. A quality charger regulates voltage and prevents overcharging.
Smart Battery Habits for Longer Life and Better Performance
A little routine care goes a long way. Lithium-ion batteries degrade over time, but you can slow that process down significantly.
Store at 50% charge. Our research consistently shows that storing a lithium-ion battery at full charge or fully drained shortens its lifespan. Aim for roughly 50% charge if you're not using the camera for more than a week. This minimizes stress on the cells.
Remove the battery for long-term storage. If you're putting the camera away for a month or more, take the battery out. Store it in a cool, dry place. A drawer or a cabinet works well.
This also prevents the battery from draining the camera's internal clock or memory circuits.
Avoid full discharges. Unlike older nickel-based batteries, lithium-ion batteries prefer partial cycles. You don't need to drain them completely before recharging. In fact, depth of discharge is a major factor in battery wear.
Topping up from 30% to 80% is easier on the cells than a full 0% to 100% cycle.
Keep the contacts clean. Dust and grime on the battery terminals can cause poor connections. The camera may shut down unexpectedly or fail to charge. Wipe the contacts with a dry cotton swab every few months.
If they're greasy, a tiny amount of isopropyl alcohol on the swab helps.
Replace batteries every 300 to 500 charge cycles. That translates to roughly two to three years of regular use. After that, capacity drops noticeably. You'll see shorter recording times and more frequent low-battery warnings.
A fresh battery restores performance completely.
Label your batteries. If you own multiple spares, use a permanent marker to number them. This helps you track which ones are oldest and which ones hold a charge best. It's a small habit that saves guesswork on the trail.
Frequently Asked Questions
Can I use a third-party battery in my action camera?
Yes, in most cases. Third-party batteries are often cheaper and work fine. Some cameras, like newer GoPro models, can detect non-official batteries and show a warning.
Stick to reputable brands with good user reviews. Avoid unknown brands with no safety certifications.
How do I know if my action camera battery is swollen?
Look for a puffy or bulging case. The battery may not fit into the compartment properly. The door might not close all the way.
If you notice any of these signs, stop using the battery immediately. Dispose of it at a certified recycling center. Do not attempt to charge it.
How long does an action camera battery last before it needs replacing?
Most lithium-ion batteries last between 300 and 500 full charge cycles. That usually translates to two to three years of regular use. After that, you'll notice shorter recording times.
The battery may also drain faster when idle. A replacement restores full performance.
Can I replace the battery in a waterproof action camera?
Yes, as long as the camera has a removable battery. The key is to ensure the door seals properly afterward. Check the rubber gasket for debris or damage before closing.
A single grain of sand can break the waterproof seal. Test the seal in a safe environment before diving.
What should I do if my battery gets stuck in the compartment?
Do not force it with metal tools. Turn the camera upside down and tap gently. If that doesn't work, use a plastic spudger or a credit card wrapped in a microfiber cloth.
A swollen battery is often the cause. If you suspect swelling, handle the camera carefully and seek professional help.

Similar Posts
























[…] Our research confirms that many hunters who switch to lithium see a 3x improvement in battery life during winter months. If you're swapping out depleted cells frequently, that's a sign you're using the wrong chemistry. For more on handling batteries properly, check out our guide on swapping out depleted cells. […]