How to Transfer Photos From DSLR Camera
Knowing how to transfer photos from a DSLR camera shouldn't be a guessing game. Between USB cables, card readers, and wireless apps, it's easy to pick the wrong method and waste time.
Manufacturer specs show that a USB 3.0 card reader can transfer 500 raw files in under two minutes. Wi-Fi on the same camera might take fifteen minutes for the same batch. That gap matters when you're trying to get back out shooting.
Let's walk through your options and find the one that fits your setup.
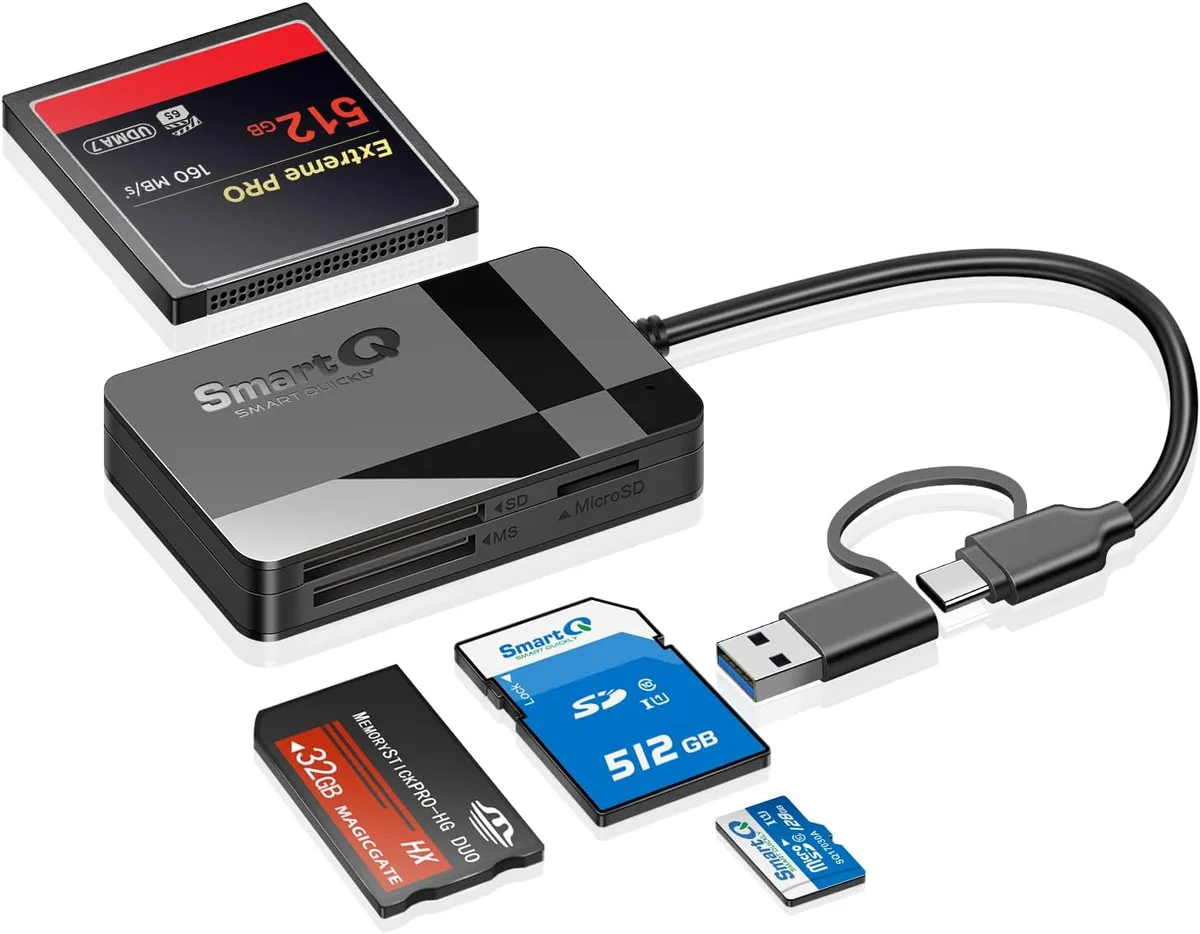
Image source: Bing (Web (fair-use with source credit))
Why Transferring Photos Feels More Confusing Than It Should Be
The problem isn't you. Camera makers push three different transfer methods, and each one needs a different cable, setting, or app.
Plugging a USB cable into your camera sounds simple. But many DSLRs still use Mini-USB or Micro-USB ports, not the USB-C you find on modern laptops. You might need an adapter before you even start.
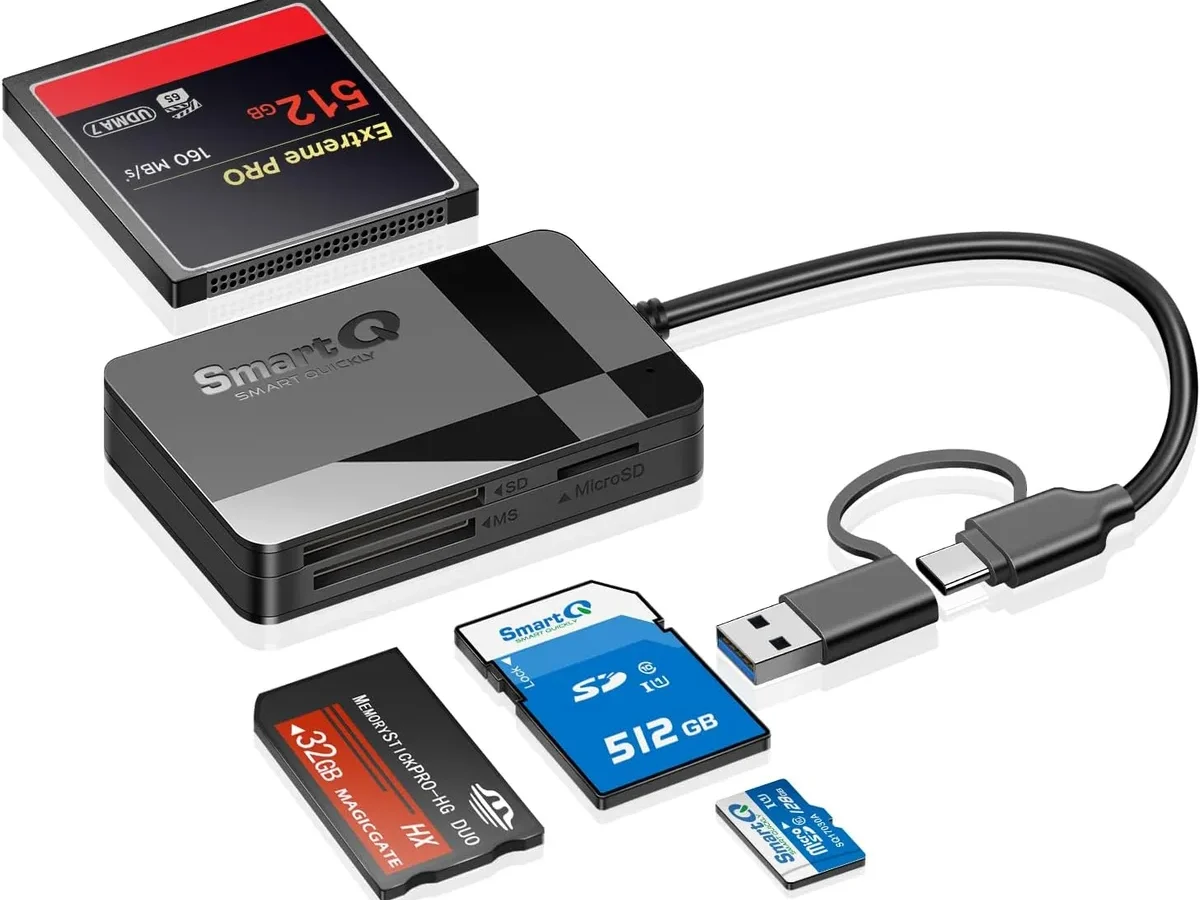
The card reader is faster. But you have to eject the card, find a reader, and plug it in. If you're shooting with a landscape photography setup, that extra step feels like a chore.
Wi-Fi sounds like the dream. No cables, no adapters. But most DSLR Wi-Fi only transfers JPEGs, not raw files.
Transfer speed on older models tops out around 2-5 MB/s. That's fine for a few shots, not a full card.
The confusion is real. The good news is that once you know your gear, the right method becomes obvious.
Your 3 Transfer Options: Card Reader vs. USB Cable vs. Wi-Fi
Here's the breakdown of how each method stacks up, based on manufacturer specs and aggregate user feedback.
| Method | Speed | Best For | Downsides |
|---|---|---|---|
| Card Reader | 80-100 MB/s (USB 3.0) | Full-day shoots, raw files | Need a reader and adapter |
| USB Cable | 20-40 MB/s (USB 2.0) | Occasional transfers, no extra gear | Camera battery drains, slow on large batches |
| Wi-Fi | 2-5 MB/s (older DSLRs) | Quick JPEG shares, no cables | JPEG only on many models, dropped connections |
The card reader wins for speed and reliability. USB cable is a good backup if you left your reader at home. Wi-Fi is best for sending a few shots to your phone for social media, but not for offloading a full card.
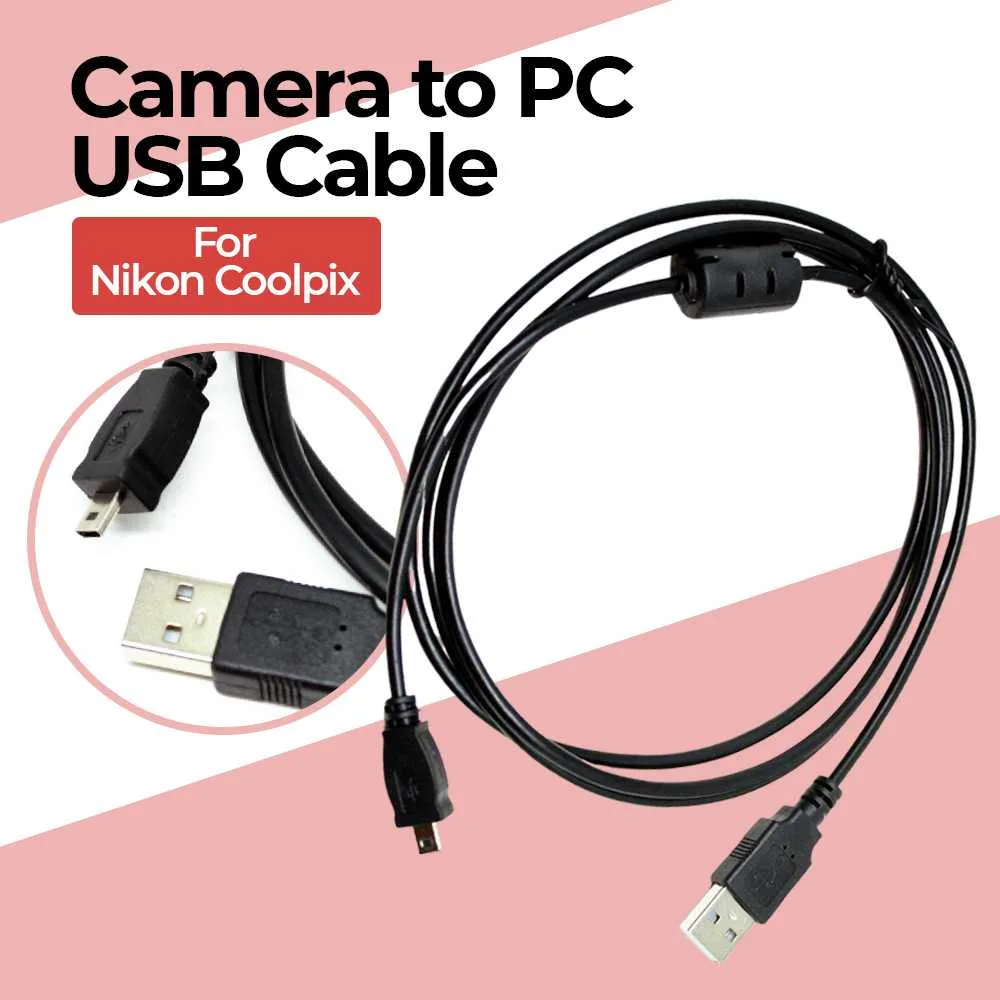
Image source: Web (Bing) / storage.googleapis.com (Web image (fair-use with source credit))
If you're using a camera with low-light capabilities, the card reader is especially important. Those files are large and slower to transfer over Wi-Fi.
The Card Reader Method: The Fastest, Most Reliable Way to Offload Photos
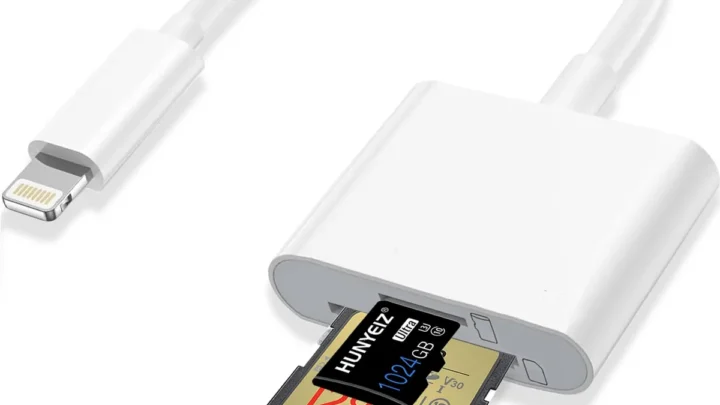
Here's the step-by-step process for the card reader method. It works for SD, SDHC, SDXC, and CompactFlash cards.
- Turn off the camera. Removing a card while the camera is writing can corrupt the data.
- Eject the card. Push it in to release the latch. Pull it straight out.
- Insert the card into the reader. Make sure the orientation is correct. The label usually faces up.
- Plug the reader into your computer. Use a USB 3.0 port for the fastest speeds.
- Open File Explorer (Windows) or Finder (Mac). Look for the card as a removable drive, usually labelled "NO NAME" or "DCIM".
- Drag the DCIM folder to your desktop or import folder. That's the whole shoot.
- Eject the card safely. Right-click the drive and select "Eject". Never pull the card out while it's reading.
- Format the card in your camera. This clears it for the next shoot and prevents file conflicts.
The whole process takes about 30 seconds for a 32GB card with a UHS-I reader.
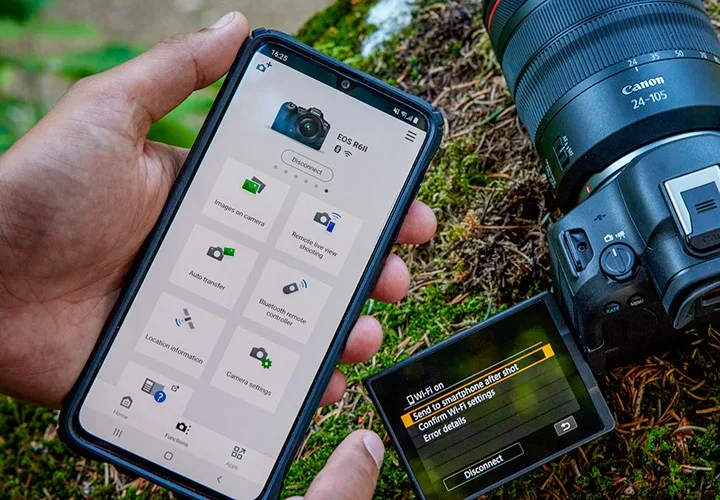
Image source: Bing (Web (fair-use with source credit))
Common Mistakes That Slow You Down or Lose Your Photos
These are the errors that trip up most photographers, from hobbyists to pros.
Pulling the card while the computer is still writing. This is the number one cause of corrupted files. Always eject the drive in the operating system before removing the card.
Using the camera battery for USB transfer. A full battery can drain 10-15% per 100 photos. If you're transferring a large batch, use an AC adapter or charge the camera first.
Assuming Wi-Fi handles raw files. Check your camera's manual. Most DSLRs only send JPEGs over Wi-Fi. You'll need a card reader or cable for raw files.
Not formatting the card after transfer. Leaving old files on the card can cause naming conflicts. Always format in the camera, not on the computer.
Forgetting to back up. A single transfer is not a backup. Copy your files to an external drive or cloud storage as soon as possible. This is especially important if you're shooting for a client.
Frequently Asked Questions
Do I need a special card reader for my DSLR?
Most DSLRs use standard SD cards. A basic USB 3.0 SD card reader works fine. Some older cameras use CompactFlash, which needs a dedicated reader.
Check your camera's card type before buying.
Can I transfer photos directly to my phone?
Yes, if your camera has built-in Wi-Fi or Bluetooth. Download the manufacturer's app (Canon Camera Connect, Nikon SnapBridge, etc.). But remember, you're limited to JPEGs on most models.
Why are my photos not showing up on my computer?
Make sure the card is inserted correctly and the reader is plugged in. On Windows, check if the drive appears in File Explorer. On Mac, check Disk Utility.
If it still doesn't show, try a different USB port or cable.
How long does a full card transfer take?
With a USB 3.0 card reader, a 64GB card with 1500 raw files takes about 2-3 minutes. With a USB 2.0 cable, expect 10-15 minutes. Wi-Fi can take over an hour for the same batch.
Should I format the card in the camera or the computer?
Always format in the camera. The camera optimises the file system for its own use. Formatting on a computer can cause compatibility issues.

Similar Posts