How to Use a Cellular Trail Camera
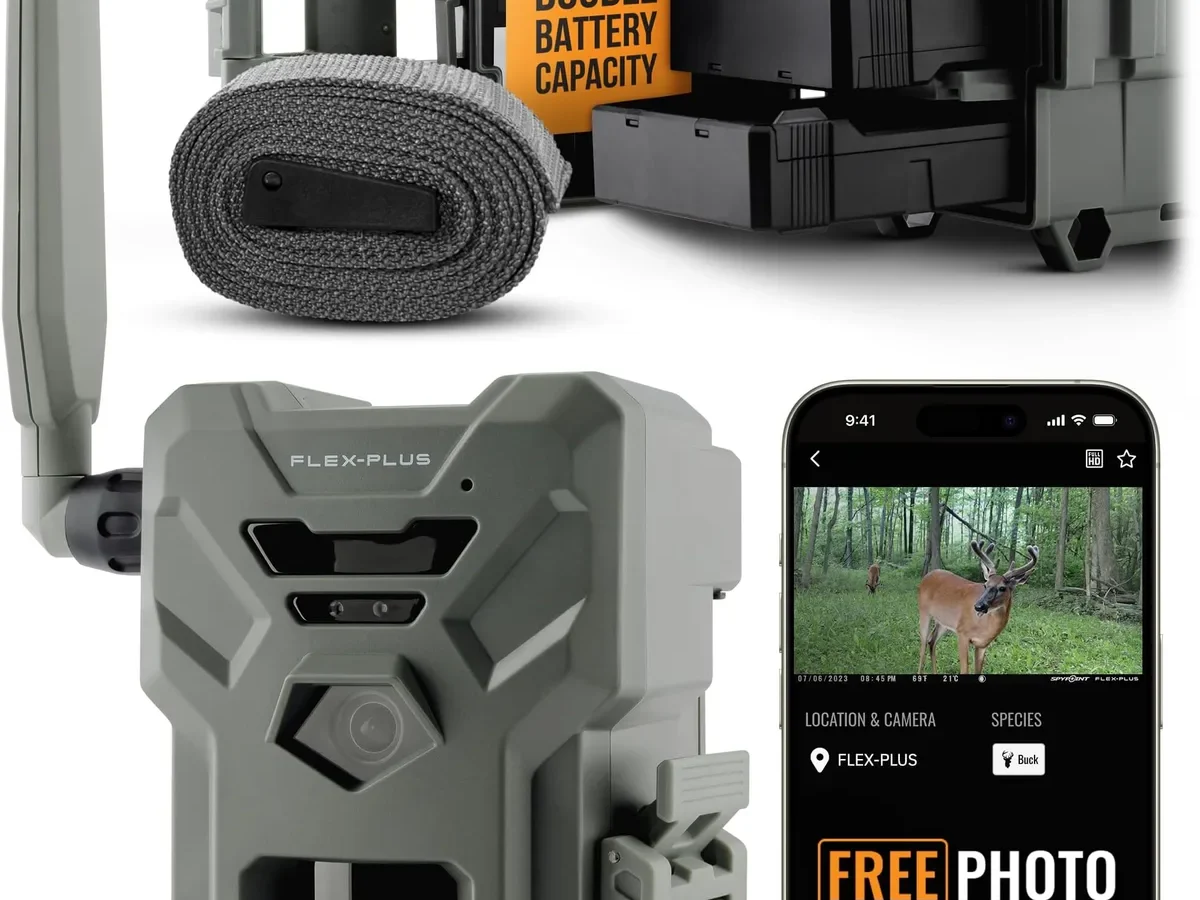
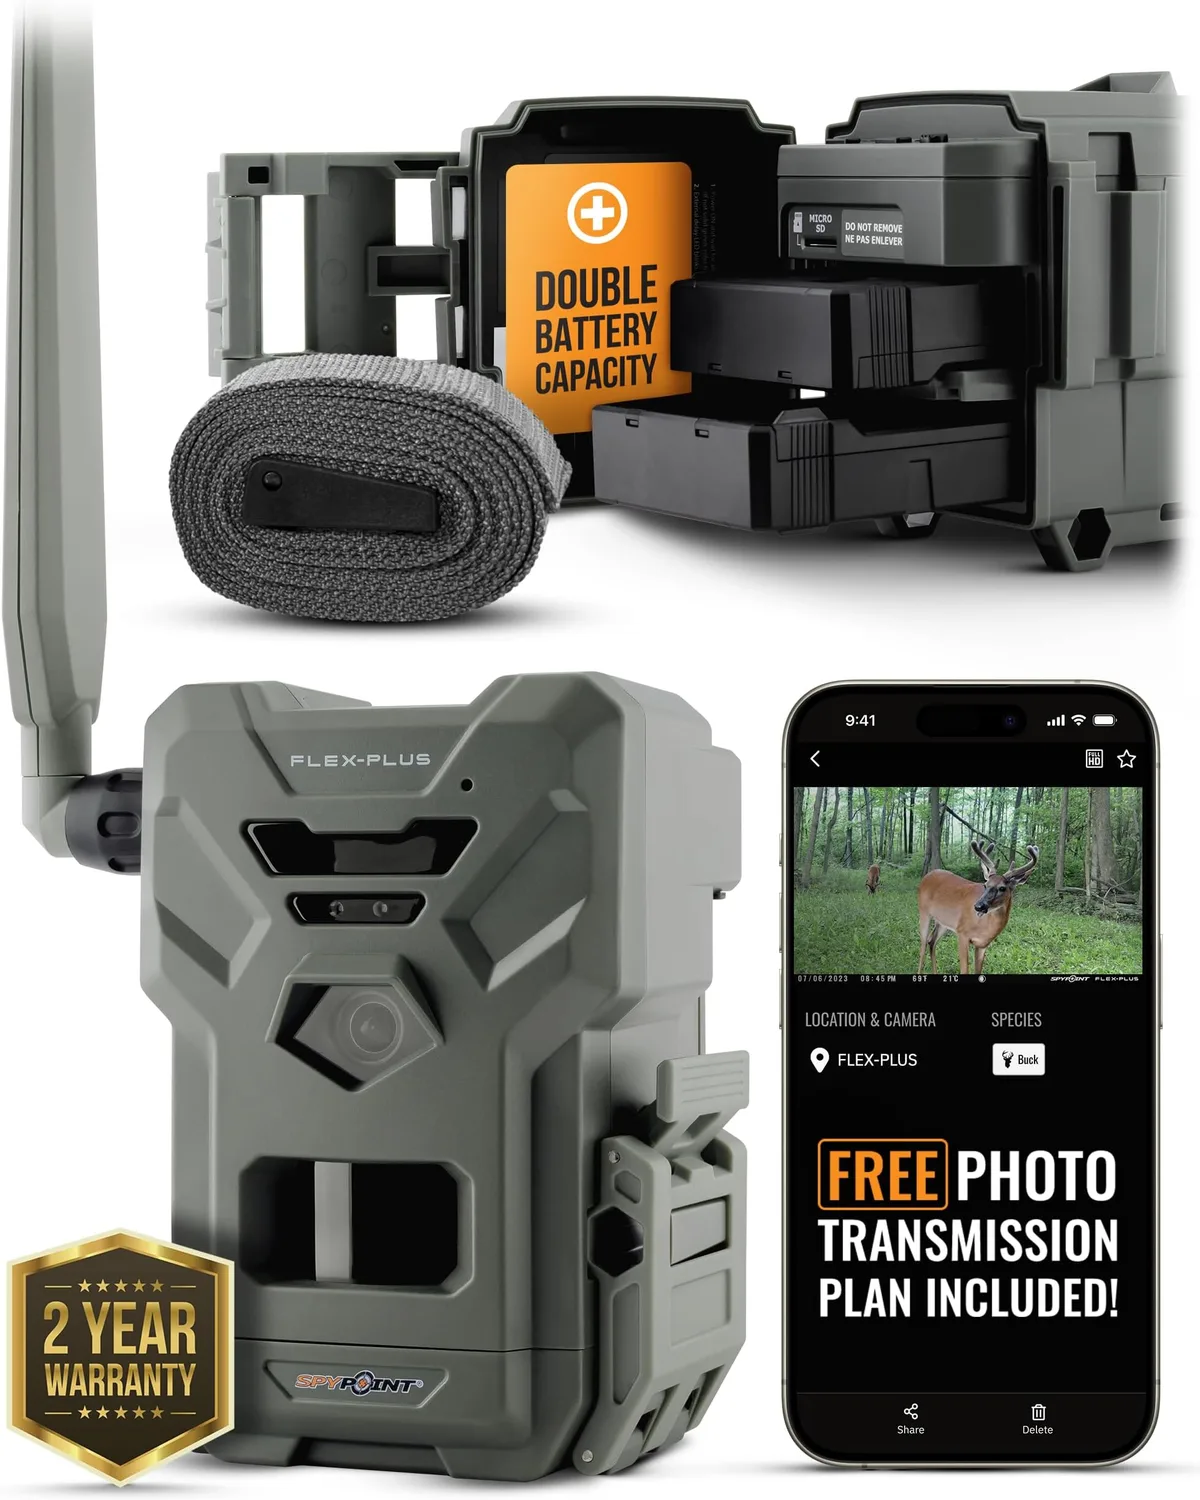
Image source: Web (Bing) / amazon.com (Web image (fair-use with source credit))
You've driven an hour to check your trail camera only to find 12 blurry photos of a branch waving in the wind. Or worse, the memory card is full and you missed the buck you've been tracking all season. That is exactly why you are looking at how to use a cellular trail camera, and once you understand the setup, it is genuinely simple.
A cellular trail camera is a standard wildlife camera with a built-in 4G LTE modem and a SIM card slot. It captures photos and videos, then transmits them over the cellular network straight to your phone. As of 2026, most models operate on the 4G LTE standard.
It offers reliable coverage across rural and remote areas. Let us walk through exactly what you need to know.
Quick Answer
Insert the SIM card and activate the data plan. Install fresh lithium batteries. Power on the camera.
Download the companion app. Pair the camera via Bluetooth or QR code. Aim it at the target area.
Select photo or video mode. Set your transmission frequency. Check the first image arrives on your phone.
Mount it securely. That is the whole process in ten steps.
What Makes a Cellular Trail Camera Different
A cellular trail camera looks like a regular trail camera at first glance. It has an infrared flash, a motion sensor, and a weatherproof housing. But the internal hardware tells a different story.
Inside every cellular model is a cellular modem, a SIM card tray, and an antenna. These components let the camera send images over the mobile network without any Wi-Fi or wired internet connection.
The core difference is that a cellular camera replaces the physical retrieval step. With a standard camera, you walk to the unit, pull the SD card, and review photos at home. With a cellular model, the camera picks the best images and uploads them to the cloud.
You open the app and see what happened in real time.
What a cellular camera does not do:
- It does not replace your SD card. The camera still saves full-resolution images locally.
- It does not stream live video continuously. Most models send still images or short clips.
- It does not work without a cellular signal. If the area has zero coverage, the camera is a standard trail camera with a dead radio.
How transmission works:
The camera detects motion, captures a photo, and stores it on the microSD card. Then it compresses the image (usually to 2MP or 5MP) and sends it over the cellular network. The original high-resolution file stays on the card.
You can download the full image later when you retrieve the card.
Aggregate reviews show that the most common frustration is expecting a cellular camera to act like a security camera with live streaming. It is not that. It is a scouting tool that sends you periodic updates.
That distinction matters for your expectations.
Who benefits most:
- Hunters who want to monitor a remote property without spooking deer
- Property owners who need to check a cabin or gate entrance
- Wildlife researchers tracking animals over a large area
If you are just getting started, consider reading about what to look for in a budget-friendly model before you buy. The right hardware makes the setup process much smoother.
Your Setup Starts Here: The SIM Card and Data Plan
Here is where most people get tripped up. A cellular trail camera needs a SIM card with an active data plan. It does not use your phone plan.
It does not use a shared family plan. It needs its own dedicated SIM and its own data subscription.
Carrier compatibility matters more than brand.
Most cellular trail cameras are locked to a specific carrier. Some work on Verizon. Some work on AT&T.
Some work on T-Mobile. A few multi-carrier models let you choose. Check the camera's specifications before you buy a SIM.
If you buy a Verizon-locked camera and put an AT&T SIM in it, the camera will not connect.
The three types of data plans:
| Plan Type | Best For | Typical Cost | Notes |
|---|---|---|---|
| Monthly prepaid | Short hunting seasons | $15–$30/month | No contract, cancel anytime |
| Annual prepaid | Year-round monitoring | $100–$200/year | Cheaper per month, pay upfront |
| Carrier-specific plan | Verizon/AT&T/T-Mobile | $5–$20/month | Often requires a multi-month commitment |
The decision tree for picking a plan:
- If you hunt a 3-month season, buy a monthly prepaid plan. You can pause it during the off-season.
- If you monitor a property year-round, buy an annual prepaid plan. It saves money over time.
- If you are unsure about coverage, start with a one-month plan. Test the signal before committing to a year.
How to activate the SIM:
- Open the camera's SIM tray. It is usually under a rubber gasket on the bottom or side.
- Insert the SIM card with the metal contacts facing down. Push until it clicks.
- Power on the camera. It should show a blinking or solid cellular indicator.
- Follow the camera's app instructions to activate the plan. This usually involves scanning a QR code or entering a code from the SIM package.
Manufacturer specs indicate that most cameras require a minimum of 100MB of data per month for basic operation. A heavy user who captures 500 photos per month will use about 2GB. Budget accordingly.
Step-by-Step: How to Set Up and Activate Your Camera
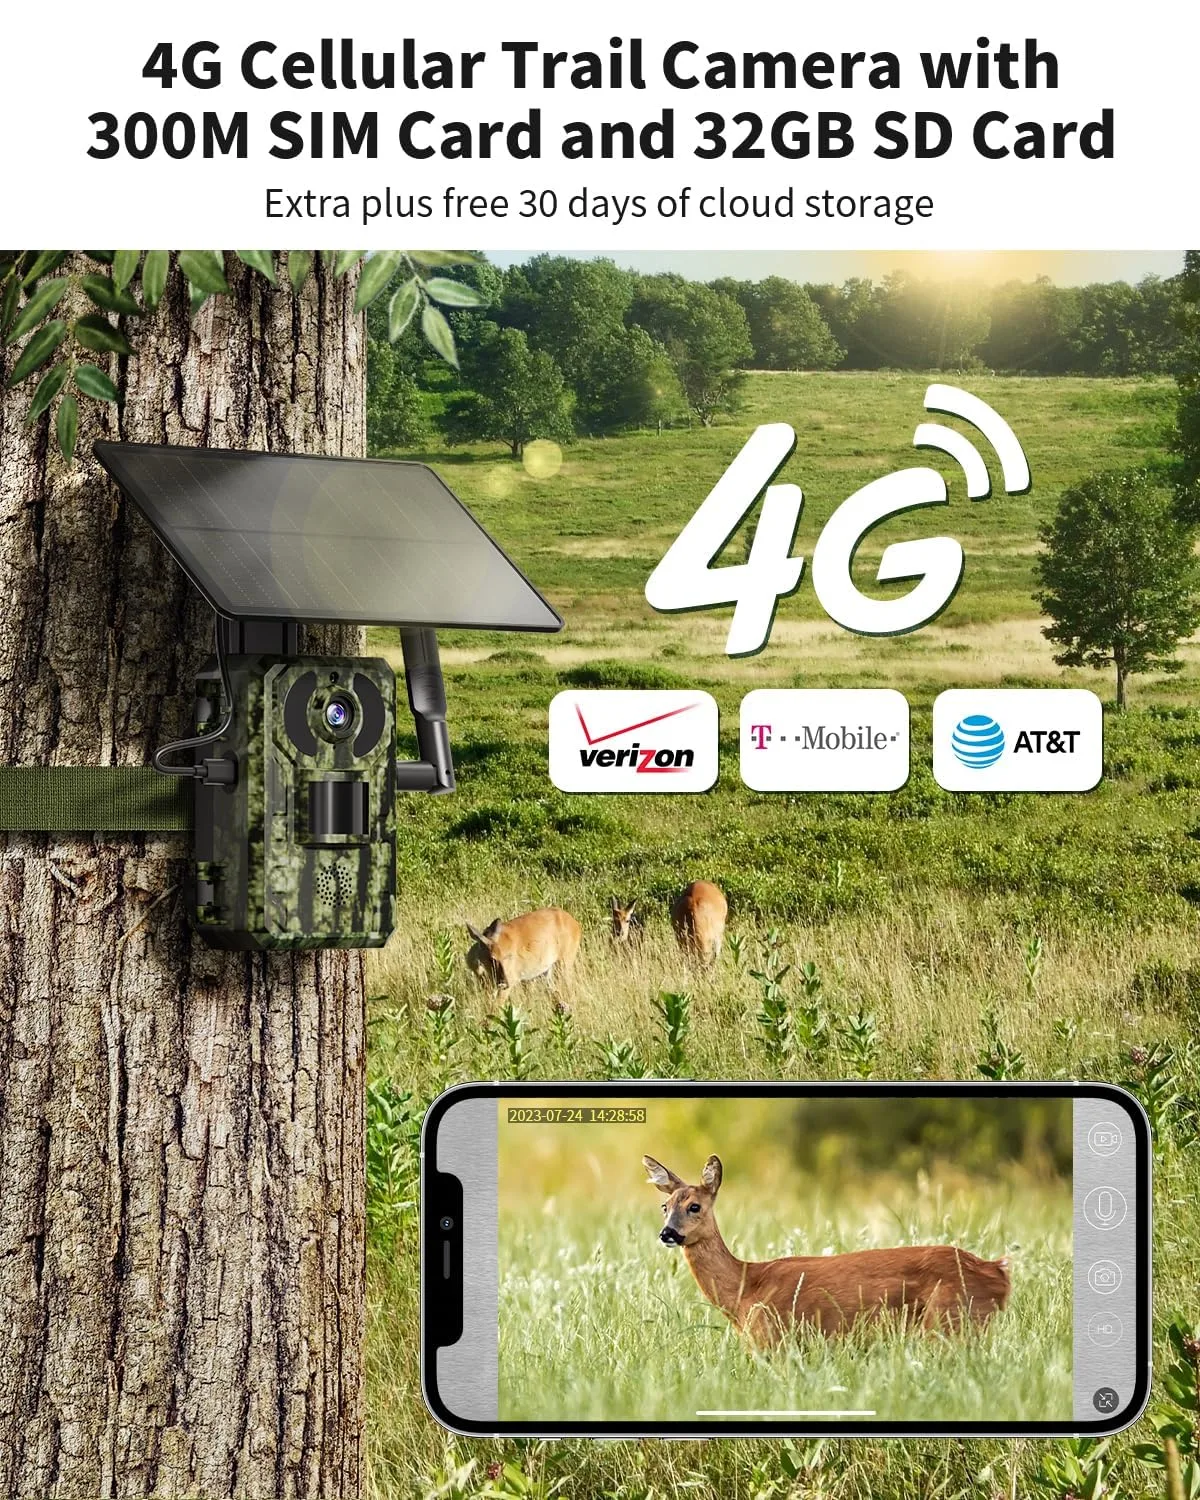
Image source: Web (Bing) / snapklik.com (Web image (fair-use with source credit))
The setup process is straightforward but has a few critical steps. Miss one, and the camera will not transmit. Here is the exact sequence.
Step 1: Install fresh lithium batteries.
Do not use alkaline batteries in a cellular camera. The cellular modem draws more power than a standard camera's electronics. Alkaline batteries will die in a few days.
Lithium AA batteries last 3 to 12 months depending on transmission frequency. Use Energizer Ultimate Lithium or Duracell Optimum. They cost more but they are non-negotiable for reliability.
Step 2: Insert the microSD card.
The camera stores full-resolution images locally. A 32GB card holds tens of thousands of photos. A 64GB card is plenty for a season.
Format the card in the camera before first use. Most cameras have a format option in the settings menu.
Step 3: Insert the SIM card and power on.
Follow the same process from the previous section. The camera should show a cellular signal indicator. If it does not, check the SIM orientation and try again.
Step 4: Download the companion app.
Every major brand has its own app. Browning has the Browning Trail Cameras app. Tactacam has the Tactacam Reveal app.
Moultrie has the Moultrie Mobile app. Spypoint has the Spypoint app. Download the correct one for your camera model.
Step 5: Pair the camera with the app.
Most cameras use a QR code or Bluetooth pairing. Open the app, create an account, and follow the pairing instructions. The camera will appear in the app once paired.
Step 6: Configure the settings.
Set the photo resolution, video length, and transmission frequency. Most cameras let you choose between "instant" (send every photo immediately) and "scheduled" (send photos in batches once or twice per day). Instant transmission drains the battery faster.
Scheduled transmission saves battery and data.
Step 7: Test the first image.
Trigger the camera manually by walking in front of it. Wait 30 seconds. Check the app.
The first image should appear. If it does not, check the signal strength indicator. If it shows zero bars, the camera is in a dead zone.
You will need to relocate it.
Step 8: Mount the camera securely.
Use a python lock or cable lock to secure the camera to the tree. Cellular cameras are expensive and theft is a real concern. Lock it.
Do not skip this step.
If you run into issues during setup, the troubleshooting process is similar to fixing common connectivity problems with other wireless devices. The same logic applies: check power, check signal, check the app.
Where to Place It: Balancing Signal Strength and Wildlife
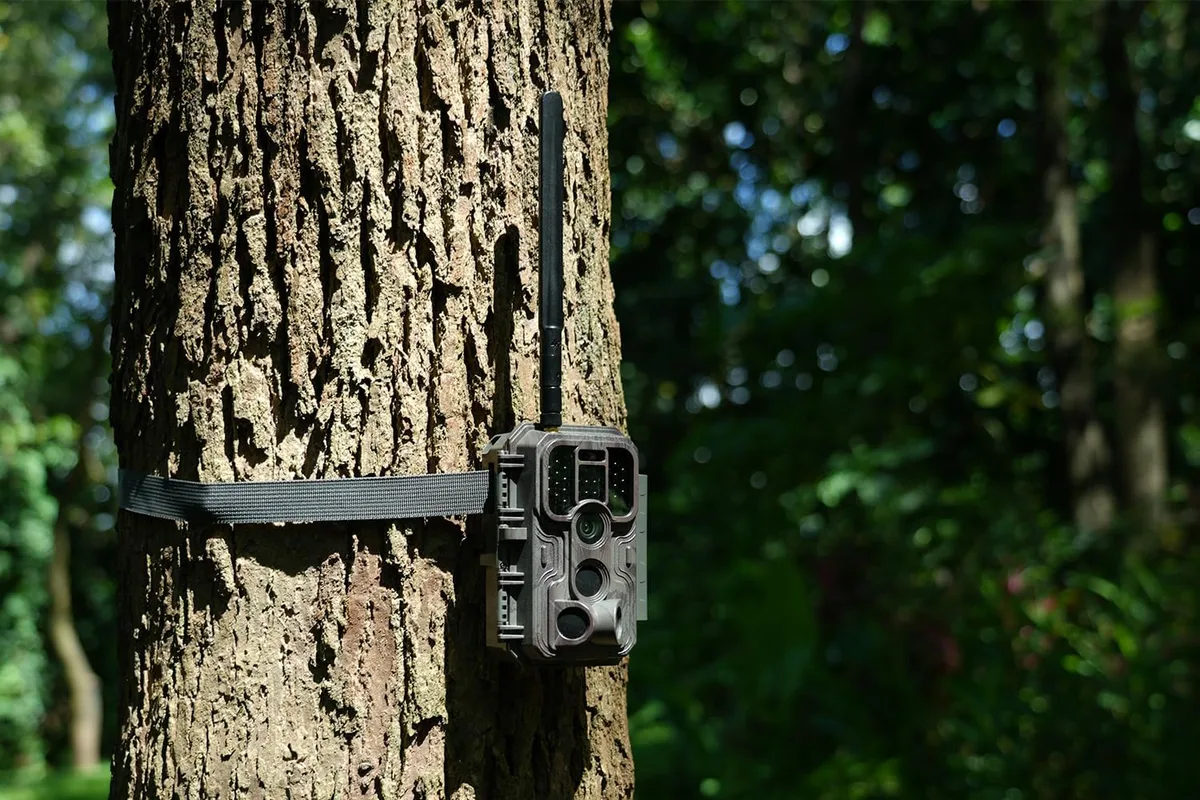
Image source: Bing (Web (fair-use with source credit))
This is the hardest part of using a cellular trail camera. You need to balance two competing priorities: a good cellular signal and a good game trail. The perfect spot often does not exist.
You have to compromise.
Signal strength is the priority.
If the camera has no signal, it cannot transmit. Period. Start by checking the carrier coverage map for your area.
Then walk the property with the camera powered on. Look at the signal indicator. Move it a few feet in each direction.
The difference between one bar and three bars can be a few feet of elevation or a gap in the tree canopy.
The decision tree for placement:
- If the area has full signal (3 to 4 bars), place the camera where the wildlife traffic is highest.
- If the area has weak signal (1 bar), place the camera where the signal is strongest first. Then see if wildlife passes through that area. If not, consider a signal booster or an external antenna.
- If the area has no signal, you have three options. Use a non-cellular camera. Move to a different property. Or use a cellular camera with a remote antenna kit that lets you place the antenna higher up.
Placement rules for wildlife:
- Mount the camera 24 to 36 inches high. Aim it slightly downward.
- Face the camera north or south. East and west cause sun glare in the morning and evening.
- Clear brush and grass in front of the camera. Motion sensors trigger on heat and movement. Tall grass blowing in the wind will trigger hundreds of false photos.
- Do not point the camera at a road or a public trail. You will get photos of cars and hikers, not deer.
Legal considerations:
Check your local laws before placing a camera on public land. Some states restrict cellular cameras during hunting season. Some require the camera to be clearly marked with your name and contact information.
On private land, you still need the landowner's permission. Trespassing with a camera is a quick way to get it confiscated.
Choosing Your Settings: Photos, Videos, and Transmission
The settings menu on a cellular trail camera has more options than a standard camera. Some of them affect your data usage and battery life directly. Here is what each setting actually does.
Photo resolution for cellular transmission:
The camera captures a full-resolution image (12MP, 20MP, or higher) and saves it to the SD card. It then resizes the image for cellular transmission. Most cameras transmit at 2MP, 3MP, or 5MP.
The 2MP setting uses less data and sends faster. The 5MP setting looks better on your phone but uses more data.
The decision tree for photo resolution:
- If you want to check for deer presence only, use 2MP. It is fast and cheap on data.
- If you want to identify specific antler points or markings, use 5MP.
- If you want to save the full-resolution image for later, keep the camera's internal resolution at maximum. The SD card holds the originals.
Video mode and data usage:
Video uses dramatically more data than photos. A 10-second video at 1080p uses about 10MB. A 10-second video at 720p uses about 5MB.
Compare that to a 2MP photo at 0.2MB. If you have a small data plan, avoid video mode. If you have an unlimited plan, video is fine.
Transmission frequency:
- Instant transmission: Every photo sends immediately. Best for active monitoring. Worst for battery life.
- Scheduled transmission: Photos send in batches at set times (e.g., 8 AM and 8 PM). Best for battery life and data savings.
- Manual transmission: You trigger the send from the app. The camera saves photos locally until you request them.
The decision tree for transmission frequency:
- If you are hunting and want real-time alerts, use instant transmission.
- If you are monitoring a property and checking once per day, use scheduled transmission.
- If you are on a tight data plan, use manual transmission and check the app every few days.
Battery life trade-offs:
- Instant transmission with 4G: 2 to 4 months on lithium AA batteries
- Scheduled transmission (once per day): 6 to 12 months
- Time-lapse mode (no transmission): 12+ months
If you are setting up the camera for a long season, schedule the transmission. Your battery will last the whole season. If you are hunting a specific week, go with instant.
Common Mistakes That Wreck Your Setup
Most problems with cellular trail cameras come from the same few errors. Avoid these and you will save yourself a lot of frustration.
Mistake 1: Using alkaline batteries.
Alkaline batteries cannot handle the power draw of the cellular modem. They die in days, not months. Lithium batteries cost more but they last the entire season.
Do not cut corners here.
Mistake 2: Activating the SIM after mounting the camera.
Activate the SIM and test the signal before you mount the camera. If you mount it first and then realize there is no signal, you have wasted an hour. Test everything on the ground first.
Mistake 3: Pointing the camera at a heat source.
The motion sensor detects temperature changes. If you point the camera at a sunlit patch of ground, it will trigger constantly. Aim it at shaded areas where animals actually walk.
Mistake 4: Forgetting to format the SD card.
Unformatted cards cause errors. The camera may not save images correctly. Always format the card in the camera before first use.
Mistake 5: Ignoring the antenna.
Some cameras have an external antenna port. If you are in a weak signal area, an external antenna can make the difference between one bar and three bars. Do not ignore it.
Mistake 6: Not locking the camera.
Cellular cameras cost $150 to $300. They are a target for theft. Use a cable lock or python lock.
Secure it to the tree. If you do not, you will eventually lose it.
Frequently Asked Questions
How long does it take to set up a cellular trail camera?
Plan for 30 to 45 minutes the first time. That includes activating the SIM, pairing the app, testing the signal, and mounting the camera. After you have done it once, it takes about 15 minutes.
Do I need a phone plan for the camera?
No. The camera uses its own SIM card and data plan. It does not share your phone's plan.
You manage the camera's plan separately through the app.
What if there is no cellular signal in my area?
If the area has zero signal, the camera cannot transmit. You have three options: use a standard non-cellular camera, move to a different location, or use a cellular camera with a remote antenna kit that places the antenna higher up.
How many photos can I expect per month?
A typical user captures 200 to 500 photos per month. At 2MP transmission, that uses about 40MB to 100MB of data. At 5MP, it uses about 100MB to 250MB.
Plan accordingly.
How often should I change the batteries?
With lithium AA batteries and scheduled transmission, change them once per season. With instant transmission, change them every 2 to 4 months. Check the app for battery level alerts.
Can I use the camera for home security?
Yes, but it is not a live security camera. It sends still images when motion is detected. It does not stream video.
It works well for monitoring a gate, driveway, or cabin entrance.

Similar Posts