How to Recover Underwater Camera Photos
Your camera just took an unexpected dive. The photos you captured are still inside, and you're wondering how to recover underwater camera photos before corrosion takes over. Your chances of success depend entirely on what you do right now.
Manufacturer specifications indicate that corrosion begins within minutes of water exposure. Saltwater can cause visible damage in as little as 15 minutes. As of 2026, professional recovery services report that cameras receiving proper first aid within the first hour have a success rate above 90%.
Image source: Web (Bing) / geekinstructor.com (Web image (fair-use with source credit))
Why Acting Fast Is Everything
When your camera goes underwater, a chemical race starts immediately. Electricity and water create a perfect environment for electrolysis. This process eats away at the tiny metal contacts on your circuit board.
The longer you wait, the more damage spreads.
The first 60 minutes are critical. Aggregate reviews from camera repair specialists show that cameras treated within the first hour have a 90% or higher chance of full data recovery. After 24 hours, that number drops to around 50%.
After a week, you're lucky to get anything.
Corrosion doesn't work the same way on every surface. The battery contacts, memory card pins, and internal ribbon cables are the most vulnerable points. Saltwater is especially aggressive because it conducts electricity better than freshwater.
It accelerates the damage significantly.
Most internet advice you'll find is wrong. The rice myth is the most common offender. Rice doesn't absorb moisture from inside a sealed camera housing.
It actually introduces dust and starch particles that can jam up moving parts. The same goes for hair dryers, ovens, and microwaves. Heat speeds up corrosion and can warp plastic components.
Here's what's actually happening inside your camera. Water seeps into gaps around buttons, lens rings, and the memory card slot. It carries dissolved minerals that settle on circuit boards.
When the camera is powered on, these minerals create conductive bridges between circuits. That causes shorts. That's why you should never turn on a wet camera.
The speed of damage depends on temperature and humidity. Warm water accelerates corrosion. Cold water slows it down.
A camera that falls into a cold mountain stream has better odds than one that gets dunked in a hot tub. But in both cases, the clock is ticking.
The memory card is often the easiest part to save. It's a sealed unit with no moving parts. If you remove it quickly and dry it properly, the data is usually recoverable.
The camera itself is a different story. But your photos live on that card, not in the camera body. For similar recovery approaches, we've covered this for other camera types.
Quick Answer: What to Do in the First 10 Minutes
Turn off the camera and remove the battery. Take out the memory card. Rinse the camera with distilled water.
Soak the card in 99% isopropyl alcohol. Let everything dry for 24 to 72 hours. Copy your files to a computer.
Don't use rice or heat. Act fast for the best results.
These three steps happen in that order, and they happen immediately. Don't press any buttons. Don't open the lens.
Don't check if it still works.
Once you have the battery and card out, assess the situation. What type of water did the camera go into? Freshwater, saltwater, and pool water all require slightly different approaches.
We'll cover each one in the next section.
For the memory card, your first step is simple. Dry it with a soft, lint-free cloth. Then place it in a bowl of 99% isopropyl alcohol.
The alcohol displaces water and evaporates quickly without leaving residue. Let it sit for 15 to 30 minutes. Then let it air dry completely on a clean surface.
This takes 24 to 48 hours.
For the camera body, the approach depends on the water type. Freshwater cameras can go straight to drying. Saltwater cameras need a rinse with distilled water first.
Pool water cameras need the same treatment as saltwater because chlorine leaves behind corrosive residue.
After the initial treatment, place the camera and card in a sealed container with silica gel packets. These absorb moisture much better than rice. Leave them for 24 to 72 hours.
Don't rush the process. A camera that looks dry on the outside can still have moisture trapped inside.
Once everything is bone dry, insert the memory card into a clean computer. If the computer recognizes it, copy your files immediately. If it doesn't, try data recovery software.
If that fails, it's time to call a professional. You can also check if your camera still works by following our testing guide.
Freshwater vs. Saltwater vs. Pool Water Damage
The type of water your camera went into changes everything. Each one behaves differently on electronics. Each one requires a slightly different response.
Freshwater is the least damaging. It doesn't conduct electricity as well as saltwater. It doesn't leave behind as many mineral deposits.
But it still causes corrosion over time. The main risk with freshwater is that it can get trapped in small spaces and cause mold growth. If you act fast, freshwater damage is usually recoverable.
Saltwater is the worst. It conducts electricity extremely well. It leaves behind salt crystals that continue to corrode even after the water dries.
These crystals are hygroscopic, meaning they attract moisture from the air. This keeps the corrosion process going long after the initial dunk. Saltwater requires immediate rinsing with distilled water to remove the salt residue.
Pool water falls somewhere in between. Chlorine is a strong oxidizer. It attacks metal contacts aggressively.
It also leaves behind a sticky residue that can trap moisture. Pool water should be treated like saltwater. Rinse the camera with distilled water as soon as possible.
Here's a comparison of the three water types and their effects on cameras:
| Water Type | Conductivity | Residue | Urgency | Best Treatment |
|---|---|---|---|---|
| Freshwater | Low | Minimal | Moderate | Dry immediately |
| Saltwater | High | Salt crystals | Extreme | Rinse with distilled water, then dry |
| Pool water | Medium | Chlorine residue | High | Rinse with distilled water, then dry |
The key takeaway is simple. If your camera went into saltwater or pool water, you need to rinse it before drying. If it went into freshwater, you can skip the rinse and go straight to drying.
In all cases, remove the battery and memory card first.
The timeline for damage varies by water type. Saltwater can cause visible corrosion in 15 minutes. Pool water takes about 30 minutes.
Freshwater can take several hours. But don't use these numbers as an excuse to delay. Start the recovery process immediately regardless of the water type.
Camera manufacturers use IP ratings to indicate water resistance levels. The International Electrotechnical Commission maintains the standard for these ratings. For tips on weatherproofing your gear, read our guide on how to protect trail camera from weather.
Step-by-Step: Recovering Your Photos and Memory Card
Follow these steps in order. Don't skip any step.
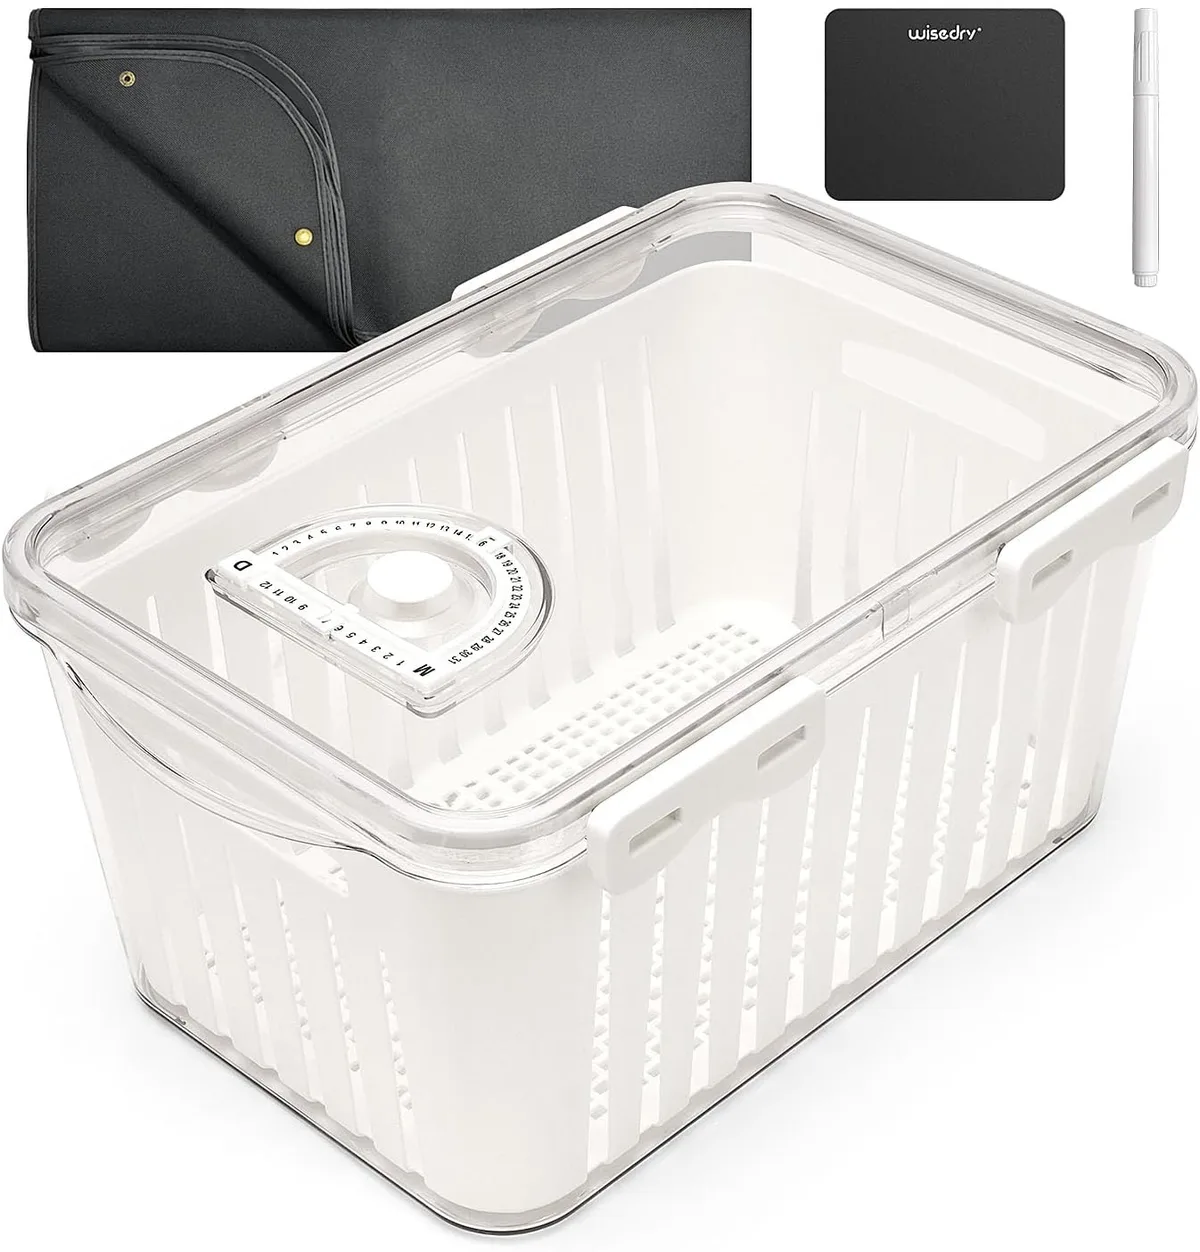
Image source: Web (Bing) / amazon.co.uk (Web image (fair-use with source credit))
Step 1: Remove and Dry the Memory Card First
The memory card is your priority. It contains all your photos. It's also the easiest component to recover.
Remove the card as soon as the camera is powered off. Wipe it gently with a lint-free cloth. Don't rub hard.
You don't want to push water deeper into the card.
Place the card in a bowl of 99% isopropyl alcohol. The alcohol displaces water and removes mineral deposits. Let it soak for 15 to 30 minutes.
Then remove it and let it air dry on a clean surface for 24 to 48 hours.
Step 2: Stabilize the Camera Body
While the card dries, work on the camera. Remove the battery immediately. This prevents electrical shorts and reduces the risk of fire.
If the camera went into saltwater or pool water, rinse it with distilled water. Use a spray bottle or gently pour the water over the camera. Don't submerge the camera.
The goal is to wash away salt and chlorine residue.
After rinsing, place the camera in a sealed container with silica gel packets. Use as many packets as you can fit. Leave the container closed for 24 to 72 hours.
Don't check on it. Don't open the container. Let the silica gel do its work.
Step 3: Recover Data from the Memory Card
After 24 to 48 hours, the memory card should be dry. Insert it into a clean computer. If the computer recognizes it, copy your files to the hard drive immediately.
If the computer doesn't recognize the card, try data recovery software. These tools can often recover files from cards that appear blank. If the software finds your photos, copy them to a safe location.
If the software fails, it's time to call a professional. Don't try to open the card or use stronger chemicals. Professional recovery services have clean rooms and specialized equipment that can save data from damaged cards.
For tips on keeping contacts clean, check out our guide on how to clean a trail camera.
Mistakes That Kill Your Photos Permanently
These errors turn a recoverable situation into a total loss. Avoid them at all costs.
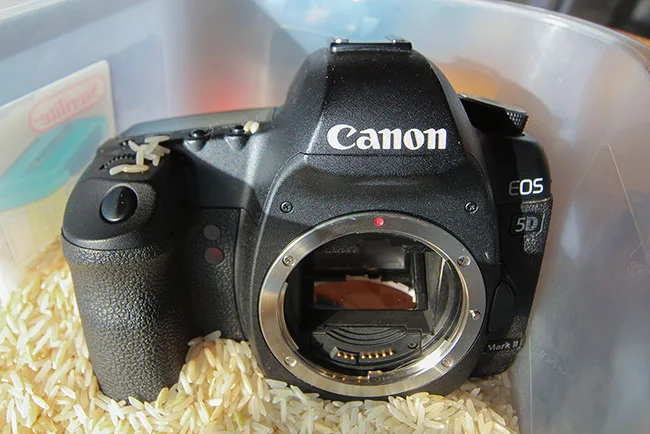
Image source: Web (Bing) / slrlounge.com (Web image (fair-use with source credit))
Turning the camera on to test it. This is the number one mistake. Powering a wet camera creates electrical shorts. It can destroy the circuit board in seconds.
Assume the camera is dead until you've confirmed it's completely dry.
Using rice. Rice doesn't absorb moisture from inside a sealed camera. It can't reach the water trapped under the circuit board. It also introduces dust and starch that can jam moving parts.
Use silica gel packets instead. They cost less than $10 and work much better.
Using heat. Hair dryers, ovens, and microwaves all damage electronics. Heat warps plastic components. It speeds up corrosion.
It can melt internal seals. The best drying method is room temperature air with silica gel.
Shaking the camera. Shaking forces water deeper into the camera. It spreads moisture to areas that might have stayed dry. Gently tilt the camera to let water drain out.
Don't shake it.
Inserting the card into a phone or camera to check it. This is a common mistake. The card might still be wet inside. Inserting it into another device can damage that device too.
It can also cause electrical shorts in the card that destroy the data.
Waiting overnight before doing anything. The longer you wait, the more corrosion spreads. Start the recovery process immediately. Even if you're in the middle of something, stop and take care of the camera first.
Using tap water to rinse saltwater. Tap water contains minerals that leave their own residue. Always use distilled water for rinsing. It's free of minerals and won't add to the corrosion problem.
For more troubleshooting common issues, see our guide on how to troubleshoot a trail camera.

Similar Posts
































