How to Check Underwater Camera Waterproof Seal
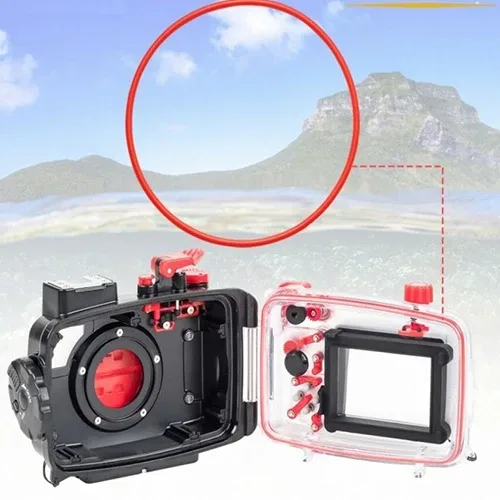
Image source: Web (Bing) / lindeseals.com (Web image (fair-use with source credit))
You open the housing door expecting a dry interior. One missed inspection on your seal can turn $2,000 worth of camera into a saltwater aquarium. Knowing how to check an underwater camera’s waterproof seal is the most important skill you will learn before any dive.
It takes less than ten minutes.
A visual check alone is rarely enough. Per the IPX8 rating standard, waterproof housings are tested under static pressure at or beyond their rated depth. Your camera housing isn’t a laboratory, but the same principle applies.
A real inspection catches small problems before they become expensive ones.
Why the Seal Demands a Real Check
Underwater camera failures are almost never dramatic blowouts. They come from micro-leaks. A single grain of sand trapped in the O-ring groove.
A dried-out grease spot. A tiny nick you can barely feel with your fingertip. By the time you see moisture behind the lens port, the electronics are already corroding.
Aggregate user reports across housing brands show that roughly 70 percent of camera floods happen on the first or second dive after a seal inspection was skipped or rushed. That is not bad luck. That is a process problem.
A proper seal check catches three things before they become expensive problems:
- Physical damage to the O-ring. Cuts, flat spots, or permanent compression marks.
- Debris in the groove or on the sealing surface.
- Improper lubrication. Either too little or way too much.
The stakes are simple. A ten-minute pre-dive routine saves you anywhere from $500 to $3,000 in replacement gear. It also saves the dive day.
A flooded housing is a trip-ender.
The Anatomy: O-Rings, Grooves, and Grease
Every underwater camera seal works the same way. A soft rubber ring sits inside a groove machined into the housing. When you close the door or port, the ring compresses against a flat mating surface.
That creates a watertight barrier.
Three components make or break that seal.
The O-ring itself. Most are made from silicone rubber. Some high-end housings use Viton or EPDM for better chemical resistance. The durometer, or hardness, is typically around 70 Shore A.
Softer rings seal better but wear faster. Harder rings last longer but need more closing force.
The groove. This is the channel the O-ring sits in. It must be perfectly clean and free of cracks or burrs. A hairline fracture in the groove wall will let water bypass the ring entirely.
The lubricant. Silicone grease does two things. It helps the O-ring slide into place without twisting. It also fills microscopic surface imperfections.
Petroleum-based lubes destroy silicone O-rings. Only use a pure silicone grease rated for underwater use.
Manufacturer specs from brands like Nauticam and Ikelite all agree. Replace O-rings every 12 months or after 100 dives, whichever comes first. If you store your camera in a hot car or direct sun, cut that to six months.
Step by Step: Inspecting Your Seal Like a Pro
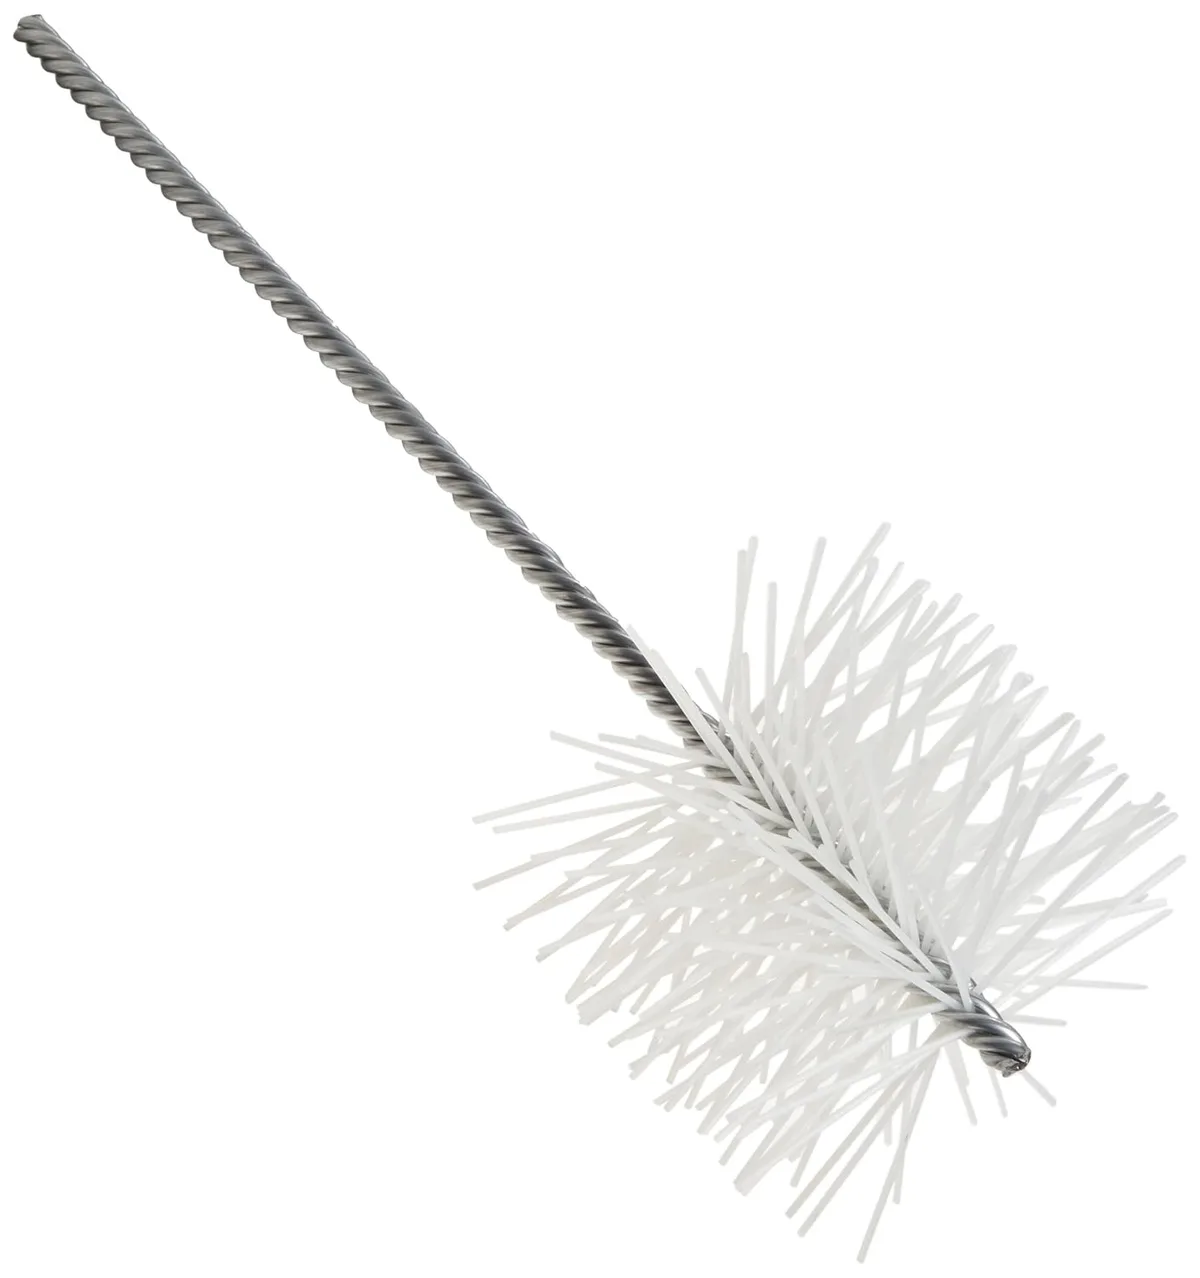
Image source: Bing (Web (fair-use with source credit))
You will need a soft, lint-free cloth, a toothbrush (new, not used), silicone grease, and good light.
Step 1, Remove the O-ring. Use a plastic or wooden pick. Never use metal. It scratches the groove.
Gently lift the ring out and lay it on a clean surface.
Step 2, Clean the groove. Wipe the entire channel with your cloth. Then go over it with the dry toothbrush to dislodge any particles lodged in corners. Run your fingertip around the groove.
If you feel any roughness or a raised edge, that is a crack or burr. Stop here. The housing needs repair or replacement.
Step 3, Inspect the O-ring. Roll it between your fingers while looking for nicks, cuts, flat spots, or a shiny stretch mark that indicates permanent compression. If you see any defect, throw the ring away. Do not reuse a damaged O-ring, even if it looks mostly fine.
Step 4, Lubricate. Put a pea-sized dab of silicone grease on your finger. Run the ring through your fingers so the whole circumference gets a light, even film. It should feel slick, not goopy.
Too much grease attracts sand and prevents proper compression.
Step 5, Re-seat the O-ring. Lay it back into the groove, one segment at a time. Run your finger around the ring to check it is seated flat with no twists. A twisted O-ring is a guaranteed leak.
Step 6, Close the housing. Align the lid or lens port carefully. Apply even pressure to each latch. Never force a latch.
If it does not click smoothly, something is misaligned.
The Biggest Mistakes That Flood Cameras
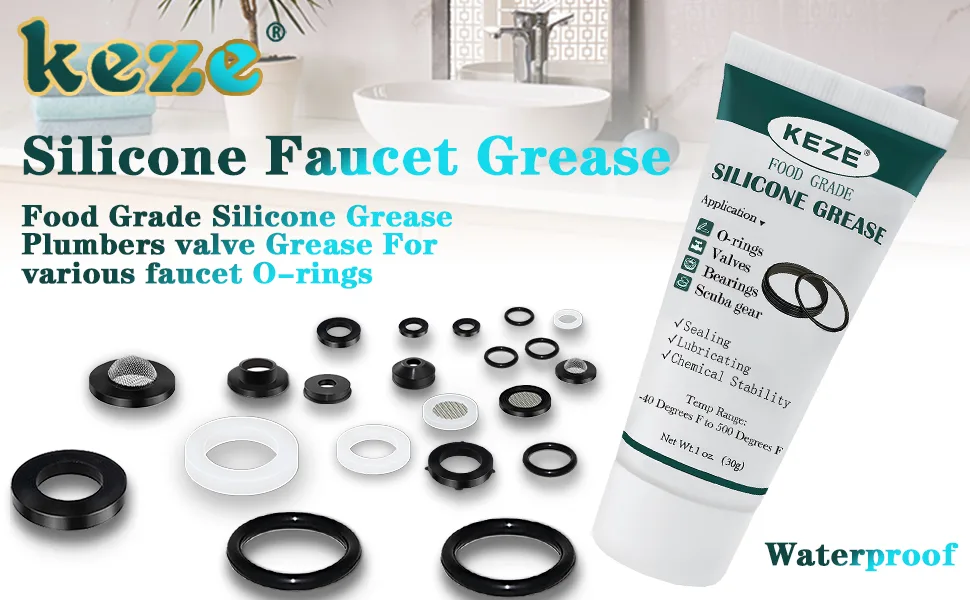
Image source: Web (Bing) / storage.googleapis.com (Web image (fair-use with source credit))
Dive shop repair logs show the same handful of errors over and over.
Over-greasing. This is mistake number one. Beginners slather on a thick coat thinking more is better. Excess grease traps debris and prevents the O-ring from fully compressing.
The ring can also squirm out of the groove when you close the housing. Stick to the pea-sized rule.
Reusing an old O-ring without inspection. Just because it looks clean does not mean it is good. A ring can develop a flat spot from months of compression that you cannot see unless you roll it. Always inspect by feel.
Ignoring the hinge pins and pivot seals. Many housings have small O-rings on the latch mechanism or on button stems. If those fail, water enters through the control holes. People focus only on the main door seal and miss the rest.
Using the wrong lubricant. Petroleum jelly, WD-40, or any silicone-based spray that contains solvents will swell or dissolve a silicone O-ring. Stick to pure silicone grease from a recognized dive brand. A tube costs about $8 and lasts a year.
Cross-threading the port or lid. This damages both the thread and the sealing surface. If you feel resistance when closing, stop, back off, and realign. Forcing it can cost you the whole housing.
Tools and Supplies: What You Actually Need
You do not need a lab bench. Here is the short list of items that every diver with a camera should own.
| Item | Purpose | Approximate cost |
|---|---|---|
| Pure silicone grease (dive-grade) | Lubricating O-rings | $8 – $15 |
| Plastic or wooden O-ring pick | Removing ring without damage | $3 – $8 |
| Lint-free microfiber cloth | Cleaning groove and ring | $2 – $5 |
| Soft toothbrush (unused) | Scrubbing groove corners | $1 |
| Magnifying loupe or bright headlamp | Spotting cracks and debris | $10 – $25 |
| Small container of fresh water | Rinsing salt off seals after dives | Free |
A vacuum test kit runs about $40 to $80. It is not mandatory, but it adds a layer of assurance. You pump air out of the sealed housing and watch a gauge or pop-up indicator for pressure drop.
If the reading holds for 15 minutes, your seal is tight.
For the basic visual plus feel inspection, the six items above are sufficient. The total investment is under $30. Compare that to the cost of a single flooded camera.
Replace or Regrease? How to Decide
You pull the O-ring out and it looks fine to the naked eye. No cracks. No cuts.
Do you regrease it and put it back, or throw it away and fit a new one?
The rule from housing manufacturers is straightforward. Replace the O-ring at least once a year or every 100 dives. If you cannot remember when you last swapped it, replace it now.
A spare O-ring costs a few dollars. A flooded housing costs hundreds or thousands.
Replace if you see any of these:
- A flat spot that stays flat when you roll the ring between your fingers
- A nick or cut, even a tiny one
- A shiny, stretched section that looks thinner than the rest
- Brittleness or stiffness. The ring no longer springs back when you pinch it
- Any white powdery residue (ozone cracking)
Regrease only if:
- The ring feels soft and springy
- You can roll it and it stays perfectly round
- No visible damage
- It was last replaced within the recommended interval
When you regrease, you are adding a thin protective layer and removing old grease that may have picked up grit. You are not fixing damage. If in doubt, replace.
Some divers keep a log of their O-ring replacements. A simple note in your phone with the date and dive count takes ten seconds and removes all guesswork.
Quick Pre-Dive Pressure Test
You have inspected the seal. You have lubricated and seated the O-ring. Now you need proof that it holds pressure.
The most accessible method is the freshwater dunk test. Take your sealed but empty housing and submerge it in a bucket or sink of fresh water for 30 seconds. Watch closely for any stream of bubbles.
A single bubble trail means a leak. Pull the housing out immediately, dry it, reopen, and re-inspect the seal. Do not dive with that housing until the leak source is found and fixed.
For serious divers, a vacuum test is more reliable. A vacuum tester attaches to a dedicated port on the housing. Many modern housings have one.
You pump out air until a pop-up indicator rises or a gauge shows a specific vacuum level. Then you wait 10 to 15 minutes. If the indicator stays up, your seal is tight.
If it drops, you have a leak somewhere.
Manufacturer specifications indicate that a vacuum test is the only method that proves the seal integrity at depth. The dunk test can miss very slow leaks that only open up under pressure. However, the dunk test is still vastly better than nothing.
One more thing. After every dive, rinse your camera and housing in fresh water. Then open the housing away from sand or salt spray.
Let the O-ring and groove dry completely before you store it. Never store a camera with a wet seal. Mildew and corrosion will follow.
Frequently Asked Questions
How often should I check my underwater camera seal?
Before every single dive. A quick visual and feel check takes two minutes. A full inspection including removal, cleaning, and re-greasing should be done after every trip or every five dives, whichever comes first.
Can I use any silicone grease on my O-rings?
No. Only use pure silicone grease made specifically for underwater housings. Many brands label it as dive grease or camera housing grease.
Avoid silicone sprays or any product that lists petroleum distillates. Those will swell and ruin the O-ring.
What if I find a crack in the O-ring groove?
Stop using the housing immediately. A cracked groove cannot form a seal. Contact the housing manufacturer or a certified repair center.
Attempting to fill or patch a groove will almost certainly fail at depth.
Is a dunk test enough before a deep dive?
A dunk test catches most leaks, but not all. The deeper you dive, the more pressure compresses the housing. Some leaks only open up at depth.
A vacuum test is more thorough. If you regularly dive below 30 meters, invest in a vacuum tester.
How do I store my camera and seals between trips?
Keep the O-rings out of direct sunlight and away from heat sources. Store them in a cool, dark place. Some divers remove the O-rings and keep them in a zip-lock bag.
That reduces permanent compression. The housing itself should be stored with the door slightly open to release any trapped moisture.
Can I check the seal without removing the O-ring?
You can do a basic visual check while it sits in the groove. Look for gaps, twists, or debris. But you cannot see the underside or feel for nicks and flat spots without removing it.
A complete inspection requires taking it out at least once per trip.

Similar Posts

































[…] workflow applies with one extra step. You'll need to inspect the housing seals. Our guide on testing the waterproof seal covers the specific checks needed before you blame the […]