How to Use Underwater Camera Housing
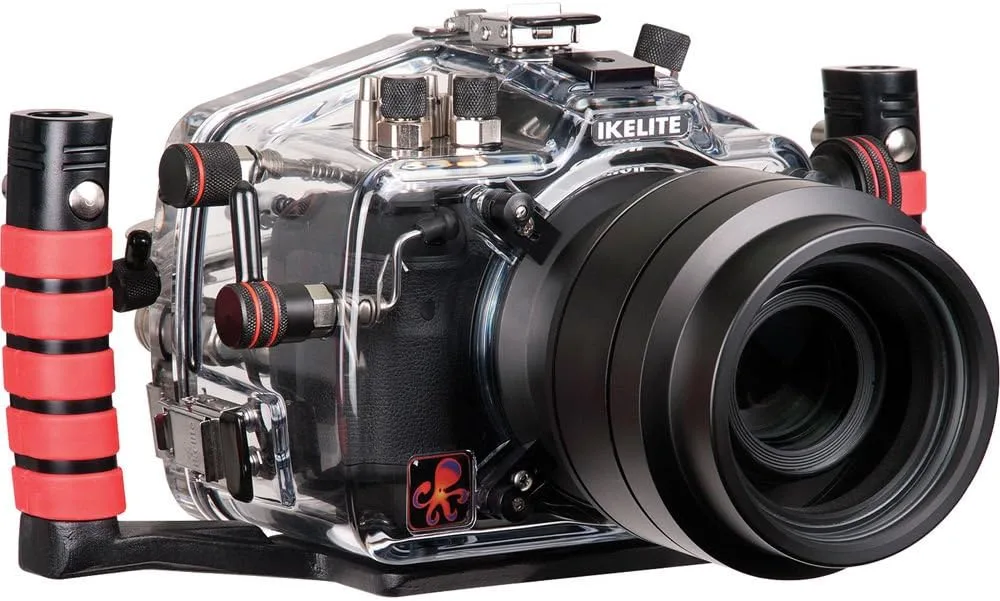
Image source: Bing (Web (fair-use with source credit))
So you've got a serious camera and you want to take it underwater. The fear is real: one mistake and your gear becomes a saltwater paperweight. Understanding how to use underwater camera housing is the single most important skill you'll learn in this hobby, because getting it wrong can cost you thousands in a single dive.
Our research shows a flooded housing is one of the most common causes of camera loss in underwater photography. As of 2026, the average repair bill for a flooded mirrorless body runs between $800 and $1,200. That's if the camera is salvageable at all.
Saltwater corrosion starts within minutes, so let's walk through what you need to know to keep your gear bone dry.
Why Getting This Wrong Costs You More Than a Camera
A flooded housing isn't just a ruined camera. It's the lens, the strobes, the housing itself, and every photo from your dive trip. The stakes are genuinely high.
The real cost breakdown
Manufacturer specifications indicate that a single drop of saltwater inside a housing can corrode circuit boards in under 60 seconds. Here's what you're actually risking:
| Item | Replacement cost (approximate) |
|---|---|
| Mirrorless camera body | $1,200 – $3,500 |
| Lens (wide-angle or macro) | $800 – $2,500 |
| Housing (if flooded internally) | $500 – $2,000 |
| Strobe or video light | $300 – $1,200 |
| Total potential loss | $2,800 – $9,200+ |
That's the hardware. You also lose every photo from that dive, plus future shots until the gear is replaced.
Why this topic demands respect
Underwater housings work on a simple principle: compressed O-rings create a watertight seal. But that simplicity is deceptive. A single strand of hair, a grain of sand, or a forgotten port lock can turn a $6,000 setup into scrap.
The good news? Floods are almost always preventable. Every case we've studied comes down to skipping one of three things: the pre-dive inspection, the vacuum test, or the post-dive rinse.
Get those right and your odds change dramatically.
What You're Actually Working With: Housing Parts That Matter
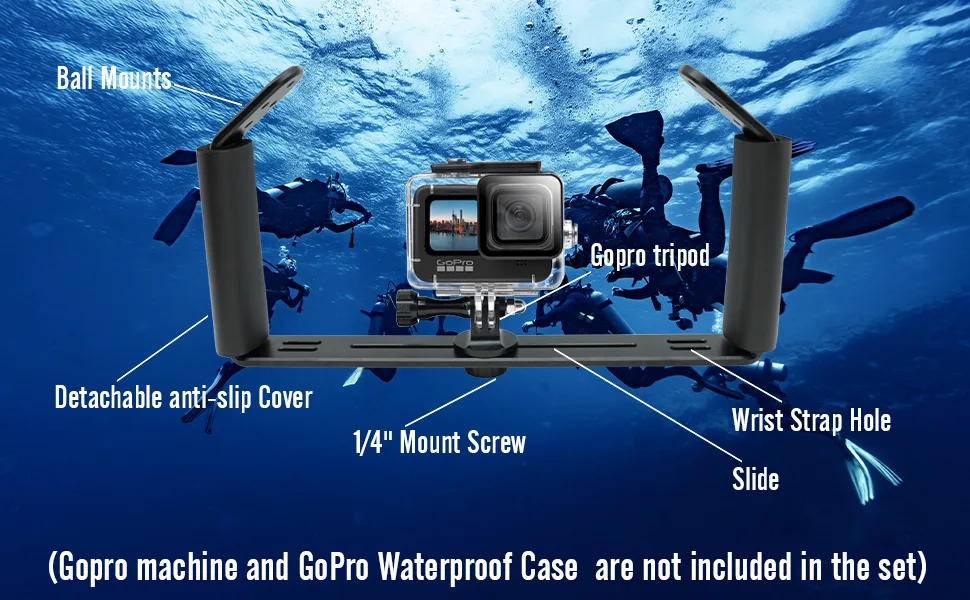
Image source: Bing (Web (fair-use with source credit))
Before you can use a housing safely, you need to know what each part does. Most housings share the same core components, regardless of brand.
The key components
| Part | What it does | Why it matters |
|---|---|---|
| Housing body | The waterproof shell | Usually polycarbonate or aluminum; polycarbonate is lighter but scratches easier |
| Main O-ring | Creates the seal between housing halves | The single most failure-prone part on any housing |
| Port (flat or dome) | The optical window in front of the lens | Dome ports give wider angles; flat ports are sharper for macro |
| Port O-ring | Seals the port to the housing body | Often forgotten during cleaning |
| Control buttons/knobs | Let you operate camera functions | Mechanical rods or levers that pass through the housing wall |
| Vacuum valve | Lets you test the seal before diving | Standard on most modern housings; a major safety upgrade |
| Moisture alarm | Detects humidity inside the housing | Gives you early warning before water reaches electronics |
Flat port vs. dome port
If you're shooting macro or small subjects within a foot of the lens, a flat port gives you sharper corners and less distortion. If you're shooting wide-angle scenes or large marine life, a dome port is essential. Dome ports bend light to correct for refraction underwater, creating a larger effective field of view.
Macro shooters can rely on a quality flat port for crisp results without spending the extra money.
The Pre-Dive Ritual That Saves Your Gear Every Time
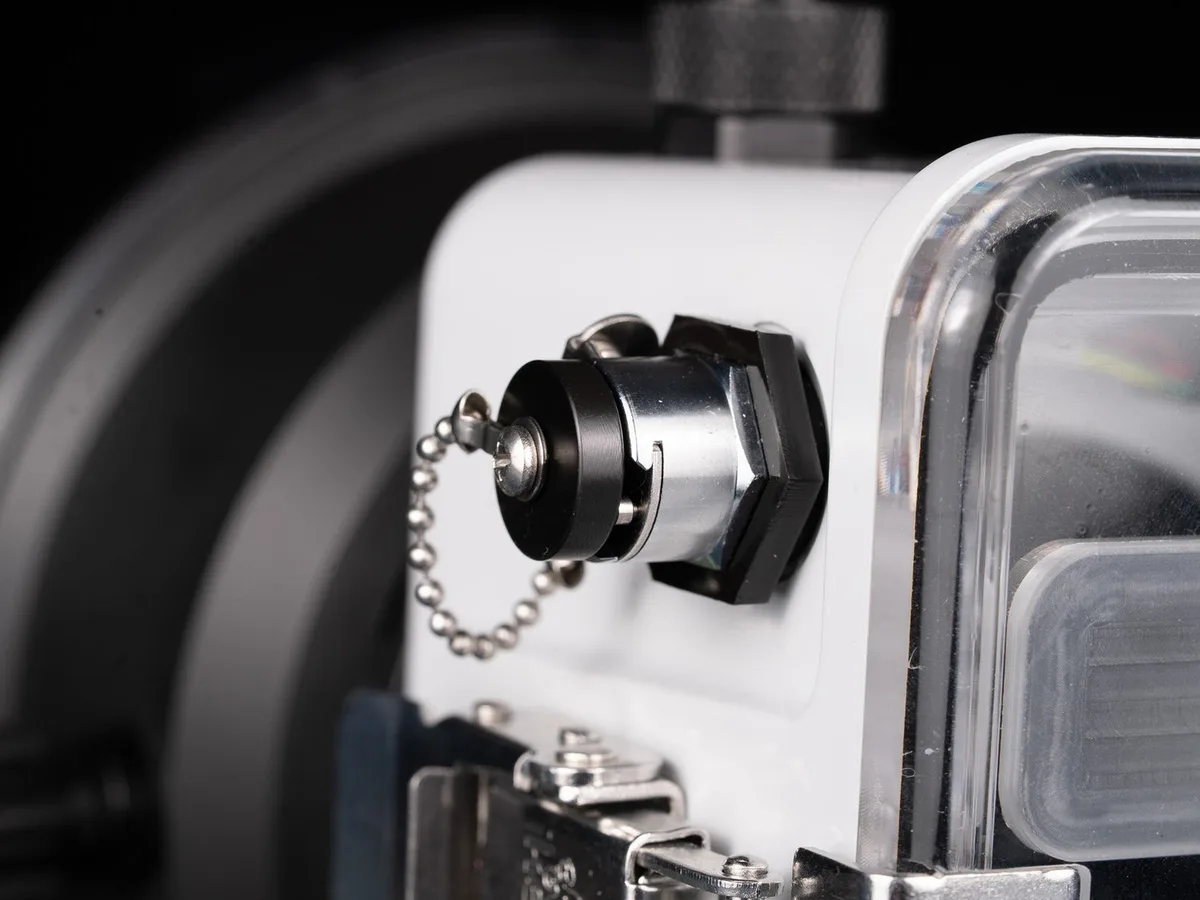
Image source: Web (Bing) / ikelite.com (Web image (fair-use with credit))
This is where most floods get prevented. The pre-dive check takes about 15 minutes and follows a strict sequence. Skip any step and you're gambling.
Step 1: Inspect every O-ring
Run your finger along each O-ring. Look for nicks, flat spots, cuts, or debris. Pay special attention to the underside where tiny salt crystals can hide.
If you see any damage, replace the O-ring before you go further. Never reuse a suspicious O-ring.
Step 2: Clean and lubricate
Wipe the O-ring with a lint-free cloth. Apply a thin, even layer of silicone grease, just enough to make the surface feel slick. Too much grease attracts debris.
Too little causes the O-ring to pinch during closure.
Step 3: Set your camera settings before sealing
Turn the camera on. Set your white balance, ISO, and shutter speed. Disable optical image stabilization if your housing has a dome port, because the stabilization system can overcorrect and create vibration at depth.
Close the lens cap or port cover if your housing allows it.
Step 4: The vacuum test
This is the single most reliable flood prevention tool available as of 2026. Attach the vacuum pump to the housing valve. Pump until the gauge reads about 10 to 15 mbar below ambient pressure.
Close the valve. Watch for 5 to 10 minutes:
| Vacuum test result | What it means | Action |
|---|---|---|
| No pressure drop | Seal is good | Proceed to dive |
| Drop of 5 to 10 mbar over 10 minutes | Minor leak possible | Re-inspect O-rings and test again |
| Drop over 10 mbar in less than 5 minutes | Significant leak | Do not dive; find the problem |
Step 5: Submerge test in shallow water
Even after a vacuum pass, do a quick dunk in 2 to 3 feet of water. Rotate the housing. Watch for bubbles.
If you see any stream of bubbles, abort the dive immediately.
Common Mistakes That Flood Housings (And How to Avoid Them)
Repair shop records and dive center feedback reveal the same patterns year after year. The mistakes are predictable, which means they're avoidable.
Mistake 1: O-ring contamination from hair or sand
This is the most common cause of floods. A single strand of hair across the O-ring channel creates a tiny gap that grows at depth as pressure compresses the housing. Solution: Clean the O-ring and its seating surface before every single dive, even on a liveaboard doing five dives a day. Tie back long hair before handling the housing.
Mistake 2: Using the wrong lubricant
Petroleum-based lubricants (like Vaseline) destroy silicone O-rings. They cause the rubber to swell and lose its seal. Solution: Only use silicone grease formulated for diving equipment. A small tube costs $15 and lasts years.
The wrong grease costs you a camera.
Mistake 3: Forgetting to account for temperature change
You pack your housing in an air-conditioned cabin. You jump into 82-degree tropical water. The air inside the housing contracts.
If the vacuum valve isn't closed, the housing pulls in seawater through the tiniest gap. Solution: Keep the housing in the shade before the dive. If it's been in AC, open the housing and let the inside air equalize before sealing. The same logic behind preventing condensation in trail cameras applies here: temperature swings cause moisture problems.
Mistake 4: Rushing the vacuum test
Some divers pump the vacuum, see it hold for 30 seconds, and call it good. That's not enough. A slow leak can take 5 minutes to show up. Solution: Let the vacuum test run for a full 10 minutes.
Use that time to double-check your camera settings and attach your strobes.
Mistake 5: Not testing after changing ports
If you switch from a flat port to a dome port between dives, you're introducing a new seal. Many floods happen on the second dive of the day because the photographer assumed the housing was still good. Solution: Run a full vacuum test every time you open the housing, even if it's just to change a memory card.
After the Dive: Rinse, Dry, and Store Like a Pro
The dive is over, your photos are saved, but the housing still needs care. Saltwater is relentless. It dries into crystals that can scratch O-rings, corrode control rods, and jam latches.
The immediate rinse
Within one hour of exiting the water, submerge the housing in fresh water. Do not open it yet. Move all the controls underwater to flush out salt from the button shafts and knob assemblies.
Soak for at least 10 minutes.
Drying before opening
Set the housing on a towel in a shaded area. Let it air-dry completely. Opening a wet housing lets saltwater drip into the interior, defeating the purpose of the rinse.
The full cleaning
Once dry, open the housing and remove the camera. Clean every O-ring and its seating surface with fresh water and a soft brush. Lubricate lightly.
Store the housing with the O-rings exposed, not compressed, to prevent flat spots from forming over weeks of storage. The same maintenance discipline that goes into regular camera cleaning habits applies here: consistent care prevents expensive failures.
Storage checklist
| Task | Frequency |
|---|---|
| Freshwater rinse | After every saltwater dive |
| Full O-ring clean and lube | After every 10 dives or if O-ring feels dry |
| Deep inspection of control buttons | Every 20 dives |
| Lubricate latch mechanism | Every 30 dives |
| Replace O-rings | Every 12 months or if any damage is visible |
Per DAN (Divers Alert Network) guidelines, a well-maintained housing should last 5 to 10 years with proper care. Most housings fail early because of neglect, not manufacturing defects.
When Should You Get Professional Help?
You should call a professional the moment you suspect any water intrusion or notice physical damage. That's not overreacting. It's the difference between a $150 service and a $1,500 replacement.
Here's when to stop DIY troubleshooting and hand your gear to an authorized repair center:
| Warning sign | What you should do |
|---|---|
| You see water droplets or haze inside the housing after a dive | Rinse, dry, and ship it to a certified housing technician immediately |
| The vacuum gauge drops faster than 5 mbar over 10 minutes after reassembly | Stop testing. Have someone inspect every seal professionally |
| Control buttons feel stiff, catch, or stick after a rinse | Control shafts often corrode internally. Get them serviced |
| You notice a warped, stretched, or cracked O-ring | Replace the O-ring only if you're certain of the cause. Otherwise, have the seating surface checked |
| The housing was dropped, struck, or compressed before a dive | Regardless of external appearance, get a pressure test before trusting it |
Many divers turn to general camera stores for repairs. That's a mistake. Housing maintenance requires brand-specific knowledge, specialized tools, and proper pressure testing chambers.
Return to the manufacturer or a factory-authorized dealer instead.
Routine maintenance is still your job. The same discipline used for testing camera equipment applies here: if you can't verify it works, treat it as broken.
Frequently Asked Questions
Here are the questions divers ask most often before their first underwater housing dives.
How long does setup take before a dive?
Plan for 15 to 20 minutes once you're experienced. Beginners should budget a full 30 minutes. That covers O-ring inspection, camera settings, vacuum testing, and a shallow water dunk.
Rushing any step increases your flood risk.
Can a housing flood even if the vacuum test passes?
Yes, it can. A vacuum test checks the static seal under negative pressure. It doesn't account for physical stress during the descent, rough currents, or a sharp impact on a boat deck.
That's why the shallow water bubble check remains mandatory after every vacuum pass.
What should I do if I see moisture inside the housing?
Stop the dive immediately. Open the housing only after a thorough freshwater rinse and complete drying. If any water touched the camera electronics, seek professional repair within 24 hours.
Do not power the camera on until it's fully inspected.
How often do O-rings need to be replaced?
Replace them every 12 months or after 100 dive hours, whichever comes first. Inspect each O-ring before every single dive for cuts, flat spots, or embedded debris. A damaged O-ring never gets better.
Do I need a vacuum valve on my housing?
Not strictly, but it's the cheapest insurance you'll ever buy. A vacuum valve lets you test your entire seal in 10 minutes without getting wet. If your housing lacks one, consider having it professionally installed before your next dive trip.
Final Verdict: Your Safety Checklist for Every Dive
This is the non-negotiable sequence that keeps your camera alive for years, not just one trip.
- Inspect and lubricate every O-ring before each dive
- Set all camera settings before sealing
- Run the vacuum test for the full 10 minutes
- Do the shallow dunk with bubble observation
- Rinse in freshwater immediately after every saltwater dive
- Dry completely before opening the housing
- Store with O-rings uncompressed and lightly greased
Follow this checklist every time and your biggest worry becomes choosing between macro and wide-angle. Skip any step and you're gambling with thousands of dollars of equipment.
The same mindset that protects outdoor gear from weather damage is exactly what saves your underwater setup. Slow down. Check twice.
Dive happy.

Similar Posts
































