How to Mount an Underwater Camera
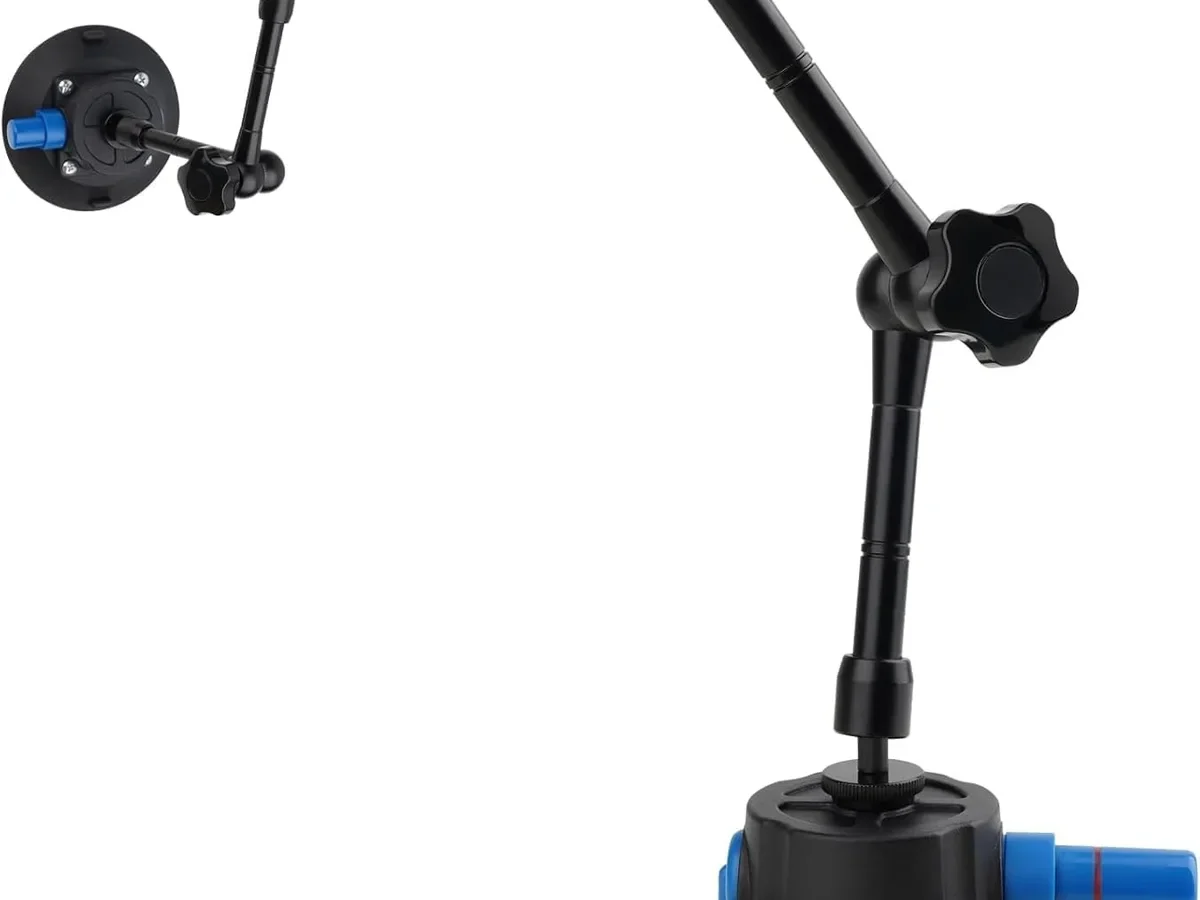
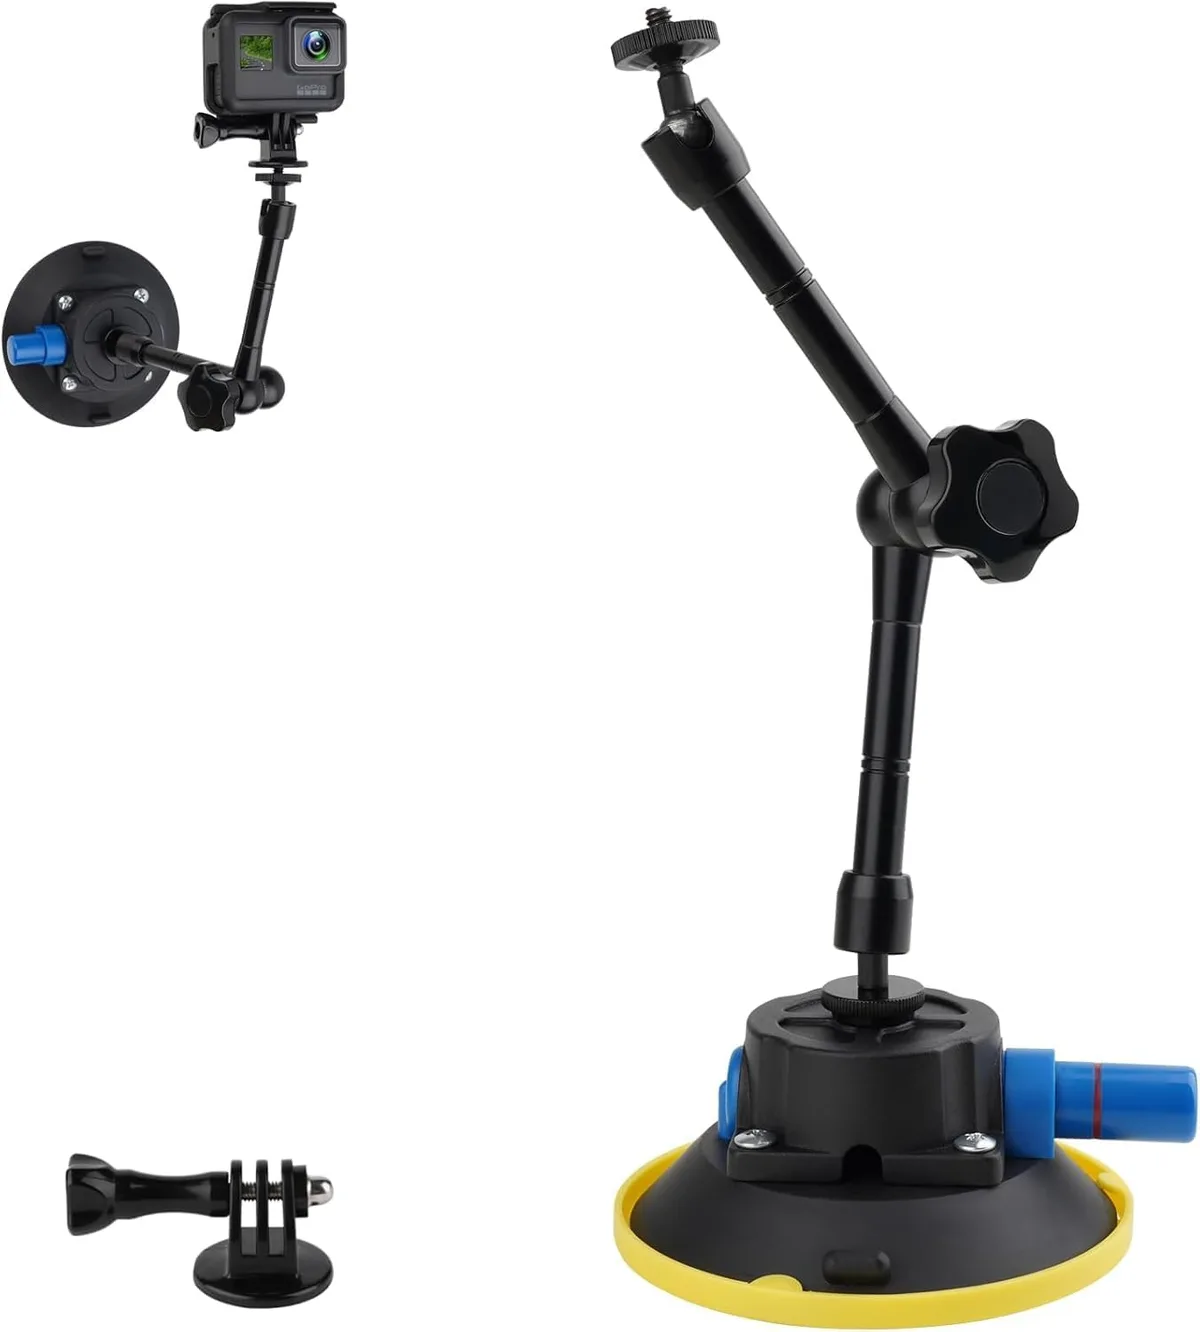
Image source: Web (Bing) / amazon.com (Web image (fair-use with source credit))
Step‑by‑Step: Mounting Your Camera (Three Workflows)
We already covered the decision logic. Now here are the exact steps for each mount type.
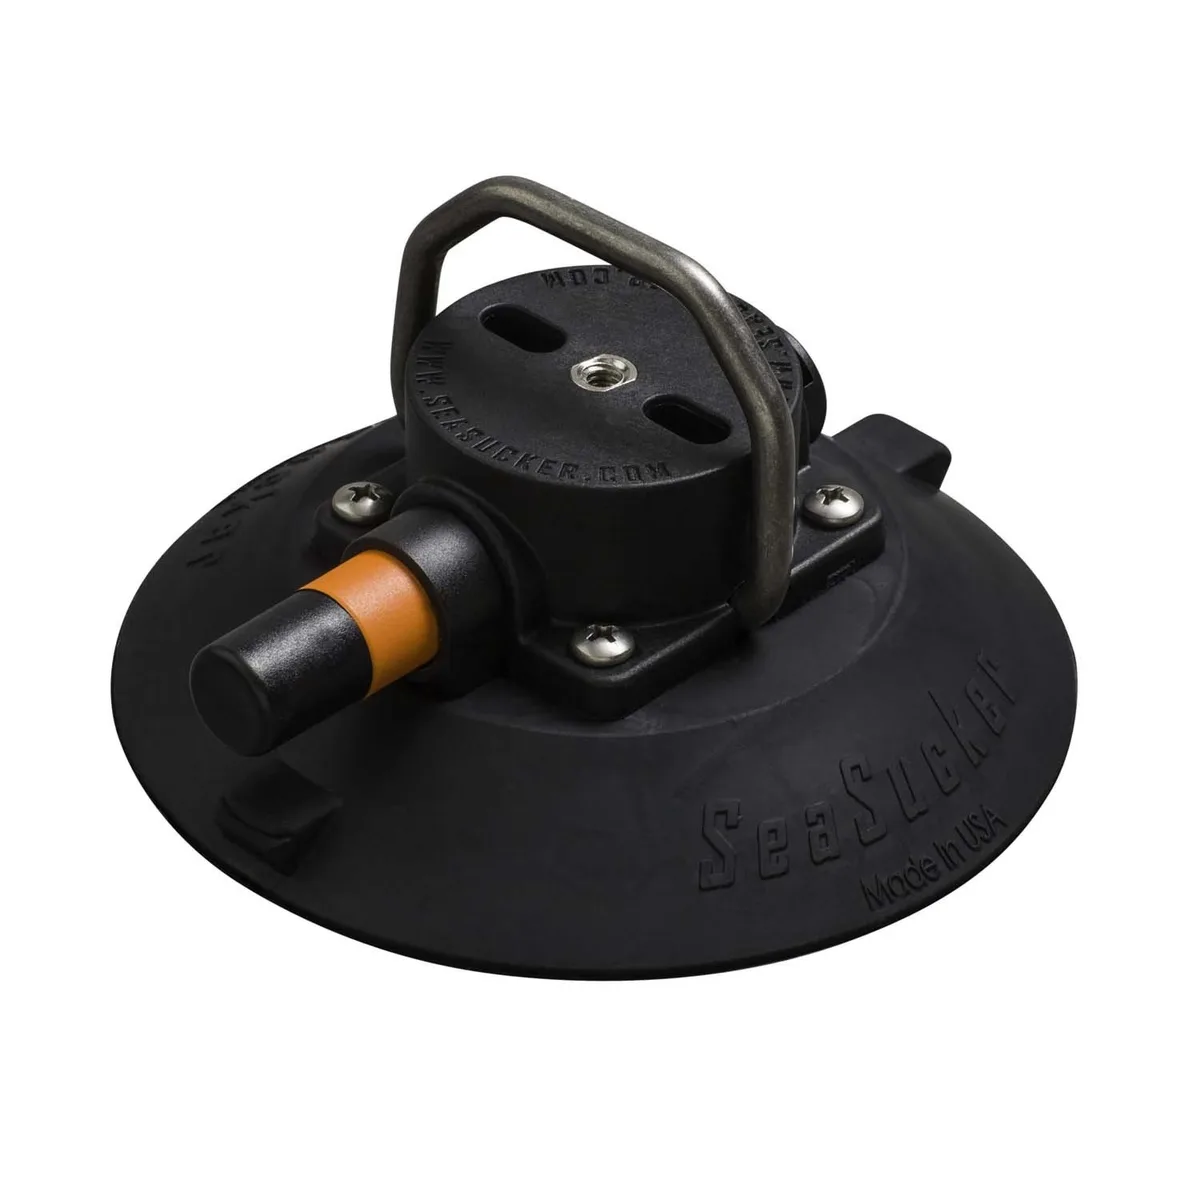
Image source: Web (Bing) / overlanded.com (Web image (fair-use with source credit))
Workflow A, Suction cup mount
- Clean the mounting surface with a non‑oily wipe. Remove marine growth, paint flakes, or wax.
- Check the suction cup for cracks or dried rubber. A damaged seal leaks underwater.
- Press the cup firmly onto the surface. Use the pump lever if your model has one.
- Give the cup a strong tug. If it slides or lifts, restart from step 1.
- Attach the camera and adjust the ball head angle. Lock it tight.
- Clip a lanyard from the camera housing to your BCD or boat. Never skip this.
Workflow B, Clamp mount
- Open the clamp jaw wide enough to fit over the rail, ladder rung, or ledge.
- Place rubber pads (or included grip inserts) on both sides to protect the surface.
- Tighten the two opposed screws evenly. Alternating turns keeps the clamp aligned.
- Shake the clamp firmly. If it moves, tighten further. Most clamps need a snug hand‑tight plus a quarter turn.
- Mount the camera on the ball head. Lock with the thumbscrew.
- Run a backup tether through the clamp’s built‑in loop.
Workflow C, Tray with handles (for heavy rigs)
- Screw the housing’s 1/4‑20 thread into the tray base plate. Tighten with a coin or flathead screwdriver.
- Attach buoyancy arms to the tray sides. Add or remove floats until the rig hangs neutral in a bucket of water.
- Attach a lanyard from the tray to your BCD. Use a cow‑hitch knot for security.
- Adjust the handle position so your wrists are straight when holding it.
- Do a dry run at the surface. Spin the ball head, check clearance for dome port, and lock every joint.
For both Workflow A and B, angle the camera on the surface. Under pressure, water drag makes fine adjustments frustrating. Tighten everything before you descend.
Mistakes That Sink Cameras (And How to Avoid Them)
Even experienced divers make these errors. Here's what to watch for.
Suction cup on a painted or corroded surface. Paint flexes and peels under pressure. Corrosion pits break the seal. Always test on a small area first.
Overtightening clamps on polycarbonate housings. Plastic cracks under stress. Stop turning when the clamp contacts the housing. A snug fit is enough.
No secondary tether. This is the number one cause of lost cameras. Attach a lanyard even if the mount feels bombproof. One wave or current surge can pop any mount.
Ignoring buoyancy. A rig that floats upward tilts the camera. A rig that sinks pulls the mount off. Spend two minutes balancing the tray before the dive.
Blocking camera exhaust vents inside the housing. Action cameras heat up during recording. If the housing limits airflow, the camera can overheat and shut down. Leave a small air pocket around the vents.
Skipping the pre‑dive leak check. Submerge the housing at the surface for 30 seconds with the camera turned off. Watch for bubbles or moisture. If you see either, abort the dive.
For long‑term underwater installations, like a camera aimed at a coral head for weeks, treat the mount like you would a trail camera exposed to weather. Check O‑rings monthly. Replace any mounting hardware that shows rust.
The same routine of cleaning and securing prevents false triggers and lost data.
Quick Decision Guide: Which Mount for Your Next Dive?
Answer these three questions in order. Each answer narrows the choice.
- Is your camera and housing under 1 kg total? , Yes → proceed to question 2.
, No → use a tray‑with‑handles rig. Skip question 2.
- Is the mounting surface smooth, clean, and non‑porous? , Yes → suction cup mount works for dives under 15 m.
, No → clamp mount or bolt‑on base is required.
- Is the dive deeper than 15 m or in current over 1 knot? , Yes → upgrade to a clamp or tray, even if the surface is smooth.
, No → suction cup with lanyard is fine.
| Scenario | Best mount | Why |
|---|---|---|
| Snorkeler with GoPro on a boat hull | Suction cup (with pump) | Shallow, smooth surface, short exposure |
| Scuba photographer with DSLR on a reef ledge | Clamp + tray | Heavy rig, irregular surface |
| Researcher filming a cleaning station at 25 m | Bolt‑on base + stainless arm | Depth and current require permanent grip |
| Kayaker mounting a compact to the hull | Suction cup (with tether) | Low weight, calm water |
Budget note: a quality suction cup mount costs $30, $60. A marine‑grade clamp runs $40, $80. A stainless tray with handles starts around $150.
Cheap aluminium clamps corrode in saltwater within a few dives. Spend once on corrosion‑resistant gear.
Frequently Asked Questions
Can I use a GoPro mount from my bike on a dive?
No. Bike mounts use plastic screws and rubber that degrade in saltwater. The depth rating is usually zero.
Use only mounts labelled for underwater use with 316 stainless fasteners.
How do I keep my suction cup from sliding in current?
Add a vacuum‑pump lever to the cup. This creates a stronger seal than pressing by hand. Also apply a thin layer of silicone grease to the cup rim to improve grip on smooth surfaces.
What if my camera housing has no tripod thread?
Use an adhesive‑mount base plate rated for underwater use. Clean the housing surface with isopropyl alcohol, peel the liner, and press the plate firmly for 60 seconds. Wait 24 hours before submersion.
Is a magnetic mount safe underwater?
Only on non‑magnetic stainless steel (e.g., certain boat hulls). On ferrous metals (most wrecks and ladders), the magnet pulls debris and can slip. Clamps are safer on ferrous surfaces.
How often should I replace O‑rings on the mount?
Inspect before every dive. If the O‑ring feels dry, sticky, or has any cut, replace it. As a rule, replace all O‑rings on mount hardware once per year.
Store them in a cool, dry bag away from sunlight.
Can I leave a camera mounted underwater overnight?
Only if your mount is bolted or clamped, and the camera housing is rated for continuous submersion. Suction cups lose grip over hours. Always use a backup tether for overnight installations.
Final note: The right mount makes the difference between steady, usable footage and a frustrating dive. Match the hardware to the weight, surface, depth, and current. Test everything on the surface.
Secure a lanyard. And treat your mount like any other piece of dive gear: rinse it in fresh water after every dive, dry it fully, and inspect it before the next trip.

Similar Posts
































