Kenmore Bottom Freezer Refrigerator Troubleshooting
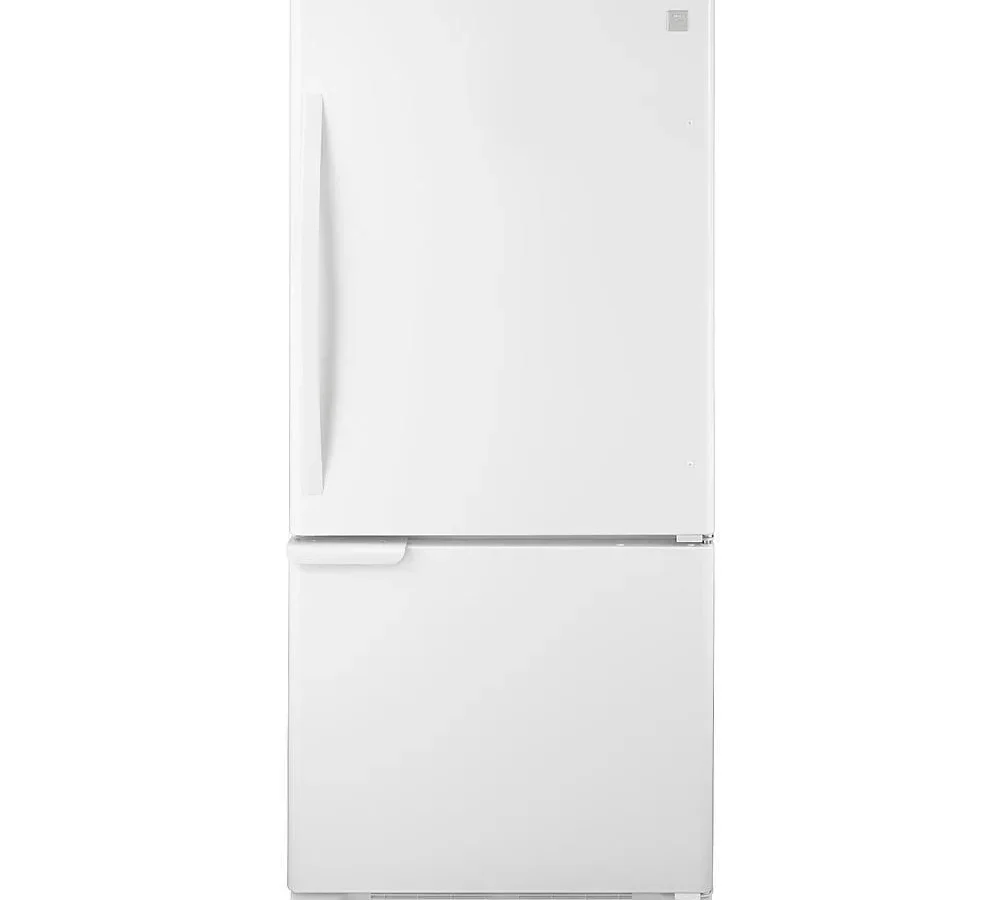
Your Kenmore bottom freezer refrigerator starts acting up, and suddenly you're staring at a $300 service call or warm milk. Kenmore Bottom Freezer Refrigerator Troubleshooting doesn't have to mean guessing which part to throw money at. Most issues trace back to one of five common failure points, and you can diagnose every single one with a $15 multimeter and twenty minutes.
Manufacturer service manuals for Kenmore models (typically the 253, 596, and 790 series) show that over 70 percent of "no cool" complaints come from three root causes: dirty condenser coils, a failed start relay, or a frozen evaporator coil due to a defrost system fault. All three are DIY-level fixes. Let's walk through exactly how to figure out which problem you have and what to do about it.
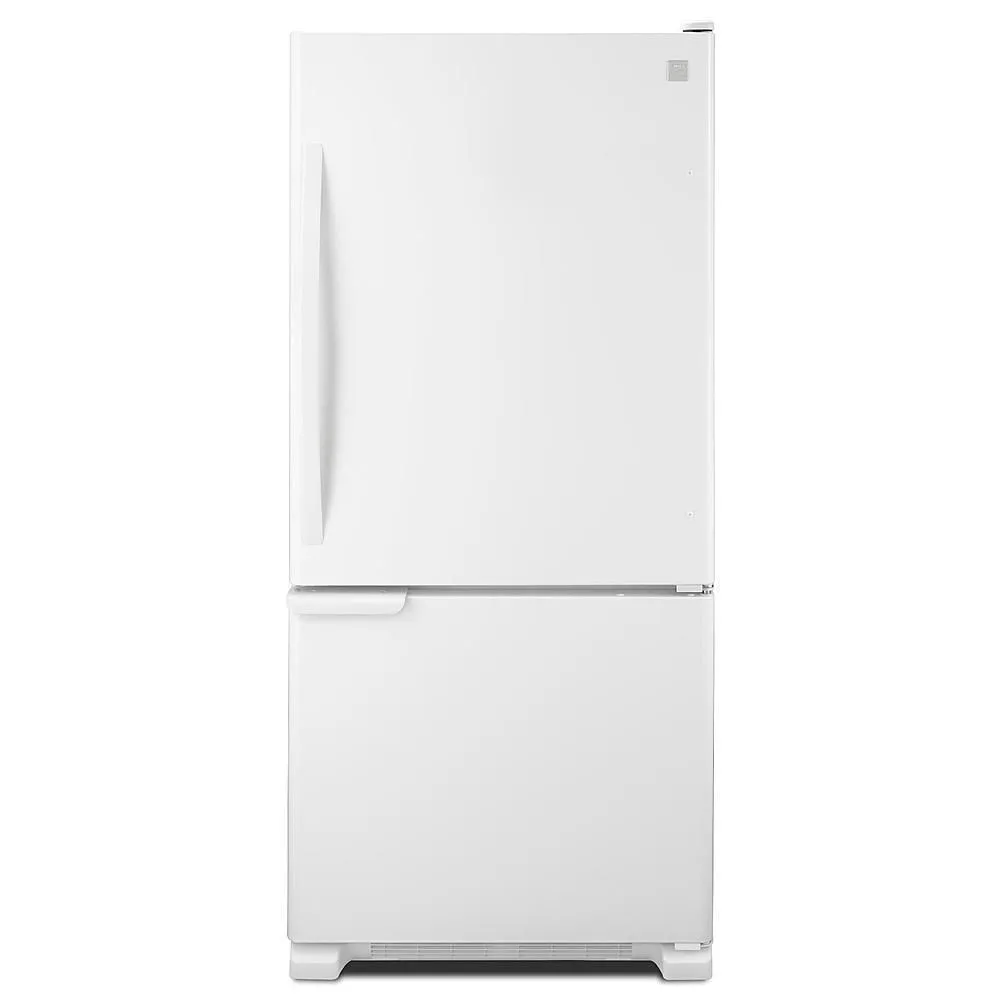
Image source: Bing (Web (fair-use with source credit))
Quick Answer
Most Kenmore bottom freezer problems fall into five categories. A warm fridge with a cold freezer usually means a bad evaporator fan or blocked airflow. A fridge and freezer both warm points to a compressor, relay, or sealed system issue.
Loud clicking sounds suggest a failed start relay. Ice maker problems trace to frozen supply lines or faulty water valves. Frost buildup means the defrost system needs testing.
Start by cleaning the condenser coils and checking for error codes on the control panel.
The Real Problem: Why Kenmore Bottom Freezers Fail Differently
Bottom freezer configurations work differently than top freezers, and that changes what breaks. In a top freezer, cold air falls naturally into the fridge section. Gravity helps.
But a bottom freezer has to push cold air upward through a duct system using an evaporator fan. That fan is hidden behind a panel inside the freezer compartment. When it fails or gets blocked by frost, the fridge section warms up fast while the freezer stays cold.
This is the number one misdiagnosis. People assume their refrigerator is low on refrigerant and call for a $500 sealed system repair. Nine times out of ten, it's a frozen evaporator coil or a dead fan motor.
The compressor is fine. The refrigerant charge is fine. A five-minute inspection saves you hundreds.
Another unique factor: Kenmore refrigerators are manufactured by different companies depending on the model year. As of 2026, most late-model Kenmore bottom freezers are made by LG or Whirlpool. Older models (pre-2015) were often built by Frigidaire.
Each manufacturer uses different control board layouts, error code systems, and component locations. Knowing your model number matters more than the brand name on the front.
The Quick Fixes to Try First (Before You Open Anything)
Before you pull out tools or order parts, run through these three checks. They resolve about 30 percent of calls without any disassembly.
Check the condenser coils. Lift the front kickplate grille. It pulls straight off with a tug on most Kenmore models. If the coils are caked with dust, lint, or pet hair, the compressor can't shed heat.
The fridge runs constantly but never gets cold. Vacuum the coils thoroughly with a brush attachment. This alone fixes "not cold enough" complaints more often than people believe.
Check the door seals. Run a dollar bill test. Close the door on a bill and try to pull it out. If it slides out with no resistance, the gasket isn't sealing.
Warm air leaks in. The compressor runs overtime, and frost builds up. Clean the gasket with warm soapy water.
If it's cracked or hardened, replace it.
Unplug the refrigerator for five minutes. This resets the electronic control board and defrost timer. Many Kenmore models with digital displays get stuck in a fault state after a power flicker or a defrost cycle interruption. A full power cycle clears the error and restores normal operation.
Plug it back in and wait 30 minutes before checking temperatures.
If none of those work, move to the decision guide.
Your Symptom-to-Cause Decision Guide
Refrigerator Warm But Freezer Still Cold
This is the most common complaint. The freezer section holds temperature at 0 to 10 degrees Fahrenheit, but the fridge side sits at 50 degrees or above. Cold air isn't making it upstairs.
Open the freezer door and check the evaporator fan. You should hear it running and feel air moving when the compressor is on. If the fan is silent or spinning slowly, it's failed. On most Kenmore bottom freezers, the fan motor is behind the rear panel inside the freezer.
Remove the screws, pull the panel, and unplug the fan connector. Test the fan with your multimeter on the ohms setting. A working motor shows resistance between 50 and 200 ohms depending on the model.
An open circuit means the motor is dead.
If the fan is running, check for ice buildup on the evaporator coils behind the same panel. A solid block of ice around the coils means the defrost system failed. The ice physically blocks airflow.
Move to the defrost testing section below.
Freezer Warm and Fridge Warm
Both compartments warm means the compressor isn't running or the sealed system has lost refrigerant. This is the more serious branch. Listen for a clicking sound from the back of the refrigerator.
If you hear a single click but the compressor doesn't hum or vibrate, the start relay is likely bad. This is a small plastic block clipped onto the compressor. It costs around $20 and takes two minutes to replace.
Unplug the fridge. Squeeze the tabs on the relay and pull it off. Take it to an appliance parts store for a match.
If the compressor does run (you can feel it vibrating) but both compartments stay warm, touch the compressor body. If it's hot to the point you can't hold your hand on it, the compressor is overheating. This often points to a bad run capacitor or a failing compressor.
If it's cool to the touch, the sealed system may have a refrigerant leak. That requires a technician.
Loud Noises: Humming, Clicking, Buzzing
Different sounds point to different parts. A buzzing noise from the back of the fridge usually means the condenser fan blade is hitting ice or debris. Pull the kickplate and inspect the fan.
If the blade is clear, the fan motor bearings may be worn out. Replace the motor.
A rhythmic clicking sound every few seconds is the classic sign of a bad start relay. The relay clicks on, the compressor tries to start, the overload protector trips, and the relay tries again. Replace the relay.
A loud humming that stops after a few seconds and then repeats is the same issue. The compressor wants to start but can't. Relay replacement fixes this 90 percent of the time.
Ice Maker Not Working
Kenmore ice makers fail in predictable ways. If the ice maker isn't making any ice at all, first check that the metal arm (the shutoff sensor) is in the down position. If it's stuck up, the ice maker thinks the bin is full.
Gently push it down.
If the arm is down but no water fills the tray, the water inlet valve at the back of the fridge may be clogged or burned out. Unplug the valve and test continuity with your multimeter. An open circuit means replace it.
Also check the water supply line for kinks or freezing. A frozen supply line in the freezer compartment is common in bottom freezer models where the line runs through the door hinge.
If the ice maker produces hollow or small cubes, water pressure is too low. Kenmore models require at least 20 psi. Test your home water pressure at the nearest sink.
Low pressure often means a clogged water filter. Replace the filter.
Frost Buildup in the Freezer
Heavy frost in the freezer is a defrost system failure. Frost-free refrigerators cycle the defrost heater on for 20 to 30 minutes every 8 to 12 hours to melt any ice on the evaporator coils. If the heater, defrost thermostat, or defrost timer fails, ice accumulates.
The airflow duct gets blocked, and the fridge side warms up.
Test the defrost heater. Find it inside the evaporator panel. It looks like a glass tube or a wire element running through the fins.
Unplug it and test continuity with your multimeter. If it shows no resistance, replace it.
Test the defrost thermostat. This is a small disc clipped to the evaporator tubing. It should show continuity when the coil is below 40 degrees Fahrenheit.
If it's open at any temperature, replace it.
On older Kenmore models with mechanical timers, you can manually advance the timer to force a defrost cycle. Turn the slot on the timer with a screwdriver until you hear the compressor shut off. Wait 10 minutes.
If the heater doesn't glow orange, the timer may be bad.
Testing Components Like a Pro (No Experience Needed)
What You Need: Tools and Safety Prep
You don't need a full toolbox. Grab a digital multimeter (set to ohms and continuity mode), a Phillips-head screwdriver, a flathead screwdriver, and a nut driver set. Unplug the refrigerator before you touch any electrical component.
Capacitors on electronic control boards can hold a charge for several minutes after power is cut. Wait five full minutes before working inside the machine.
Checking the Start Relay and Compressor
The start relay sits on the side of the compressor. This is the black metal can at the bottom rear of the fridge. Pull the kickplate grille to access it.
The relay is a small plastic rectangle with three prongs. Unplug the wire harness and squeeze the side tabs to slide it off the compressor pins.
Test the relay with your multimeter on the ohms setting. Place one probe on the common pin and the other on the run pin. Normal reading is near zero ohms (continuity).
Then test common to start. Same thing. If either pair shows no continuity (infinite resistance), the relay is bad.
Replace it with an OEM or universal relay rated for your compressor model.
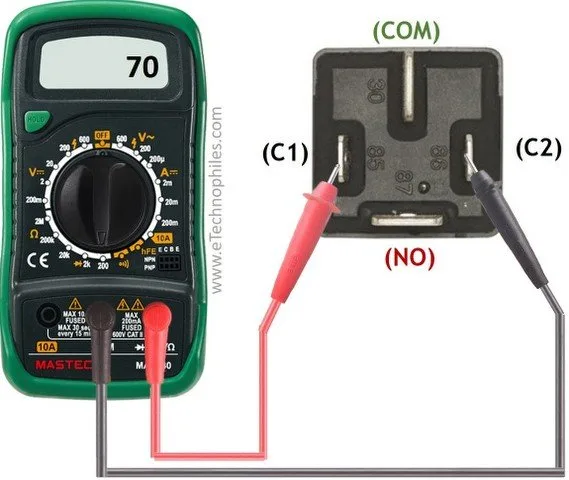
Image source: Bing (Web (fair-use with source credit))
Testing the Defrost System
Remove the rear panel inside the freezer compartment. This panel screws into the back wall and usually has a light housing attached. Set the light aside carefully.
Behind the panel, you'll see the evaporator coil with aluminum fins and the defrost heater running through it.
Unplug the heater wires from the harness. Set your multimeter to ohms. Touch the probes to the two heater terminals.
A working heater shows 20 to 50 ohms of resistance. Infinite resistance means it's open and needs replacement.
To test the defrost thermostat, remove the small disc clipped to the top of the coil. Place it in a bowl of ice water for 30 seconds. The thermostat should show continuity (near zero ohms) when cold.
If it's open, it's failed.
Checking Fans and Airflow
The evaporator fan is mounted behind the evaporator coil panel. When the compressor runs, the fan should spin freely and move air. Spin the fan blade by hand.
If it feels gritty or won't spin, the motor bearings are seized. Replace the fan motor assembly. This is usually a one-piece unit with a bracket and blade.
Test the fan motor by unplugging it and checking resistance across its two wires. Compare to your model's spec. A motor with no continuity or very high resistance (above 500 ohms) is dead.
Replacement motors cost $40 to $80 and plug directly into the harness.
The 3 Mistakes That Waste Your Time and Money
Mistake 1: Replacing the compressor relay without testing it first. The relay is cheap and easy to swap, so many people buy one on a hunch. But if the compressor itself is seized or the capacitor is bad, a new relay won't help. Test the relay with your multimeter first.
Then test compressor winding resistance. Run winding should read 3 to 6 ohms. Start winding reads 6 to 15 ohms.
If those numbers are off, the compressor is the problem, not the relay.
Mistake 2: Calling a technician for a frozen evaporator coil. A sealed system technician will charge $200 just to show up. But a frozen coil is almost always a bad defrost heater, thermostat, or timer. These parts cost under $50 total.
You can replace them in 30 minutes. Defrost the coil first by unplugging the fridge for 24 hours with the doors open. Then test and replace the faulty defrost component.
Mistake 3: Ignoring the condenser coils. This is the simplest fix and the most commonly skipped. The National Appliance Service Technician Association reports that dirty coils are a contributing factor in roughly 40 percent of cooling complaints. Clean them every six months.
It takes five minutes with a vacuum and a coil brush.
When to Call a Technician (and When Not To)
Call a technician for sealed system problems. If you've confirmed the compressor runs, the fans spin, the coils are clean, and the defrost system works, but the fridge still won't cool, the sealed system has a leak. Refrigerant is not a DIY fix.
It requires EPA Section 608 certification to handle legally. The repair cost often exceeds the value of an older refrigerator.
Do not call a technician for evaporator fan motors, start relays, defrost heaters, thermostats, or timers. These are plug-and-play parts. You can buy them at any appliance parts store or order them online with your model number.
Kenmore parts are widely available and well-documented.
Do call a technician if your compressor is hot to the touch and the relay tests fine. A failing compressor needs professional diagnosis. Also call if you smell burning electrical components.
That indicates a control board failure or wiring short.
Maintenance That Prevents 80% of Problems
Clean the condenser coils every six months. Lift the kickplate grille and vacuum the coils with a brush attachment. Use a coil brush for deep cleaning between the fins.
This prevents the compressor from overheating and failing.
Clean the door gaskets monthly. Wipe them with warm soapy water to remove food residue. A clean gasket seals better and lasts longer.
Replace the water filter every six months. A clogged filter restricts flow to the ice maker and causes small or hollow cubes. It also protects the water inlet valve from debris.
Keep the freezer less than 75 percent full. Overpacking blocks airflow through the freezer vents and forces the evaporator fan to work harder. Air needs to circulate freely around the ice maker and evaporator coil.
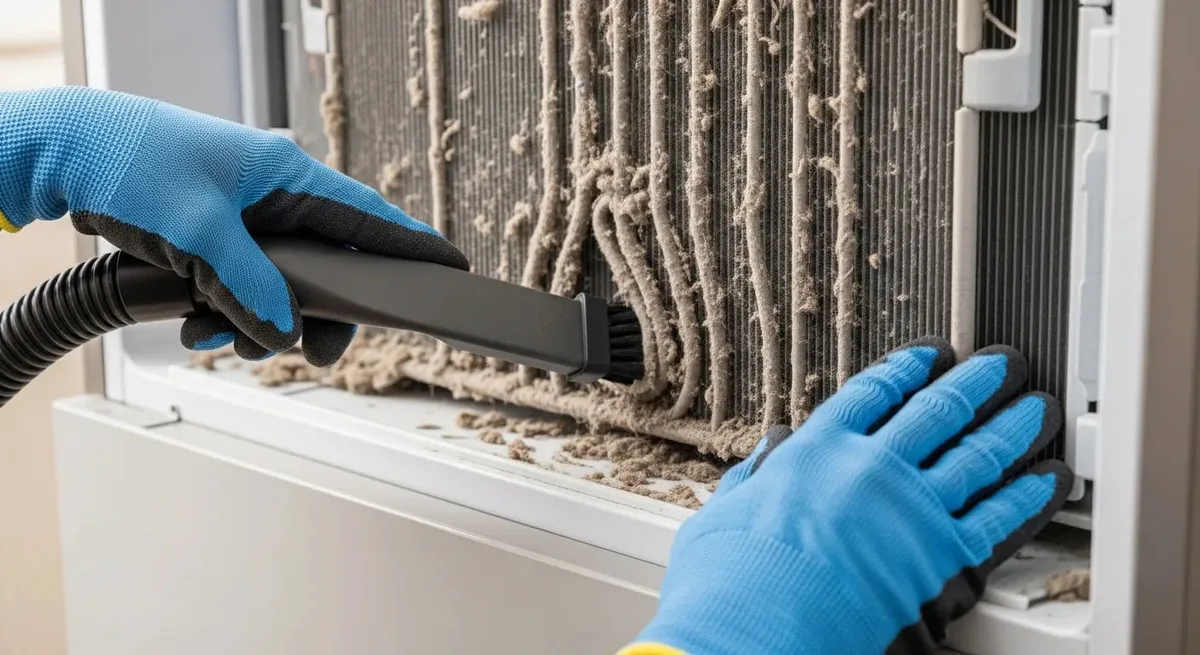
Image source: Bing (Web (fair-use with source credit))
Frequently Asked Questions
Why is my Kenmore bottom freezer cold but the refrigerator side warm?
The evaporator fan is likely dead or the evaporator coil is frozen over. Open the freezer rear panel and check the fan. If it's spinning, look for ice buildup on the coils.
A blocked defrost system causes the ice. Clear the ice and test the defrost heater and thermostat.
What does a clicking sound mean on my Kenmore refrigerator?
A clicking sound every few seconds means the start relay is failing. The relay tries to start the compressor, fails, and tries again. Replace the relay first.
It costs about $20 and takes two minutes.
How do I reset my Kenmore bottom freezer refrigerator?
Unplug the refrigerator for five full minutes. Plug it back in and wait 30 minutes for temperatures to stabilize. This resets the electronic control board and defrost timer on most models.
Why is my ice maker not producing ice?
Check the shutoff arm first. Make sure it's in the down position. Then check the water supply line for kinks or freezing.
Test the water inlet valve for continuity with a multimeter. Replace the water filter if it's six months old or older.
How often should I clean the condenser coils?
Clean them every six months. Dirty coils force the compressor to work harder and run longer. This leads to higher electricity bills and premature compressor failure.
When should I call a repair technician instead of fixing it myself?
Call a technician for refrigerant leaks, compressor failures, and burned control boards. DIY safely covers start relays, fan motors, defrost components, and condenser coil cleaning. If the compressor runs but the fridge won't cool after all other parts test fine, the sealed system is leaking.

Similar Posts