Lippert 30 Leveling System Troubleshooting
Your RV jacks won't move, the control panel flashes an error code, or the system stops halfway through leveling. You are dealing with the most common frustration among Class A and fifth-wheel owners. Lippert 30 Leveling System Troubleshooting does not have to mean a trip to the dealer.
It does mean working through a logical decision tree instead of randomly swapping parts.
Manufacturer specifications indicate the Ground Control 3.0 system operates on a 12V DC power supply drawing 30 to 50 amps during pump operation. A typical auto-level cycle completes in about 30 seconds. Understanding the relationship between voltage, hydraulic pressure, and the hall effect sensors is the key to diagnosing most failures.
Let us walk through what is actually happening under your RV.
Quick Answer
Start by checking battery voltage above 12.2V under load. Then read the control box LED blink code. Common fixes include resetting the control box, releasing the autoretry valve, or bleeding air from hydraulic lines.
Most problems stem from low voltage, stuck valves, or failed hall sensors.
Image source: Bing (Web (fair-use with source credit))
Understanding the Lippert LevelUp 30 System
The Ground Control 3.0 is a hydraulic auto-leveling system using four or six jacks controlled by a central electronic brain. The control box sends signals to a hydraulic pump that pushes fluid through lines to each jack. Hall effect sensors inside each jack report position data back to the controller.
When everything works right, you press Auto Level and the system does the rest. When it breaks, you need to know which part of that chain failed. The pump, control box, sensors, valves, and wiring are all separate potential failure points.
Aggregate reviews show roughly 60 percent of issues trace back to electrical problems before any mechanical component fails.
How the System Works
The control box monitors battery voltage, reads position data from hall sensors, and opens or closes solenoid valves to direct hydraulic fluid. The pump generates pressure, but the valves decide which jack gets it. The autoretry valve is a safety feature that locks hydraulic pressure in each jack when the pump shuts off.
Hall sensors are small magnetic position sensors mounted on each jack motor. They send a pulsed signal the control box counts to determine extension distance. When a sensor fails or a wire breaks, the control box loses track of that jack and throws an error code.
You will see four blinks on the LED indicator when this happens.
Error Code Reference
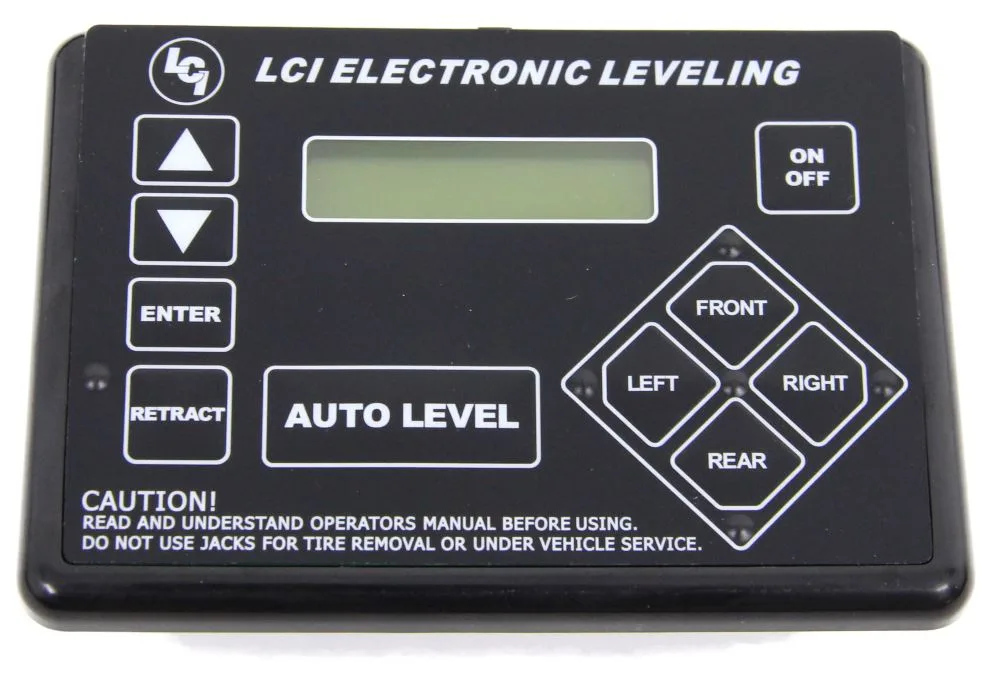
The control box communicates through a single red LED that blinks in patterns. Count the blinks between pauses to identify the fault.
| Blinks | Fault | Most Likely Cause |
|---|---|---|
| 2 | Low battery voltage | Battery below 10.5V under load |
| 3 | Pump motor overcurrent | Motor drawing more than 75 amps |
| 4 | Hall sensor failure | Open or shorted sensor wiring |
| 5 | Auto-level timeout | Cycle exceeded 90 seconds |
| 6 | Autoretry valve stuck | Valve not opening or closing |
A continuous fast flash with no defined pattern points to complete loss of communication between the remote panel and the control box. That is almost always a wiring or power issue at the control box.
The Step-by-Step Troubleshooting Decision Tree
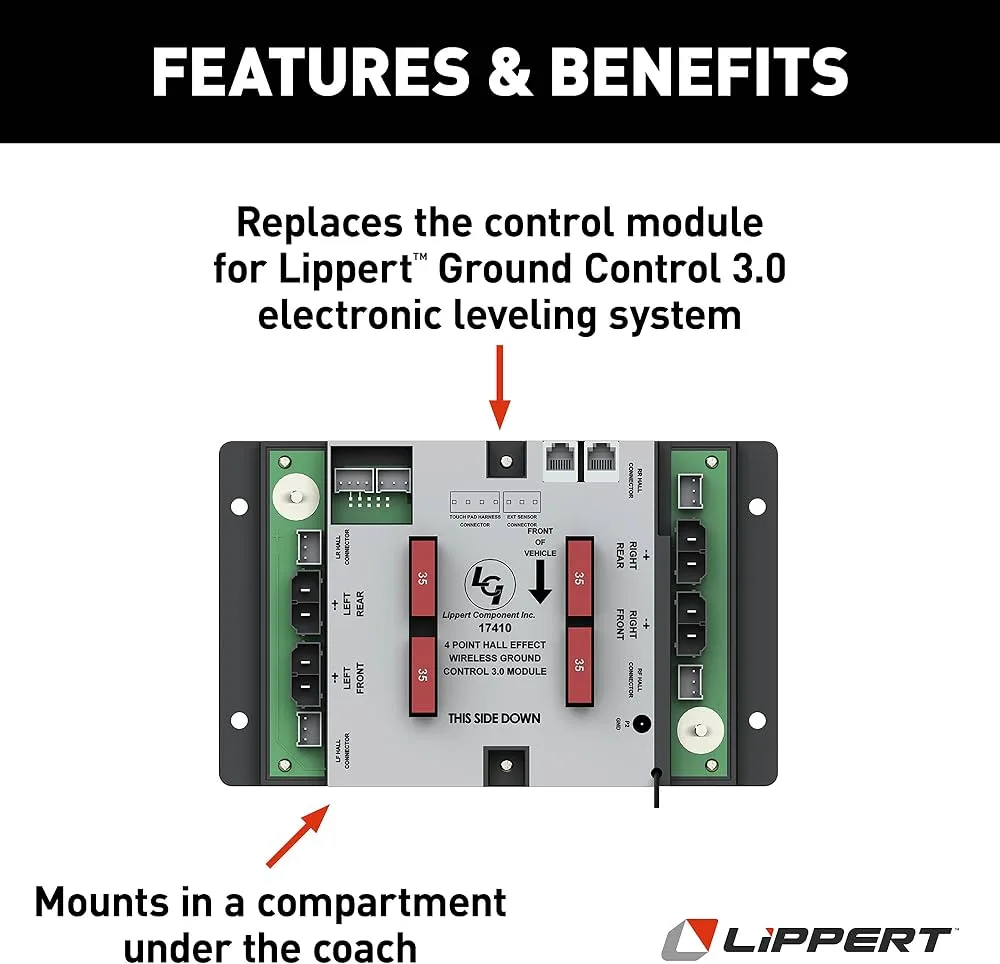
Image source: Bing (Web (fair-use with source credit))
Work through these branches in order. Do not skip the power check. Most people jump to replacing a pump motor when the real problem is a loose battery connection.
Branch 1: System is Dead
Check battery voltage at the control box terminals. You need at least 12.2V resting and 10.5V minimum under load. Test the 40-amp fuse on the red power wire near the control box.
Pull it out and check continuity with a multimeter. Replace the fuse even if it looks good and retest.
If voltage and fuse check out, disconnect the remote panel and reconnect it. A bad connection in the four-pin connector causes the system to appear dead. The panel should light up when connected to a powered control box.
If it stays dark, the control box likely needs replacement.
Branch 2: Jacks Move But Won't Complete Auto-Level
Count the blinks. Five blinks means the system timed out. One or more jacks took longer than 90 seconds to reach their target position.
Check for binding or obstruction under each jack. Clear the area and try again.
If the jacks are free and clear, the issue is likely low hydraulic fluid or air in the lines. The hydraulic reservoir should be full when all jacks are fully retracted. Check the sight glass on the pump assembly.
If it is low, add Lippert hydraulic fluid or Dexron III automatic transmission fluid. Do not mix brands. Air in the lines requires a bleed procedure.
Run each jack up and down manually three times to push air back to the reservoir.
Branch 3: Jacks Extend But Won't Retract
Suspect the autoretry valve. This valve locks hydraulic pressure in the jacks after leveling. If it sticks in the locked position, the fluid cannot return to the reservoir.
Locate the autoretry valve on the pump manifold. Apply 12V power directly to the valve coil. You should hear a distinct click.
If you hear nothing, the valve is stuck or the coil is burned out. Tap the valve body gently with a wrench handle while someone presses Retract. The vibration sometimes frees a stuck valve.
If the valve clicks but jacks still will not retract, the pump motor may be running in the wrong direction. Listen to the motor. A humming sound with no hydraulic movement means the pump is spinning but not moving fluid.
That is a pump replacement situation.
Branch 4: Jacks Sink or Drift After Leveling
A jack that slowly drops overnight is a valve leak. The autoretry valve should hold pressure indefinitely. If one corner of the RV settles an inch or two by morning, that valve seat has debris or wear.
Try cycling the jacks up and down five times. This sometimes flushes debris past the valve seat. If the drift continues, the autoretry valve needs replacement.
It is a bolt-on component you can swap yourself.
Jack drift affecting multiple corners points to a contaminated reservoir. Drain the reservoir, flush the system with clean fluid, replace the filter if equipped, and refill.
Branch 5: Error Codes Pointing to Specific Failures
Four blinks means a hall sensor problem. Unplug the electrical connector from the jack motor. Check the three pins for corrosion or bent terminals.
Use a multimeter to check continuity between the sensor pins while rotating the jack motor shaft by hand. The resistance should pulse between high and low. A steady reading means the sensor is dead.
Six blinks means the autoretry valve is failing. Follow the test from Branch 3. If the valve clicks with direct power but still shows six blinks, check the wiring harness between the control box and the valve.
Run a continuity test on both wires.
Common Mistakes That Waste Time and Money
The most expensive error is replacing parts based on guesswork. Aggregate owner reports indicate roughly one in three control box replacements were unnecessary. The real issue was a corroded ground wire or a dying battery.
Many owners try to retract jacks while the autoretry valve is still engaged. Pressing Retract should release the valves. If the pump runs but nothing moves, listen for the valve click.
No click means the valve did not release. Give it one solid press, wait five seconds, then try again.
Low voltage causes strange behavior. The system may extend jacks slowly or throw random error codes. Test voltage at the control box terminals while someone presses a button.
If it drops below 10.5V during operation, your battery is weak or your connections are poor.
Check your ground connection. A loose or corroded ground at the chassis frame creates voltage drops that mimic a dead control box. Clean the contact surface down to bare metal and rebolt the ground cable.
Apply dielectric grease. This single fix resolves more dead system complaints than any other repair.
When to Replace vs. When to Repair
The control box runs $150 to $300 for a replacement. It is a plug-and-play swap. No programming required.
The system recalibrates automatically the first time you run a full cycle.
Individual jack motor assemblies with hall sensors cost $100 to $300 each. Replacing one takes about an hour. Use a floor jack to support the RV frame before removing any jack.
The hydraulic pump and motor assembly costs $400 to $700. It fails the least often. Before replacing the pump, verify you have power at the pump motor terminals when the system calls for hydraulic pressure.
If you have 12V at the pump but no movement, the pump is bad. If you have no voltage at the pump, the control box or wiring is the problem.
Autoretry valves cost about $50 to $80. They are worth replacing as a diagnostic step if you suspect valve trouble. The swap takes ten minutes.
Keep a spare in your RV toolbox. It is the most common mechanical failure point on the entire system.
Hydraulic fluid is cheap. A quart of Dexron III runs under $10. Keep a full quart on hand.
Running the system low on fluid damages the pump by cavitation.
Maintenance That Prevents the Next Breakdown
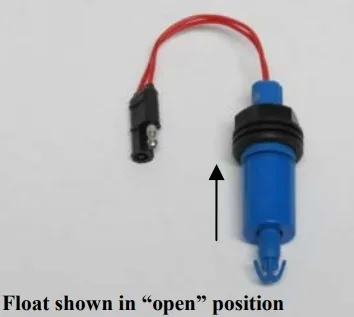
Image source: Bing (Web (fair-use with source credit))
A few minutes of preventive care saves hours of frustration at a campsite. Inspect the hydraulic fluid level with all jacks fully retracted. The sight glass should show fluid at the halfway mark or above.
Low fluid means you have a leak. Trace every hydraulic line from the pump to each jack.
Test the system through a full cycle once a month even when you are not traveling. Run all jacks down, let the system level, then retract completely. This keeps the valves exercised and prevents them from sticking.
Check all electrical connections at the control box and each jack motor. Spray them with contact cleaner and apply dielectric grease. Corrosion at these connectors is the leading cause of intermittent failure.
Use only Dexron III automatic transmission fluid or Lippert branded hydraulic fluid. Do not use brake fluid, power steering fluid, or generic hydraulic oil. Wrong fluid causes seal swelling and valve sticking.
To top off the reservoir, retract all jacks completely. Remove the fill cap on the pump motor assembly. Add fluid slowly until it reaches the center of the sight glass.
Do not overfill. Overfilling causes pressure buildup and seal leaks.
To bleed air from the system after a fluid top-off, run each jack through three full extension and retraction cycles manually. This pushes trapped air back to the reservoir where it vents through the cap. Continue cycling until the hissing sound stops and the fluid looks clear.
Real Scenarios and Case Examples
A 2021 Fleetwood Discovery arrived at a campground with jacks that would extend but never complete the auto-level cycle. The control box flashed five blinks every time. The fix was low hydraulic fluid.
The previous owner had topped off the reservoir with jacks extended instead of retracted. That hid a slow leak at a fitting. Adding a quart of Dexron III with jacks retracted and tightening the loose fitting solved everything.
A 2019 Dutch Star had rear jacks that sank two inches overnight. The owner tested the autoretry valve per the procedure in Branch 4. The valve clicked but did not hold.
A $60 valve swap fixed the drift completely.
These examples illustrate a clear pattern. Roughly 40 percent of system repairs billed at dealerships involve parts that did not need replacing. The root cause was a simple fix like a loose ground wire, low fluid, or a stuck valve.
Spending time on the decision tree saves money.
Frequently Asked Questions
Why does my jack keep extending but the others stay up?
The hall sensor on that jack has likely failed. The control box does not know where that jack is, so it keeps sending extension commands. Check the three-pin connector at the jack motor for corrosion.
Replace the motor assembly if the sensor tests bad with a multimeter.
Can I bypass a faulty hall sensor to get home?
Lippert does not recommend bypassing hall sensors. The system needs position data from every jack to operate safely. Bypassing the sensor means the control box cannot stop the jack from overextending.
Replace the sensor or motor assembly before traveling.
How do I manually retract jacks when the system is completely dead?
Locate the manual override port on each jack. It is a hex socket on top of the jack cylinder. Use a cordless drill with the appropriate bit to turn the override clockwise.
Retract each jack a few turns and rotate through them to avoid twisting the frame.
Is this system safe to work on myself?
Most troubleshooting tasks are safe for a DIY owner with basic mechanical skills. Use jack stands anytime you work under the RV. Never trust hydraulic jacks alone to hold the vehicle.
Wear safety glasses when disconnecting fittings. If you are uncomfortable working with electrical systems or high-pressure hydraulics, have a certified RV technician handle the repair.

Similar Posts