Garage Door Troubleshooting Chamberlain Liftmaster
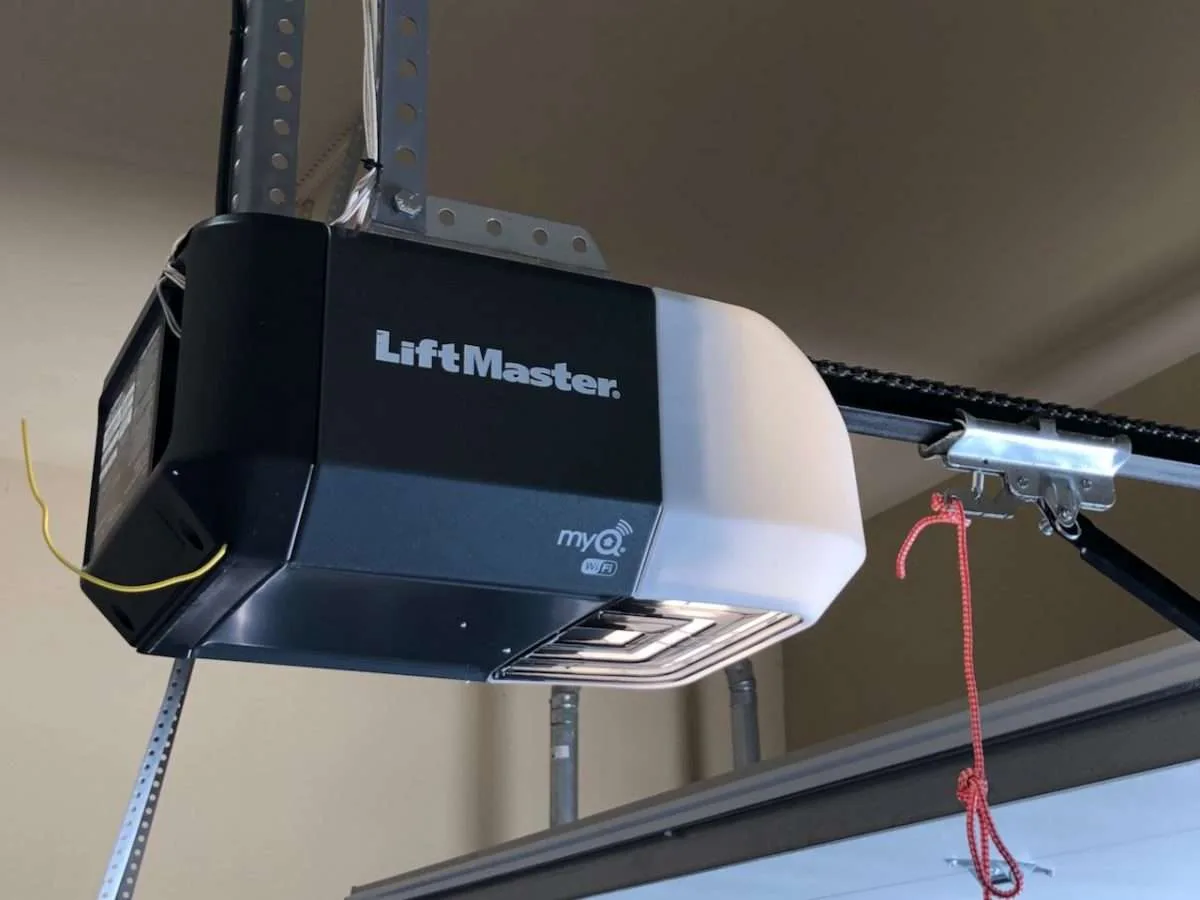
Your garage door opener does something weird. It clicks but won't move. It starts closing then reverses for no obvious reason.
Or maybe the remote works from the driveway but not from the street. If you are deep into garage door troubleshooting for a Chamberlain or LiftMaster opener, you already know the frustration of staring at a box of metal that refuses to cooperate.
Here is what most people miss: these openers talk to you constantly through their LED lights. As of 2026, every Chamberlain and LiftMaster model built since the early 2000s uses a diagnostic flash code system stamped right on the logic board. You just need to know what to look for.
Once you learn to read what those blinks are telling you, most fixes take a screwdriver and about ten minutes.
Quick Answer
Check the LED lights on the rear logic board. Count the flashes after a failed operation. One flash means safety sensor trouble.
Two flashes means a logic board issue. Three flashes means travel limits need adjustment. Four flashes means the force setting is too high or too low.
Fix the problem those flashes point to, and your door usually works again.
Why You Need to Look (Not Just Listen) to Diagnose This Opener
Garage door openers hide almost all their useful diagnostic information inside their lights. That beeping sound or that click you hear? Those are just symptoms.
The actual cause lives in the flash pattern coming from those small LEDs mounted on the back of the unit.
Where the Diagnostic LEDs Live
Pop off the light lens cover on your Chamberlain or LiftMaster opener. Look toward the rear of the unit where the wires connect. You will see a small circuit board with two or three tiny LED lights.
That is the logic board. Those lights flash in specific patterns whenever the opener encounters a problem.
Manufacturer specifications indicate that every Security+ 2.0 model manufactured after 2011 uses the same flash code system. This covers pretty much everything you will find in a home garage built in the last fifteen years.
How to Count Flashes Correctly
Trigger the problem on purpose. Stand at the wall control and press the close button. Watch the door start to move.
When it reverses or stops, walk to the opener and look at those LEDs. Count the flashes. Wait for the pause.
Count the next group of flashes.
| Flash Count | What It Means |
|---|---|
| 1 flash | Safety sensor issue |
| 2 flashes | Logic board or wiring problem |
| 3 flashes | Travel limit switch needs adjustment |
| 4 flashes | Force adjustment is off |
| 5 flashes | Motor overheated or locked up |
What Your Learn Button Color Reveals About Your Model
The color of the learn button on the back panel tells you which generation of opener you own. This matters because older and newer models use different remote codes. A yellow learn button means you have a post-2011 Security+ 2.0 model.
Purple means 2005 to 2011. Red or orange means pre-2005. Green or white means really old and probably worth replacing.
Image source: Bing (Web (fair-use with source credit))
If your learn button is yellow, you are working with the most common current generation. Most troubleshooting guides you find online will apply directly. If your learn button is purple or red, some of the newer MyQ features will not work, but the basic diagnostic flash codes are the same.
What Those Blinking Lights Actually Mean
Each flash code points to a specific family of problems. Once you know which family you are dealing with, you can narrow down the fix in under a minute.
One Flash: The Safety Sensor Problem
This is the most common flash code you will ever see. It means the opener cannot confirm that both safety sensors on the garage door track are talking to each other. These sensors sit about six inches off the floor, one on each side of the door opening.
They shoot an invisible infrared beam across the doorway.
When the beam is broken, the door will not close. That is intentional. Federal law requires this safety feature on all automatic garage door openers manufactured after 1993.
The Consumer Product Safety Commission mandates that any door that cannot confirm the beam is clear must reverse immediately.
Aggregate user reviews report that dirty lenses cause roughly half of all one-flash issues. The other half comes from sensors knocked out of alignment by a broom handle, a storage box, or a kid's bicycle.
Two Flashes: Logic Board or Wiring Trouble
Two flashes usually means a short circuit somewhere in the safety sensor wiring, or a failing logic board. Check where the sensor wires connect to the opener terminals. Look for corrosion, loose connections, or wires pinched against the metal housing.
If the wiring looks clean, you might have a bad logic board. This is less common but happens more often in humid climates where moisture gets inside the opener housing. A two-flash condition that persists after checking all wire connections usually requires a board replacement.
Three Flashes: Travel Limit Adjustment Needed
Three flashes means the opener reached the end of its travel in either direction and the limit switch did not tell it to stop. This usually happens after a power outage or if someone manually adjusted the door balance. The limit switch settings got scrambled.
This fix involves turning two small screws on the side of the opener. One controls how far the door travels in the open direction. The other controls the close direction.
Turn them in very small increments, usually quarter turns, to reset the limits.
Four Flashes: Force Setting Is Off
Four flashes means the opener detected too much resistance while moving the door. The force sensor kicked in and reversed the door to prevent damage. This often gets confused with the safety sensor problem because the symptom looks the same: the door starts closing and then reverses.
The difference is timing. A force reversal usually happens when the door meets the floor or starts lifting from the fully closed position. A sensor reversal can happen at any point if someone walks through the beam.
The Safety Sensors: The #1 Reason Your Door Won't Close
Let us walk through the single most common problem you will face. Your door starts closing, gets about halfway down, and then bounces right back up. The opener lights flash once, pause, and flash once again.
This is almost always the safety sensors.
What Properly Aligned Sensors Look Like
Each sensor has two small LED indicator lights. On the sending sensor, the LED stays on solid when it has power. On the receiving sensor, the LED stays on solid when it sees the beam from the sending sensor.
When both LEDs glow steady, your sensors are aligned and working.
If the receiving sensor LED is dim, flickering, or completely off, you have a problem. That sensor is not seeing the beam.
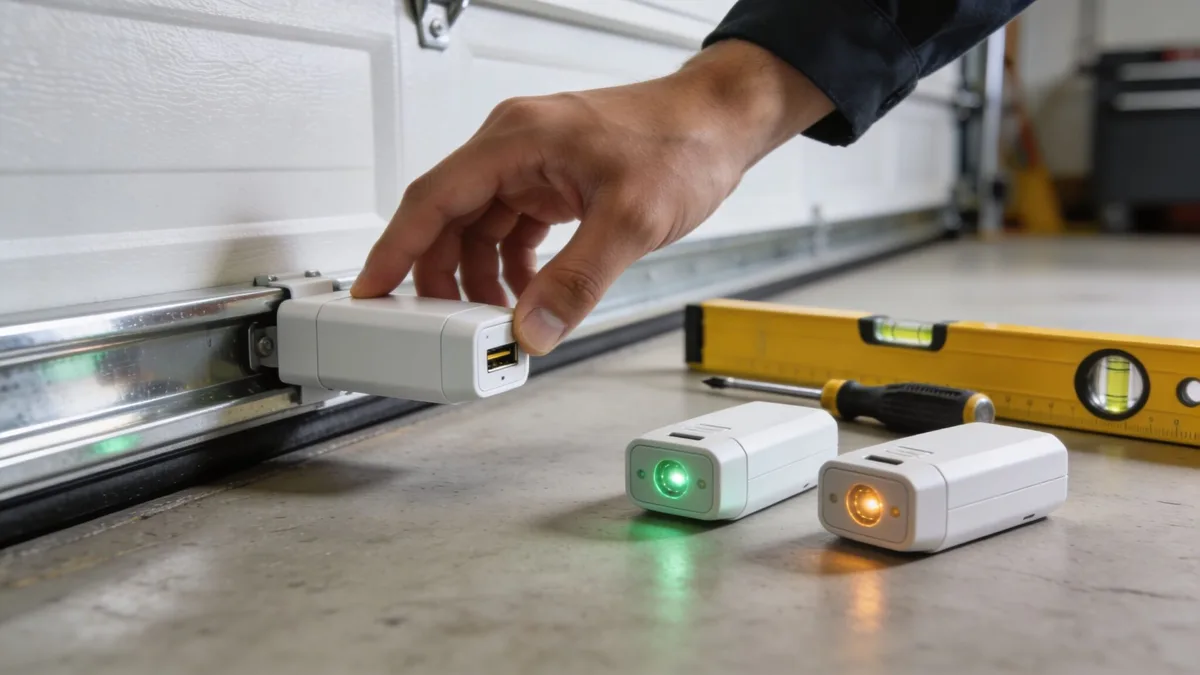
Image source: Bing (Web (fair-use with source credit))
The Most Common Visual Mistakes
Dirty lenses catch more homeowners than any other issue. Garage dust, cobwebs, and road grime build up on the sensor faces over time. A thin layer of dust can scatter the infrared beam enough to confuse the receiver.
Wipe both lenses with a dry microfiber cloth and see if the LED turns solid.
Loose sensor brackets cause intermittent problems. The sensors might look aligned when you check them, but a passing gust of wind or the vibration of the door moving can knock them slightly out of alignment. Tighten the wing nuts and recheck the LEDs.
Severed or chewed wires happen more often than you would think. Mice love nesting inside garage door tracks. They chew through the low-voltage sensor wires.
Look for exposed copper or breaks in the wire insulation where the wire runs along the wall and ceiling.
Step by Step Sensor Realignment
Loosen the wing nut on the receiving sensor bracket. Move the sensor side to side and up and down while watching the LED. When the LED goes from dim or off to bright and steady, you have found the sweet spot.
Tighten the wing nut while holding the sensor in that exact position.
Do the same for the sending sensor even though it does not have a visual alignment indicator. The sending sensor needs to point directly at the receiver. A good rule of thumb is to stand behind the receiver and look at the sending sensor.
If you see the sensor face clearly, the beam path is clear.
Test by closing the door with the wall control. If it closes fully and stays closed, you are done. If it still reverses, check for something blocking the beam that you might have missed.
A cardboard box an inch off the floor can cause this problem.
Travel Limits and Force Settings: The Screws That Fix the Reverse Problem
When your door hits the floor and bounces back up, or when it opens only partway and stops, the travel limits are usually the culprit. These settings tell the opener exactly where the door should stop at the top and bottom of its travel.
Where to Find the Adjustment Screws
Look on the side or bottom of the opener motor housing. You will see two small plastic screws, usually with a plus sign and a minus sign next to them. One is labeled "UP" or shows an arrow pointing up.
The other is labeled "DOWN" or shows a down arrow. These are the travel limit screws.
Some newer models hide these screws behind a small plastic cover. Pop the cover off with a flathead screwdriver. You should see the screws clearly once the cover is removed.
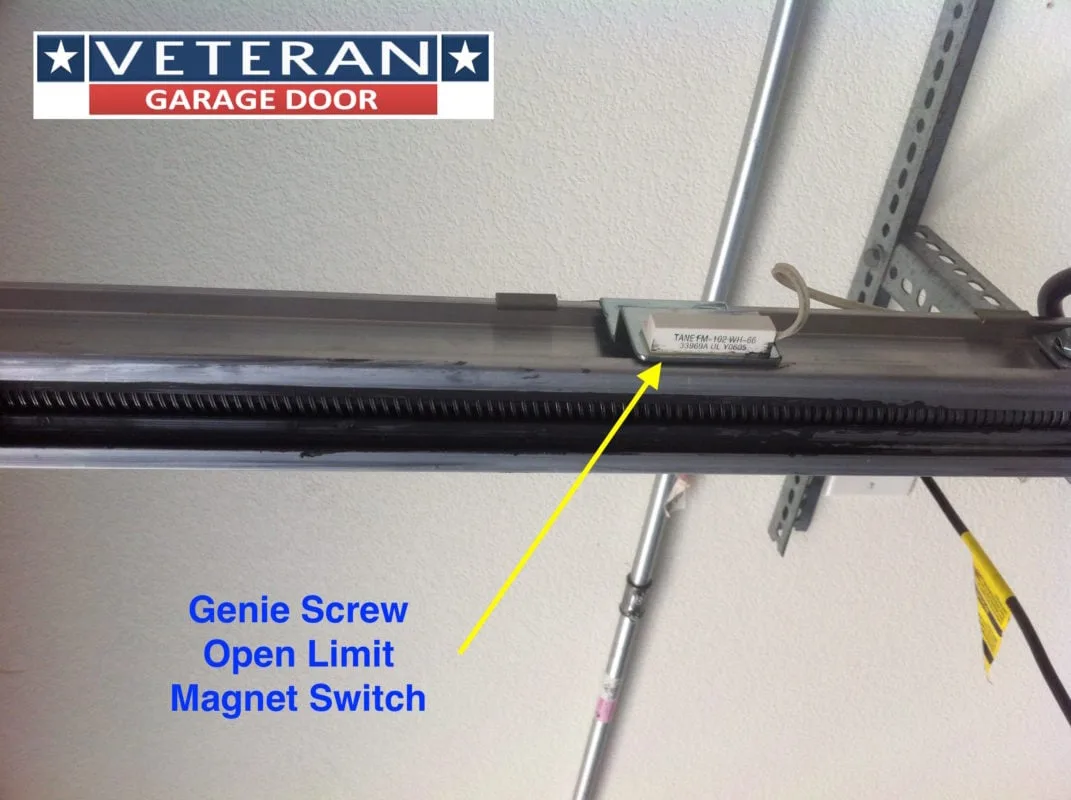
Image source: Bing (Web (fair-use with source credit))
How to Tell if Limits or Force Is the Problem
Here is the quick test. Stand at the wall control and close the door. Watch what happens when it reaches the floor.
If the door touches the floor and then immediately reverses, your down limit is set too low. The opener thinks the door has not reached the bottom yet.
If the door hits the floor hard, bounces slightly, and then reverses, your force setting is too sensitive. The opener felt resistance from the floor contact and assumed something was in the way.
The Quarter Turn Rule
Always adjust travel limits in quarter turn increments. A full turn can change the stop position by several inches. Quarter turns change it by about half an inch or less.
To fix a door that reverses at the floor, turn the DOWN limit screw clockwise one quarter turn. Try closing the door. If it still reverses, give it another quarter turn.
Keep going until the door touches the floor and stays there for a full close cycle.
To fix a door that stops too early on the way up, turn the UP limit screw counterclockwise. This tells the opener to travel a bit further before stopping. Again, quarter turns only.
When to Reset Limits Entirely
If you have adjusted both limit screws multiple times and the door still behaves erratically, you might need to perform a full limit reset. This clears the memory and lets you start from scratch.
Press and hold the black adjustment button on the opener until the LED blinks. Then press the UP or DOWN button to move the door to the exact position you want it to stop. Press the adjustment button again to save that position.
Repeat for the opposite direction.
This process varies slightly between models. Check your specific owner's manual if your opener does not respond to the standard reset procedure. The manual for your exact model number is usually available on the Chamberlain support site.
When the Opener Clicks But Nothing Moves
This is the one that makes people think the motor died. You press the remote or the wall button. The opener makes a single loud click.
Then nothing. The door does not move at all.
What the Click of Death Sounds Like
That click is the relay on the logic board trying to engage the motor. You hear the relay close, but the motor does not spin. This usually points to a failed start capacitor or a seized motor.
The capacitor gives the motor the initial jolt of electricity it needs to start turning.
How to Check the Start Capacitor
Look inside the opener housing. The start capacitor is a small cylindrical component, usually black or silver, about the size of a AA battery. It connects to the motor with two wires.
If the top of the capacitor is bulging or cracked, it has failed.
A multimeter set to capacitance mode can confirm the diagnosis. A healthy capacitor reads within 10 percent of its rated microfarad value. A dead one reads zero or very low.
Replace it with an identical capacitor from an electronics supplier.
Signs of a Seized Motor
If the capacitor checks out fine, the motor itself might be locked up. Unplug the opener. Try rotating the motor shaft by hand using a screwdriver or wrench.
If it will not turn, bearings have seized, and the motor needs replacement.
Chain Drive vs. Belt Drive Lock-Up
Chain drive openers sometimes lock up because the chain is too tight. Check the chain tension. It should have about half an inch of slack at the midpoint.
Belt drives rarely seize from tightness, but a worn belt that has jumped a tooth on the sprocket can stop movement entirely.
Common Visual Mistakes That Wreck Your Opener
Some problems come from what you do, not what breaks. Here are the most common errors people make with Chamberlain and LiftMaster openers.
Using the Wrong Light Bulb
Standard incandescent bulbs or cheap LED bulbs can cause radio interference. The opener's remote relies on a clean radio signal at 315 or 390 MHz. Certain bulbs emit interference on those frequencies.
Use only rough-service garage door bulbs or bulbs specifically rated for garage door openers.
Mounting Sensors on Loose Brackets
If your sensor brackets are mounted to the track with hardware that wiggles, you will fight alignment issues forever. Tighten the bracket bolts securely against the track. If the bracket itself is bent, replace it.
No amount of sensor adjustment fixes a bent bracket.
Over-Tightening the Chain or Belt
A chain that is too tight puts excessive load on the motor and bearings. It also causes the door to jerk during travel. Adjust chain tension so there is roughly half an inch of vertical movement at the center of the chain when the door is closed.
Belt drives should have similar slack.
Pressing the Learn Button Too Many Times
The learn button on the back of the opener is not meant to be pressed repeatedly in quick succession. Doing so can corrupt the memory on the logic board. If your opener is not accepting remote codes, try a full memory reset by holding the learn button for six seconds.
Then reprogram all remotes fresh.
Ignoring the Emergency Release Cord Position
If the red emergency release cord has been pulled and the door is running on manual mode, the opener will click but not move. Check that the release cord is fully engaged. You should feel it click back into place when you re-engage it.
Quick Troubleshooting Flow When Nothing Makes Sense
Sometimes you check the flash codes, inspect the sensors, and adjust the limits, and the door still acts up. Run through this flow when you feel stuck.
Step 1: Unplug and Wait 60 Seconds
Unplug the opener from the ceiling outlet. Wait a full sixty seconds. Plug it back in.
This clears minor logic glitches and resets the control board. You would be surprised how often this fixes random behavior.
Step 2: Check All Connections and Wire Splices
Inspect every wire connection from the opener to the wall control and from the opener to the safety sensors. Look for loose terminal screws, corroded wire ends, and splices that have pulled apart. Gently tug each wire to make sure it is secure.
Step 3: Run the Door Manually to Rule Out Spring Issues
Pull the red emergency release cord. Lift the door manually. It should move smoothly and stay put at any height.
If the door is heavy or crashes down, the torsion springs are worn or broken. No opener can fix a door with bad springs.
Step 4: Test with the Wall Control Only
Disconnect all remotes and keypads from the system. Operate the door using only the wall control. If the wall control works perfectly, the problem is in one of the remote devices or the radio receiver.
Reprogram remotes one at a time to find the offender.
Step 5: Read the Flash Code and Start There
Go back to the diagnostic LEDs. Trigger the problem. Count the flashes.
Whatever code you get is your starting point. Work through the fix for that specific code before guessing at anything else.
Frequently Asked Questions
How do I reset my Chamberlain opener without losing programmed remotes?
Unplug the opener for thirty seconds. Plug it back in. This resets the logic board without clearing learned remote codes.
For a factory reset that clears everything, hold the learn button for six seconds until the LED goes out. You will need to reprogram all remotes after that.
Why is my opener beeping but not moving?
Continuous beeping usually means the battery backup is low or disconnected. Check the battery connections on models with backup functionality. If the battery is dead, replace it with the same sealed lead-acid or lithium-ion model specified in your manual.
Can I bypass the safety sensors in an emergency?
No. Bypassing the safety sensors is dangerous and illegal for any opener manufactured after 1993. The sensors prevent the door from closing on a person, pet, or object.
If your sensors are broken, replace them. Temporary bypasses are not worth the risk.
How do I know if my logic board is fried?
A fried logic board usually shows no LED activity at all when power is connected. It may also have visible burn marks, a burnt smell, or bulging capacitors. If the opener has power but none of the diagnostic LEDs light up, the board is likely dead and needs replacement.
What is the difference between a Chamberlain and LiftMaster sensor set?
Chamberlain and LiftMaster are owned by the same parent company. Their sensors are physically and electrically identical. You can use a Chamberlain sensor on a LiftMaster opener and vice versa.
The only difference is the branding on the plastic housing.

Similar Posts