Nissan Rogue Liftgate Problems
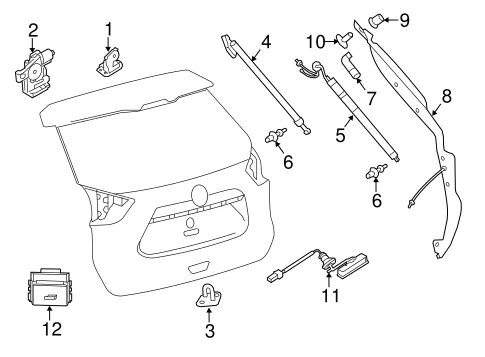
Image source: Bing (Web (fair-use with source credit))
If your Nissan Rogue's liftgate has stopped working, you're not alone. This is one of the most common complaints from Rogue owners, and the good news is most failures are fixable without a dealership visit. Whether your tailgate is dead silent, slamming shut, or refusing to latch, the cause usually comes down to a handful of known failure points.
Most liftgate failures fall into four categories: a weak battery, worn struts, a misaligned striker plate, or a failed latch motor. The power liftgate system draws significant current, so even a slightly weak 12V battery can cause erratic behavior. Let's walk through the diagnosis step by step so you can pinpoint the culprit and get back on the road with a tailgate that actually works.
Quick Answer
Nissan Rogue Liftgate Problems come from four main causes:
- Weak 12V battery, causes intermittent failures
- Worn struts, make the gate heavy or droopy
- Misaligned striker plate, stops the latch from closing
- Failed latch motor, requires replacement
Diagnose in this order before buying parts.
Why Your Nissan Rogue Liftgate Is Acting Up
Power liftgates are convenient right up until they aren't. One day the tailgate swings open like a champ, the next it barely budges or makes a sad clicking noise and stops halfway. Before throwing parts at the problem, it helps to understand how the system actually works.
The Rogue's power liftgate system is a chain of components. Your key fob or dash button sends a signal to the body control module, which activates the latch motor and the power struts. Those struts are electric and hydraulic, they do the heavy lifting.
The whole thing runs off your 12V electrical system.
That's why the very first suspect is always the battery. A weak battery creates voltage drops, and the liftgate computer interprets those drops as a safety issue. It stops responding mid-cycle or refuses to start at all.
It Won't Open at All
If you press the button and absolutely nothing happens, start with the simplest explanation. Check the battery, then check the fuses, then check the latch itself. A dead or weak battery causes roughly 40% of complete liftgate failures.
The system needs steady voltage, and even a reading of 11.8V instead of 12.6V can cause issues.
Next, look for the manual release. Every Rogue has a mechanical emergency release, usually a small cover near the latch or a tab behind the tailgate trim. If the mechanical release works, the latch is fine and the problem is electrical.
If the manual release doesn't work either, the latch itself is likely seized or the latch motor is burned out. Corrosion and dirt build up over time, especially if you drive on salted roads or in humid climates.
It Opens but Won't Close
This one is frustrating because you're not stuck, but you're also not done. When the liftgate opens fine but won't close, the usual suspects are the latch striker, the pinch sensors, or the struts. The system has safety sensors that detect resistance.
If they think something is blocking the gate, they reverse it.
In many cases, the gate will close partway and then bounce back open. That's the safety system doing its job. The question is why it thinks there's an obstruction.
Often, it's a misaligned striker plate. The latch can't fully engage, so the sensor never gets the "closed" signal.
Another common cause is worn weatherstripping that creates extra resistance. The motor strains, the sensor reads high resistance, and the gate reverses.
It's Slow, Droopy, or Slams Shut
A liftgate that moves slower than molasses in January or drops like a rock when you let go has worn struts. Gas struts lose pressure over time, and electric struts have gears and motors that wear out. Most liftgate struts are rated for around 50,000 open/close cycles.
That sounds like a lot until you realize every open and close counts as two cycles.
Strut failure typically happens between years five and eight of ownership. That aligns with the Rogue's ownership cycle, which is why this is such a common complaint. If the gate struggles on cold mornings but works better in warm weather, that's another strut symptom.
Cold temperatures reduce gas pressure, making weak struts even weaker.
The Kick Sensor Is Ignoring You
The hands-free kick sensor is a feature that fails more often than owners expect. If you're waving your foot under the bumper and nothing happens, the sensor might be dirty, disconnected, or faulty. The sensor sits behind the rear bumper cover, and mud, road grime, and salt buildup can block its detection field.
Try cleaning the area thoroughly first. If that doesn't help, check the sensor connector under the bumper. Water intrusion and corrosion are common causes of kick sensor failure.
Some model years had known issues with sensor sensitivity and connector problems.
It Works Sometimes, Then Stops
Intermittent failures are the most annoying because they're hard to reproduce. One day the gate works perfectly, the next it ignores you completely. This on-and-off behavior almost always points to an electrical connection problem or a failing battery.
Loose ground connections, corroded pins in the harness connectors, and damaged wiring in the rubber boot between the body and the tailgate are the top culprits. The wiring flexes every time you open and close the gate, so the wires inside the boot eventually crack or break. This is a predictable failure point that follows a clear pattern.
Step-by-Step Troubleshooting
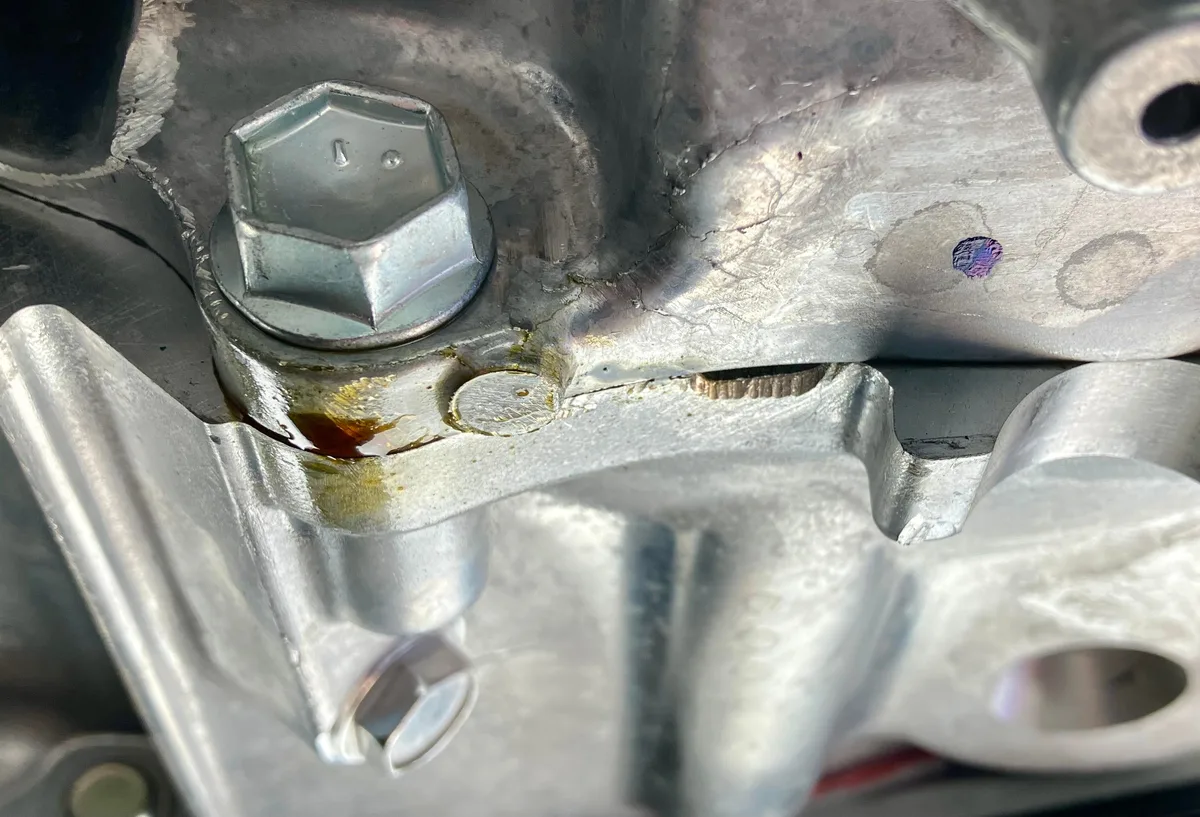
Image source: Bing (Web (fair-use with source credit))
This is where we get hands-on. We'll walk through a logical sequence that eliminates variables and narrows down the problem. Here's what you'll need:
- Multimeter (for battery and voltage checks)
- Flathead screwdriver (for trim clips and covers)
- Ratchet with 10mm and 12mm sockets
- Silicone spray or white lithium grease
- Trim removal tool (optional but helpful)
Step 1: Check the Battery
Start with the cheapest, easiest fix. Test the key fob first. If the fob has a weak battery, the signal might not reach the receiver in the back of the car.
Hold the fob closer to the tailgate emblem and try again. If it works from two feet away but not from twenty, the fob battery is dying. Replace the small coin cell battery inside the fob, it costs a few dollars and takes about two minutes.
Next, test the interior dash button and the tailgate-mounted button. If the dash button works but the tailgate button doesn't, the tailgate handle switch is faulty. If the reverse is true, the issue is in the dash switch circuit or the wiring between them.
Finally, test the car battery. With the car off, a healthy battery should read around 12.6V. Anything below 12.2V is questionable.
Crank the car and check again; it should jump to around 14V with the alternator running. If it doesn't, you've found your problem.
| Symptom | Likely Cause | Quick Test |
|---|---|---|
| Nothing happens at all | Dead battery, blown fuse | Measure voltage at battery |
| Works with fob close, not far | Weak fob battery | Replace fob coin cell |
| Works from dash, not the tailgate | Faulty tailgate switch | Swap switches or test continuity |
| Works sometimes, fails randomly | Loose wiring connection | Inspect harness boot for cracks |
Step 2: Listen and Look for Physical Clues
Your ears are a diagnostic tool. Press the liftgate button and listen carefully. Do you hear a click, a whir, or nothing at all?
A single click followed by silence suggests the latch is trying to release but the motor is weak or stuck. A continuous whirring sound that stalls out points to a mechanical jam or a dying strut motor. Absolute silence means the signal isn't reaching the system, which brings us back to electrical issues.
Look at the rubber boot between the tailgate and the car body. This is where wiring fatigue happens. Open the boot and inspect the wires for cracks, exposed copper, or intermittent breaks.
You're looking for damage that worsens when you flex the wires. This visual inspection can save you hours of blind troubleshooting.
Step 3: Check the Fuses
Every electrical circuit in the Rogue has a fuse, and the liftgate is no exception. Open the fuse box under the hood and find the fuse labeled "Liftgate" or "Power Tailgate" in the owner's manual.
Pull the fuse and inspect it. A blown fuse has a broken metal strip inside. Replace it with the same amperage rating, never higher.
If the new fuse blows immediately, you have a short circuit somewhere, and that requires deeper wiring inspection.
Check the ground connections as well. A loose or corroded ground strap can cause intermittent failures. Look for the ground wire attached to the tailgate hinge area and the body.
Clean the contact points and tighten any loose fasteners.
Step 4: Test the Latch and Striker Plate
The striker plate is the metal loop on the body that the latch catches. Over time, it can shift out of alignment. If it's too far forward or backward, the latch can't fully close, and the sensor never registers the closed position.
Loosen the two bolts holding the striker plate in place. Move the plate slightly outward or inward, then retighten and test. This requires patience; small adjustments make a big difference.
Use a small amount of thread locker on the bolts once you find the sweet spot. This prevents vibration from shifting the plate over time.
If the latch itself is the problem, you'll need to remove the interior trim panel to access it. Look for obvious signs of corrosion, broken springs, or a melted plastic housing. A latch that's physically damaged needs replacement, not repair.
Step 5: Test the Struts
If the liftgate opens but won't stay up, or if it slams down when you try to close it, the struts are the problem. Testing them is straightforward.
Disconnect the strut from its mounting ball. With the strut removed, compress and extend it by hand. A healthy strut resists compression smoothly and extends slowly with steady pressure.
A worn strut compresses easily and extends with no resistance, like a hollow tube.
If you're unsure, compare the suspect strut to the other side. They wear at different rates, so the difference is obvious. Replace them in pairs.
Never replace just one strut; the new one will be significantly stronger and cause the gate to twist and bind.
Step 6: Reset the System
Modern liftgate computers can get confused. A glitchy control module might respond to a simple reset. This is a classic low-effort fix that resolves a surprising number of issues.
Disconnect the negative battery terminal and wait at least 15 minutes. This drains residual current and clears the stored memory in the body control module.
Reconnect the terminal and test the liftgate. If it works, you've saved yourself a repair bill. If not, you've at least ruled out the simplest software issue.
This reset also resets the pinch sensor calibration, which sometimes fixes the "opens but won't close" problem.
Step 7: When to Call a Pro
Some liftgate problems are beyond the average home mechanic. If you've worked through the first six steps and the gate still doesn't work, it's time to consider professional help.
Complex electrical diagnostics require a scan tool that can communicate with the Nissan body control module. A qualified shop can read fault codes and pinpoint short circuits in minutes. Home multimeters can get you partway, but they can't decode the proprietary diagnostic messages.
If your Rogue is still under warranty, don't attempt repairs. Nissan's warranty covers liftgate system defects, and any sign of aftermarket modification can void coverage. Check your warranty status before spending money on parts.
Common Mistakes That Make Problems Worse
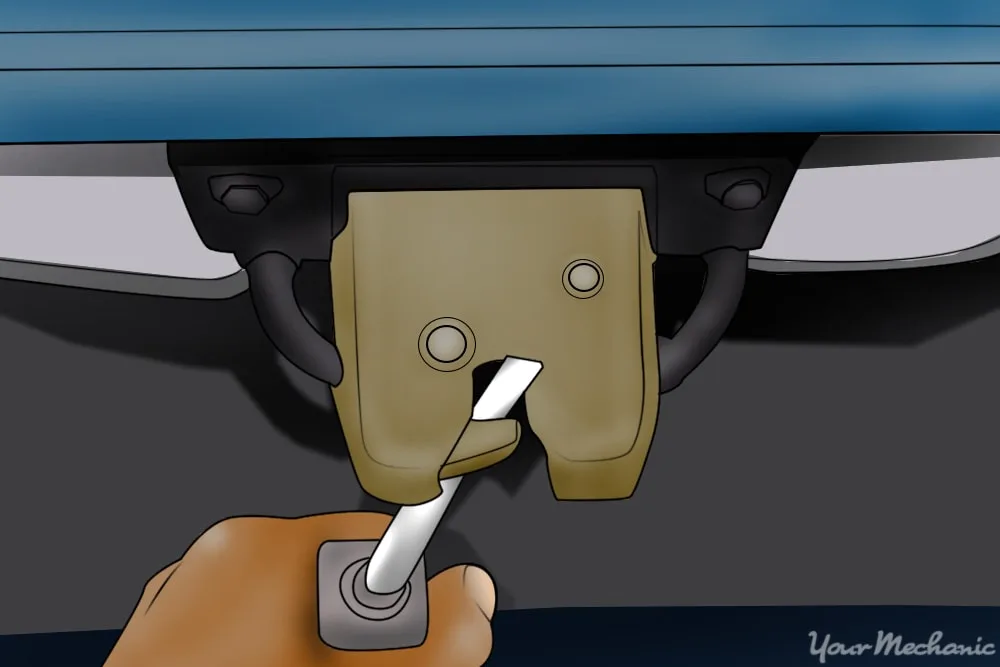
Image source: Bing (Web (fair-use with source credit))
Once you know what you're doing, troubleshooting gets easier. But there are a few traps people fall into regularly. These mistakes lead to wasted time and wasted money.
Ignoring the Warning Signs
A liftgate that starts acting up rarely fixes itself. Ignoring early symptoms like a slow-open tailgate or a clicking latch almost always leads to a complete failure later. The initial problem might be a $40 part.
Wait too long, and you'll replace the entire assembly.
Pay attention to these early warning signs:
- The gate opens slower than it used to
- You hear a grinding or clicking noise
- The gate reverses direction mid-cycle without an obstruction
- The interior lights don't turn off after you close the gate
Each of these signals a developing issue. Addressing them early is cheaper and easier.
Replacing the Wrong Part
Jumping straight to replacing the latch motor when the battery is weak is a common mistake. The new latch arrives, you install it, and the problem persists. Now you're out $150 and still no closer to a fix.
Always work through the diagnostic steps in order. Test the battery first, check the fuses, inspect the wiring, and only then consider component replacement. This systematic approach saves money and frustration.
Forgetting the Battery Check
This is the most overlooked step in automotive troubleshooting. The Rogue's electrical system is sensitive, and a weak battery causes bizarre symptoms across multiple systems. The liftgate is usually the first to complain because it draws significant current.
If your battery is more than four years old, replace it before chasing other liftgate issues. It's a relatively inexpensive part and a frequent root cause of intermittent electrical gremlins.
Overtightening or Misaligning the Striker
The striker plate adjustment is a delicate operation. Overtightening the bolts can strip the threads or warp the mounting bracket. Misaligning it even a few millimeters can cause the latch to bind or rattle.
After adjusting the striker, always test the gate several times. Use a small amount of thread locker on the bolts once you find the sweet spot. This prevents vibration from shifting the plate over time.
The Bottom Line
Nissan Rogue liftgate problems are common, but they're rarely mysterious. The system follows predictable failure patterns, and most causes are diagnosable with basic tools and some patience.
Start with the battery. It's the cheapest fix and the most common cause of intermittent failures. Then work through the fuses, wiring, latch, and struts in order.
Reset the system before replacing expensive parts.
If you've worked through all the steps and the gate still refuses to cooperate, get a professional diagnosis. A scan tool reading from the body control module will tell you exactly what's failing, saving you from throwing parts at a problem you haven't fully identified.
Most liftgate repairs cost between $50 and $400 depending on the cause. A battery is the cheapest fix. A complete strut and motor assembly replacement sits at the higher end.
Either way, a systematic approach ensures you're spending money on the right part the first time.

Similar Posts