Canon SELPHY CP1500 Troubleshooting: Easy Fixes
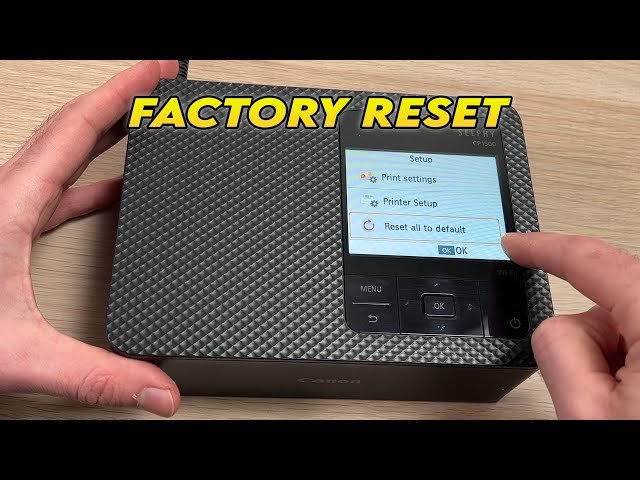
Most Canon SELPHY CP1500 problems come from power, paper, Wi-Fi, app, or cartridge setup errors.
Canon SELPHY CP1500 troubleshooting is often simple once you check the printer in the right order. This guide explains the common causes of printing, connection, paper, ink, and quality problems, with clear steps based on Canon’s operating guidance and practical printer testing. Use it as a quick repair path before replacing parts or contacting support.
Canon SELPHY CP1500 troubleshooting: Start with the basics
The Canon SELPHY CP1500 is a compact dye-sublimation photo printer. It uses special paper and an ink cassette to create small, durable prints. Because the printer depends on both supplies and software, a small setup mistake can stop a print.
Before trying advanced fixes, check these basic points:
• Confirm that the power cord is fully inserted into the printer and wall outlet.
• Make sure the printer is turned on and the LCD screen responds.
• Check that the correct paper size is selected.
• Confirm that the ink cassette matches the paper pack.
• Remove the paper cassette and reinstall it firmly.
• Close the ink cassette cover until it clicks.
• Restart the printer, phone, or computer before testing again.
A restart clears many short-term errors. It also gives the printer a fresh connection to your phone, Wi-Fi network, or computer.
In my experience, many Canon SELPHY CP1500 troubleshooting cases are not caused by a damaged printer. They usually come from using the wrong paper cassette, loading paper in the wrong direction, or pairing the printer with an old wireless profile.

Canon SELPHY CP1500 will not turn on
If the Canon SELPHY CP1500 does not power on, begin with the power source. Do not start by changing app settings or reinstalling drivers. A printer with no power cannot respond to any software command.
Try these steps:
Unplug the AC adapter from the wall and the printer.
Wait about one minute.
Connect the adapter directly to a wall outlet.
Insert the adapter plug fully into the printer.
Press the power button once.
Test another wall outlet if the screen remains blank.
Avoid using a loose extension cord or an overloaded power strip during testing. Small photo printers can be sensitive to unstable power, especially when the print head and paper feed motor start together.
If the printer turns off during printing, allow it to cool for a few minutes. The CP1500 may pause or stop when its internal temperature rises. Keep the vents clear and place the printer on a hard, open surface.
If there is still no display, inspect the power cable and adapter for cuts, bent pins, or heat damage. Do not open the adapter or printer body. Electrical repairs should be handled by an authorized service provider.
Canon SELPHY CP1500 is not printing
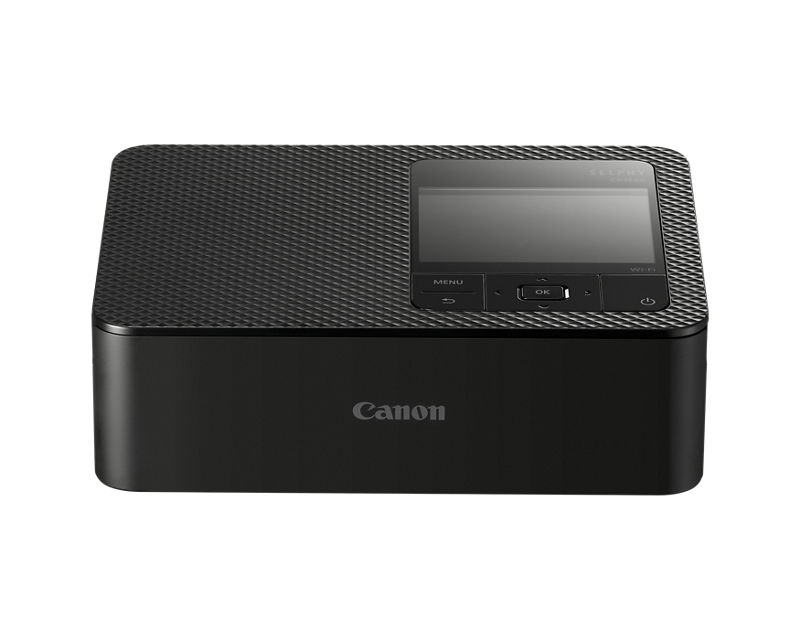
A Canon SELPHY CP1500 may appear ready but fail to print for several reasons. The print job may be stuck, the paper may be empty, or the ink cassette may not match the selected paper size.
First, cancel the current print job. Turn the printer off, wait a few seconds, and turn it on again. Then check the following:
• The paper cassette contains the correct SELPHY paper.
• The glossy side of the paper faces the correct direction.
• The cassette is pushed in all the way.
• The ink cassette has enough ribbon.
• The paper size setting matches the cassette size.
• The printer is not showing a paper jam or cartridge error.
Do not pull paper from the front while the printer is working. The CP1500 moves the sheet in and out several times during a dye-sublimation print. Pulling it can bend the sheet or damage the feed path.
If you print from a phone, confirm that the correct printer is selected in Canon’s SELPHY app. A phone may remember a printer that is nearby but not the one you want to use. This is a common cause of failed print jobs in Canon SELPHY CP1500 troubleshooting.

Canon SELPHY CP1500 paper feed and paper jam fixes
Paper problems are among the most common Canon SELPHY CP1500 troubleshooting issues. The printer needs smooth, dry sheets to move through its narrow paper path. Bent, damp, dusty, or incorrect paper can cause feeding problems.
Use this safe method when paper does not feed:
Cancel the print job.
Turn off the printer.
Remove the paper cassette.
Check for loose sheets inside the cassette area.
Remove damaged or curled paper.
Reload the paper without exceeding the fill line.
Reinsert the cassette.
Turn the printer on and try one print.
Never mix paper from different packs. The paper and ink cassette are designed to work as a matched set. Mixing supplies can cause poor color, incorrect sizing, or feed errors.
Keep unused paper in its original package. Store it away from heat, moisture, and direct sunlight. Fingerprints can also affect the print surface, so hold the paper by its edges.
If a sheet is stuck inside the printer and cannot be removed easily, do not force it. Repeated pulling may leave a torn piece inside the feed path. In that case, professional service is safer than using tools inside the printer.
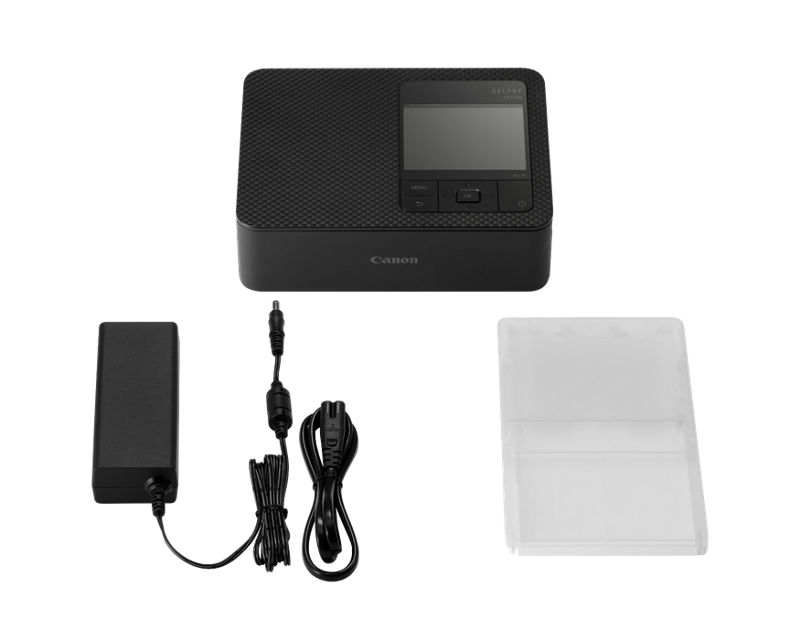
Canon SELPHY CP1500 ink cassette and paper errors
The CP1500 does not use liquid ink tanks. It uses an ink cassette with a colored ribbon. The printer heats the ribbon during several passes, which transfers dye onto the photo paper.
For reliable Canon SELPHY CP1500 troubleshooting, check that:
• The ink cassette is made for the selected paper size.
• The ribbon is not loose or torn.
• The cassette is not empty.
• The cassette is installed in the correct direction.
• The cassette cover is fully closed.
Do not touch or twist the ribbon. A damaged ribbon can create lines, blank areas, or color bands. Also, do not reuse an ink cassette that has already been fully consumed.
If the printer reports a supply error after installing a new cassette, remove it and reinstall it. Confirm that no packing material remains on the cassette. Then restart the printer.
A useful lesson from hands-on testing is to replace the paper and cassette together when troubleshooting print quality. Changing only one supply can make it harder to identify the real cause.

Canon SELPHY CP1500 Wi-Fi connection problems
Wireless printing can fail even when your phone has a strong internet connection. The CP1500 and phone must communicate on the same local network or through a supported direct connection. Internet access alone does not guarantee that the devices can see each other.
Try these Canon SELPHY CP1500 troubleshooting steps:
Move the printer and phone closer to the wireless router.
Turn off mobile data for a moment.
Confirm that the phone is connected to the correct Wi-Fi network.
Restart the router, printer, and phone.
Open the SELPHY app and add the printer again.
Remove old or duplicate printer entries.
Check that the printer is not connected to another phone.
Some guest networks block communication between devices. Public Wi-Fi, hotel networks, and office networks may also require a sign-in page that the printer cannot open. A private home network is usually easier to set up.
If your router has separate network names for 2.4 GHz and 5 GHz, try the network recommended by the printer’s setup process. Network compatibility can vary by device and firmware. Keep the printer’s firmware and mobile app updated when an update is available from a trusted source.
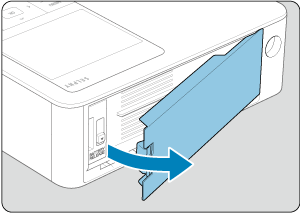
Canon SELPHY CP1500 cannot connect to a phone
When the phone cannot find the printer, check permissions before changing the router. The SELPHY app may need access to the local network, Bluetooth, nearby devices, photos, or the phone’s storage. The exact permission names depend on whether you use Android or iPhone.
Check these settings:
• Allow the SELPHY app to access local network devices.
• Allow photo access for the images you want to print.
• Turn off airplane mode.
• Keep Wi-Fi enabled.
• Update the SELPHY app from the official app store.
• Remove the printer from the app and add it again.
• Restart the phone after changing permissions.
On iPhone, local network permission is especially important. On Android, nearby device and location permissions may affect setup on some phone versions. If the app still fails, uninstalling and reinstalling it can remove a damaged setup profile.
Avoid pairing the printer through random Bluetooth menus unless the setup instructions specifically require it. Many users lose time because they treat the CP1500 like a standard Bluetooth printer. Follow the connection method shown in the SELPHY app.

Canon SELPHY CP1500 prints slowly or stops during printing
A CP1500 print can take longer than a normal document printer because the photo passes through the printer several times. The printer applies separate color layers and a protective finish. This movement is normal.
Do not switch off the printer while the sheet is moving. Do not remove the paper cassette during a print. Wait until the printer finishes or displays an error.
Printing may pause because of:
• High internal temperature.
• A weak wireless connection.
• A large or high-resolution image.
• A busy phone or app.
• A paper feed problem.
• A full or stalled print queue.
Place the printer in a cool area with space around it. Avoid direct sun, closed shelves, and soft surfaces that cover the vents. If several people are sending photos, print one image at a time to reduce queue errors.
One practical mistake to avoid is pressing the print button repeatedly when nothing happens. This can create several copies in the queue. Cancel the job, restart the printer, and send one test photo.

Canon SELPHY CP1500 print quality problems
Poor photo quality can include pale colors, stripes, missing sections, dull images, or incorrect skin tones. Canon SELPHY CP1500 troubleshooting should begin with the supplies and image file, not with aggressive cleaning.
Check the image first. A low-resolution photo may look soft even when the printer works correctly. Cropping can also reduce quality if you enlarge a small part of the original image.
Then check these points:
• Use genuine paper made for the CP1500.
• Match the ink cassette to the paper size.
• Keep the paper clean and dry.
• Avoid touching the printable surface.
• Select the correct layout and color settings.
• Compare the print with the original image on another screen.
Dye-sublimation prints can look slightly different from a phone display. Phone screens may use high brightness and vivid color modes. This can make the printed photo seem darker or less bright, even when the printer is operating normally.
If every print has the same stripe or blank area, stop printing and inspect the cassette. A damaged ribbon may be the cause. If the issue continues with a new matched paper and cassette set, contact Canon support rather than trying to clean internal parts with household products.
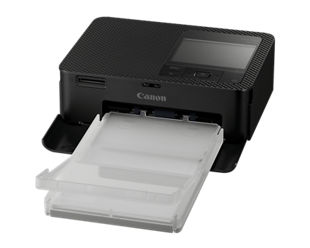
Canon SELPHY CP1500 prints with the wrong size or crop
Wrong image size is often a setting issue. The printer may crop an image to fill the selected paper layout. A tall photo placed in a wide frame may lose part of the top or bottom.
Before printing, review:
• Paper size.
• Border or borderless setting.
• Image orientation.
• Crop position.
• Layout style.
• Automatic image correction.
Use the preview screen in the app. If the preview cuts off a face, sign, or important object, adjust the crop before printing. Adding a border can prevent unwanted trimming, though it may leave white space.
The CP1500 prints physical photo sizes based on the installed paper cassette. It cannot create a larger print than the paper supports. If you need a different size, select a compatible paper and cassette rather than forcing the current setup.
Canon SELPHY CP1500 firmware, app, and reset steps
Software updates can improve compatibility and fix connection faults. Before updating, keep the printer connected to stable power. Do not interrupt an update or remove the memory card during the process.
For safe Canon SELPHY CP1500 troubleshooting:
Check the printer’s current firmware version.
Compare it with the latest version listed in Canon’s official support area.
Update the SELPHY app through the official app store.
Restart the printer after the update.
Test with one simple photo.
A reset can help when settings are confused, but it should not be the first step. Write down your wireless settings and preferred options before resetting. Afterward, you may need to reconnect the printer and give the app permission again.
If the problem started after a firmware or phone operating system update, record the exact error message. That detail helps support staff identify compatibility problems much faster.
When to contact Canon support
Good Canon SELPHY CP1500 troubleshooting has a limit. You should contact Canon support or an authorized service center when the problem points to internal hardware damage.
Seek help if:
• The printer smells of burning.
• The power adapter becomes unusually hot.
• The screen stays blank with a known working outlet.
• Paper repeatedly jams with correct paper.
• The printer makes grinding sounds.
• A new matched cassette does not solve repeated ribbon errors.
• The same fault appears after a full restart and reset.
Do not spray cleaner inside the printer. Do not use sharp objects to remove a deep paper jam. These actions can damage the rollers, sensors, or print mechanism and may affect warranty coverage.
Before contacting support, note the printer model, serial number, error code, paper type, ink cassette type, phone model, operating system, and steps already tried. Clear details often lead to a faster solution.
How to prevent future Canon SELPHY CP1500 problems
Prevention is easier than repeated Canon SELPHY CP1500 troubleshooting. Treat the printer like a small photo lab: keep its supplies matched, its paper dry, and its connections simple.
Follow these habits:
• Store paper and ink in their original packaging.
• Keep the printer away from heat and moisture.
• Use one paper pack with its matching cassette.
• Do not overload the paper cassette.
• Keep the printer on a flat, hard surface.
• Update the app when needed.
• Remove old printer entries from phones you no longer use.
• Let the printer cool during large print sessions.
• Keep photos backed up before editing and printing.
• Print a small test image after changing settings.
A simple test photo is useful because it gives you a baseline. If the test looks good, the problem may be the original image or app settings. If the test also looks bad, focus on the printer, paper, and cassette.
Frequently Asked Questions About Canon SELPHY CP1500 Troubleshooting
Why is my Canon SELPHY CP1500 not printing?
Check the power, paper cassette, ink cassette, paper size, and print queue. Restart the printer and send one test photo after confirming that the paper and cassette match.
How do I fix a Canon SELPHY CP1500 paper jam?
Turn off the printer, remove the paper cassette, and gently remove loose or damaged paper. Do not force paper from the front or insert tools into the feed path.
Why can’t my phone find the Canon SELPHY CP1500?
Make sure the phone and printer use the correct local wireless connection. Check app permissions, restart both devices, and remove then re-add the printer in the SELPHY app.
Why are my Canon SELPHY CP1500 photos too dark?
Compare the print with the original image on a normally adjusted screen. High screen brightness, dark source images, cropping, and color settings can all make a print seem darker.
Can I use any photo paper with the Canon SELPHY CP1500?
No. Use paper designed for the CP1500 and match it with the correct ink cassette. Ordinary printer paper or mismatched supplies can cause feed, size, and print quality errors.
Why does the Canon SELPHY CP1500 stop while printing?
The printer may be cooling down, handling a weak connection, or responding to a paper or cassette issue. Wait for the current operation to finish, keep the vents clear, and restart the printer if it remains stuck.
Should I clean the inside of the Canon SELPHY CP1500?
Avoid using liquids, sprays, or sharp tools inside the printer. If careful paper removal and matched supplies do not solve the issue, use authorized service support.
Conclusion
Canon SELPHY CP1500 troubleshooting works best when you follow a clear order: check power, confirm matched paper and ink, inspect the feed path, review app permissions, and then test the wireless connection. Most problems are setup or supply issues, while repeated jams, electrical smells, and mechanical noises need professional help.
Start with one simple test photo and change only one thing at a time. That approach prevents confusion and helps you find the real cause faster. If these steps solve your issue, share the guide with another SELPHY owner or explore more printer care tips for better photos.

Similar Posts