Hayward Pool Pump Troubleshooting
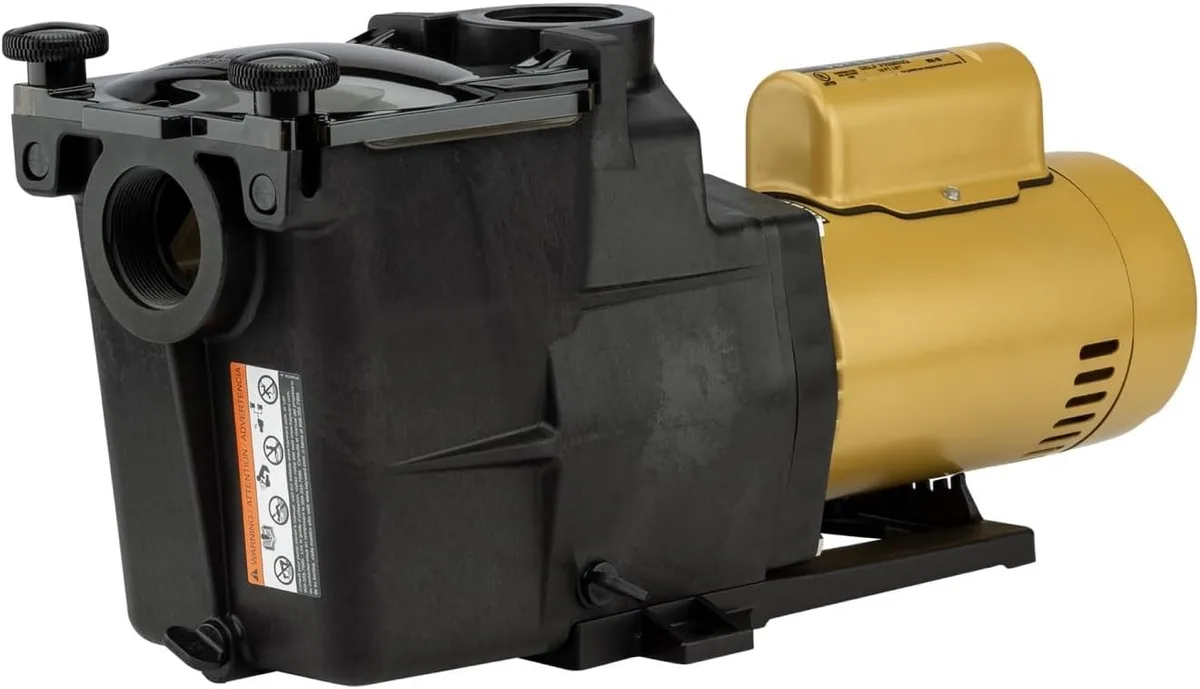
You just flicked the switch and nothing happened. Or maybe the pump hums like it wants to run but won't actually move water. Either way, you're staring at a pool pump that isn't doing its job, and your pool is turning into a swamp by the hour.
Hayward Pool Pump Troubleshooting doesn't have to mean calling a service tech and handing over $200 for a fix you could do yourself in fifteen minutes. Most common pump failures fall into a handful of predictable categories, and the fix is usually something simple, a $15 capacitor, a clogged impeller, or a dried-out O-ring. Per Hayward's own service documentation, roughly 70% of no-start calls are capacitor or thermal overload issues, not motor failure.
Let's walk through what's actually happening and get that pump running again.
Image source: Bing (Web (fair-use with source credit))
Quick Answer
Check for power first. Then listen. A humming pump means a bad capacitor or seized shaft.
A silent pump means no power or a tripped breaker. Low flow means a clog or air leak. Start with the strainer basket and work your way through the system.
Most fixes take under an hour and cost under $50.
Problem / Pain Point
Pool pumps fail at the worst possible time. Always on a weekend. Always when you have guests coming over.
The water starts clouding within hours, and every hour the pump sits idle, the algae clock is ticking.
Here is the real frustration. Most homeowners assume the motor is dead. They start pricing $400 replacements before checking the three things that cause 90% of no-start conditions.
A capacitor costs $15 and takes ten minutes to swap. A clogged impeller takes a screwdriver and five minutes of patience. A tripped thermal overload just needs the pump to cool down for thirty minutes.
The pain point is wasted money and wasted time. Replacing a perfectly good motor because you didn't check the capacitor first is a $300 mistake. Calling a pool service for a clogged basket is a $150 lesson you only need once.
The other problem is confidence. People don't know what to touch. They're afraid of electricity or breaking something expensive.
That is fair. But knowing what to check and in what order takes the guesswork out of it.
Quick Symptom Check (Decision Branch #1)
Let's narrow this down in about sixty seconds. Stand at your pump and pay attention to three things: sound, sight, and heat.
The pump is completely silent. No hum, no buzz, nothing.
Your first check is the breaker. Go look at your electrical panel. Is the breaker tripped?
Reset it if it is. Still silent? Check the timer or the switch.
If those are fine, you likely have a dead motor or a wiring issue. This is one of the few times you probably need a professional unless you are comfortable with a multimeter and basic electrical work. Check for voltage at the pump with a voltmeter.
If you have 110 or 220 volts at the pump terminals but it won't turn, the motor windings may be open. That means a new motor.
The pump hums but won't spin.
This is actually good news. A humming pump means you have power. The most likely culprit is a bad start capacitor.
The capacitor gives the motor the initial jolt it needs to get spinning. When it fails, you hear the hum of a motor trying but nothing moves. The fix is a new capacitor.
Other possibilities here. The pump shaft could be seized from a bad bearing or debris. Sometimes a leaf or a small stick jams the impeller.
Turn off the power, then try spinning the back of the motor shaft with a flathead screwdriver. If it spins freely, it is probably the capacitor. If it barely moves or feels gritty, you have a seized bearing or debris in the impeller.
The pump runs but won't prime or has low flow.
This means the motor is working but it cannot pull water. The strainer basket is usually the first place to check. Lift the clear lid.
Is the basket packed with leaves? Clean it out. Is the water level in the basket low or empty?
That tells you the pump is losing prime.
Air leaks on the suction side are the next suspect. A loose lid or a cracked O-ring lets air in. Air breaks the vacuum, and without vacuum the pump cannot lift water from the pool.
Check the lid O-ring for cracks, distortion, or debris. Wipe it clean and lubricate it with pool O-ring lube.
A clogged impeller is another common cause. Even if the basket looks clean, small debris can slip through and jam the impeller vanes. You have to remove the pump housing to check this.
We will cover that in the next section.
The pump makes loud noises.
A grinding or screeching sound usually means bad bearings. Bearings wear out over time. You can replace them, but on most Hayward pumps it is cheaper and easier to replace the entire motor if the bearings are gone.
A rattling sound can also be debris bouncing around inside the volute. If it sounds like there is a pebble in a tin can, something is trapped in there.
Step-by-Step Diagnosis (Decision Branch #2)
Once you know which symptom you are dealing with, it is time to get methodical. Follow these checks in order. Do not skip steps.
Every check eliminates a possible cause before you start pulling things apart.
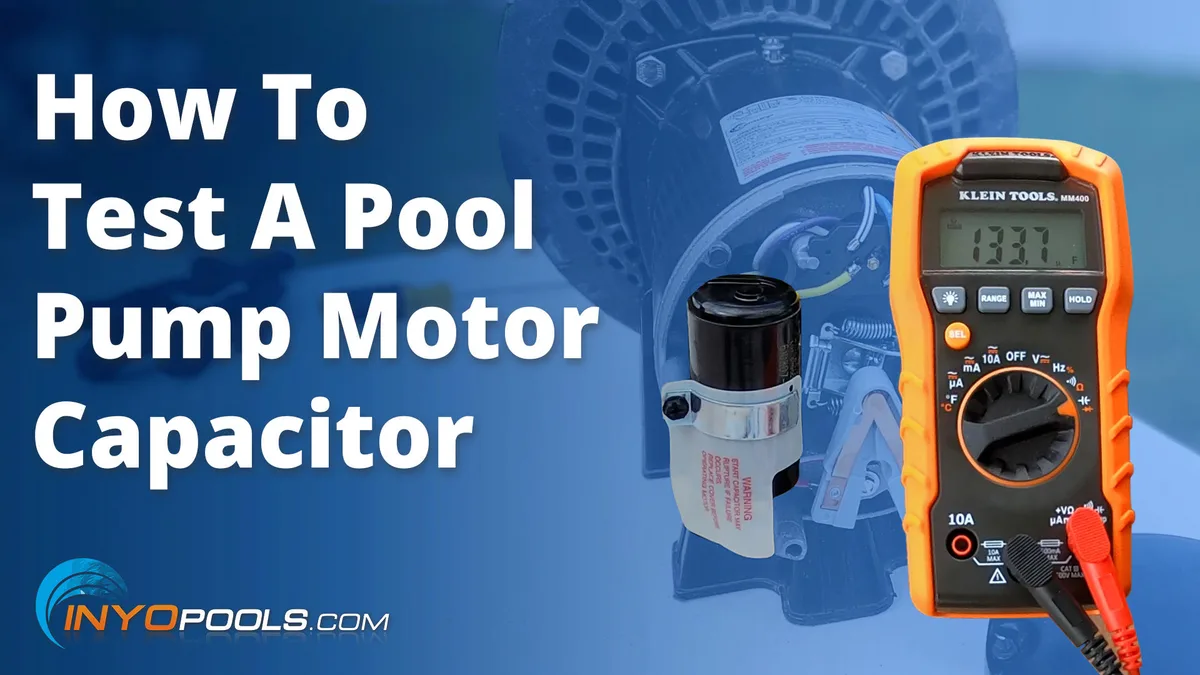
Image source: Bing (Web (fair-use with source credit))
Step 1: Turn off the power at the breaker.
Not just the switch. Not the timer. Go to the breaker panel and flip the breaker that feeds the pump.
This is non-negotiable. Pool pump motors can hold a charge in the capacitor even with the switch off. You want zero voltage at the pump before you touch anything.
Step 2: Check the strainer basket and lid.
Open the pump lid. Remove the basket and clean it out thoroughly. Inspect the lid O-ring.
If it is flattened, cracked, or feels hard instead of rubbery, replace it. Inspect the lid itself for cracks. A hairline crack in the clear plastic will let air in and cause priming issues.
Lubricate the O-ring with silicone-based pool lube before reinstalling the lid.
Step 3: Check the impeller.
With power off, reach inside the pump housing with a flathead screwdriver or your finger and feel the impeller vanes. Sometimes debris wedges between the vanes and the diffuser. If you feel a leaf or stick, gently pull it out.
If the impeller feels stuck or hard to turn, you may need to remove the volute housing to get better access.
To remove the volute, unscrew the bolts that hold the pump housing together. There are typically four to six bolts depending on your model. Pull the housing apart carefully.
The diffuser will come with it. Now you have direct access to the impeller. Spin it by hand.
Clean out any debris you find.
Step 4: Check the capacitor.
The capacitor is a cylindrical part mounted on top of the motor under a small metal cover. Remove the cover. You will see a metal or plastic cylinder with two or three terminals.
Discharge the capacitor safely by touching a screwdriver across both terminals. Then use a multimeter set to capacitance (MFD) and check the reading against the number printed on the side of the capacitor. If the reading is zero or significantly lower than the printed value, replace it.
Step 5: Check the motor shaft.
At the back of the motor, there is a cooling fan with a flat spot or a slot in the center. Insert a flathead screwdriver and try to turn the shaft manually. If it will not turn or turns with a grinding feel, the motor bearings are seized or worn.
This means a motor replacement is on the horizon.
Step 6: Check for air leaks.
If the pump primes but loses prime quickly, you have a suction-side air leak. The most common spots are the pump lid O-ring, the drain plugs, and the PVC fittings on the suction line. Use a garden hose or a spray bottle with soapy water.
Spray around each joint and fitting with the pump running. If you see bubbles form, you found your leak.
Common Repair Actions (Decision Branch #3)
Once you have identified the problem, here is what to do about it. Each fix is listed in order of difficulty, starting with the easiest.
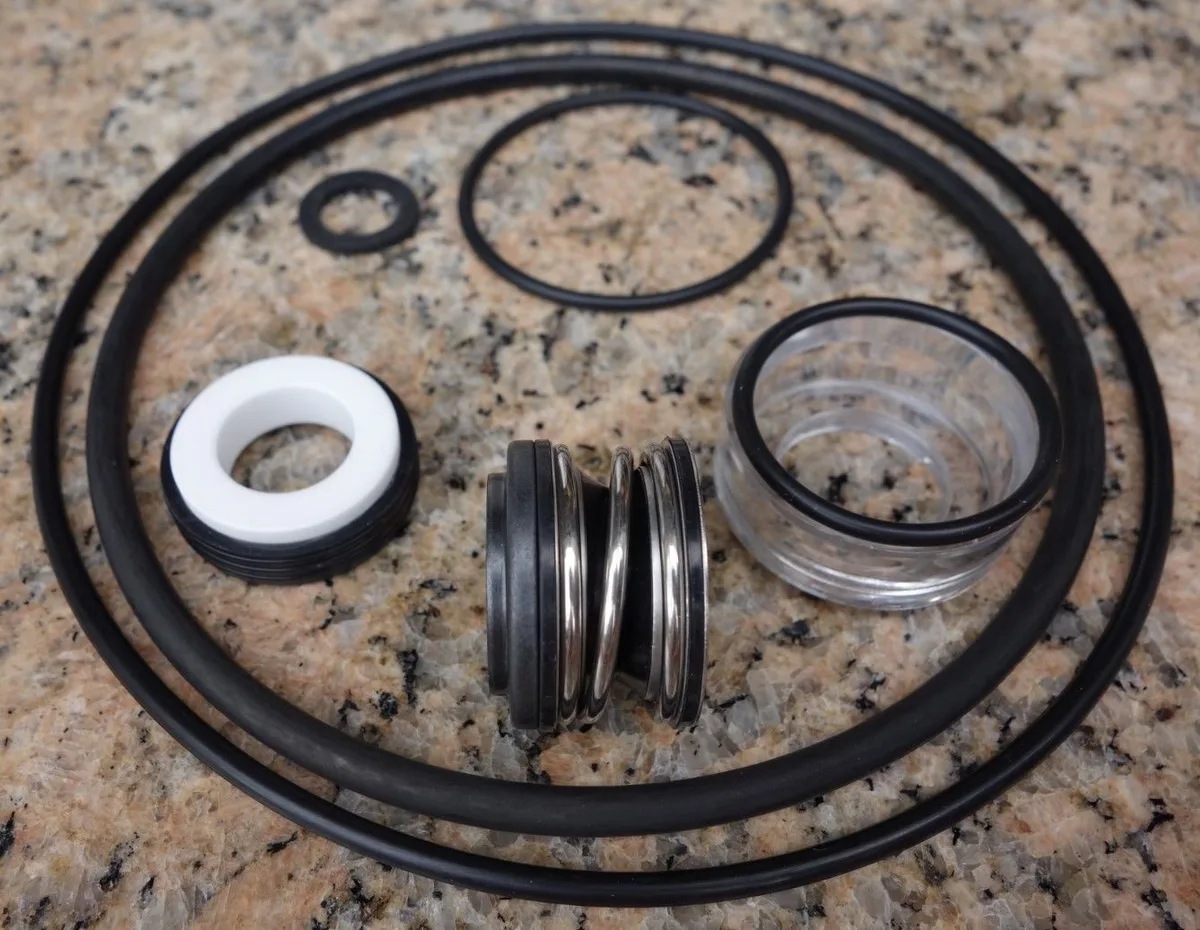
Image source: Bing (Web (fair-use with source credit))
Replace the capacitor.
This is the most common repair for a humming pump that will not start. Buy a replacement capacitor with the same microfarad rating as the old one. You can find them at any pool supply store or online.
Discharge the old capacitor. Remove the wires. Install the new one.
That is it. Your pump should start right up.
Clean the impeller.
Remove the volute housing as described in Step 3. Clean out any debris from the impeller vanes. Spin the impeller by hand to make sure it moves freely.
Reassemble the housing. Prime the pump and restart it.
Replace the shaft seal.
A leaking shaft seal will drip water from the back of the motor housing. This is a more involved repair but still doable in an afternoon. You need a new shaft seal kit specific to your Hayward model.
Remove the motor from the pump housing. Pull the old seal out. Press the new seal into place.
Reassemble everything carefully. Lubricate the seal face during installation.
Replace the motor.
If the motor bearings are shot or the windings are open, replacement is the only option. You can buy a direct replacement motor from Hayward. Match the horsepower, voltage, and frame size exactly.
Swap the wiring over from the old motor to the new one. This is a bigger job and may be worth paying a professional for if you are not comfortable with electrical work.
Fix an air leak.
Replace any cracked O-rings. Tighten loose drain plugs. Apply PVC primer and glue to any loose pipe joints.
If the leak is at a threaded fitting, use Teflon tape rated for pool applications. Reassemble and test.
Mistakes to Avoid
The biggest mistake is replacing the motor when the problem is a $15 capacitor. Always test the capacitor first. The second mistake is running the pump dry.
A pump that runs without water for more than a minute can melt the shaft seal and damage the motor. Always fill the strainer basket with water before restarting.
Another common error is overtightening the pump lid. The lid should be hand-tight only. Using a wrench or tool can crack the plastic or distort the O-ring.
Similarly, don't overtighten the drain plugs. Hand-tight with a light turn is all they need.
Skipping the O-ring lubrication is another one. A dry O-ring will crack and leak within a season. Use silicone-based pool lube, not petroleum jelly.
Petroleum jelly degrades rubber over time.
When to Call a Pro vs. Fix It Yourself
Some repairs are straightforward. Capacitor replacement, impeller cleaning, and O-ring replacement are all safe DIY jobs. You need basic tools and about thirty minutes.
Other repairs require more skill. Motor replacement involves electrical wiring and alignment. Shaft seal replacement requires pulling the motor apart.
If you are not comfortable with a multimeter or basic mechanical work, these are worth paying a pro for.
Call a professional if you smell burning, see smoke, or if the breaker trips immediately after resetting. These are signs of a short in the motor windings. Also call if the pump is more than ten years old and the repair cost is more than half the price of a new pump.
At that point, replacement makes more sense.
Maintenance to Prevent Future Problems
Clean the strainer basket weekly. A clean basket means the pump works less hard. Less strain on the motor means longer life.
Lubricate the O-rings twice a year. Do this at the start of the season and again halfway through. It takes two minutes and prevents air leaks.
Keep the pump area dry. Water splashing onto the motor housing can seep into the electrical connections and cause shorts. A simple splash guard or a small roof over the pump helps.
Winterize properly. In freezing climates, drain the pump completely before winter. Remove the drain plugs and store them somewhere you won't lose them. A frozen pump is a cracked pump.
Listen to your pump. A change in sound is usually the first warning sign. If your pump sounds different than it did last week, investigate. Catching a problem early means a $15 fix instead of a $400 replacement.
Frequently Asked Questions
Why is my Hayward pool pump humming but not starting?
A humming pump means power is reaching the motor, but the start capacitor has likely failed. Replace the capacitor with one that matches the same microfarad rating. If the shaft is seized, try turning it manually with a screwdriver.
How do I reset my Hayward pool pump after it overheats?
Turn off the power at the breaker. Let the pump cool for 30 minutes. The thermal overload switch will reset automatically once the motor cools down.
Restore power and try again.
Why does my Hayward pump keep losing prime?
Air is getting into the suction line. Check the pump lid O-ring for cracks. Check the drain plugs for tightness.
Check the PVC fittings on the suction side for loose joints. Fix any leaks you find.
How often should I clean the pump strainer basket?
Clean it at least once a week during swimming season. If you have trees near the pool, check it every few days. A clogged basket forces the pump to work harder and reduces flow.
Can I run my Hayward pump without water in the strainer basket?
No. Running the pump dry for more than a minute can damage the shaft seal and the motor. Always fill the strainer basket with water before starting the pump.
When should I replace the entire pump instead of repairing it?
Replace the pump if the motor is more than ten years old and the repair cost exceeds half the price of a new pump. Also replace it if the housing is cracked or the impeller is damaged beyond repair.

Similar Posts
































